

Subscribe, Edit, and Unsubscribe Dashboard Email
Introduction
This guide will walk you through the steps of subscribing, editing, and unsubscribing from dashboard emails in CoreStack.
Subscribe to Dashboard Email
1. Click "Actions".
Click the Actions drop-down list.
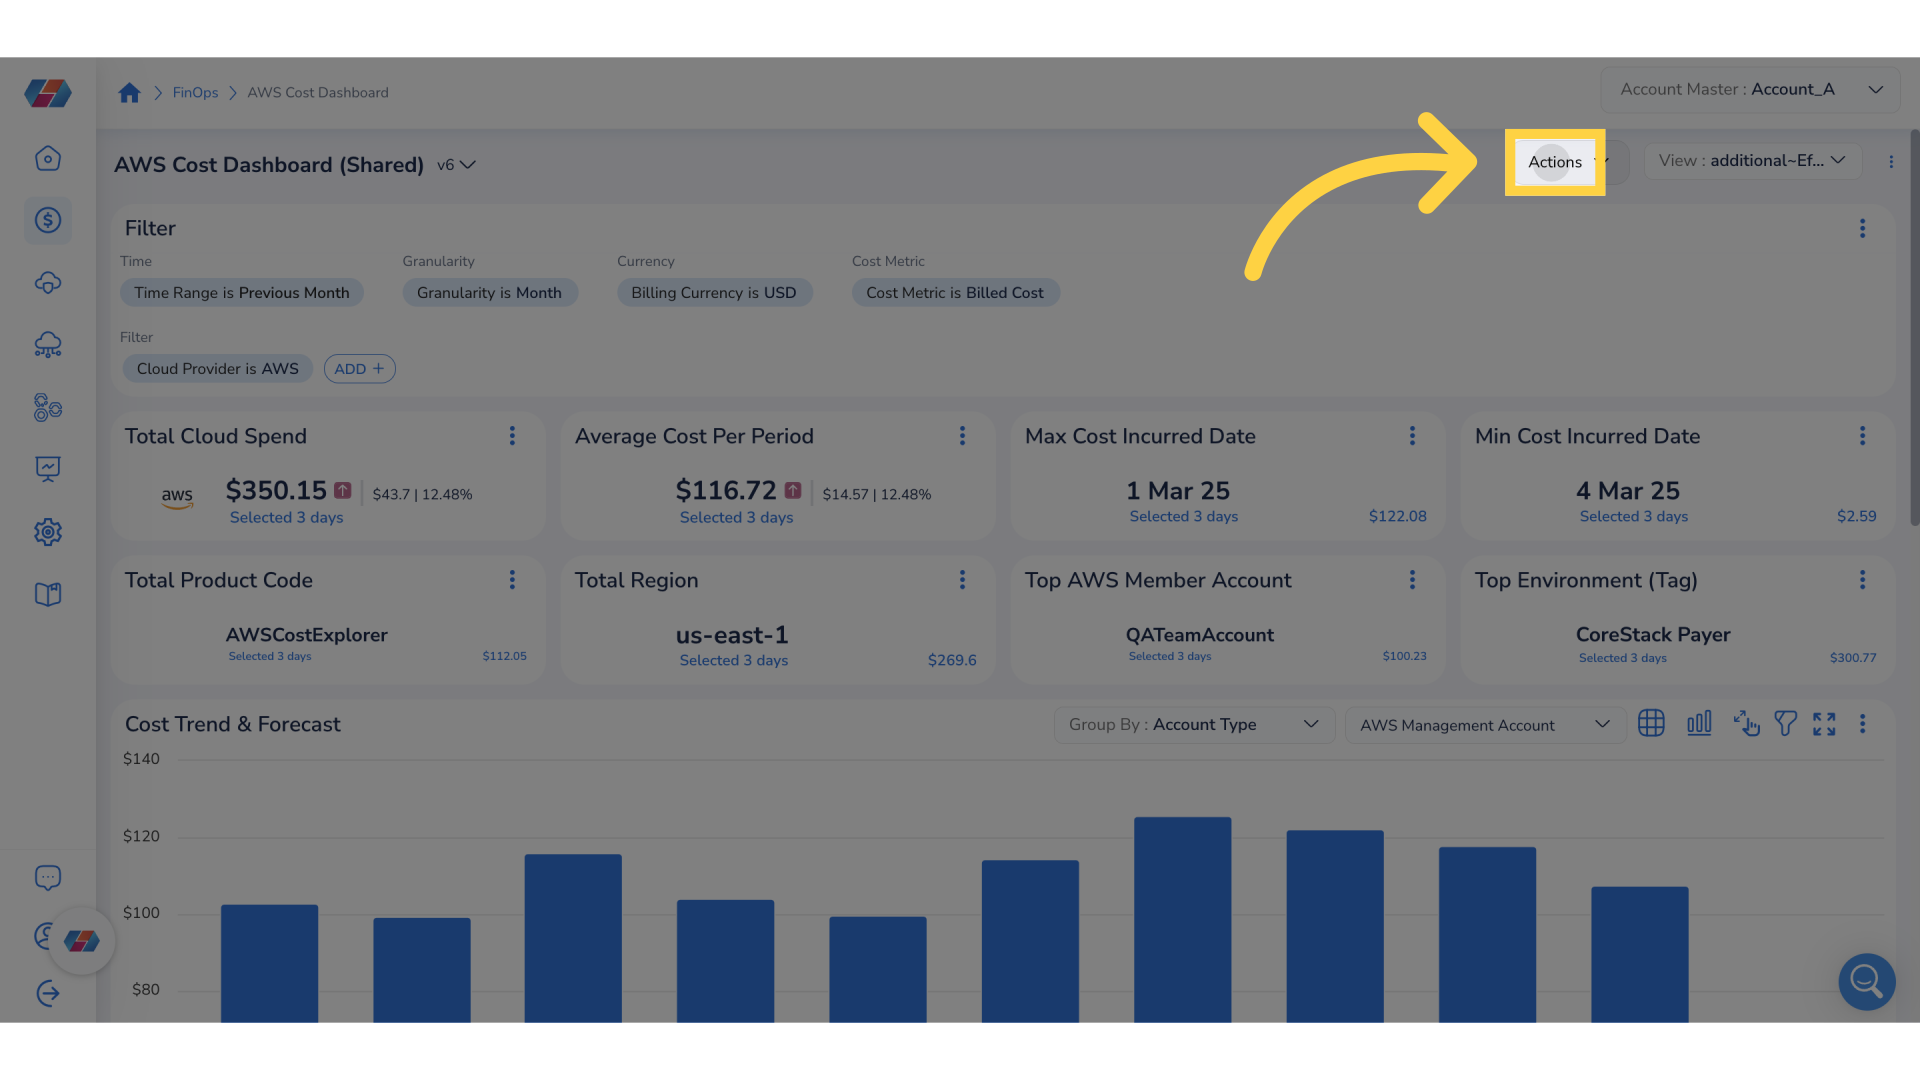
2. Select "Subscribe".
Select the Subscribe option. The Subscribe Dashboard screen opens.
3. Enter a name for the subscription.
In the Subscription Name box, type a name for the subscription.
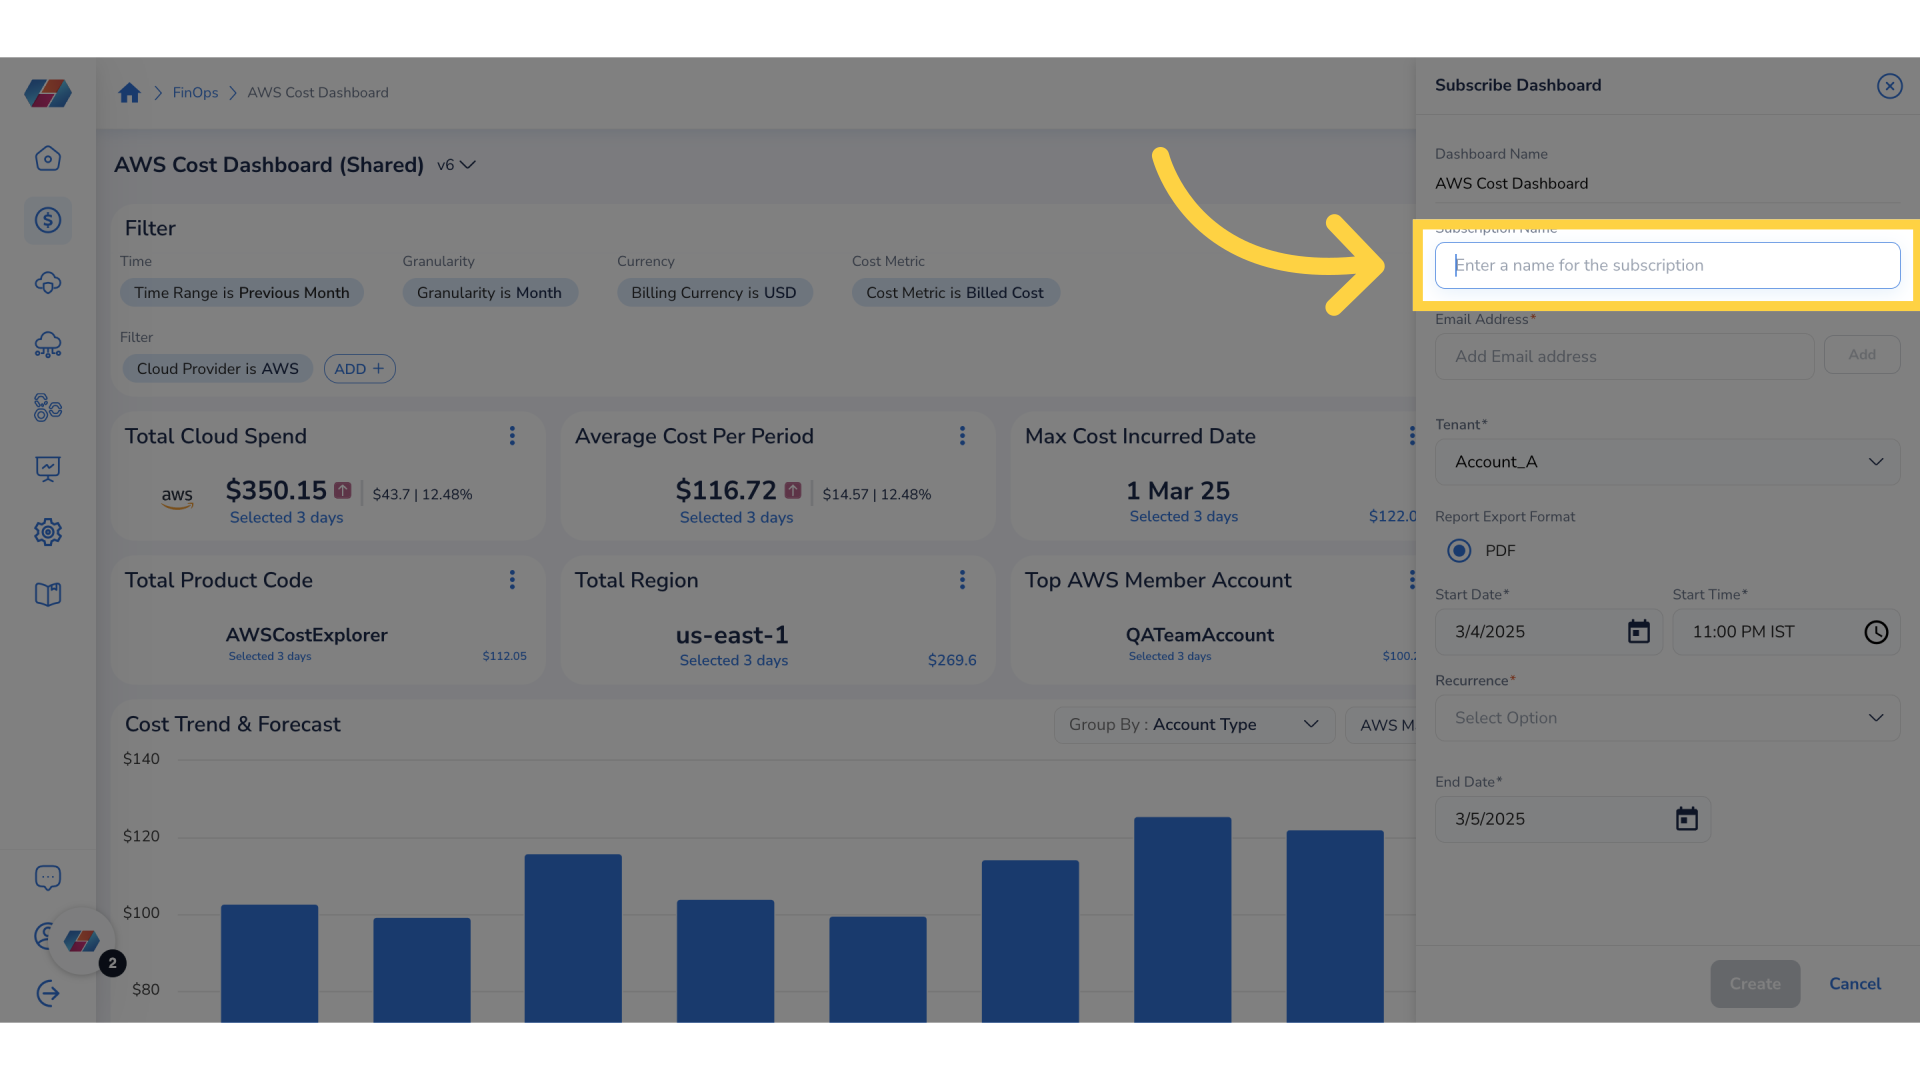
4. Add Email address.
In the Email Address box, type the email address of the recipient.
5. Click "Add".
Click Add to add the email address.
6. Select a Tenant.
In the Tenant drop-down list, click to select a tenant.
7. Select Report Export Format.
The Report Export Format field is set as PDF by default.
Note:If the widget is in tabular format, then instead of PDF, CSV option will appear. The PDF option appears only when the widget is in chart format.
8. Choose start date.
In the Start Date field, click the calendar and select a start date for the subscription.
9. Select the start time.
Click the Start Time field and set the time when the subscription email needs to be sent.
10. Select the recurrence.
In the Recurrence drop-down list, click to select the recurrence period for the subscription. The available options for Recurrence are: Once, Daily, Weekly, and Monthly.
Based on the option you select, you will have to fill the additional fields that appear.
- Once: If you select this option, then you will be able to subscribe to get the widget details for just one time.
- Daily: If you select this option, then in the End Date field, add an end date till when you would need to receive the widget details.
- Weekly: If you select this option, then you can select the days of the week when you would like to receive the widget details (select the days between Monday and Sunday). After that, select the End Date till when you would like to subscribe.
- Monthly: If you select this option, then you need to select either On Week of the Month or On Days of the Month.
- If you select On Week of the Month, then choose an appropriate option corresponding to the week number when the widget details need to be sent, and then select the days of the week.
- If you select On Days of the Month, then select the dates in a month when the widget details will be sent.
- You can also enable Do you want to exclude any months? field and then select the month(s) that needs to be excluded. After selecting all the relevant details, in the End Date field, select the end date.
11. Select the End Date
In the End Date field, click the calendar and select an end date for the subscription.
12. Click "Create".
To save the configuration for subscription, click Create.
Edit Subscription
For an existing subscription, users can update subscription details. Perform the following steps to edit an existing subscription:
1. Click "Actions".
Click the Actions drop-down list.
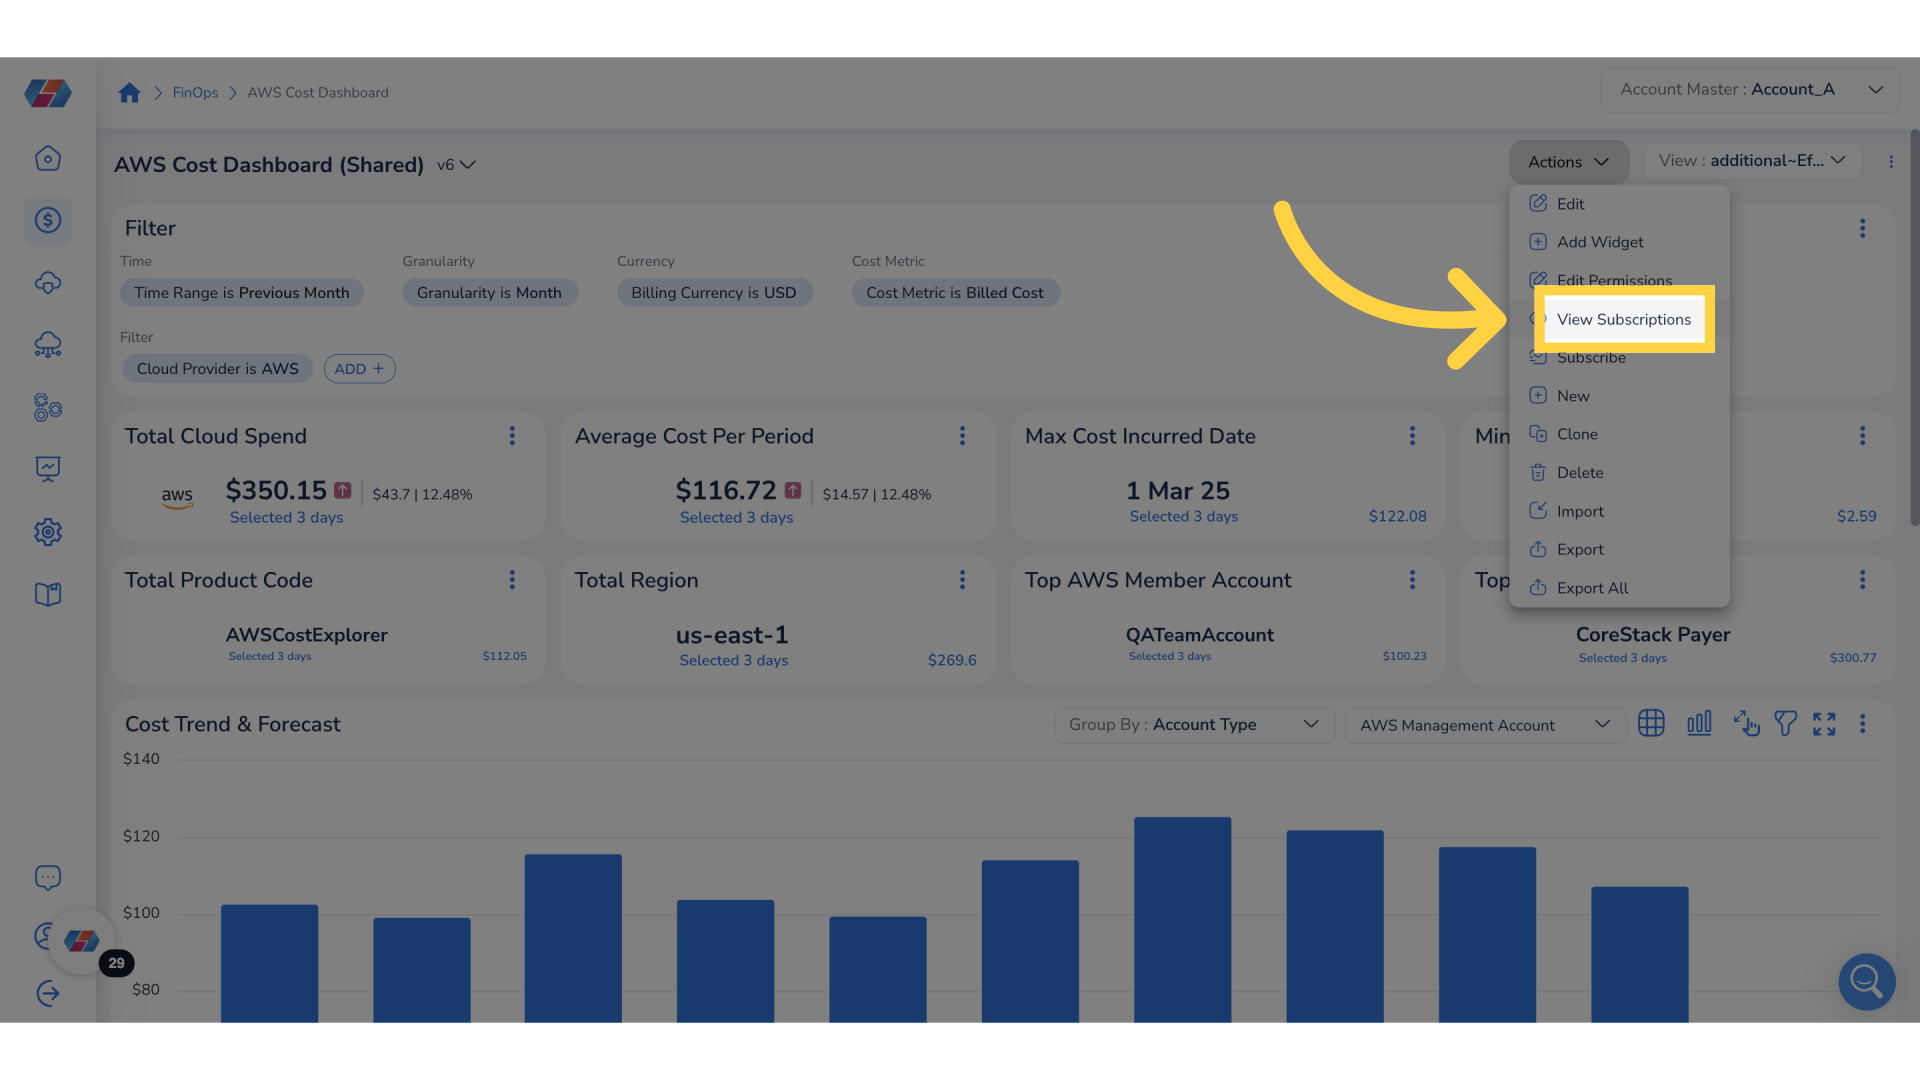
2. Select "View Subscriptions".
To view the list of existing subscriptions, in the Actions list, select View Subscriptions. The View Subscriptions page is displayed.
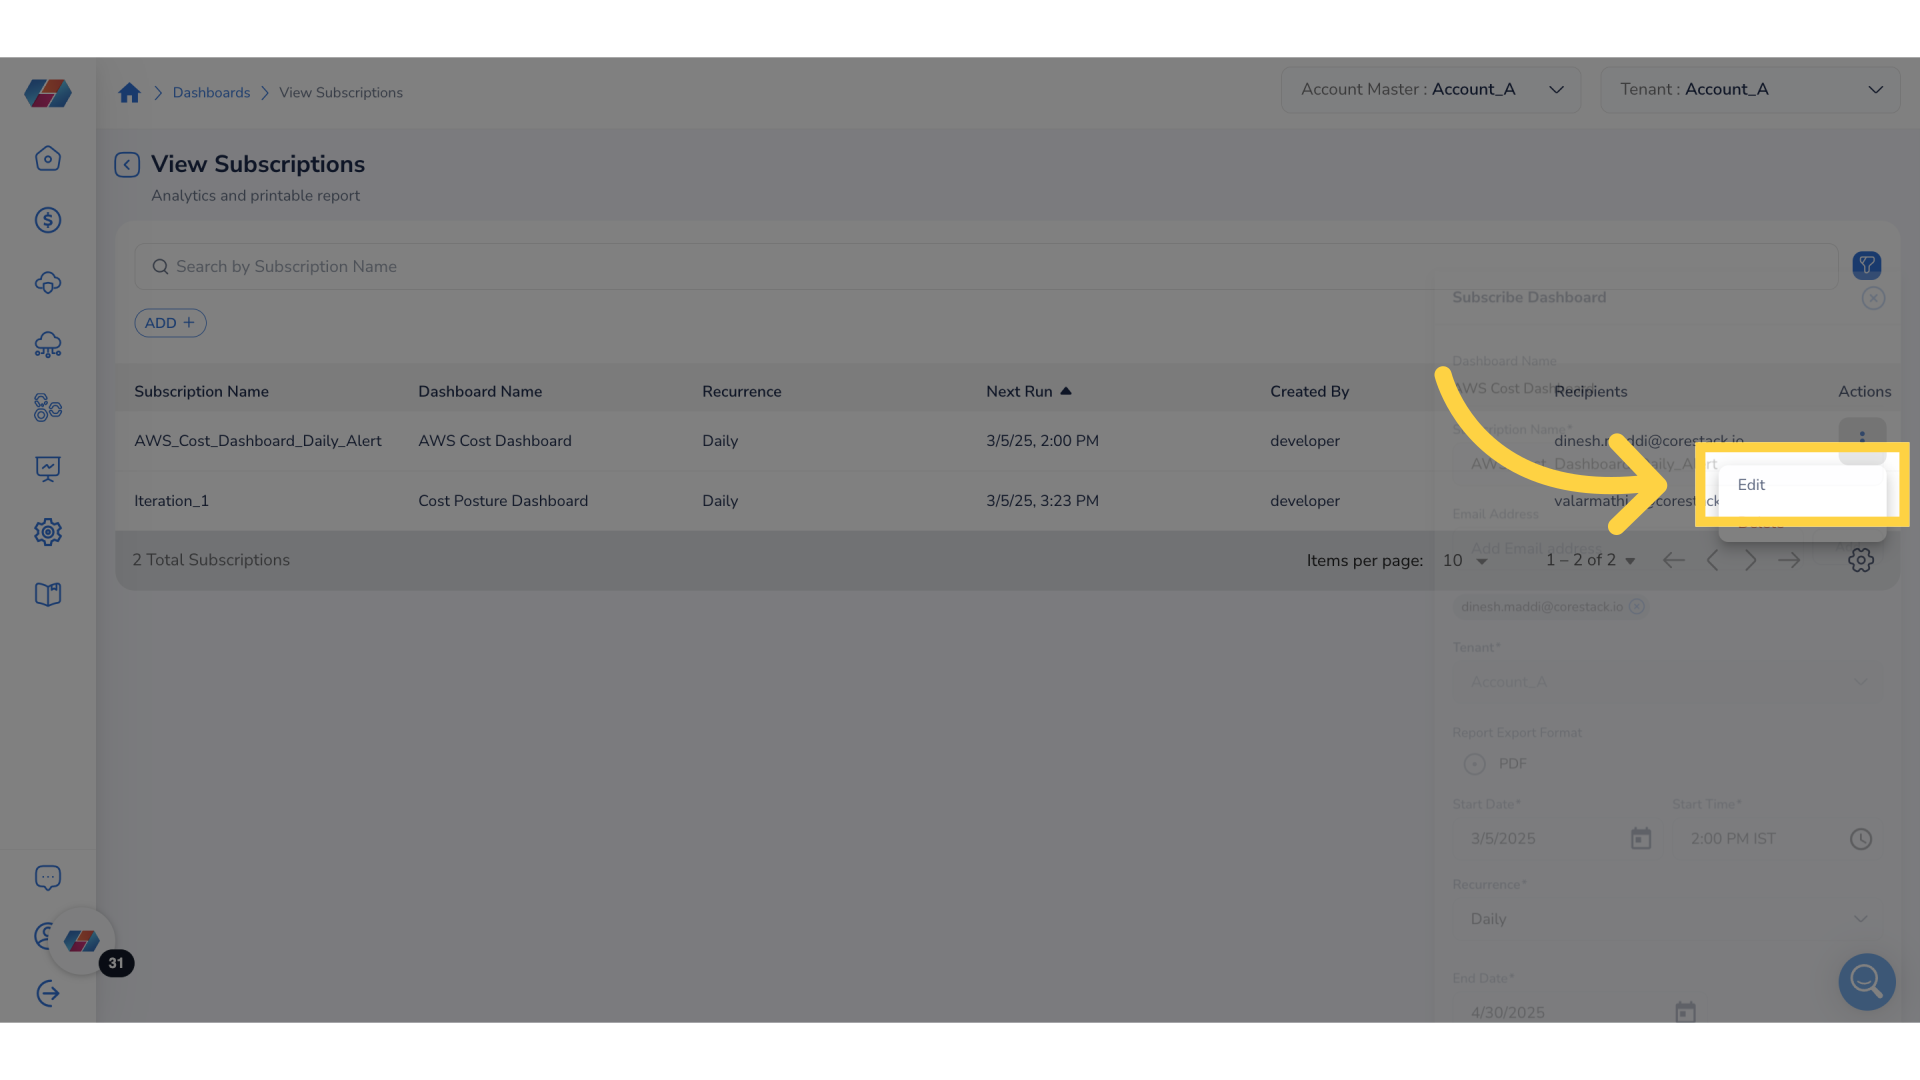
3. Click ellipses to view available options.
Under the Actions column, click the ellipses corresponding to a subscription.
4. Select "Edit".
To make updates in an existing subscription, click to select Edit.
5. Make updates to relevant fields.
As part of editing the subscription, you can update the relevant fields. For example, add another email address in the Email Address box and then click Add.
Unsubscribe from Dashboard Email
Users can choose to unsubscribe from receiving dashboard emails anytime. Perform the following steps to delete an existing subscription:
1. Click ellipses > "Delete".
To delete an existing subscription, in the View Subscriptions page, click ellipses > Delete.
2. Click "Yes" to delete.
To confirm the deletion, click Yes.
Updated 8 months ago