

Budget Creation (Cost Metrics)
The budget creation feature in the platform empowers organizations to streamline their financial planning and control their spend.
Introduction
By providing a structured approach to budget management, this feature helps users maintain visibility over expenditures, ensuring alignment with business goals, and efficient resource allocation.
Users can create budgets using different cost metrics — Billed Cost, True Cost (Contracted Cost), and Amortized/Effective Cost. Visibility of cost metrics in budgets is governed by RBAC permissions, ensuring that users can manage budgets with authorized metrics. All budget rules and calculations are based on the selected cost metric. The Budget detail views displays the chosen cost metric used for calculations.
The budget feature is enhanced to include Dimension groups with Kubernetes filters, allowing budgets to be created and scoped to Kubernetes-related costs. Kubernetes filters automatically extend from Dimensions into the Budget module, and the budget engine uses Kubernetes metrics to calculate costs within those scopes. Budget visualizations (graphs, summary cards, etc) reflect Kubernetes-inclusive costs accurately.
Create Budget
1. Login to the Platform
You should see a landing page based on your preferences.
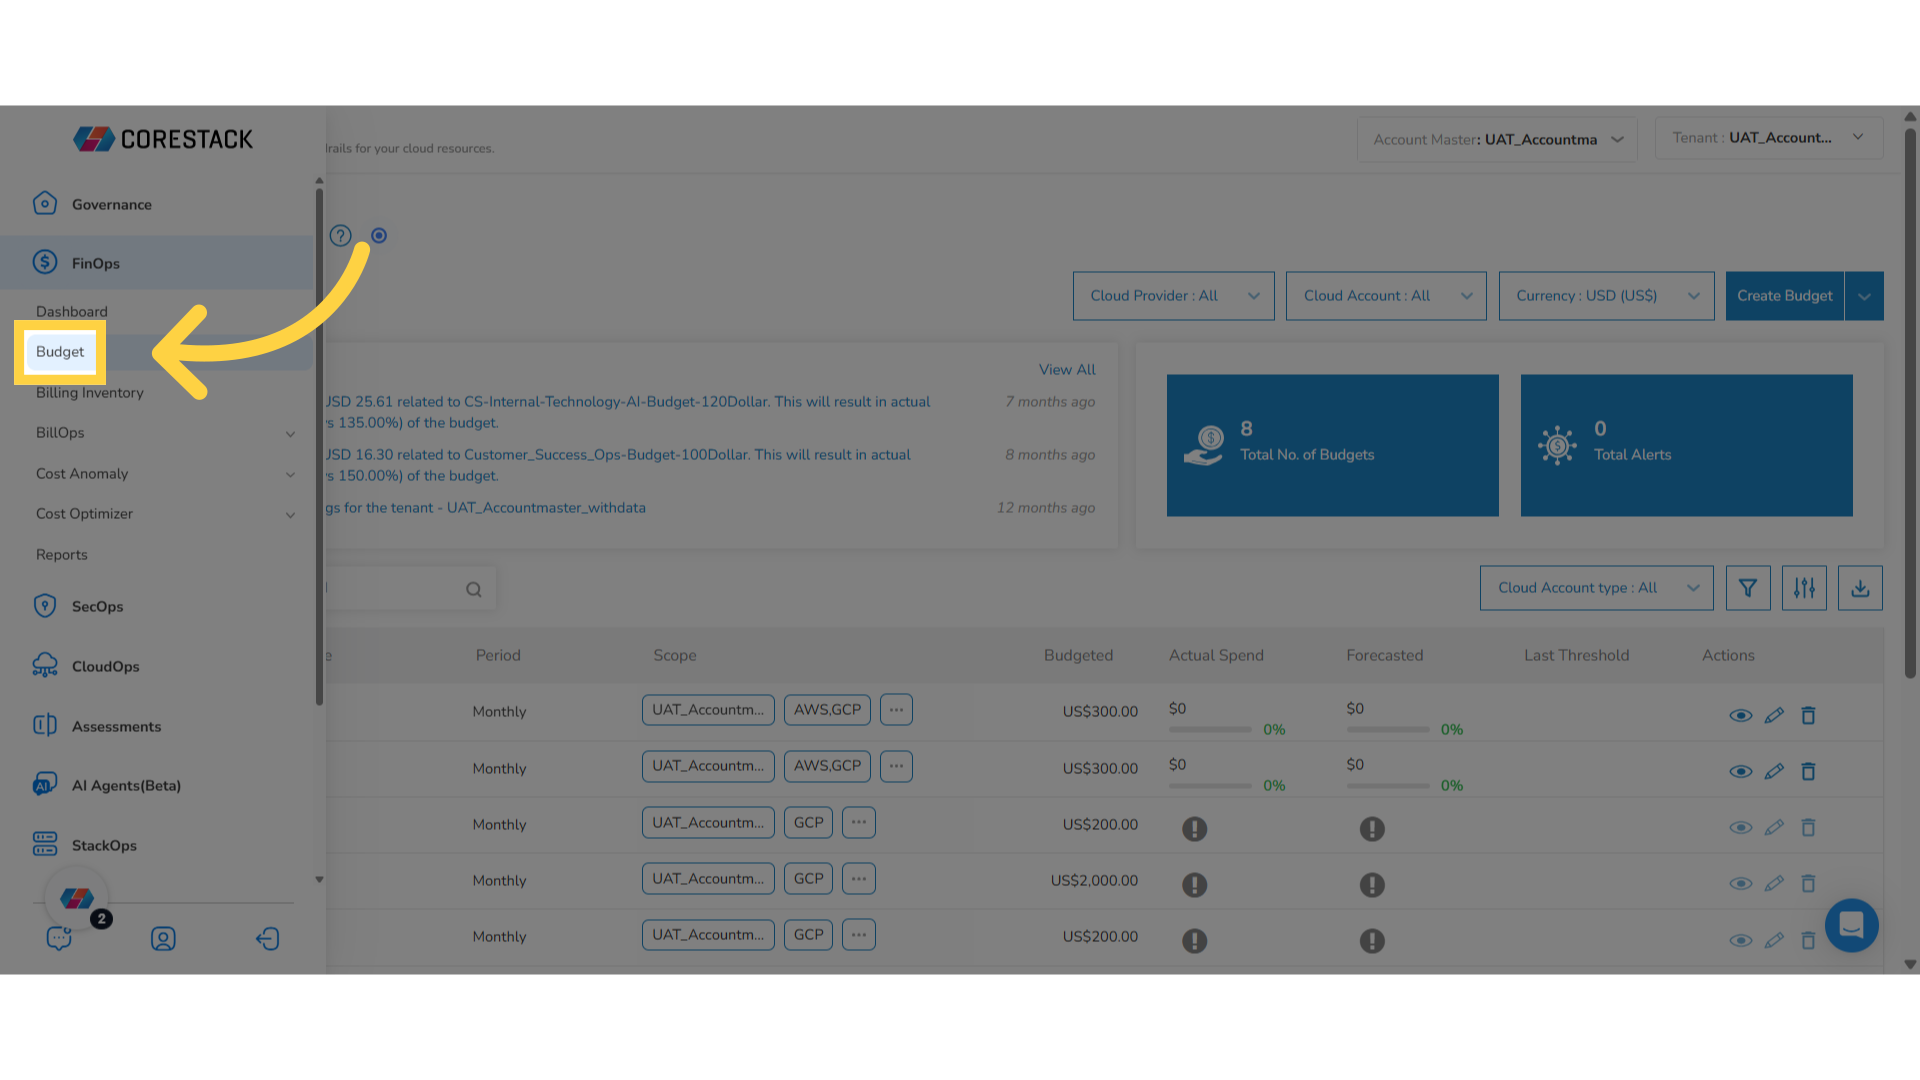
2. Navigate to "FinOps" in the Menu
To access the Budget page, on the left navigation pane of the platform, click FinOps.
3. Select "Budget" in the Menu
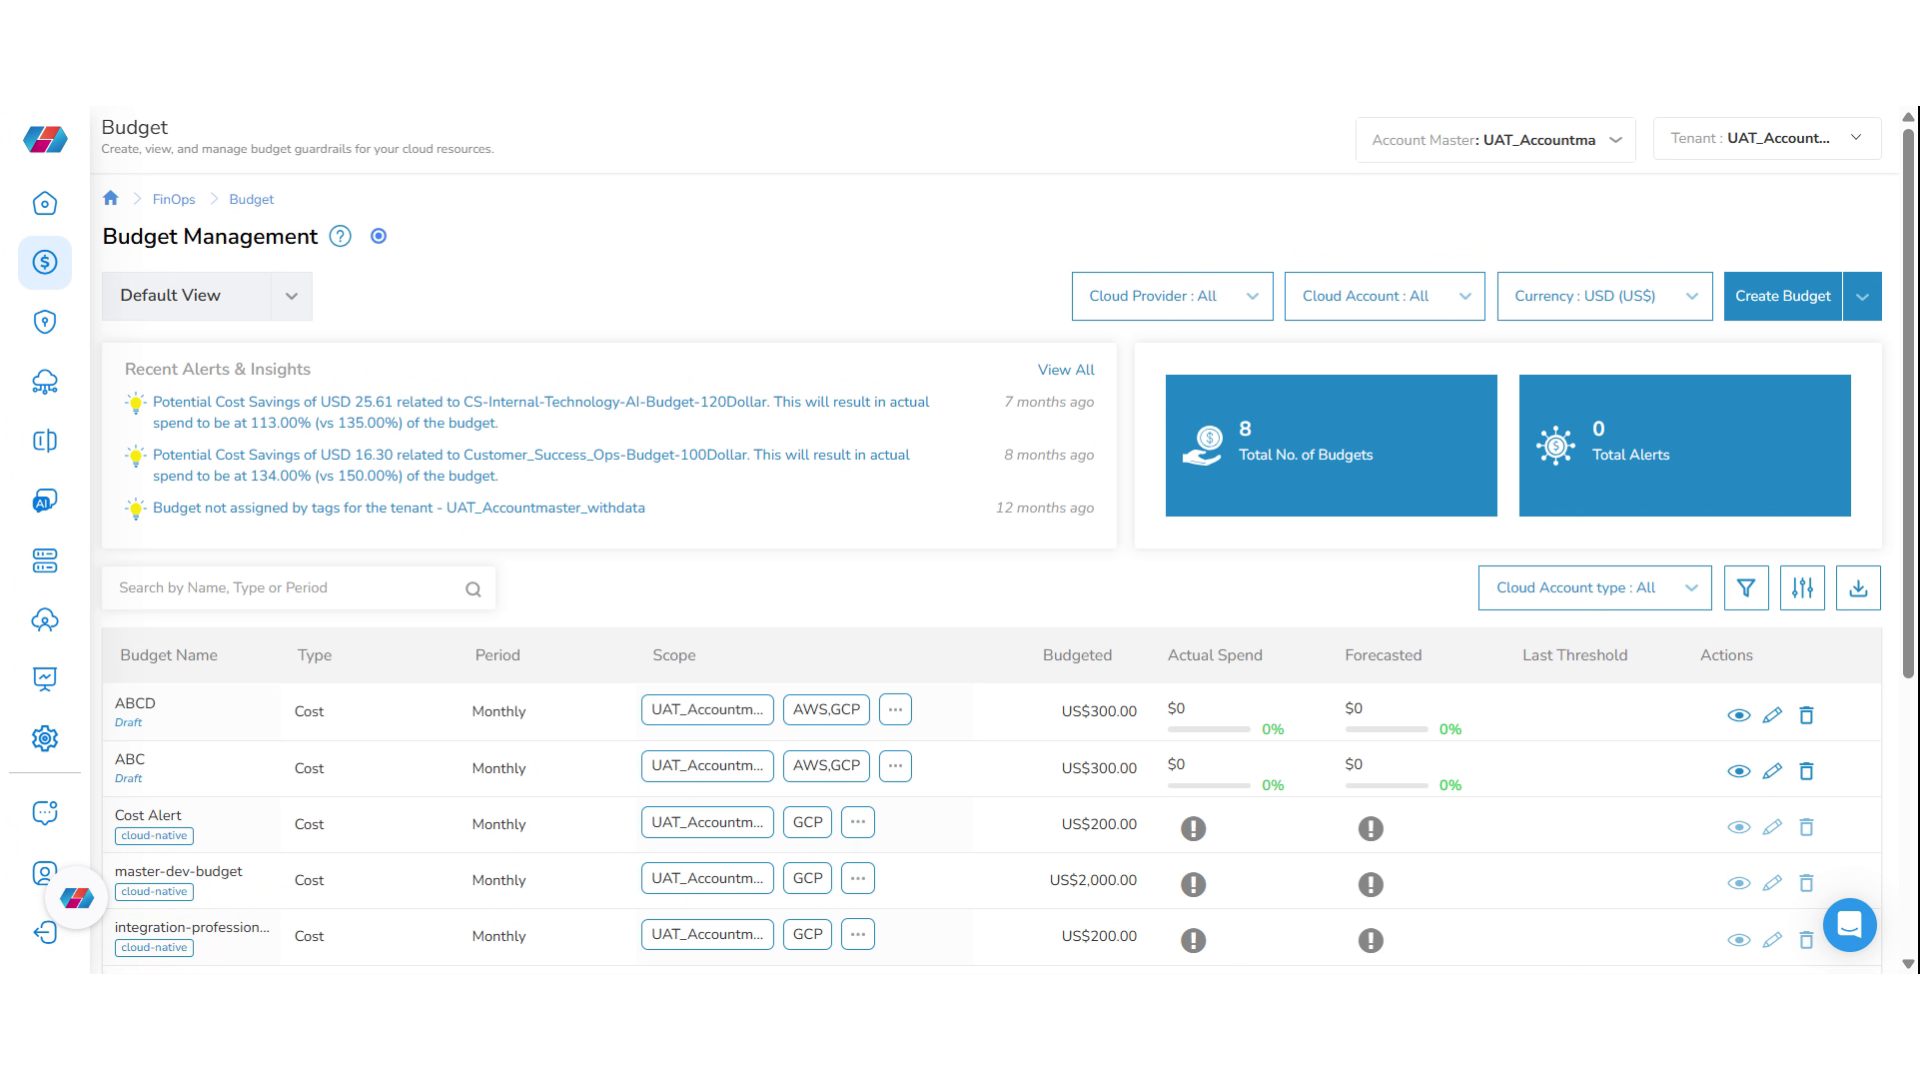
Click Budget. The Budget page appears and shows the budgetary allocations and forecasts.
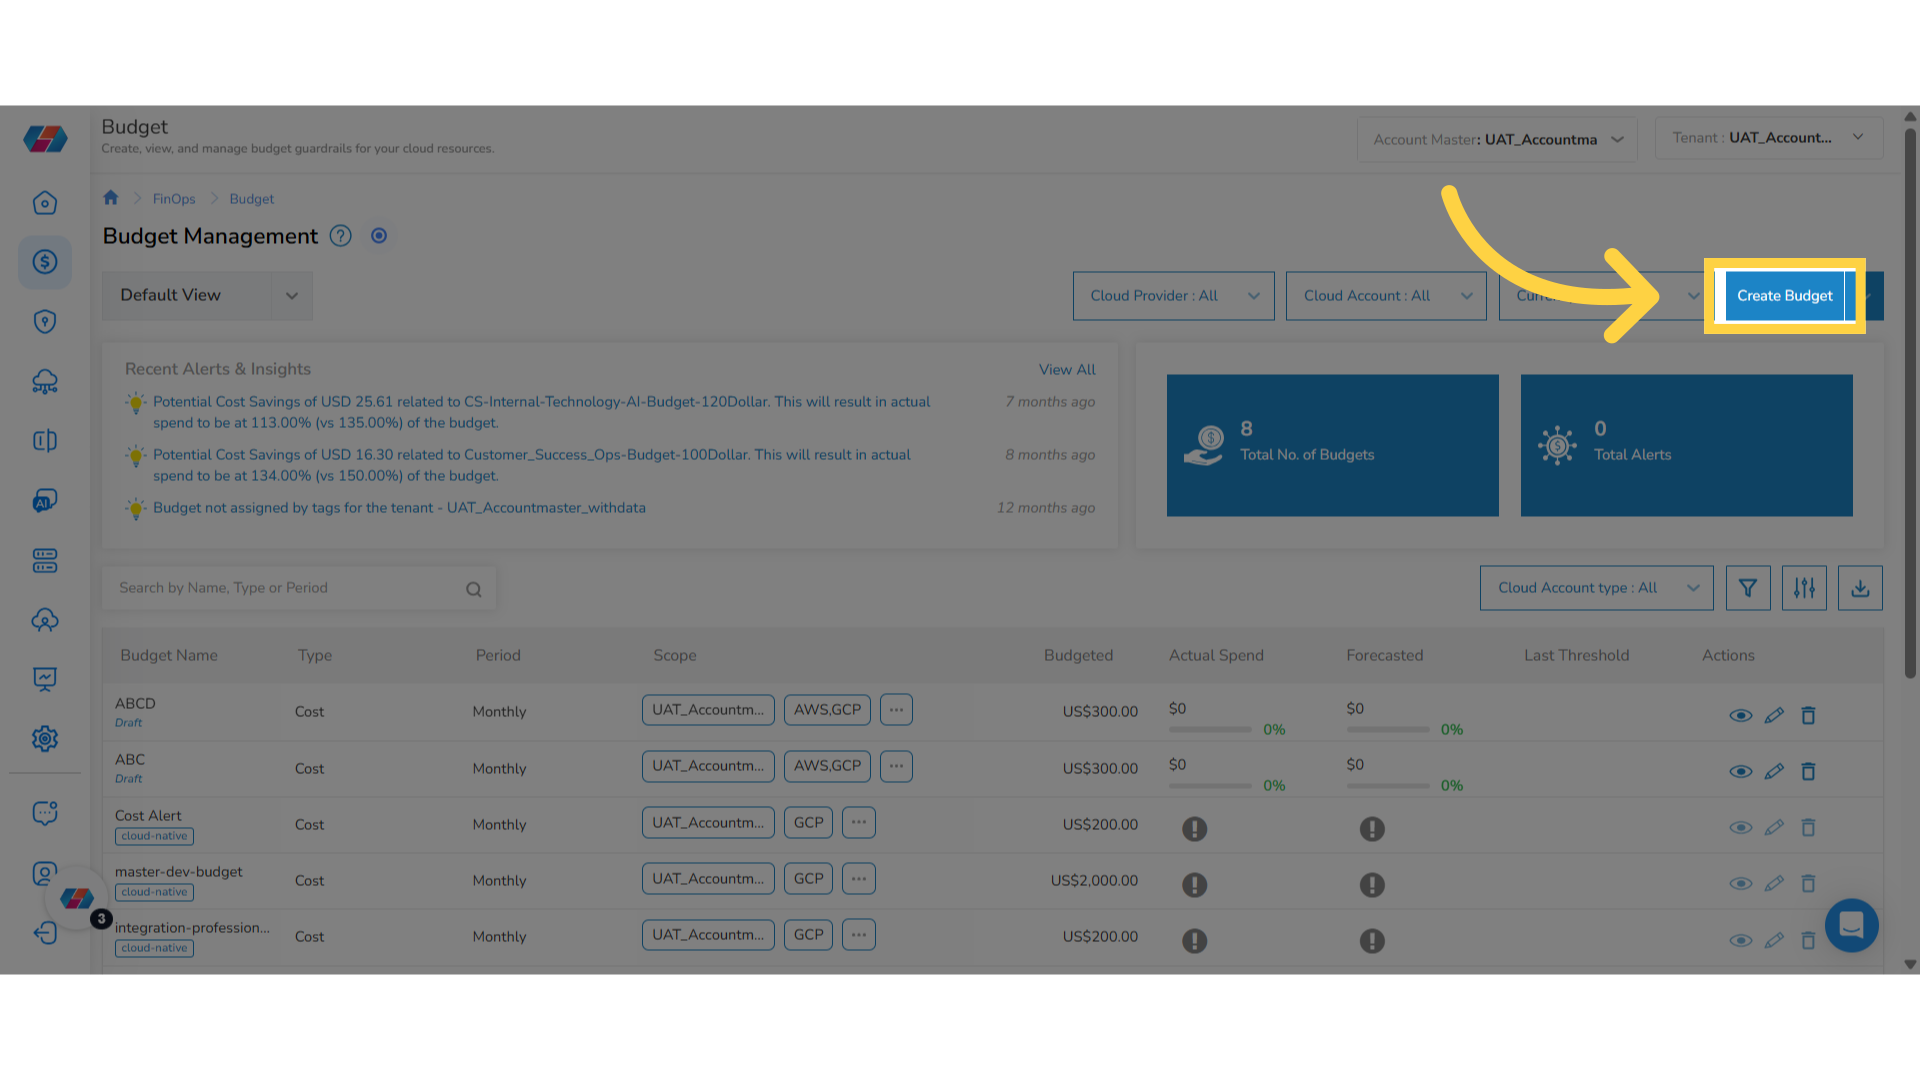
4. Create a New Budget
To initiate the budget creation workflow for tracking and controlling your financial expenditures, click Create Budget.
To add a new budget rule, first add basic details for your budget and set the duration, scope, amounts, and more. After that, setup thresholds and passive actions like email alerts or automated actions. The last step is to review a summary of the budget configurations before saving and creating your budget rule.
5. Enter "Budget Name"
In the Budget Name box, type the name of the budget.
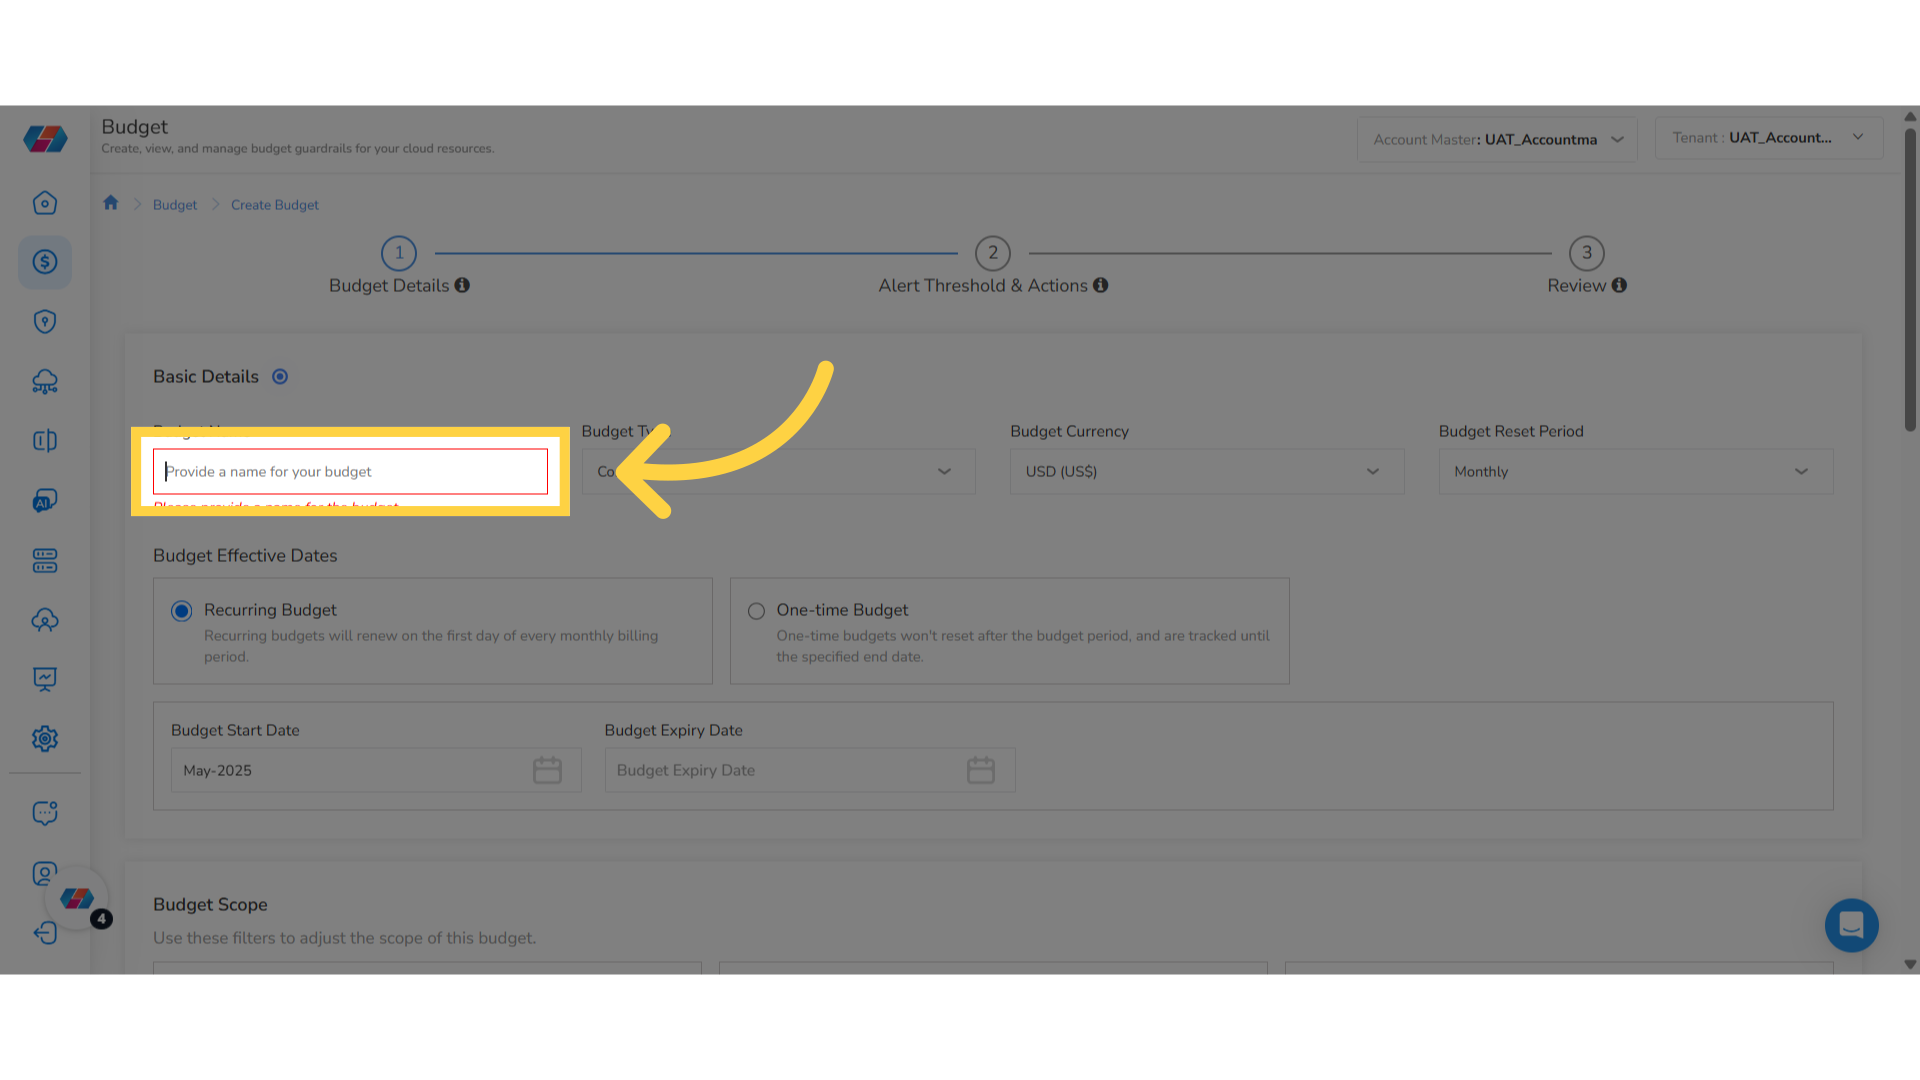
6. Select Budget Type from the drop-down
In the Budget Type drop-down list, select the Cost option to define what financial aspects you will manage within this budget.
7. Select Budget Currency from drop-down
In the Budget Currency drop-down list, select a currency.
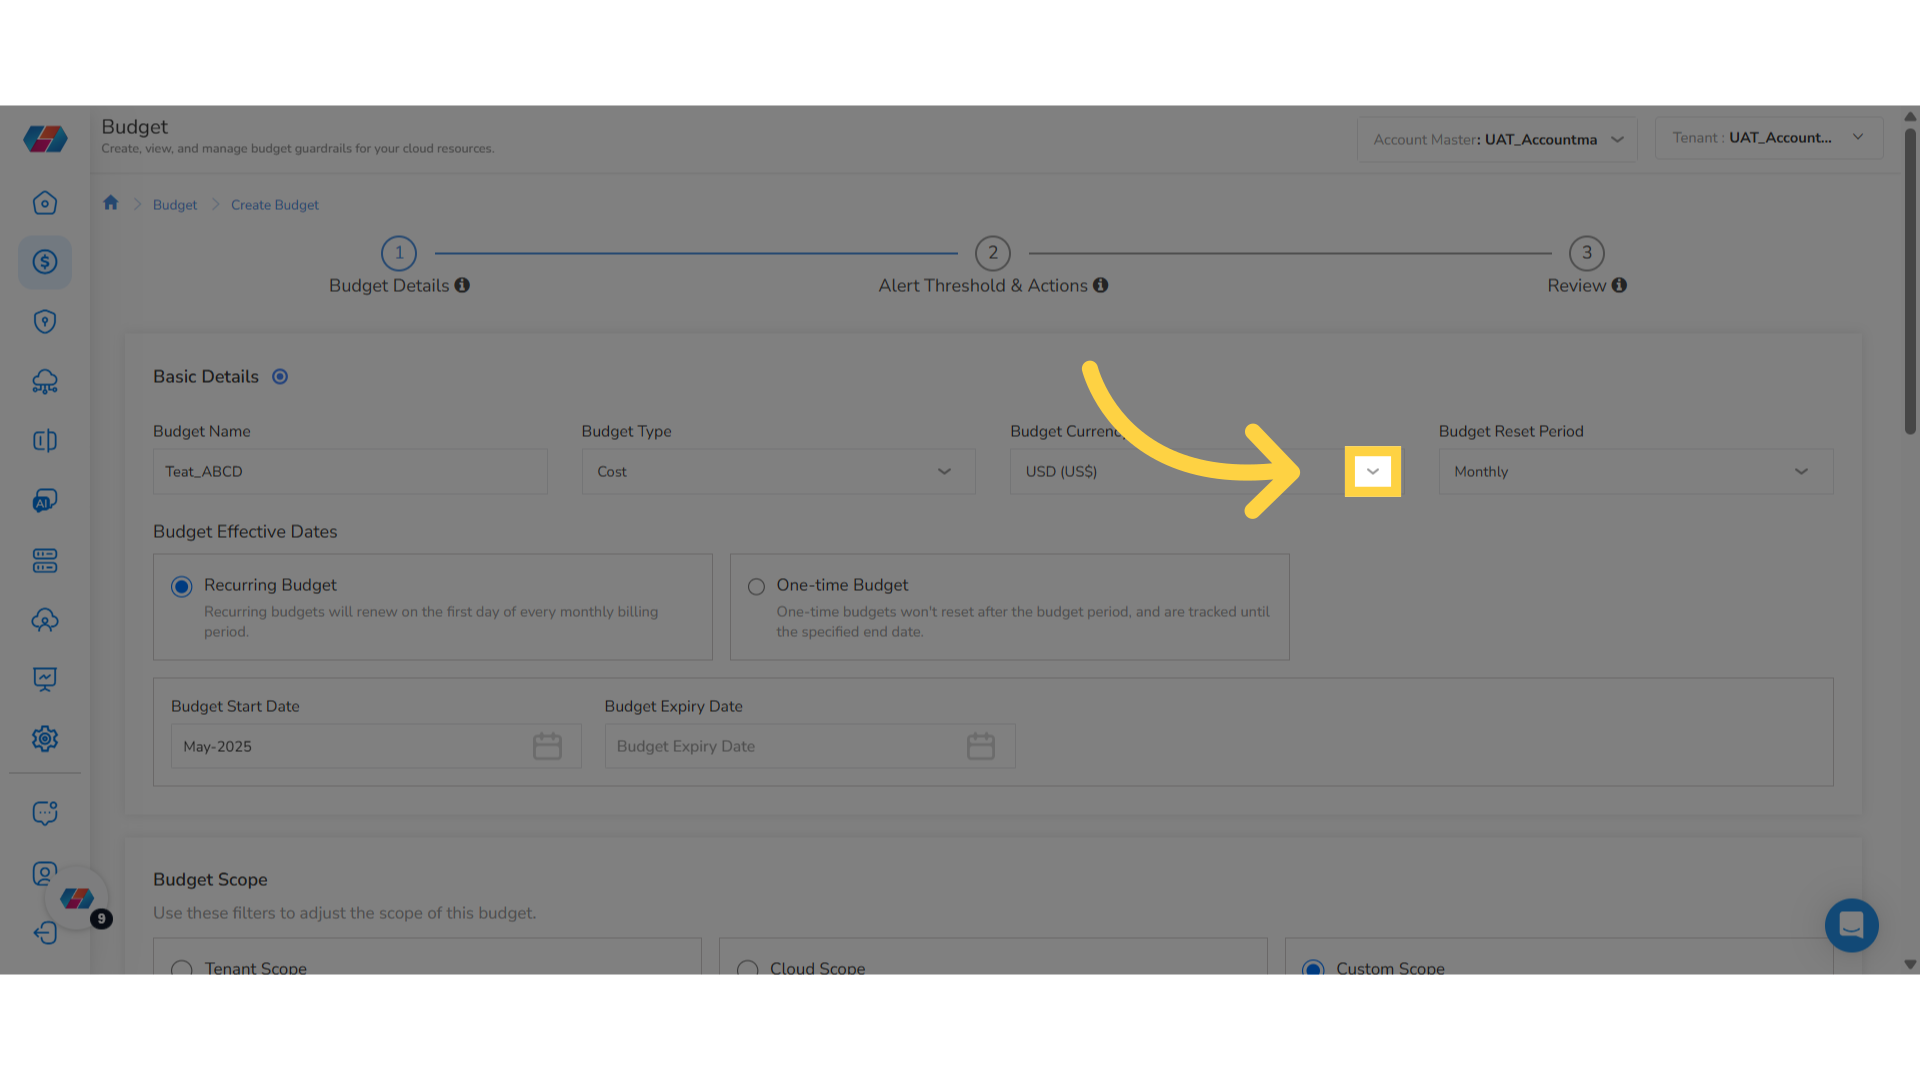
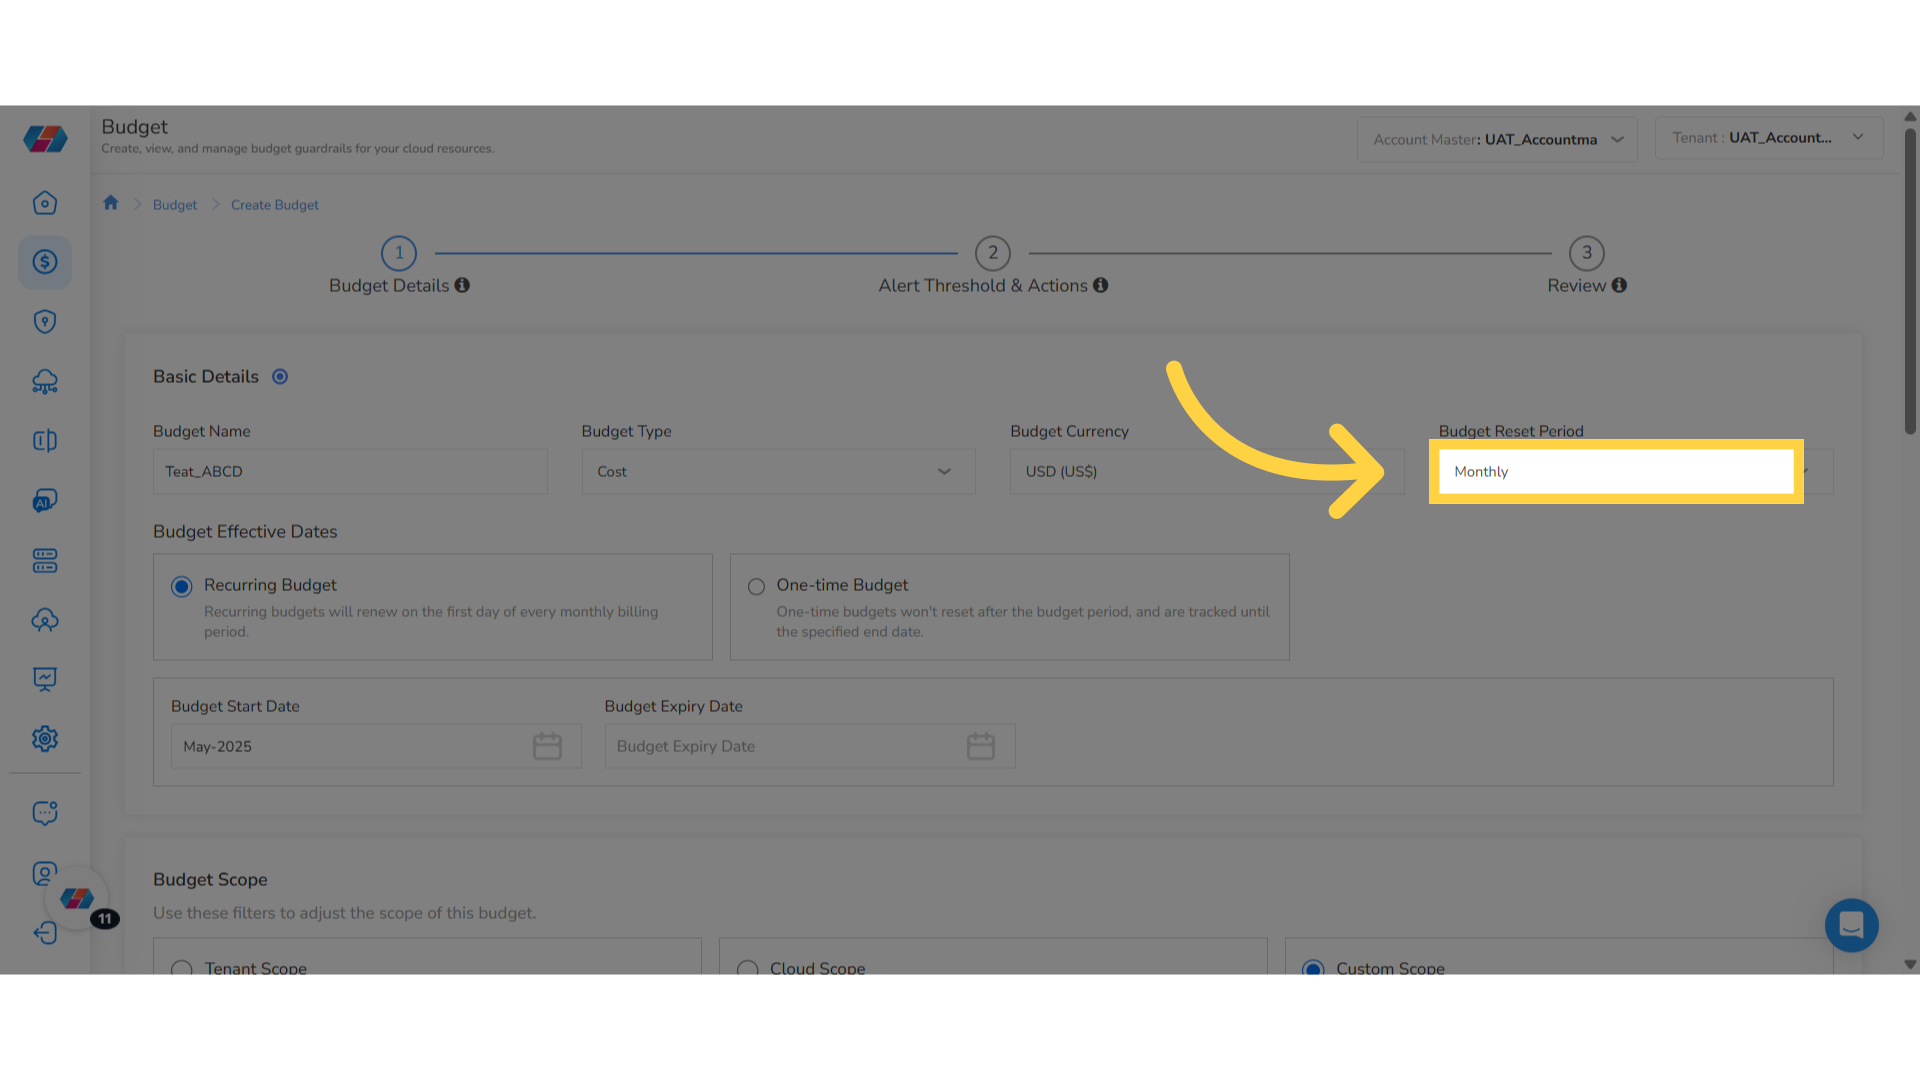
8. Select "Budget Reset Period"
In the Budget Reset Period drop-down list, select one option from -- Daily, Monthly, Quarterly, and Annually.
9. Select Budget Effective Dates
In the Budget Effective Dates field, select either Recurring Budget or One-time Budget.
- Recurring Budget: This budget will renew on the first day of every monthly billing period.
- One-time Budget: This budget won't reset after the budget period, and are tracked until the specified end date.
10. Select "Budget Start Date"
In the Budget Start Date field, click the calendar and select a budget start month and year.
11. Select "Budget Expiry Date"
In the Budget Expiry Date field, click the calendar and select a budget expiry month and year.
12. Select Budget Scope
In the Budget Scope field, select one of the following:
- Tenant Scope: Setup and manage this budget at an individual tenant level.
- Cloud Scope: Setup and manage this budget for a specific cloud provider under a tenant.
- Dimension: Setup and manage the budget for a specific dimension under a tenant.
- Custom Scope: Setup and manage this budget at one or more cloud account levels.
Based on the selected option, you will see some fields that appear below and needs to be filled. Based on the selected options, users will be able to view a graph that appears below.
13. Select "Custom Scope"
If you select the option Custom Scope, then fill the following fields:
- Tenant: In this drop-down list, select a tenant.
- Cloud Provider: In this drop-down list, select applicable cloud providers and then click Apply.
- Cloud Account: In this drop-down list, select all relevant cloud accounts and then click Apply.
- Cost Metric: In this drop-down list, select one option from -- Billed Cost, Effective Cost, and Contracted Cost.
The Historical & Forecast View section displays forecast costs and graph as per the selected options.
14. Apply Advanced Filters
Note:Advanced filters can be applied only for the Custom Scope.
To apply advanced filters, click Add. The Advanced Filters dialog box appears.
- In the drop-down list that appears, select an option.
- If you select Tags, then the Tag Key drop-down appears and you must select a value. After filling tag key, the Tag Values drop-down list appears and you must select all applicable values. To add the selected details as filters, click Add Filters.
- If you select Location, then a drop-down list appears below and you must select all applicable locations. To add the selected details as filters, click Add Filters.
- If you select Resource Group, then a drop-down list appears below and you must select all applicable resource groups. To add the selected details as filters, click Add Filters.
- If you select Resource Type, then a drop-down list appears below and you must select all applicable resource types. To add the selected details as filters, click Add Filters.
After selecting all filtering options, click Apply Filters.

15. Select "Tenant Scope"
If you select the Tenant Scope, then fill the following fields:
-
Tenant: In this drop-down list, select a tenant.
-
Cost Metric: In this drop-down list, select one option from -- Billed Cost, Effective Cost, and Contracted Cost.
The Historical & Forecast View section displays forecast costs and graph as per the selected options.
16. Select "Cloud Scope"
If you select the Cloud Scope, then fill the following fields:
-
Tenant: In this drop-down list, select a tenant.
-
Cloud Provider: In this drop-down list, select applicable cloud providers and then click Apply.
-
Cost Metric: In this drop-down list, select one option from -- Billed Cost, Effective Cost, and Contracted Cost.
The Historical & Forecast View section displays forecast costs and graph as per the selected options.
17. Select "Dimension"
If you select Dimension, then fill the following fields:
- Dimension: In this drop-down list, select a dimension and then click Apply.
- Entity: In this drop-down list, select an entity and then click Apply.
- Value: In this drop-down list, select all applicable values and then click Apply.
The Historical & Forecast View section displays forecast costs and graph as per the selected options.
18. Dimension Scope Shows Kubernetes Costs
If a user selects the Dimension scope and chooses a Dimension group that includes Kubernetes filters, the budget automatically includes Kubernetes costs from those filters.
Budgets will support the following Kubernetes filters that are available in Dimension groups:
Container Accounts, Kubernetes Label(namespace, pod, annotations) Key Value, Kubernetes Label (namespace, pod, annotations) Key, Kubernetes Pod Name, Kubernetes Pod ID, Kubernetes Container ID, Workload Type, Resource Type, In-cluster Services, and Namespace.
Threshold alerts are also triggered when total spend (including Kubernetes spend) exceeds configured budget levels.
19. View Historical & Forecast View
View the forecast details and a graph in the Historical & Forecast View section. The details that you see in this section is based on the options you have selected for the budget scope.
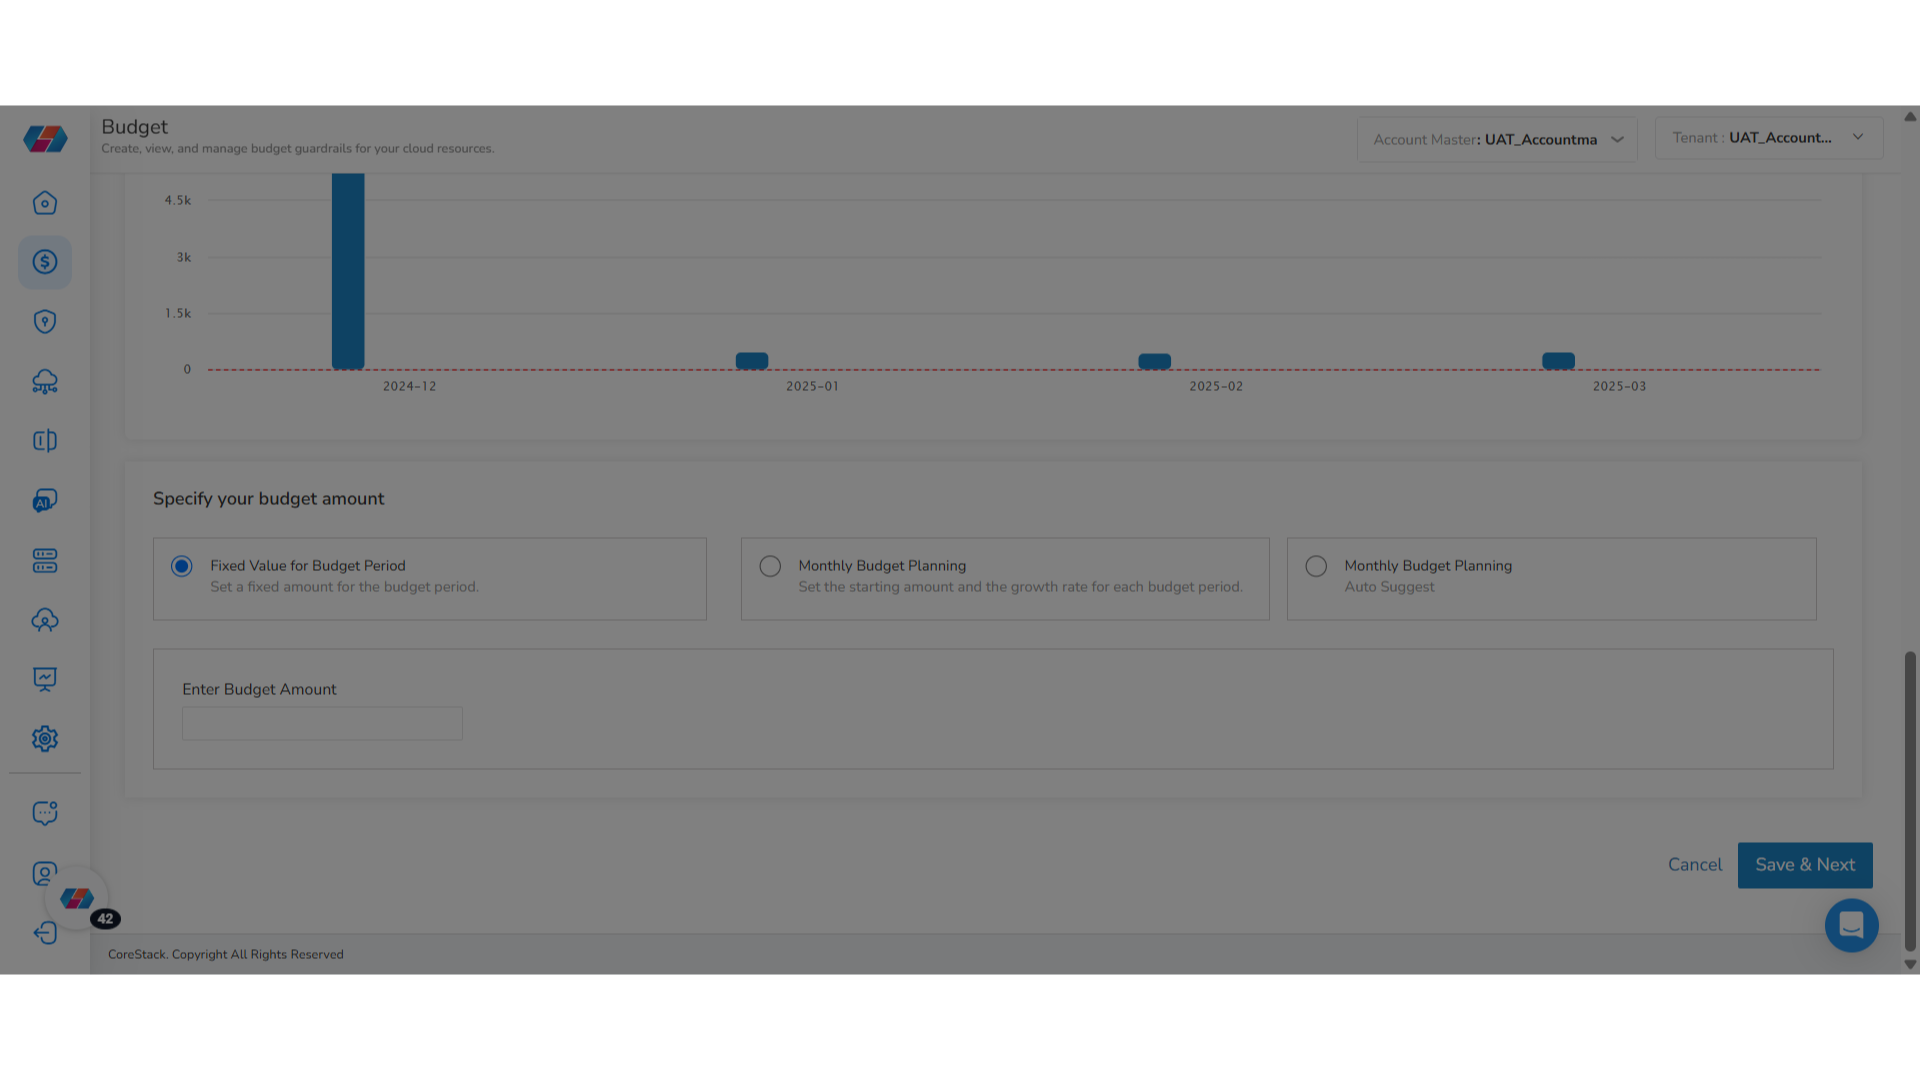
20. Specify Your Budget Amount
In the Specify your budget amount field, select one option from the following:
- Fixed Value for Budget Period: For this option, set a fixed amount for the budget period.
- Monthly Budget Planning: For this option, set the starting amount and the growth rate for each budget period.
- Monthly Budget Planning: For this option, suggestions are provided and users have the option to modify them as per their need.
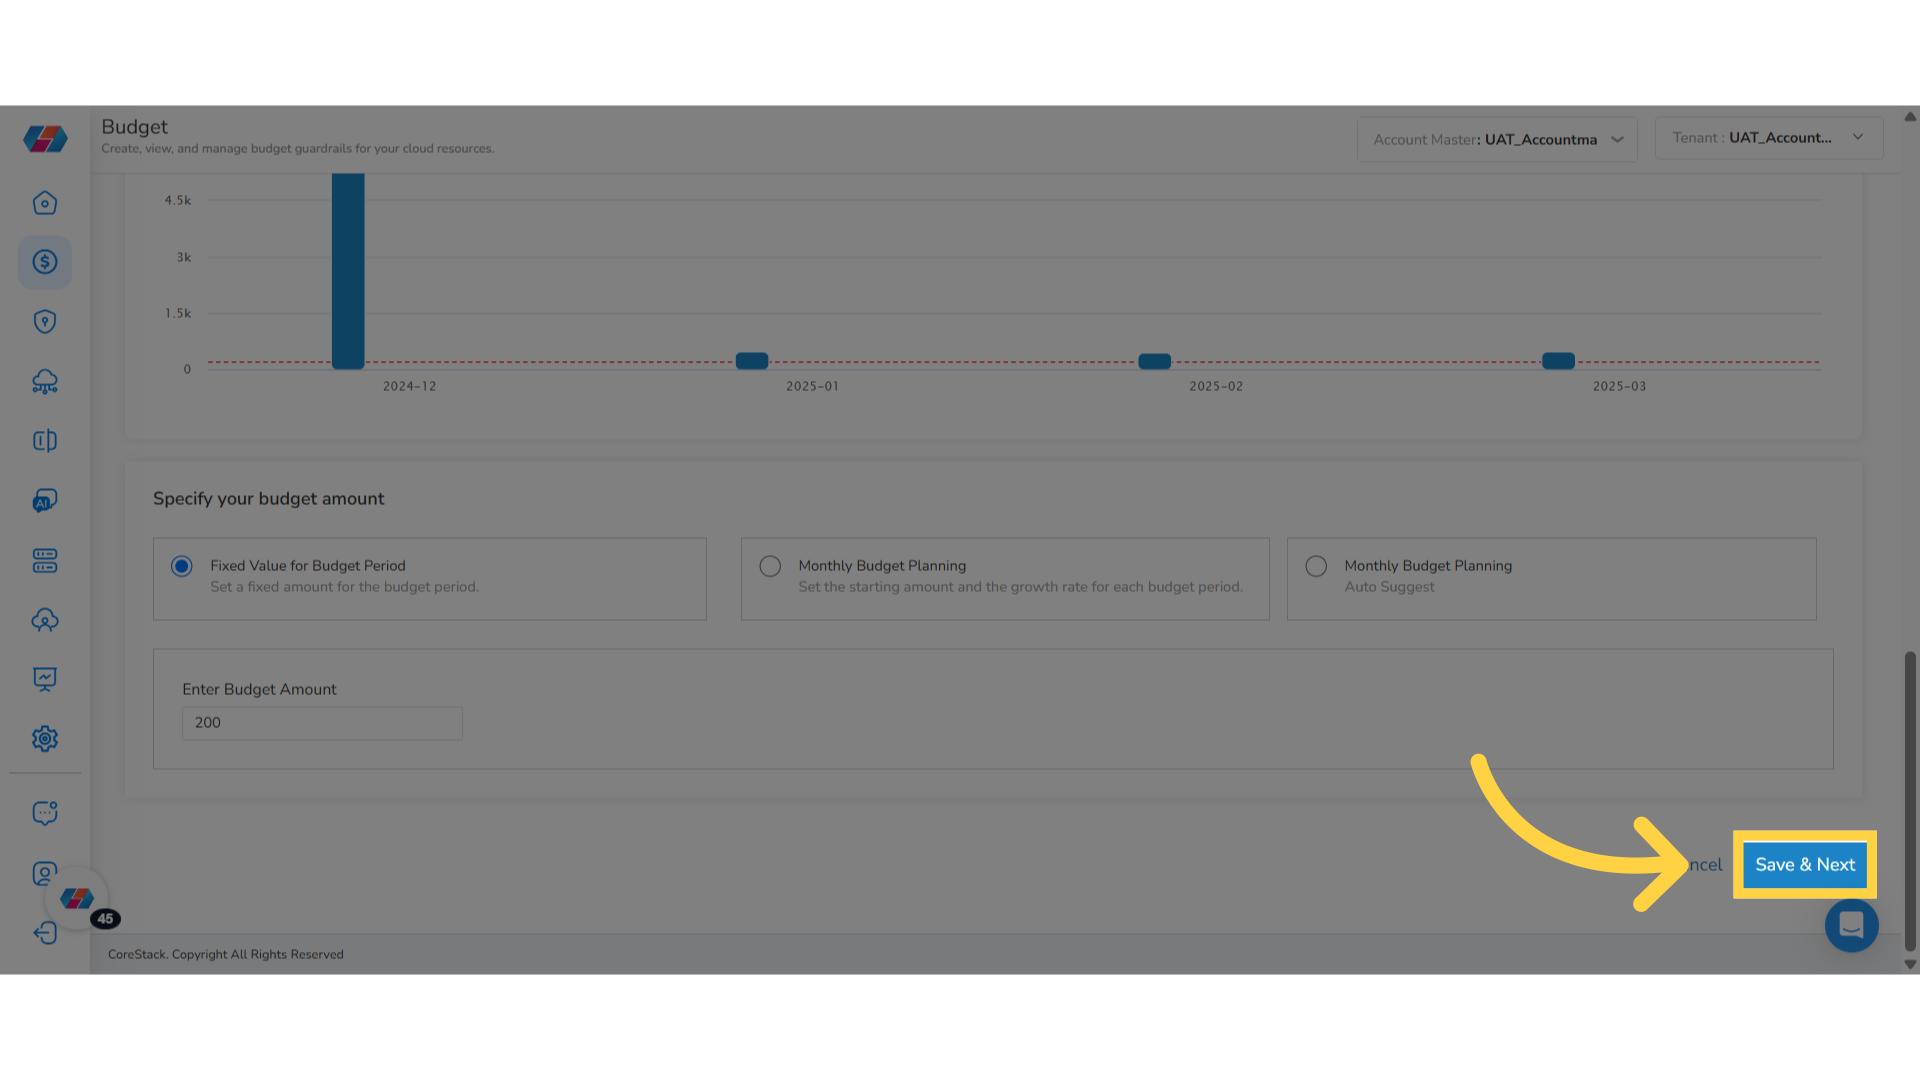
21. Select "Fixed Value for Budget Period"
If you select the option Fixed Value for Budget Period, then in the Enter Budget Amount box, enter the budget amount.
22. Select "Monthly Budget Planning"
If you select the option Monthly Budget Planning, then enter the budget amount in the Enter Budget amount box and in the Monthly budget growth % box, enter the budget growth percentage amount.
23. Select "Monthly Budget Planning" (Auto Suggest Option)
If you select the option Monthly Budget Planning (last option), then month-wise suggested budget amount shows up and the user can modify the amount as per need.
24. Save Details on Page
Click Save & Next to save the details and go to the next page.
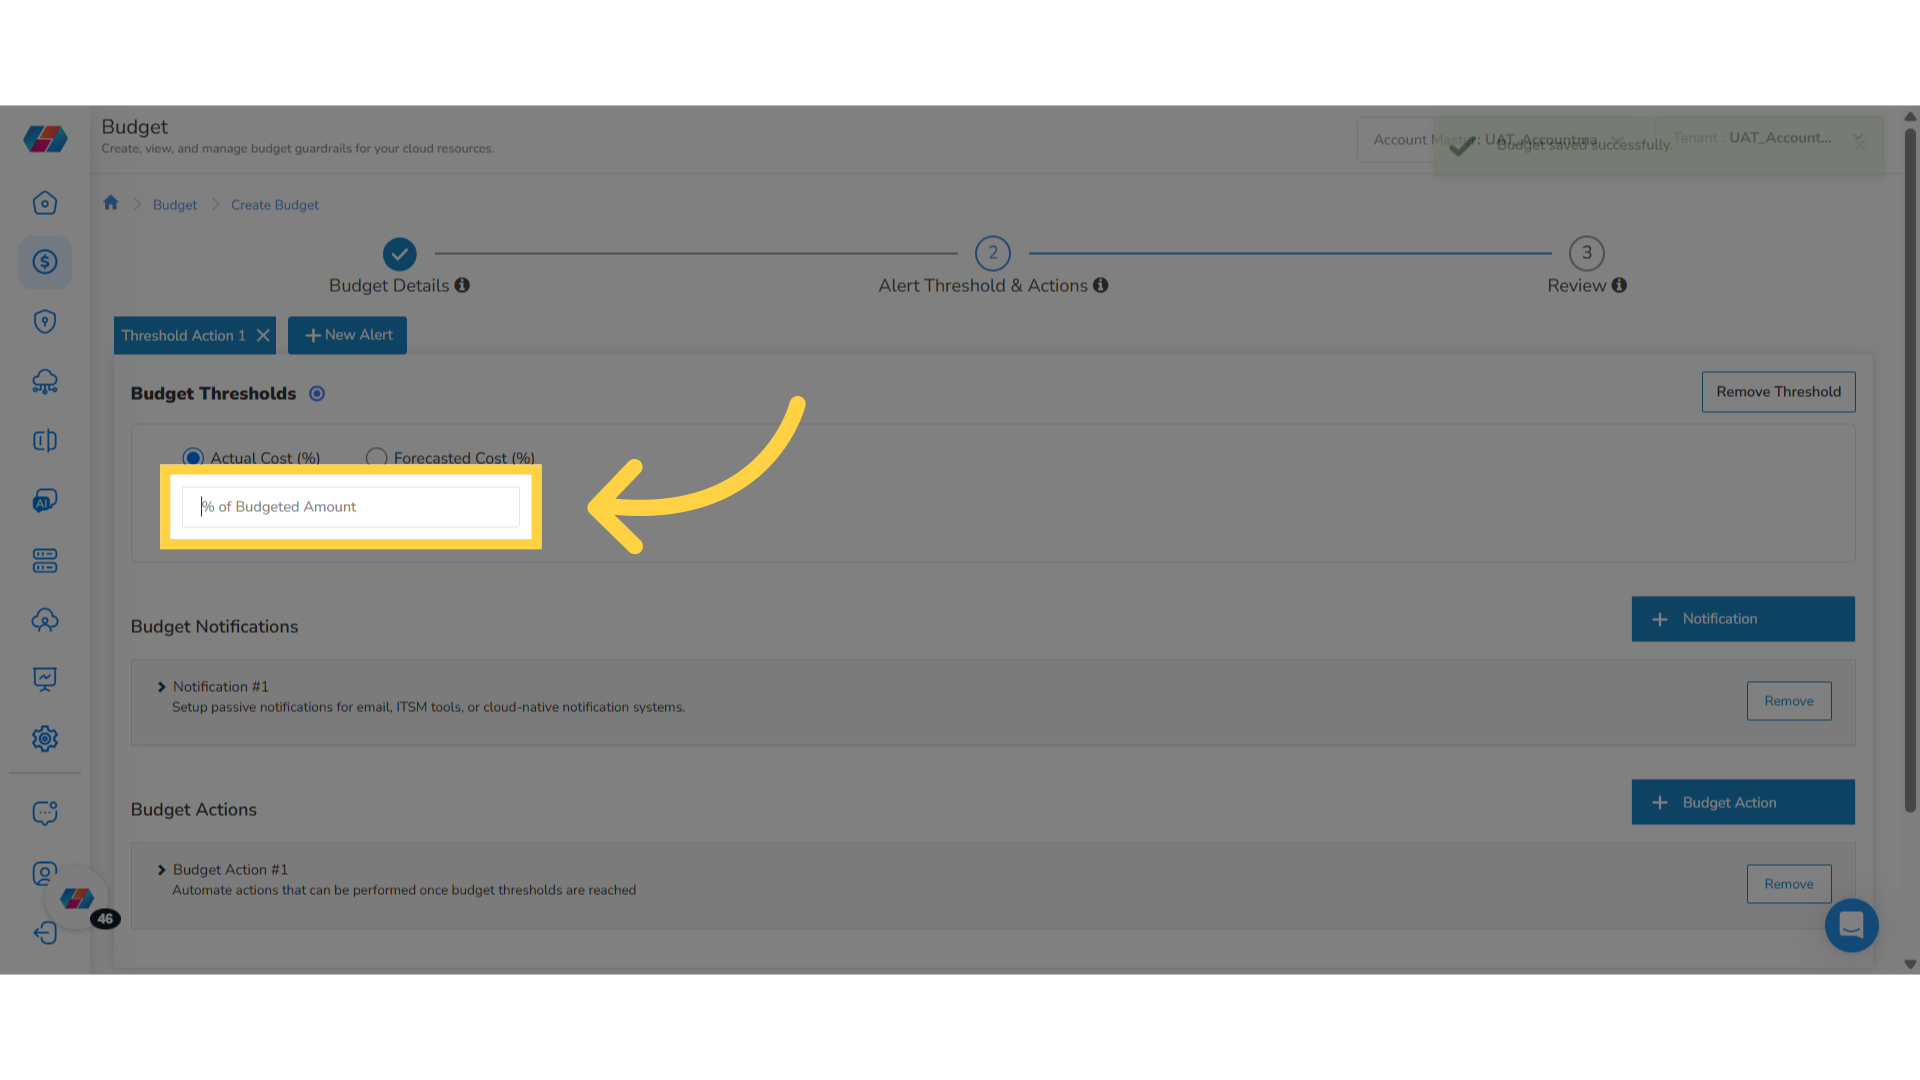
25. Select an Option for Budget Thresholds
On the next page, in the Budget Thresholds field, select either Actual Cost (%) or Forecasted Cost (%). In the % of Budgeted Amount box, enter the budget percentage.
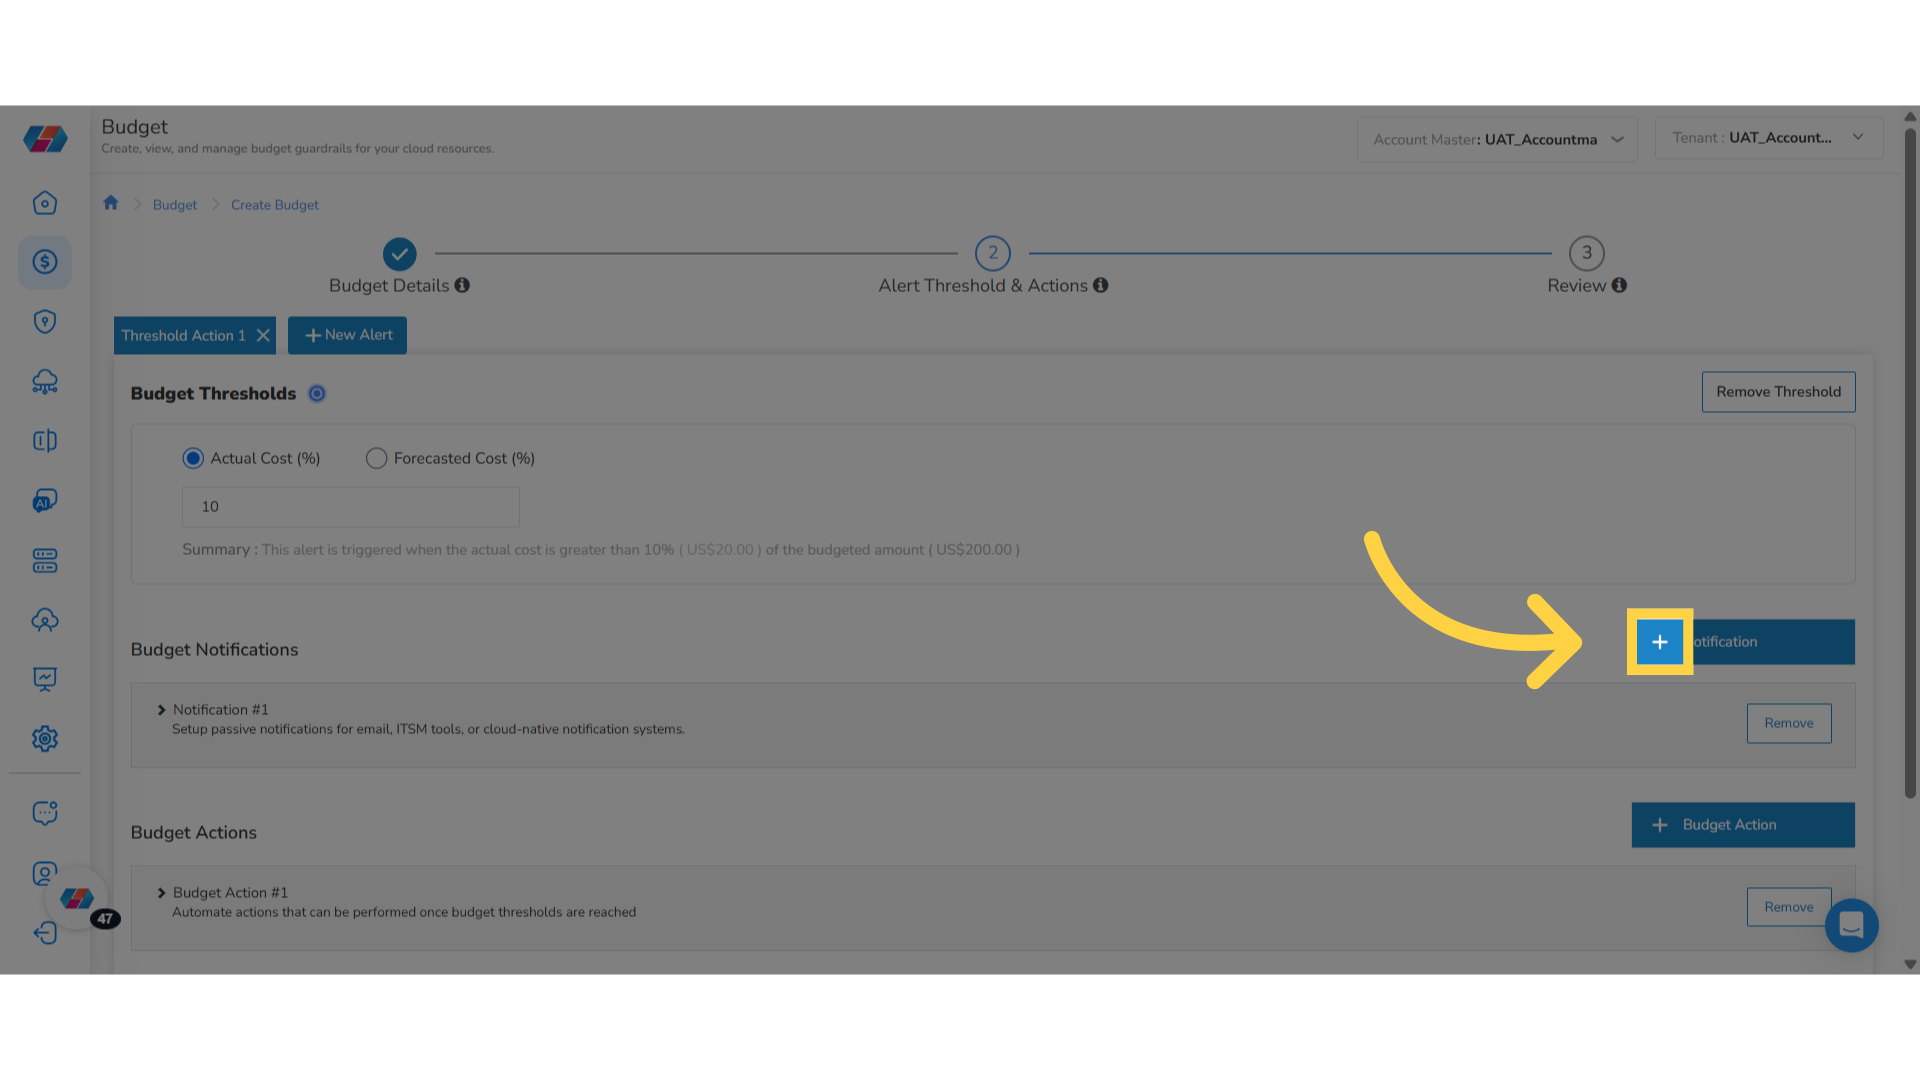
26. Add Budget Notification
To add a new notification for the budget, click +Notification.
27. Create New Notification
To create a new notification, click Create New.
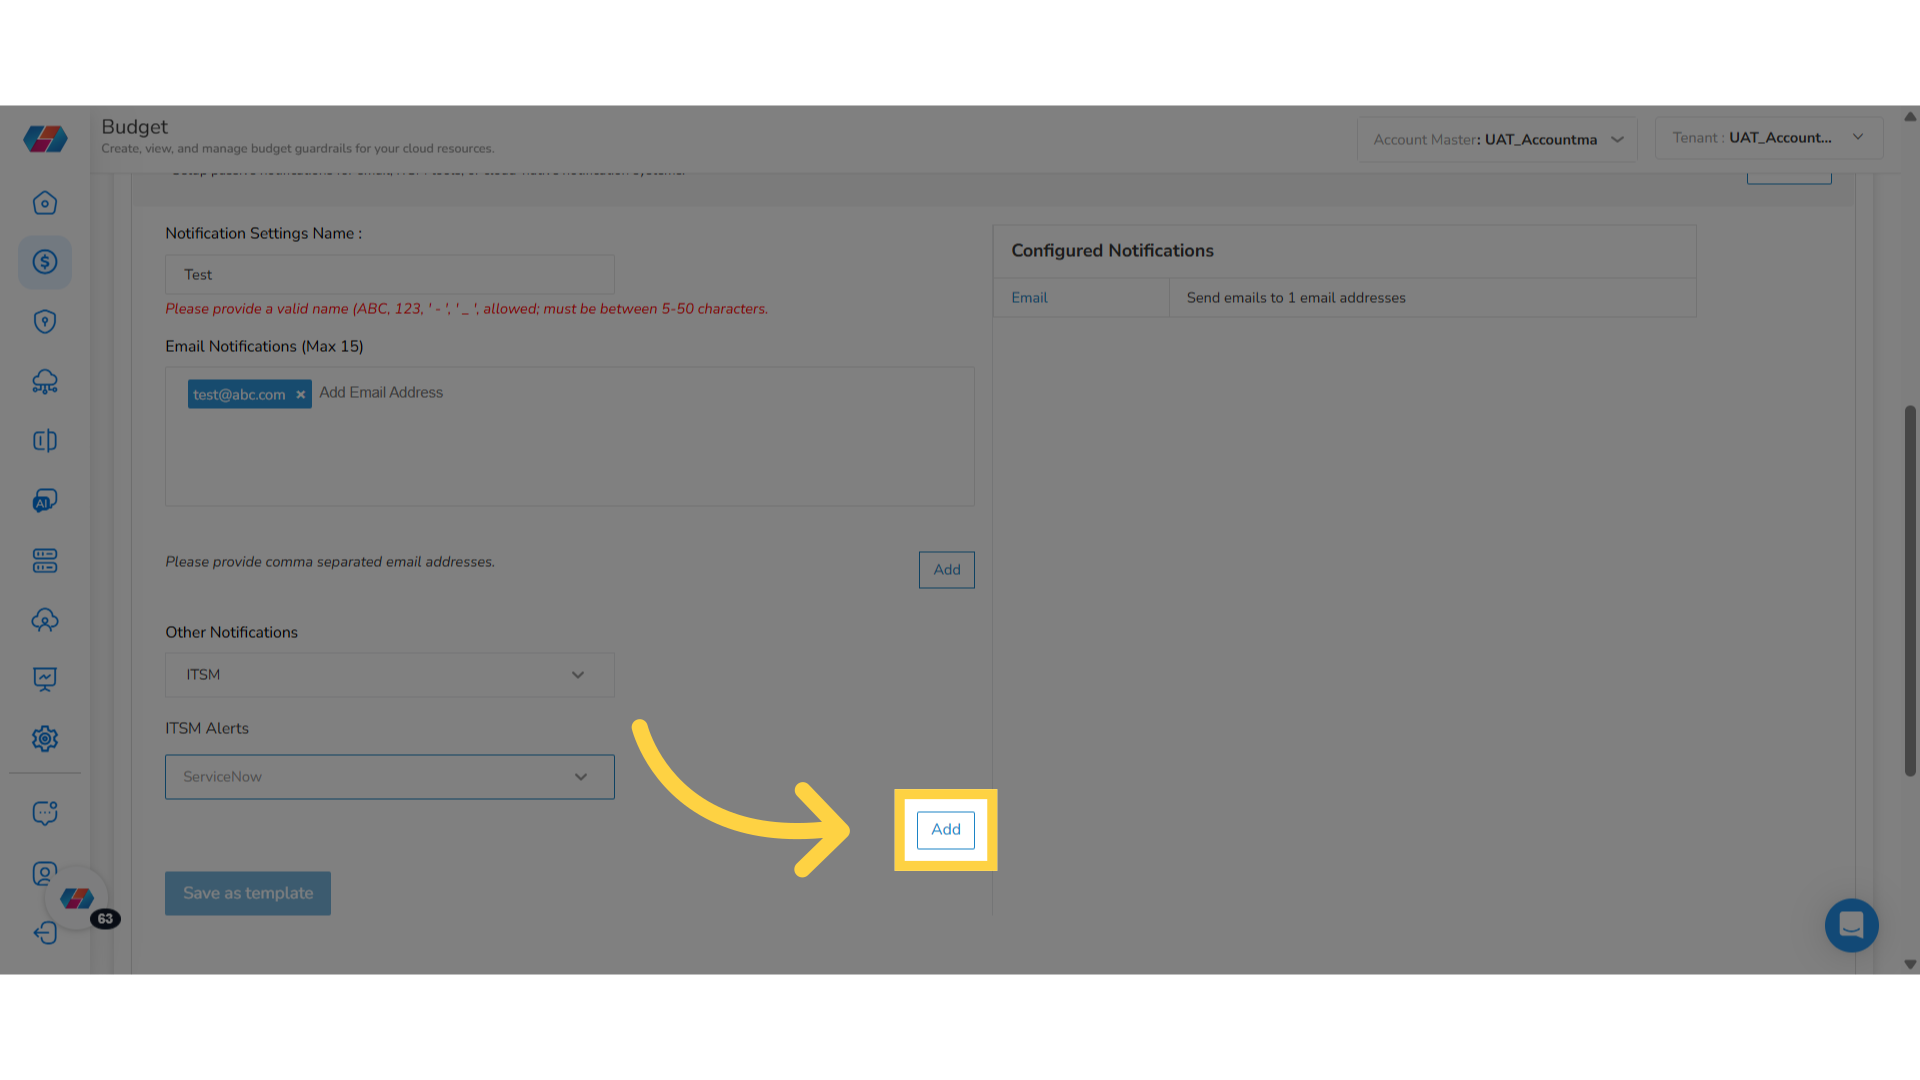
28. Enter "Notification Settings Name"
In the Notification Settings Name box, enter the name of the notification.
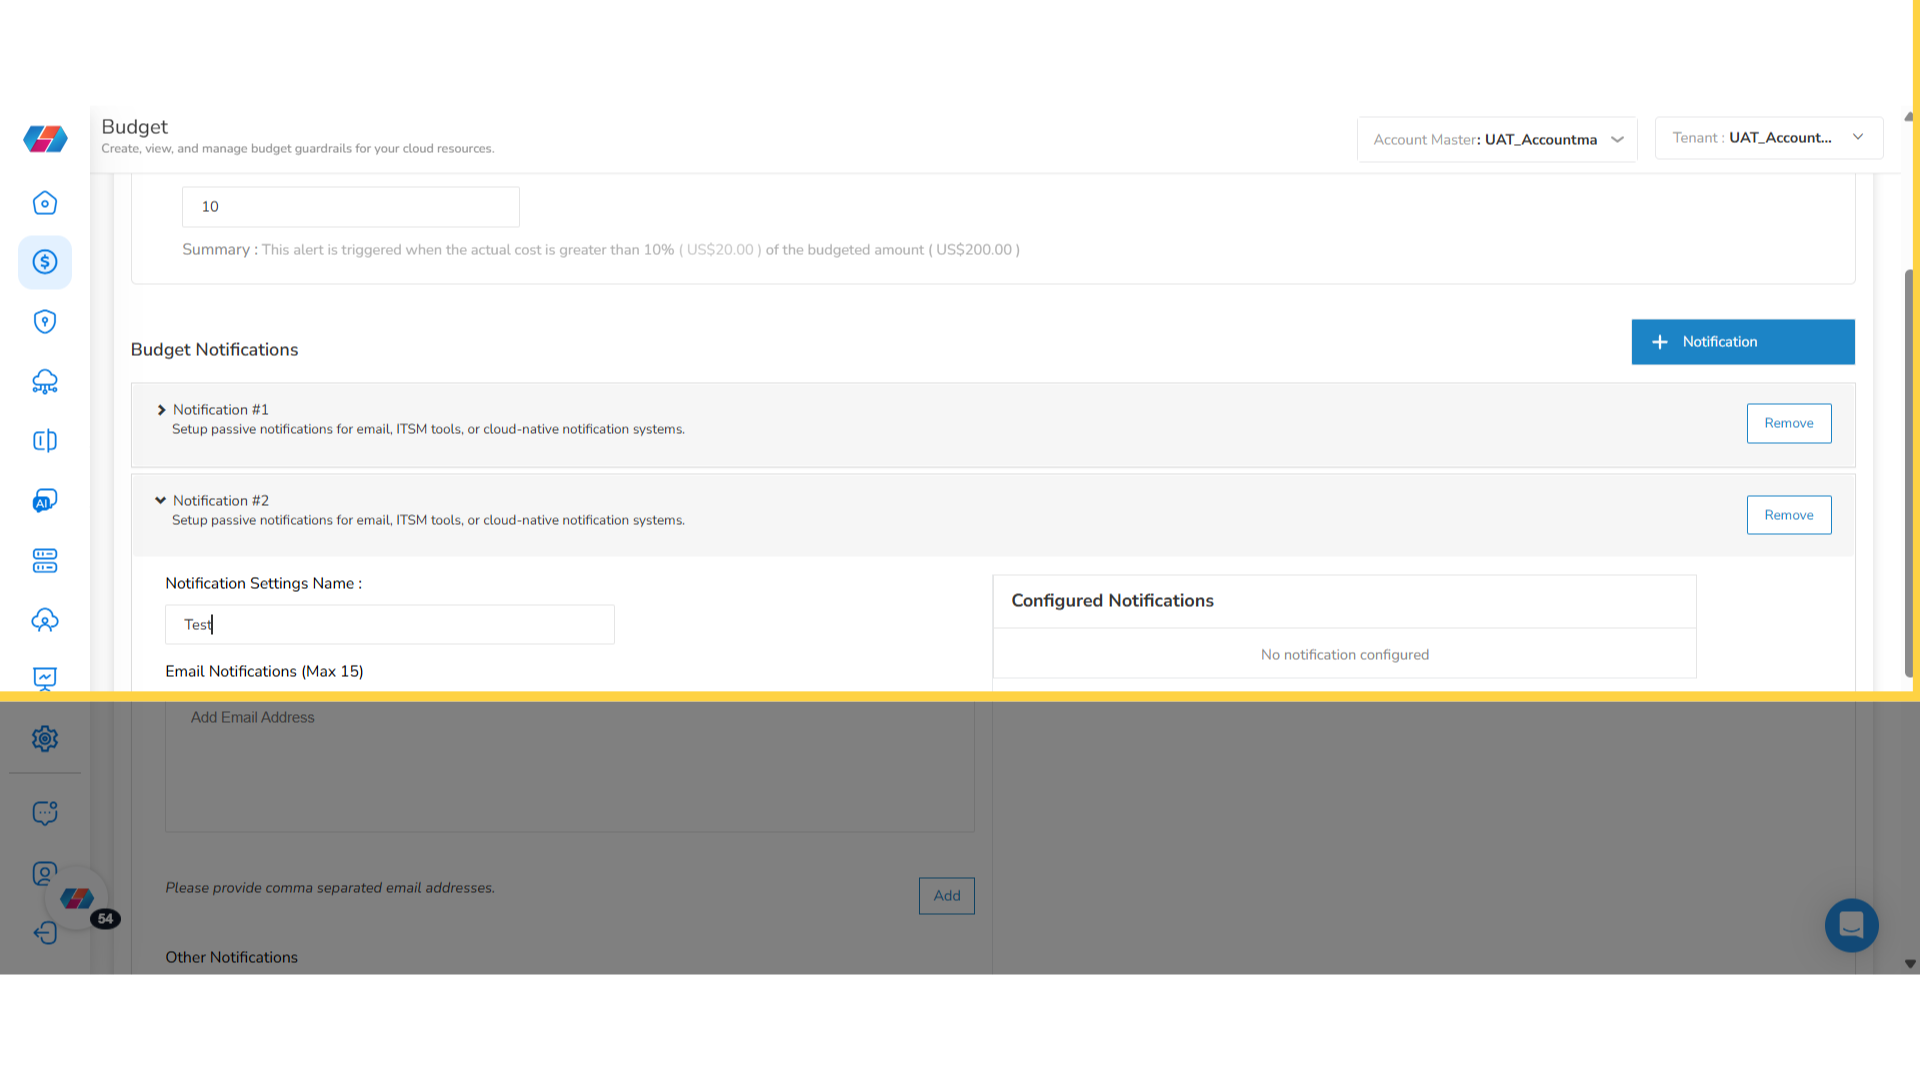
29. Enter Email Addresses
In the Email Notifications (Max 15) text box, enter the email address(es) of recipients.
Note: To remove an email from the notification list, in the Email Notifications (Max 15) text box, click the cross icon (X) to remove an email.
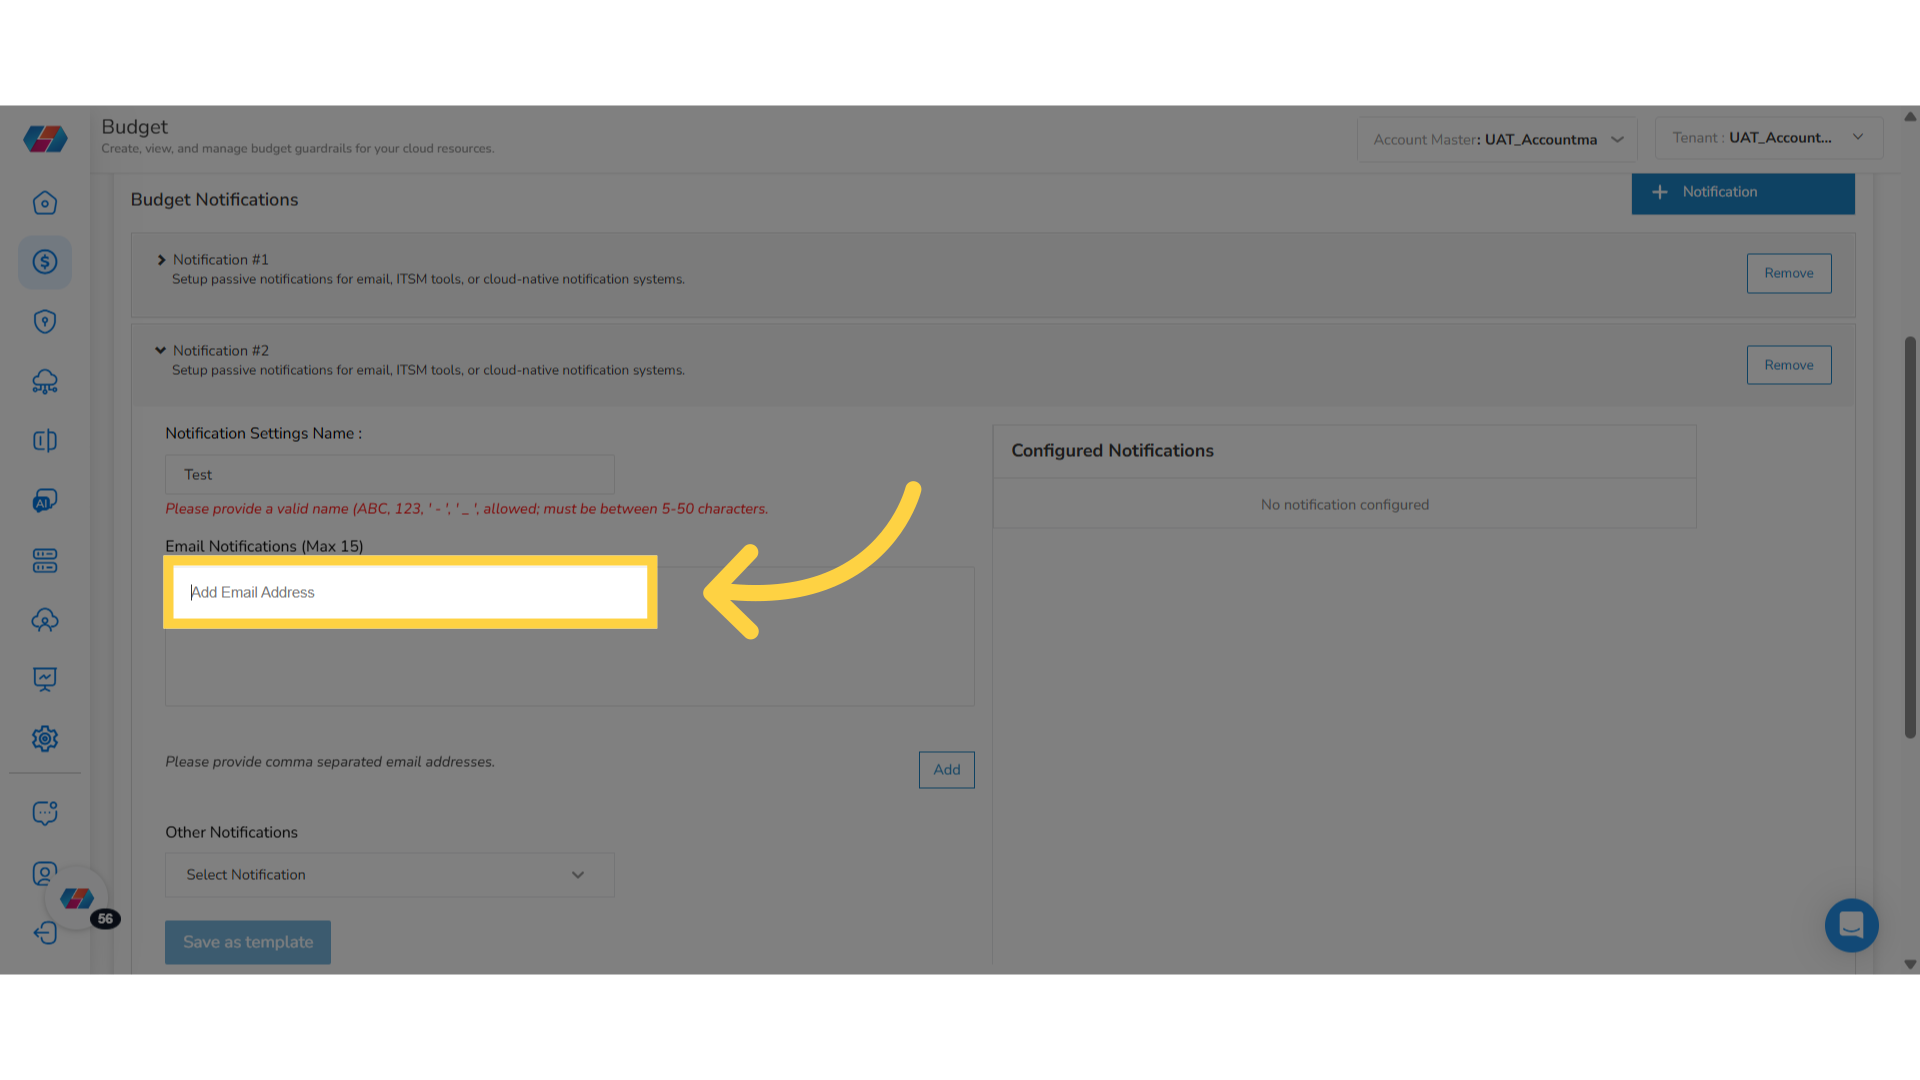
30. Confirm the Addition of Email Addresses
Click Add to confirm the addition of email addresses to your notification list for prompt alerts.
31. Select an Option in "Other Notifications" drop-down
In the Other Notifications drop-down list, select ITSM. The ITSM Alerts drop-down list appears.
32. Select an Option from "ITSM Alerts" drop-down
In the ITSM Alerts drop-down list, select ServiceNow and then click Add.
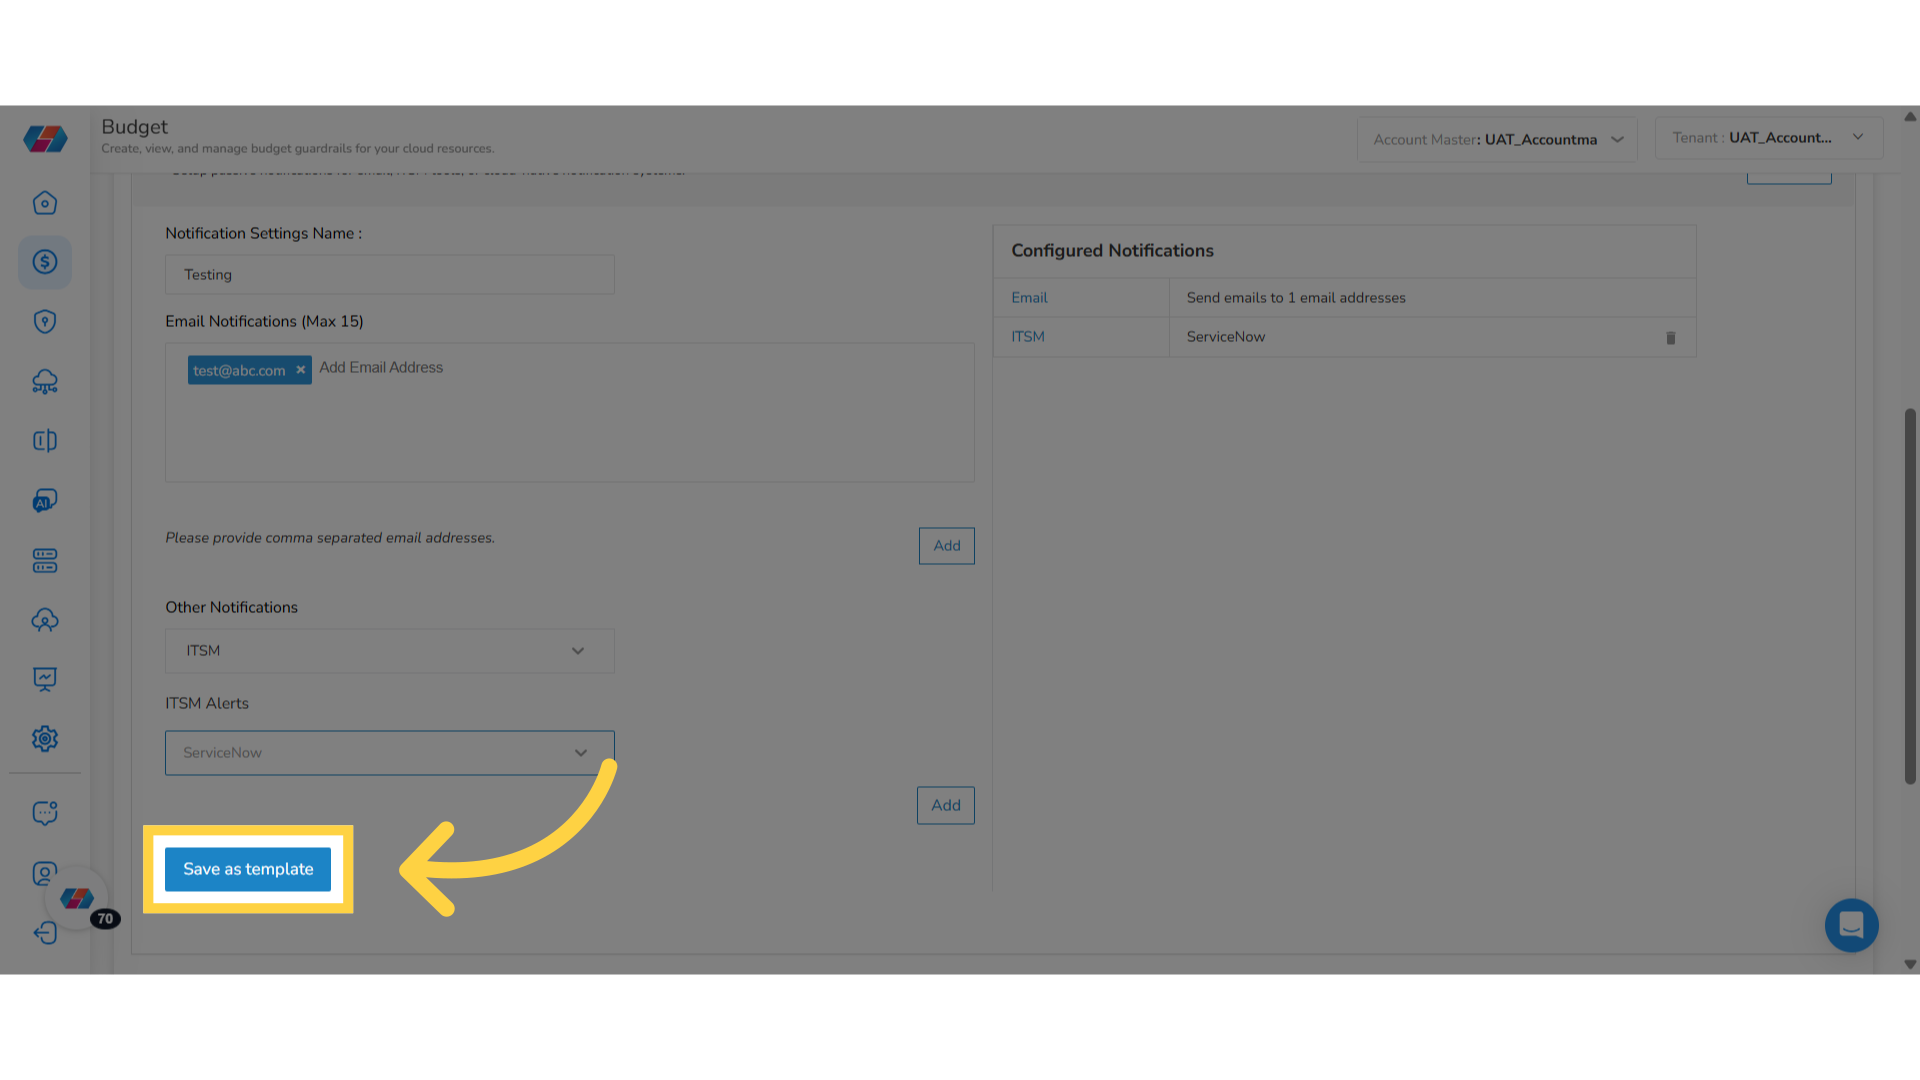
33. Save Notification Details as Template
To save the details added in the notification as template, click Save as template.
Note: To remove an ITSM notification, in the Configured Notifications section, click the delete icon.
34. Add Multiple Notifications
Users can set up multiple notifications. To remove a notification, click Remove corresponding to the notification number. You will be able to see messages on the screen upon completion of every action. For example, when a notification is created, you will be able to see a message stating the same.
35. Add New Budget Action
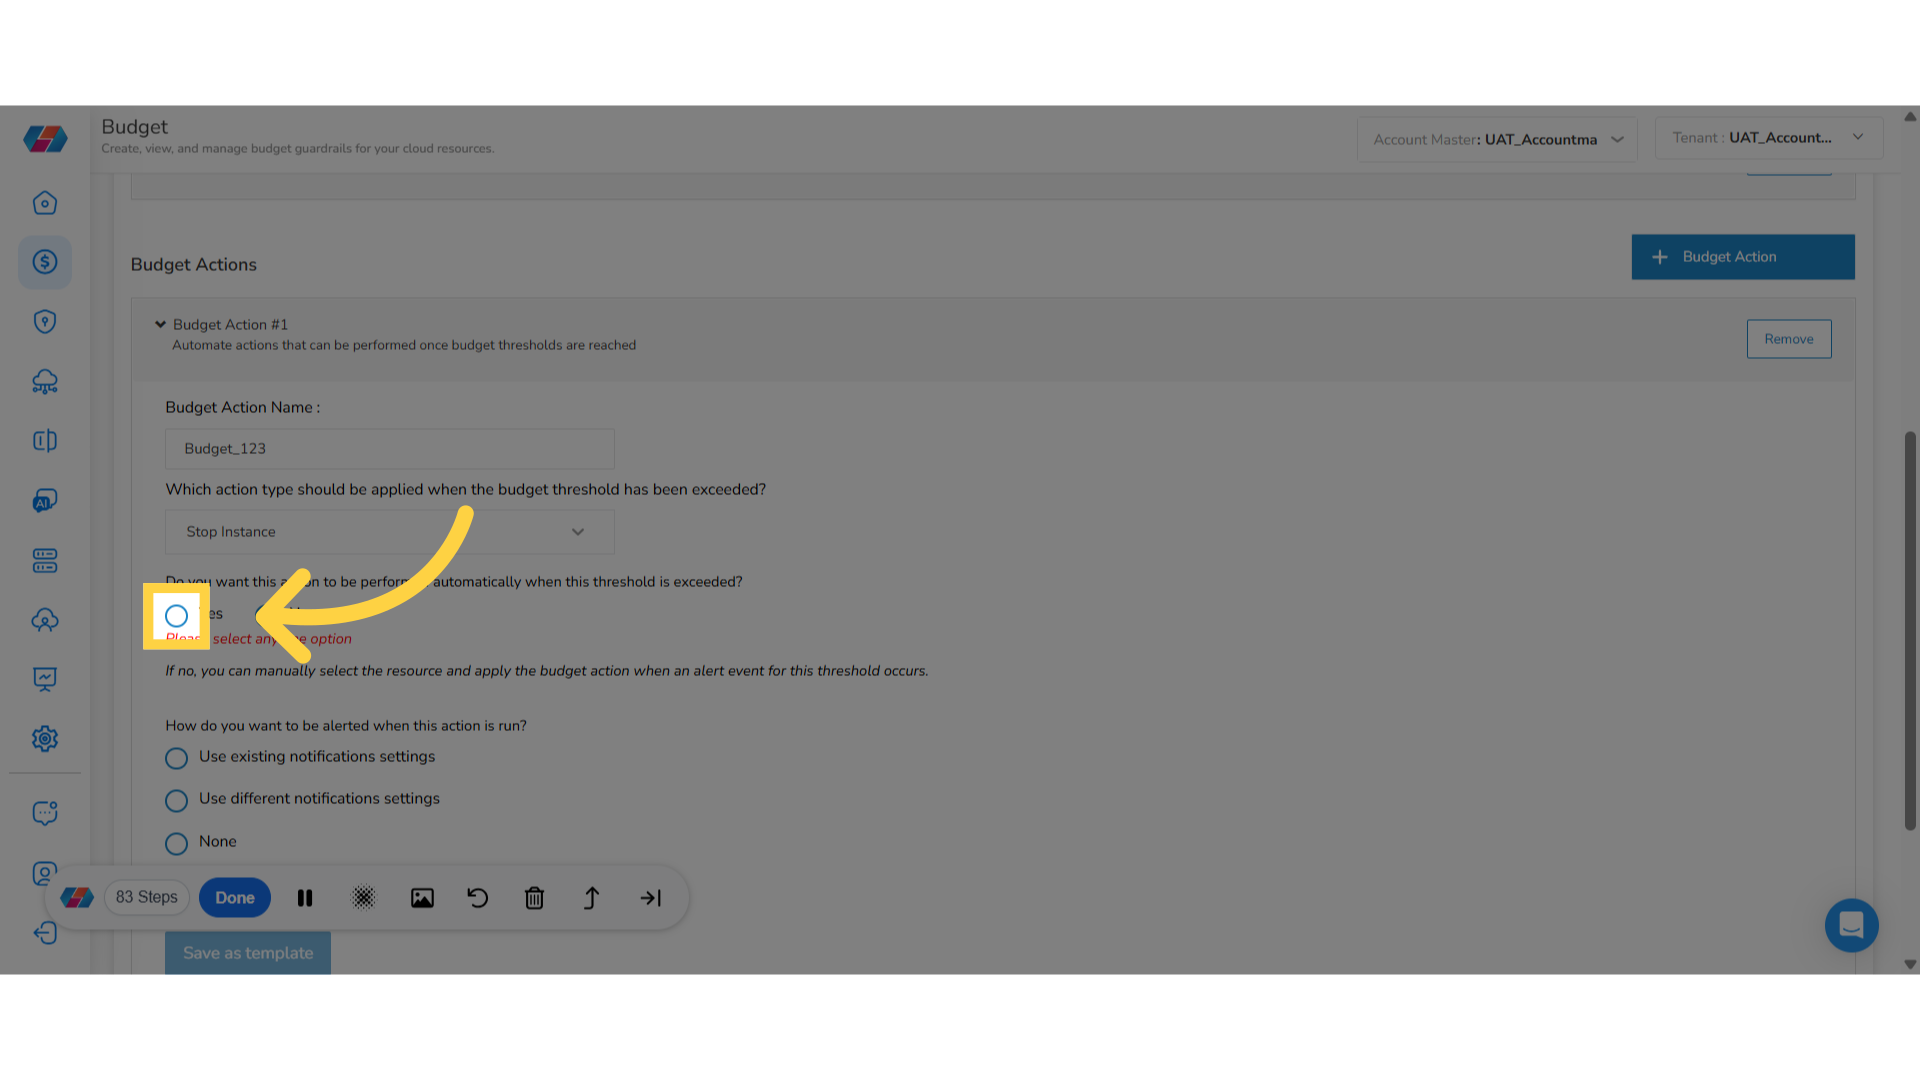
To create a budget action, click +Budget Action > Create New . You can now see the Budget Actions section where relevant details need to be filled. In the Budget Action Name box, enter the name of the budget action.
36. Select Action Type
In the "Which action type should be applied when the budget threshold has been exceeded?" drop-down list, choose an action that aligns with your budget management strategy. The available actions are Stop Instance and Terminate Instance.
37. Confirm if the Action Should be Performed Automatically
In the "Do you want this action to be performed automatically when this threshold is exceeded?" field, select either Yes or No. If you select No, then you can manually select the resource and apply the budget action when an alert event for this threshold occurs.
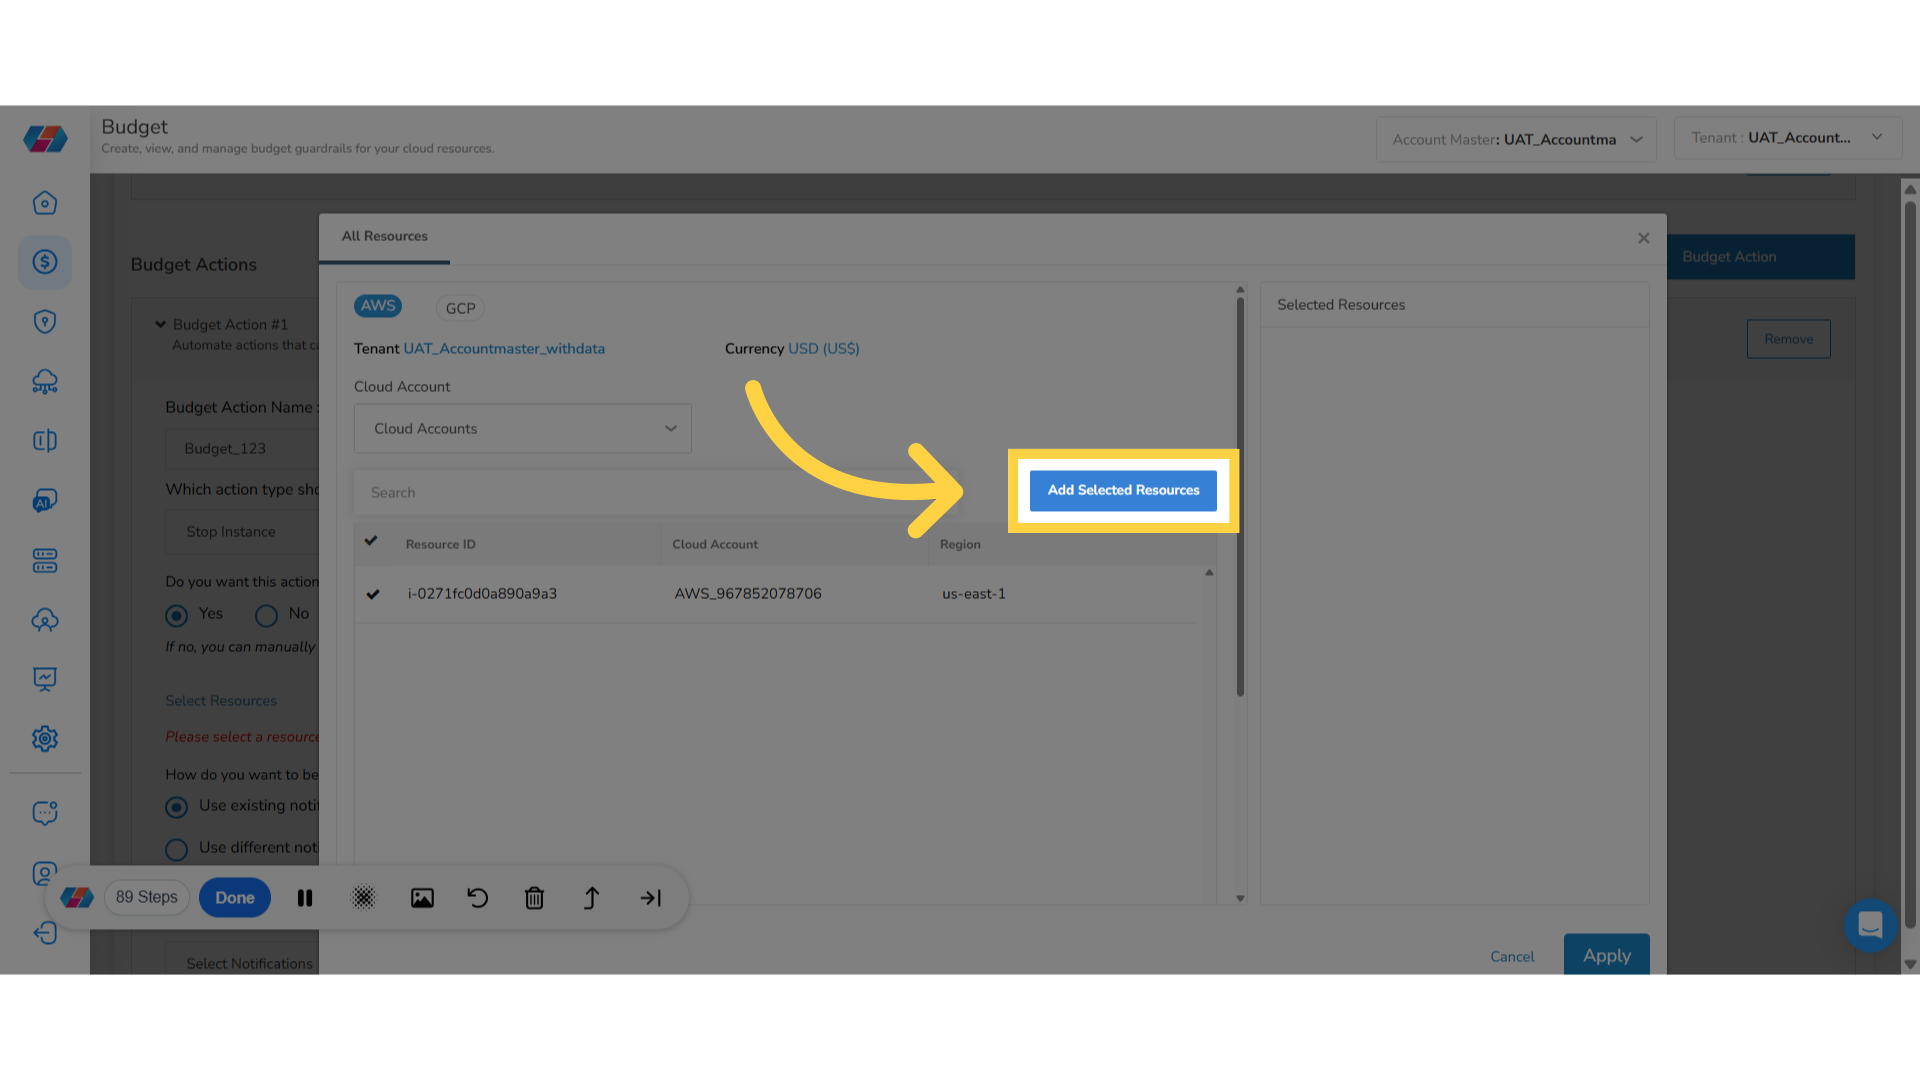
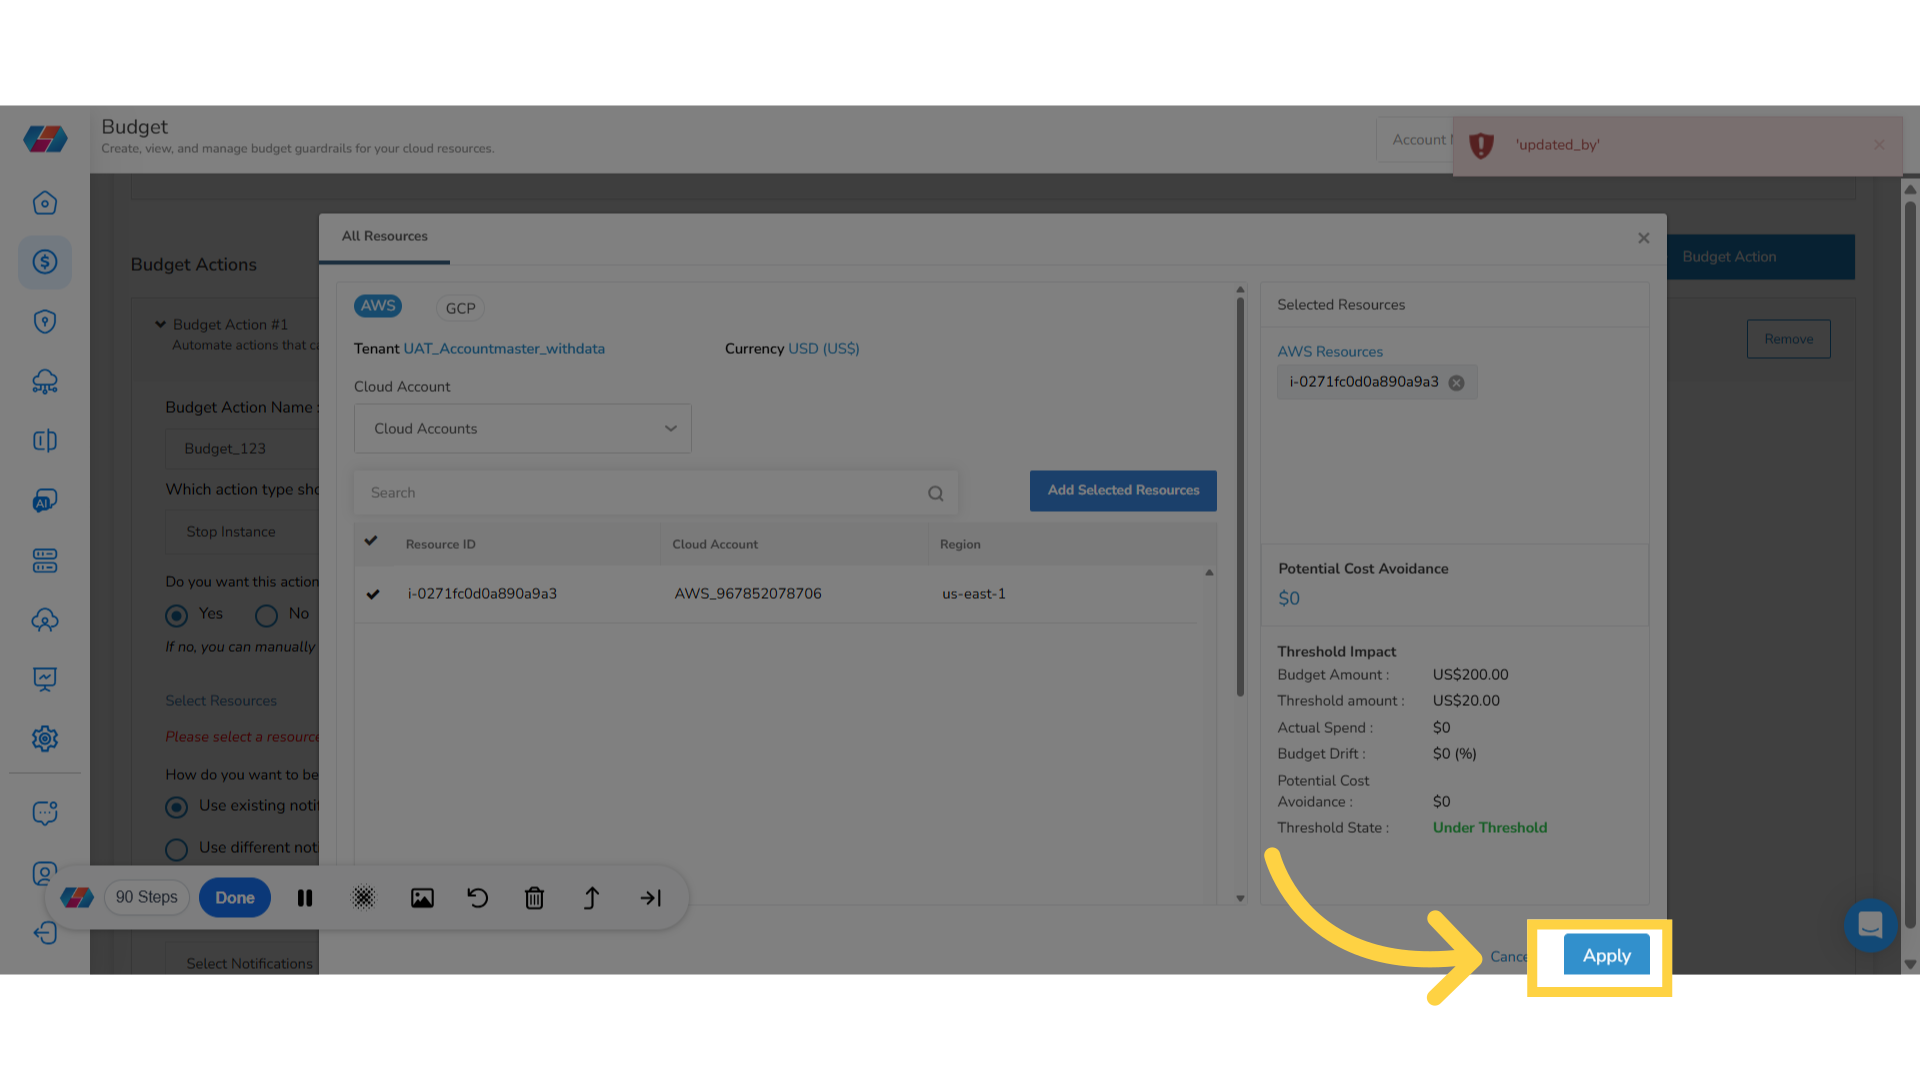
38. Add Selected Resources
If you select Yes, then you need to add resources.
To add resources:
- Click Select Resources to add resources.
- First, select the cloud provider.
- Based on the selected cloud provider, you will get the Cloud Account drop-down list where you can select all applicable options and then click Apply.
- Click on the relevant tick marks to select the corresponding resource IDs.
- After this, click Add Selected Resources. You can view the selected resources on the right panel.
39. Apply the Action
On the right side of the screen, you can view details related to Potential Cost Avoidance for the selected resources. Finally, click Apply to confirm the action.
40. Select Notification Type for Alert
In the "How do you want to be alerted when this action is run?" field, select one of the following options:
- Use existing notifications settings
- Use different notifications settings
- None
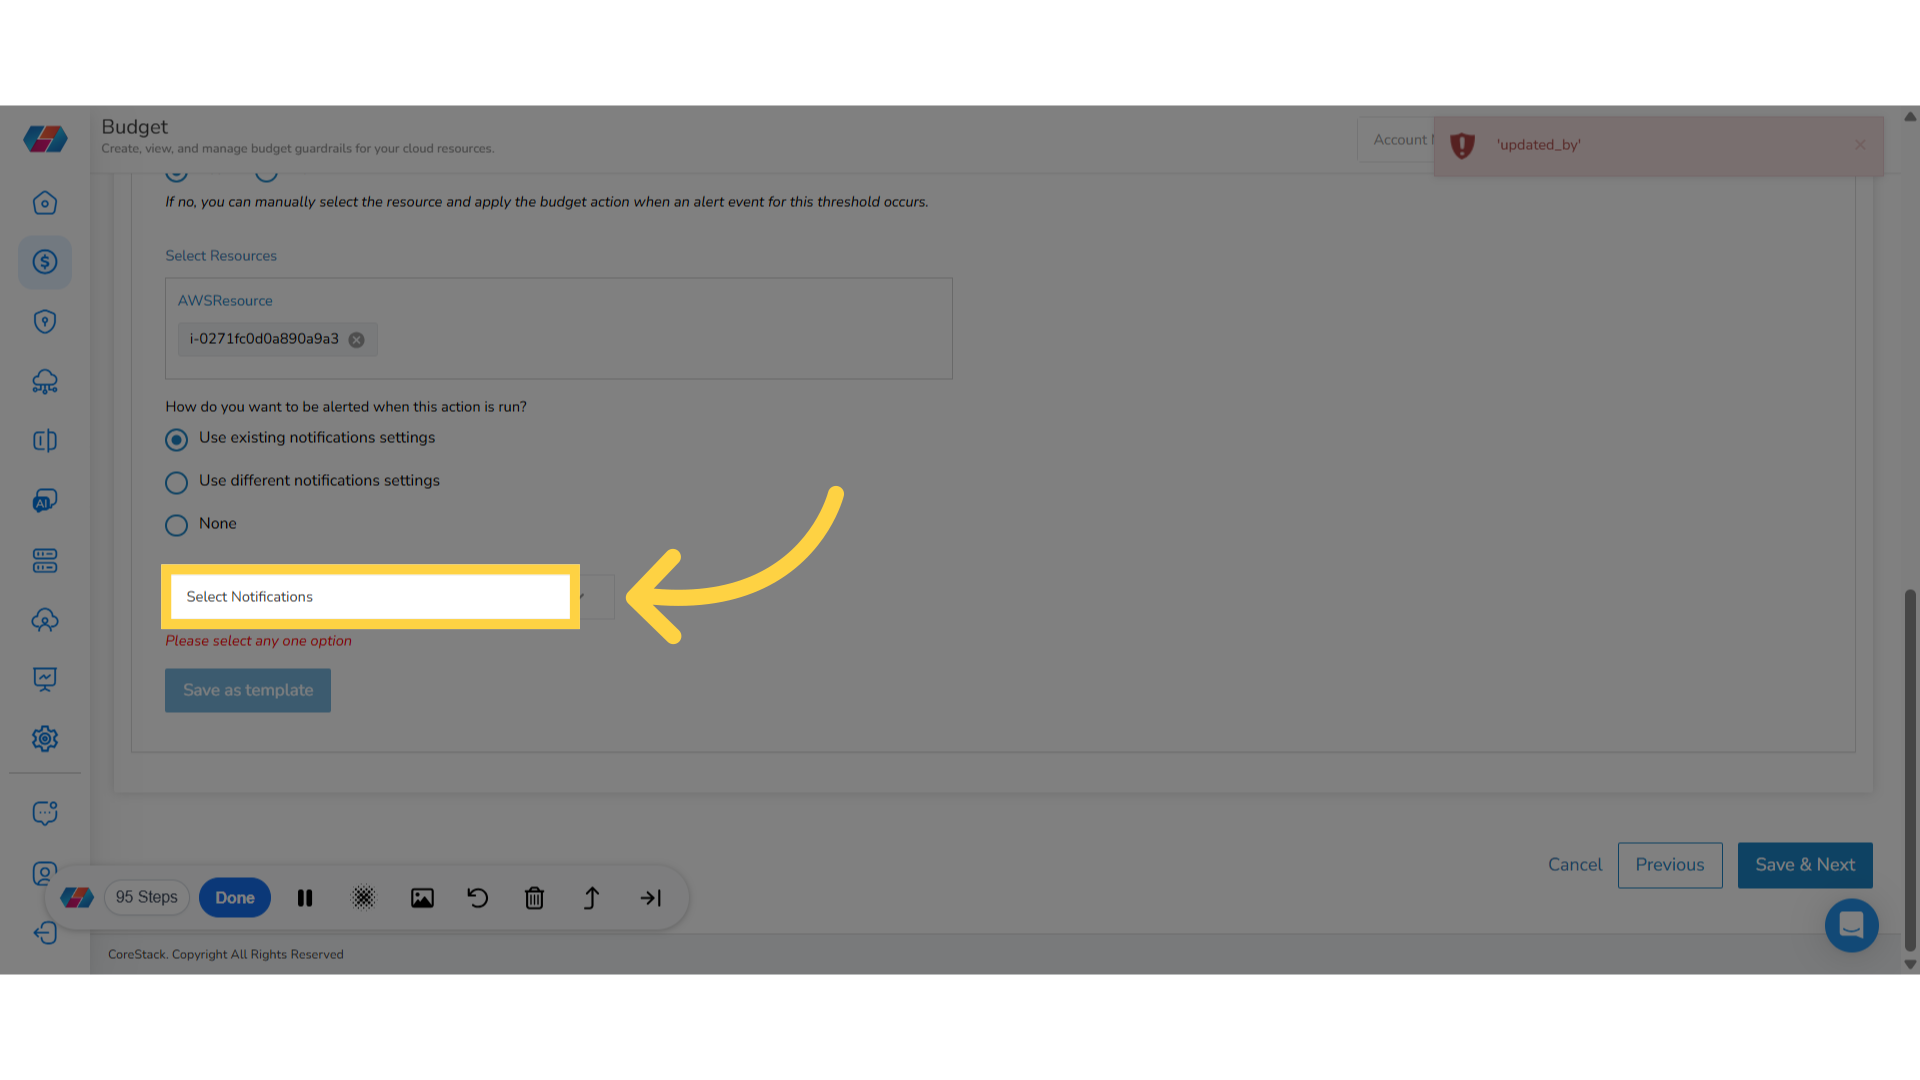
41. Select an Alert Option
-
If you select the option Use existing notifications settings, then a drop-down list appears below. In this drop-down list select a notification template as per which alerts will be sent.
-
If you select, “Use different notifications settings”, then fill the following details:
-
In the Email Notifications (Max 15) text box, enter the email address(es) of recipients and then click Add.
-
In the Other Notifications drop-down list, select ITSM. The ITSM Alerts drop-down list appears.
-
In the ITSM Alerts drop-down list, select ServiceNow and then click Add.
-
To save the details added in the notification as template, click Save as template.
Note:
-
To remove an email from the notification list, in the Email Notifications (Max 15) text box, click the cross icon (X) to remove an email.
-
To remove an ITSM notification, in the Configured Notifications section, click the delete icon.
-
-
If you select None, then no action is needed. You can add multiple budget actions.
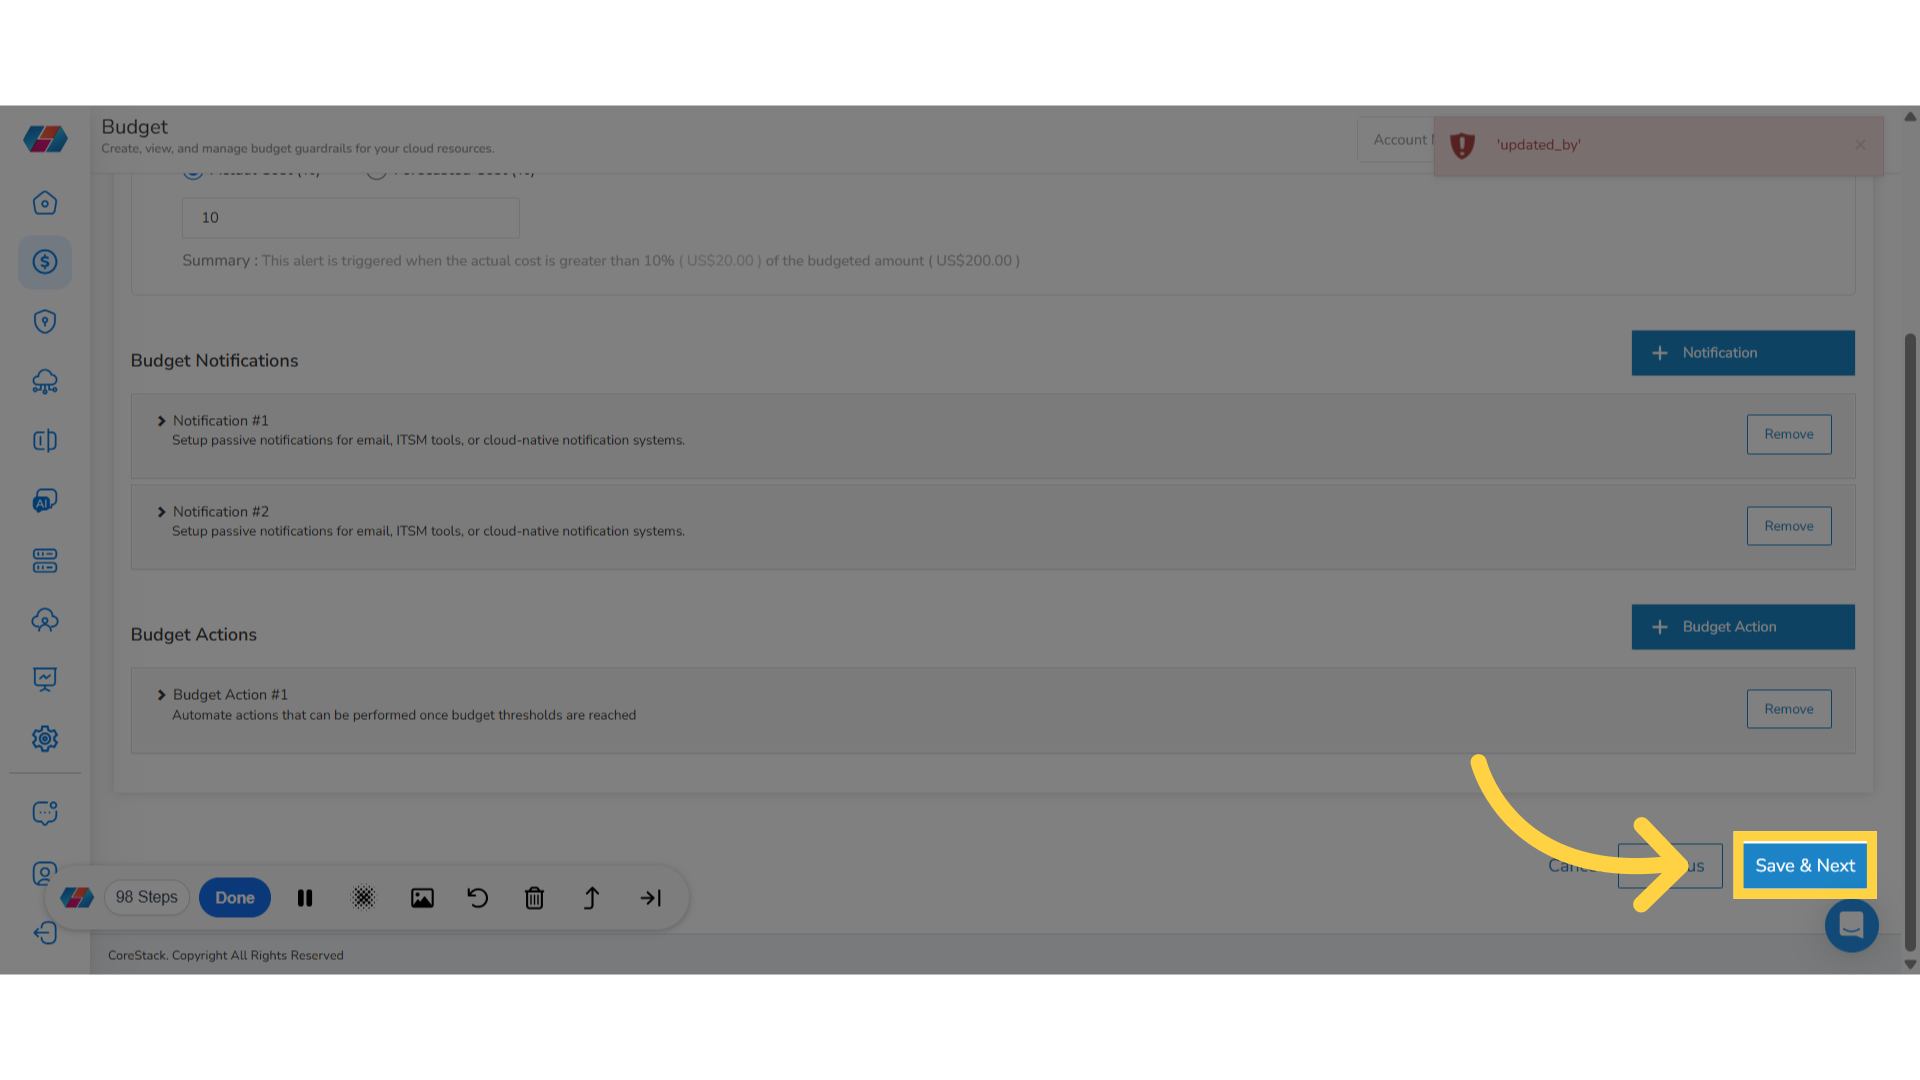
42. Save Details on the Page
Click Save & Next to save the details you have added and go to the next page.
43. Review Details and Submit Budget Details
The last step in budget creation is to review a summary of the budget configurations before saving and creating your budget rule. You must review all the details in Basic Budget Details and Alerts Thresholds & Actions sections before proceeding ahead.
Click Submit Budget to submit your budget. This completes the budget creation process.

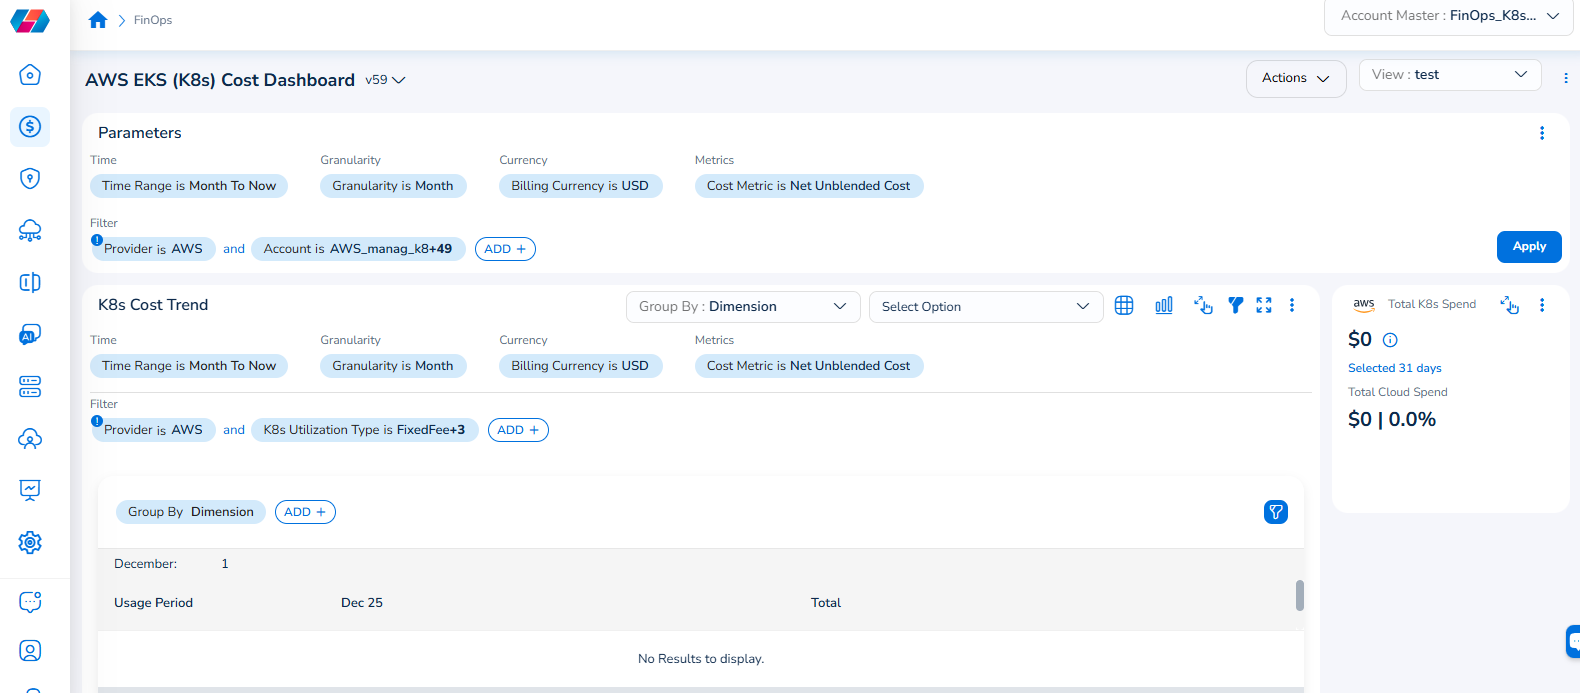
Note that the Cloud Account filter has been renamed to Account, and the Cloud Provider filter has been renamed to Provider.
For example, if you see the dashboard shown in the screenshot below, the Parameters > Filter section shows the Provider filter for which the value selected is AWS.
To add the Account filter, users can click ADD+ and select Account. In the drop-down list that appears, users can select all applicable values, and click Ok. Details will be displayed in widgets as per the selected filter(s).
In every widget that is available within a dashboard, users can click the Filter icon that appears on the top-right side of the widget and view the pre-defined filters. The Provider filter appears as a pre-defined filter. Users can use the ADD+ option to add custom filters and they have the option to add the Account filter from here.
Updated 5 months ago