

JIRA Service Management Tool Account Onboarding
Introduction
Follow the instructions explained in this user guide to efficiently set up a new Jira account using the platform.
The integration of the platform with Jira Service Management streamlines your IT operations, providing a cohesive experience for managing incidents and changes across platforms.
Key Features:
-
Jira Account Onboarding: Seamlessly connect your Jira Service Management accounts to the platform, enabling integrated incident and change management workflows.
-
Incident Management Enhancements:
-
Supported areas:
- FinOps: Budget Alerts
- CloudOps: Operational Alerts
- SecOps: Policy Violations and Security Alerts
-
Attribute Mapping: Configure mappings between CoreStack and Jira fields to ensure accurate data synchronization.
-
Customizable Incident Descriptions: Tailor incident details by selecting relevant fields.
-
-
Change Management Integration:
- Cost Recommendation Approvals: Implement a structured approval process for cost optimization recommendations.
- Attribute Mapping for Change Requests: Define how CoreStack's cost recommendations translate into Jira change requests, facilitating automated execution upon approval.
Tool Account Onboarding
Users must perform the following steps to onboard the JIRA Service Management Tool account:
1. Login to the Platform
You should see a landing page based on your preferences.
2. Navigate to "Governance" in the Menu
On the left navigation pane, click Governance.
3. Select "Account Governance" in the Menu
Click Account Governance.
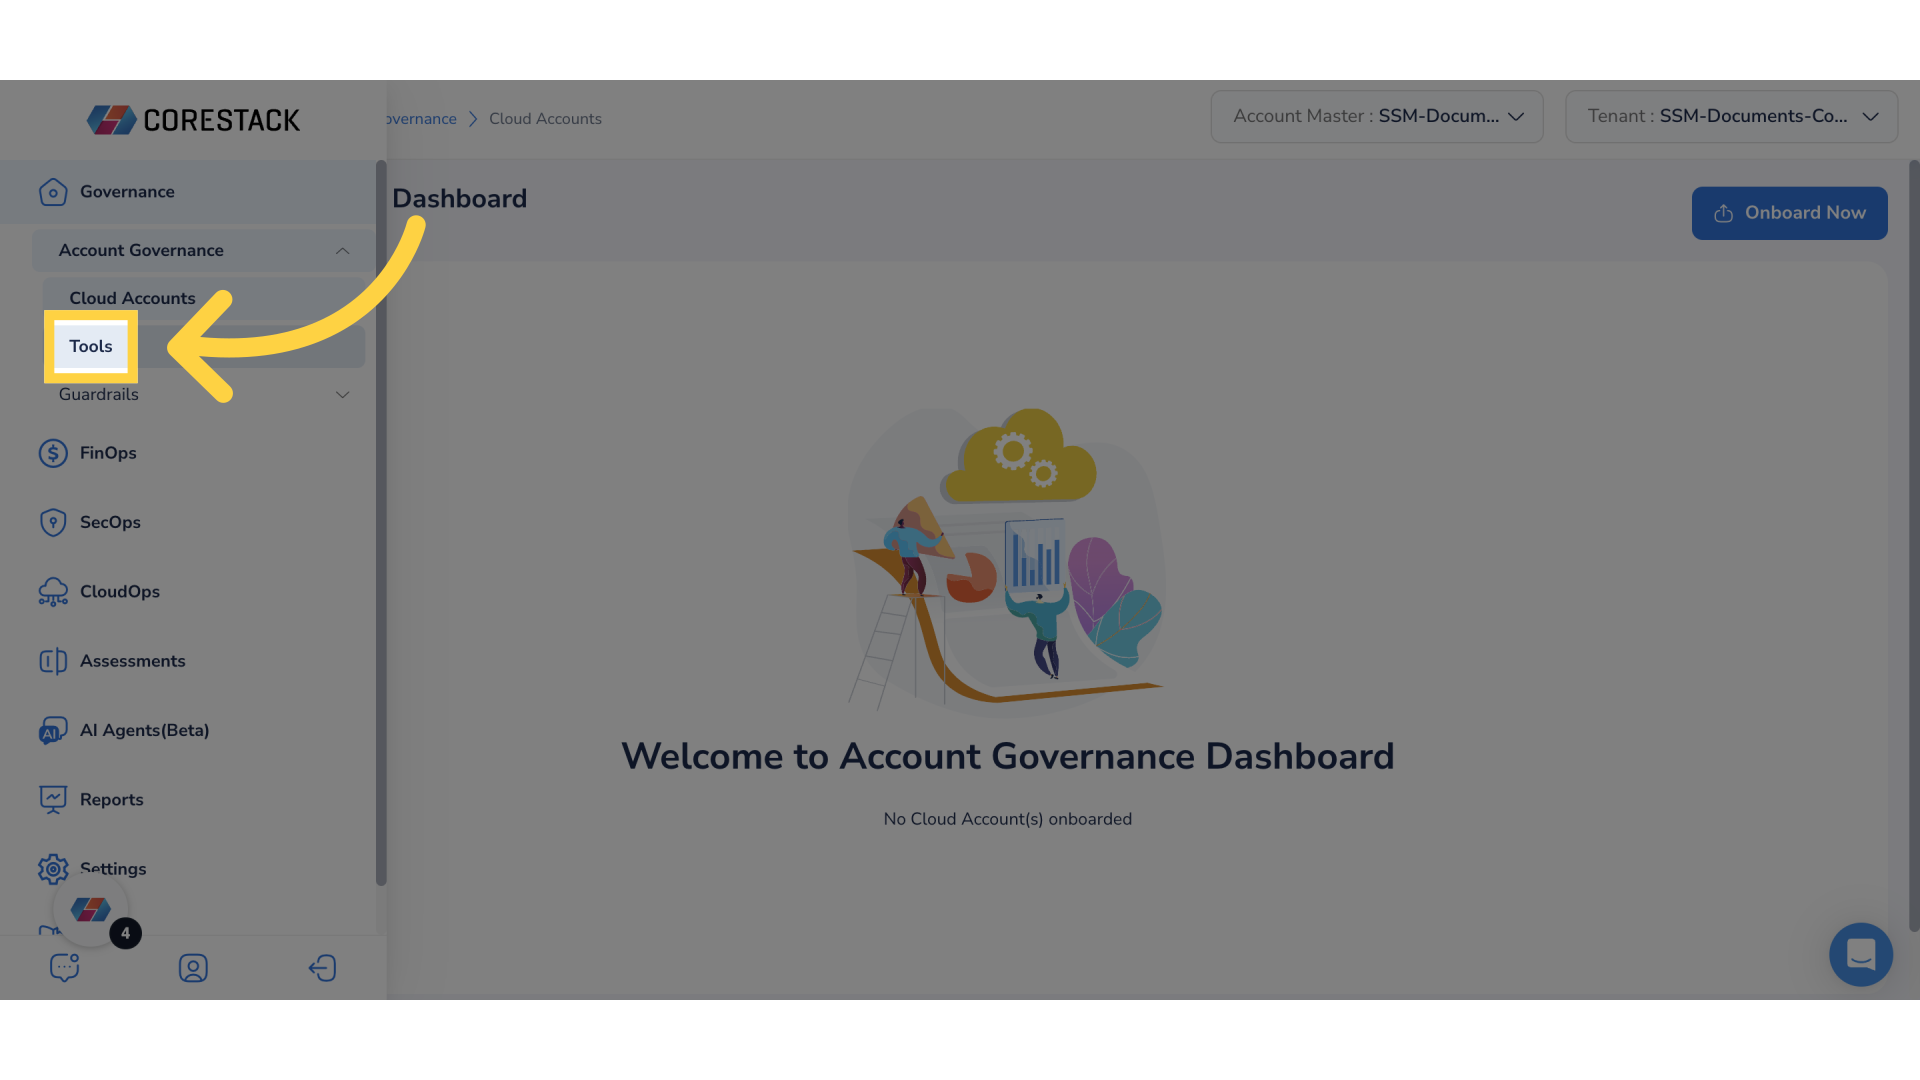
4. Select "Tools" in the Menu
Click Tools.
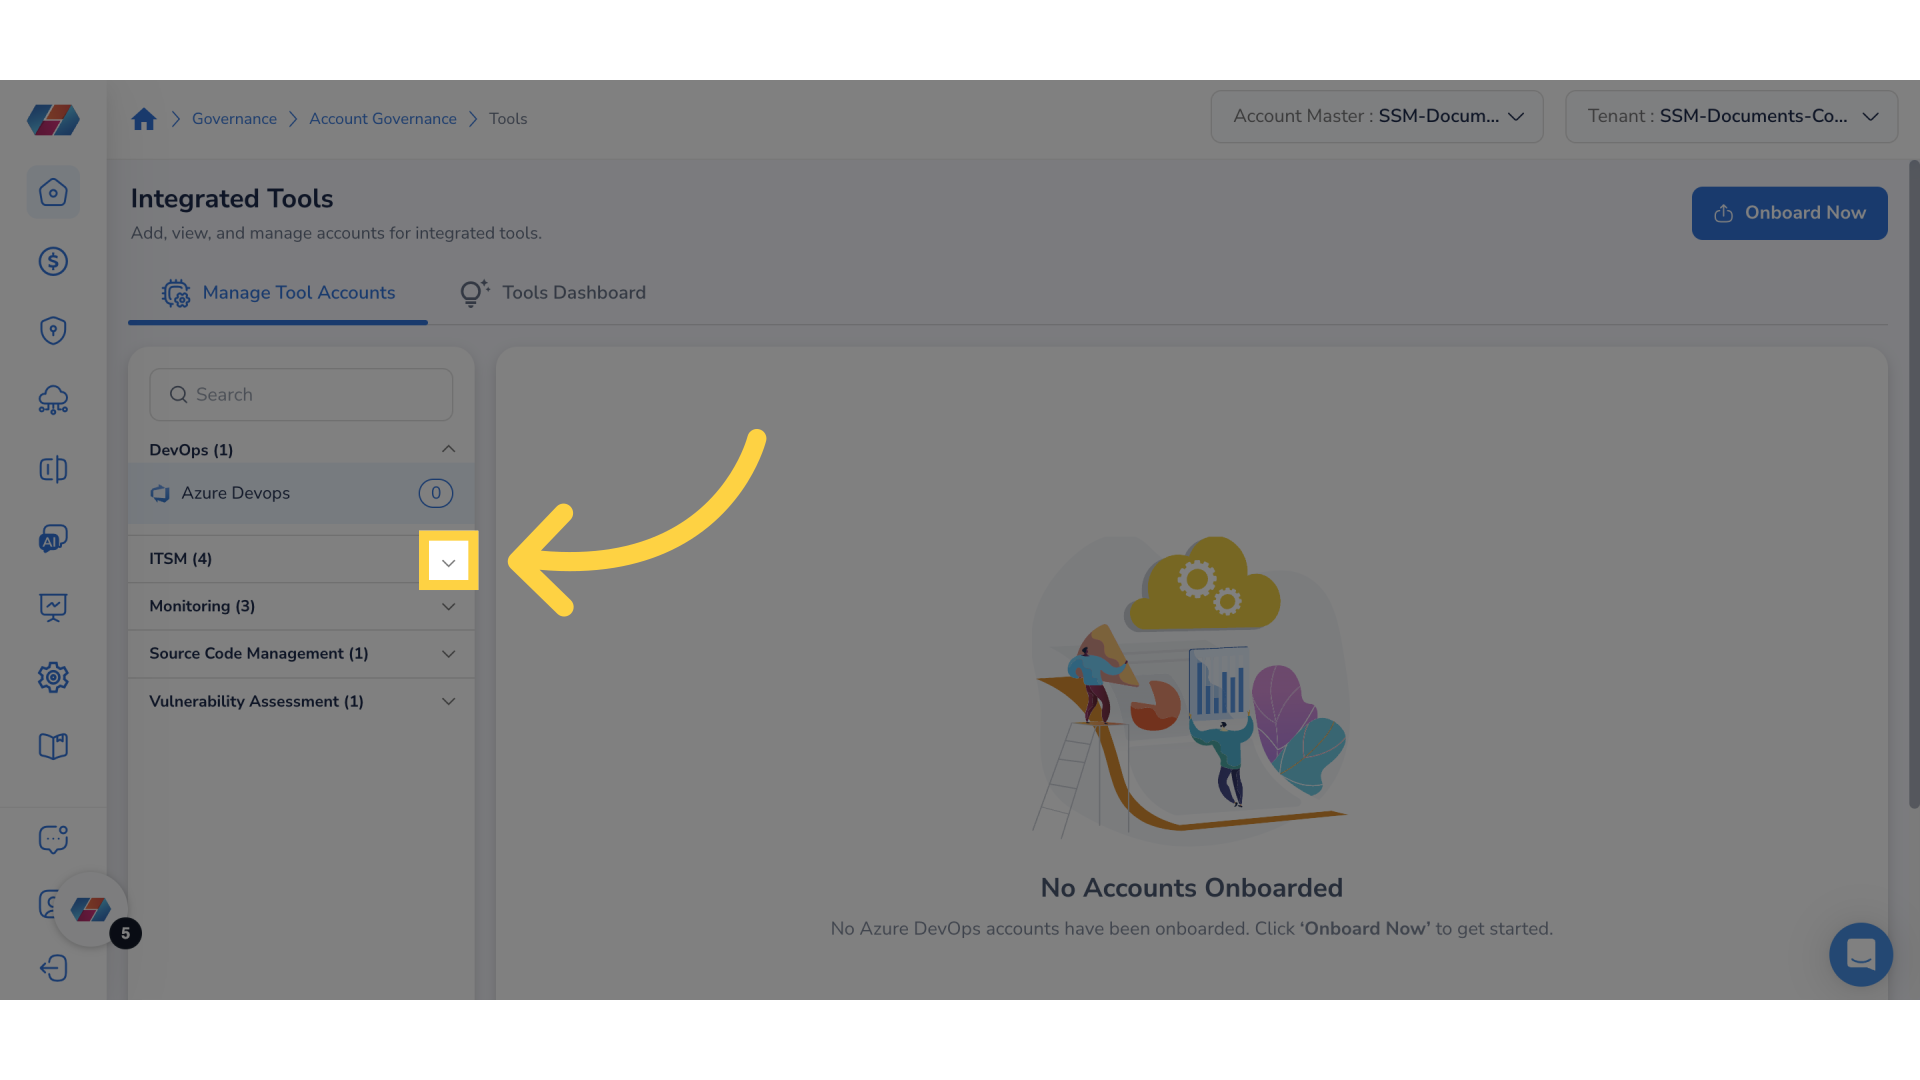
5. Expand "ITSM"
Expand the ITSM section to view and manage the integrated tool accounts added for Jira service management.
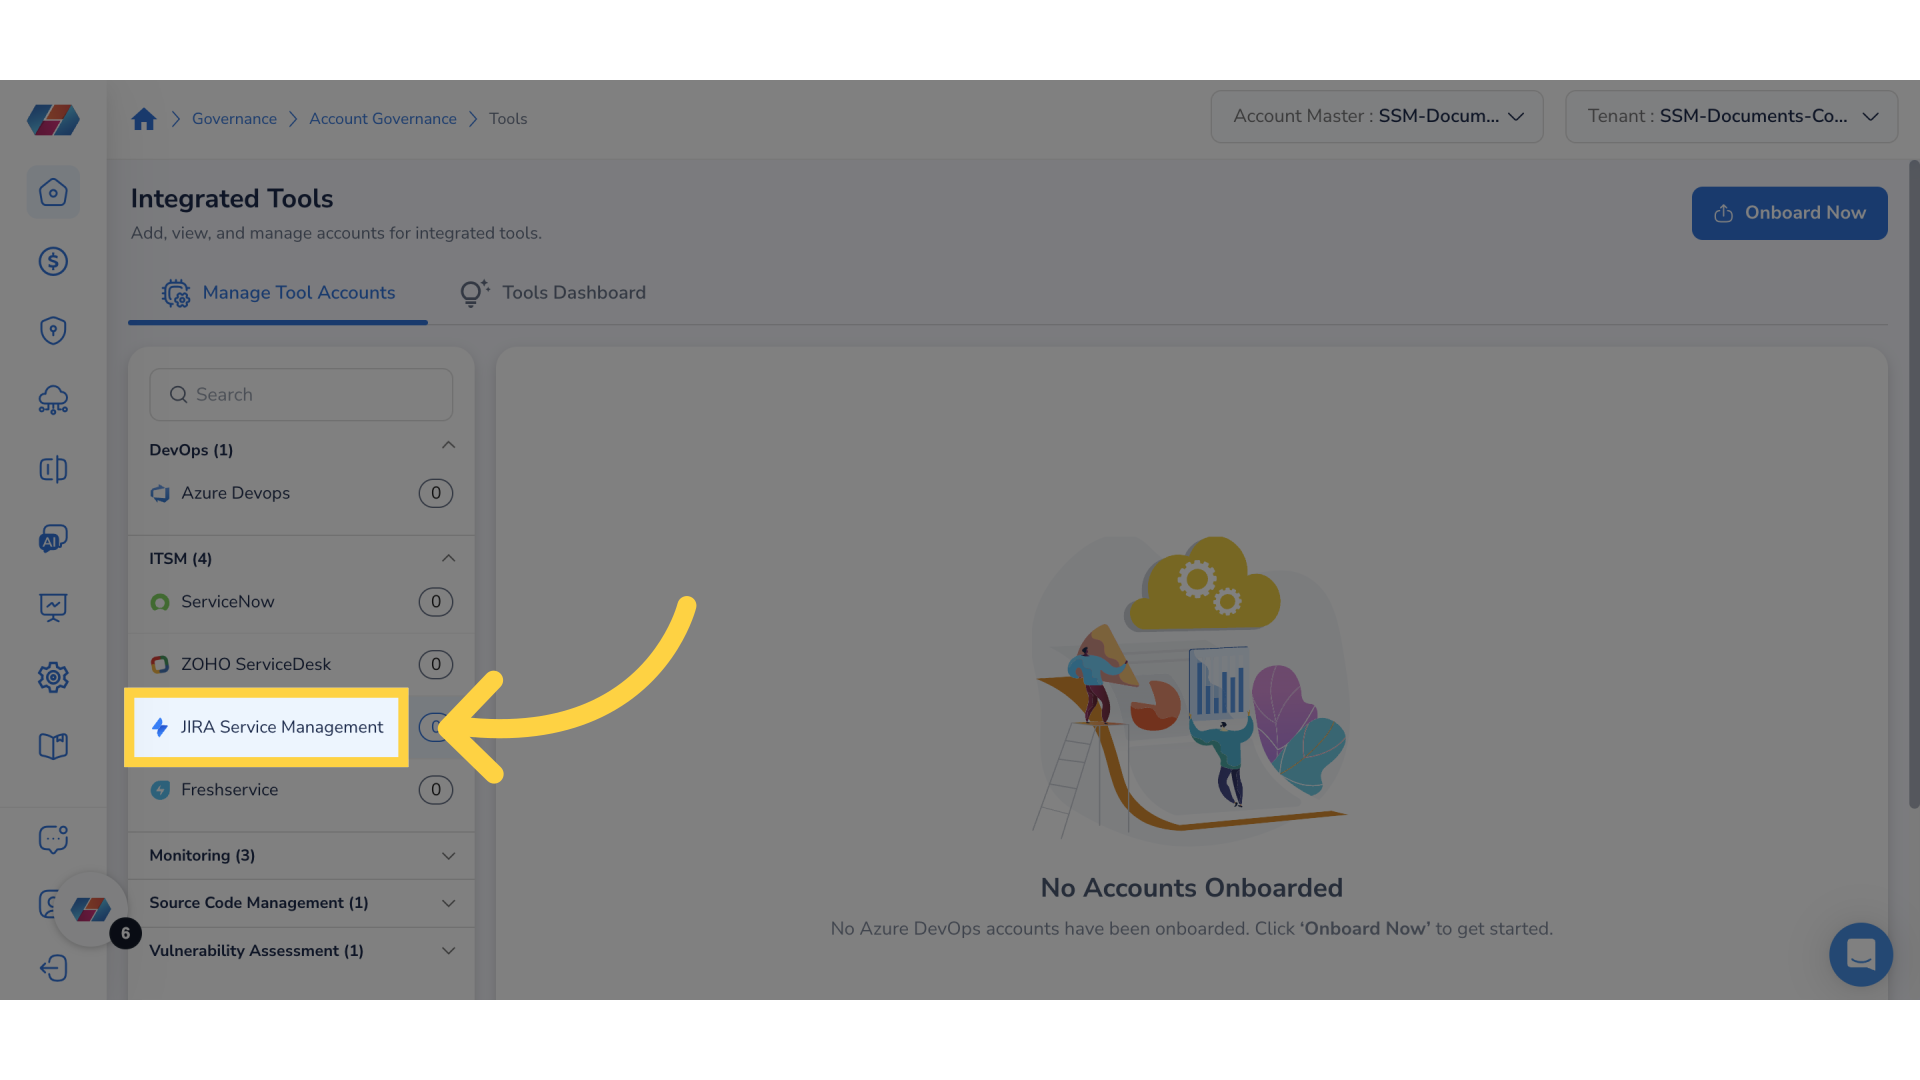
6. Click "JIRA Service Management"
Click JIRA Service Management to view the list of onboarded tools account.
7. Click "Onboard Now"
To onboard a new Jira account, click Onboard Now.
8. Click "Add New"
Hover your mouse pointer over the JIRA Service Management box and then click Add New.
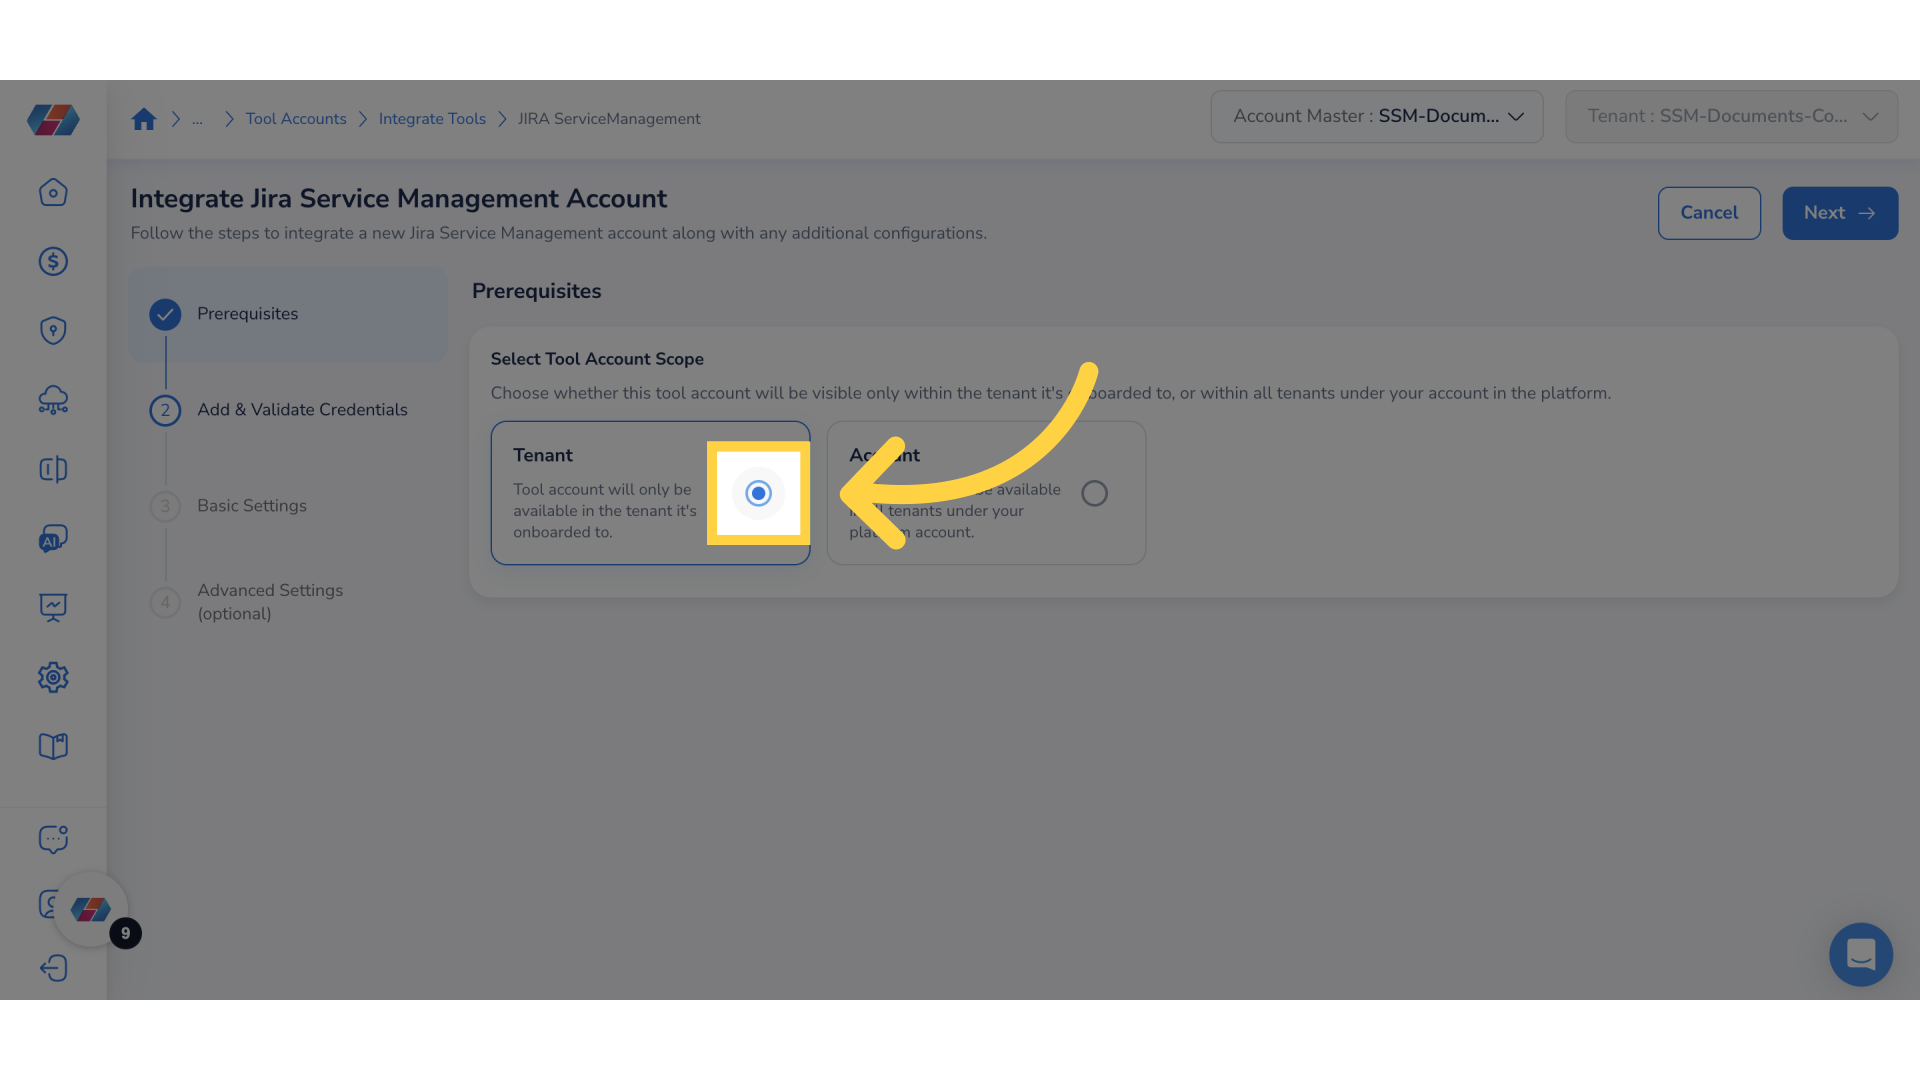
9. Select Tool Account Scope
In the Select Tool Account Scope field, select either Tenant or Account. In this case, the option Tenant is selected.
If you select Tenant, then the tool account will be available in the tenant it is onboarded to and if you select Account, then the tool account will be available in all tenants.
10. Go to Next Page
Click Next to proceed ahead.
11. Enter "Username"
In the Username box, enter the user name.
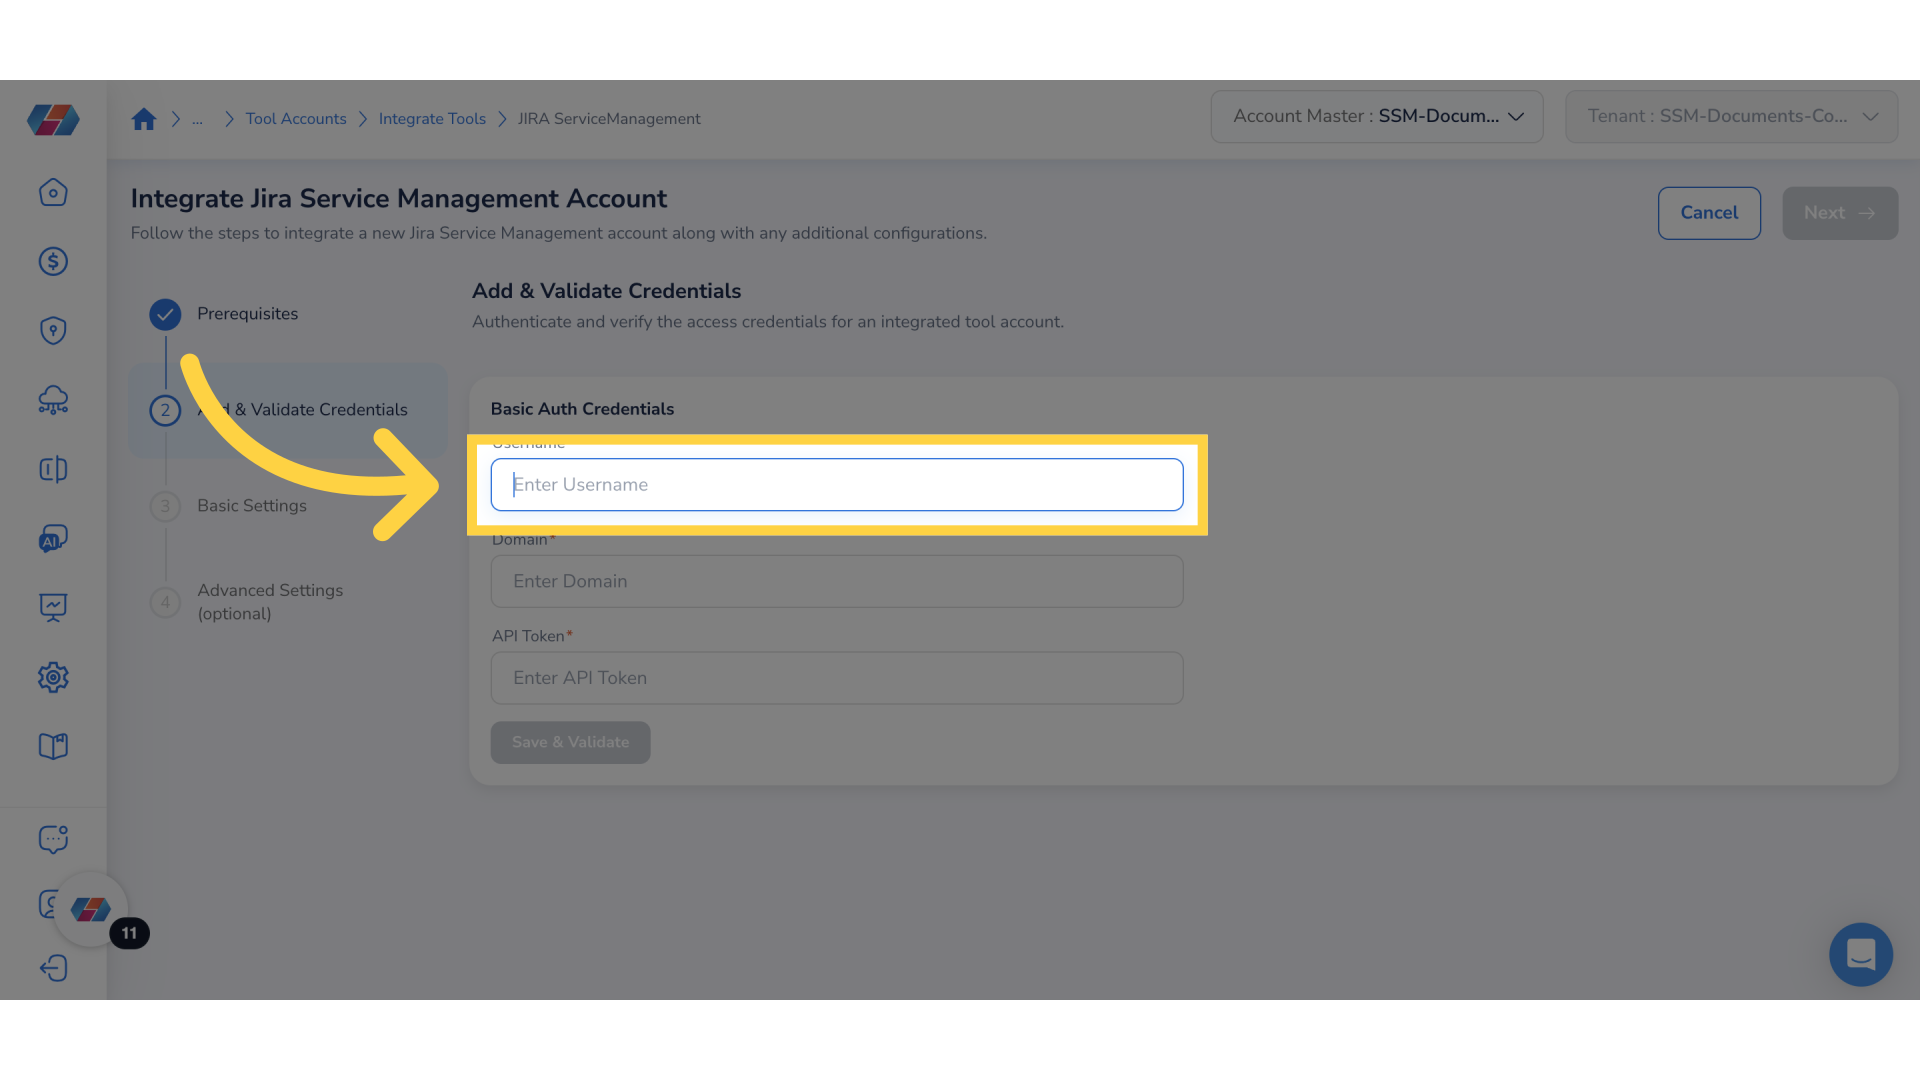
12. Add "Domain"
In the Domain box, enter the domain for the account.
13. Add "API Token"
In the API Token box, enter the API token.
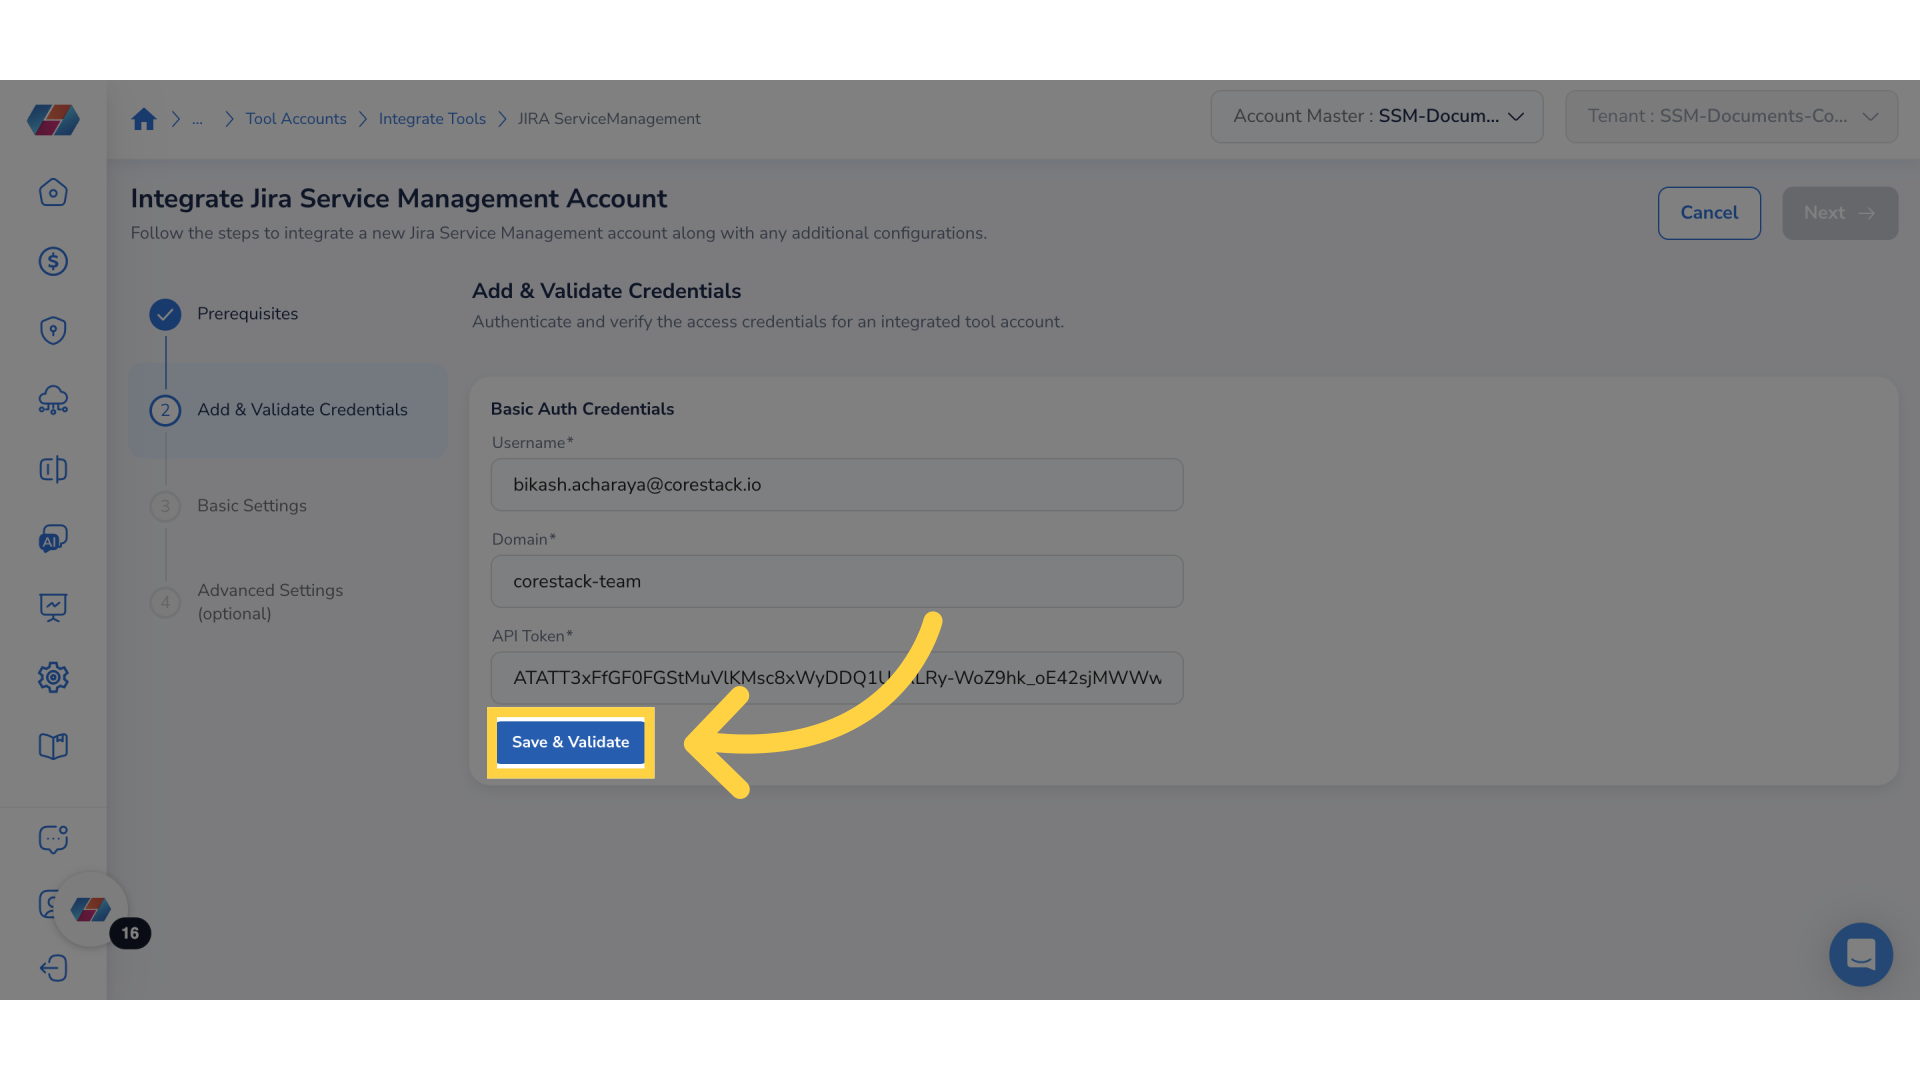
14. Save & Validate
Click Save & Validate to save the information and proceed to validation.
15. Click "Re-validate"
Click Re-validate button to revalidate the information.
16. Go to Next Page
Click Next to proceed further.
17. Add "Account Name"
In the Account Name box, enter the account name.
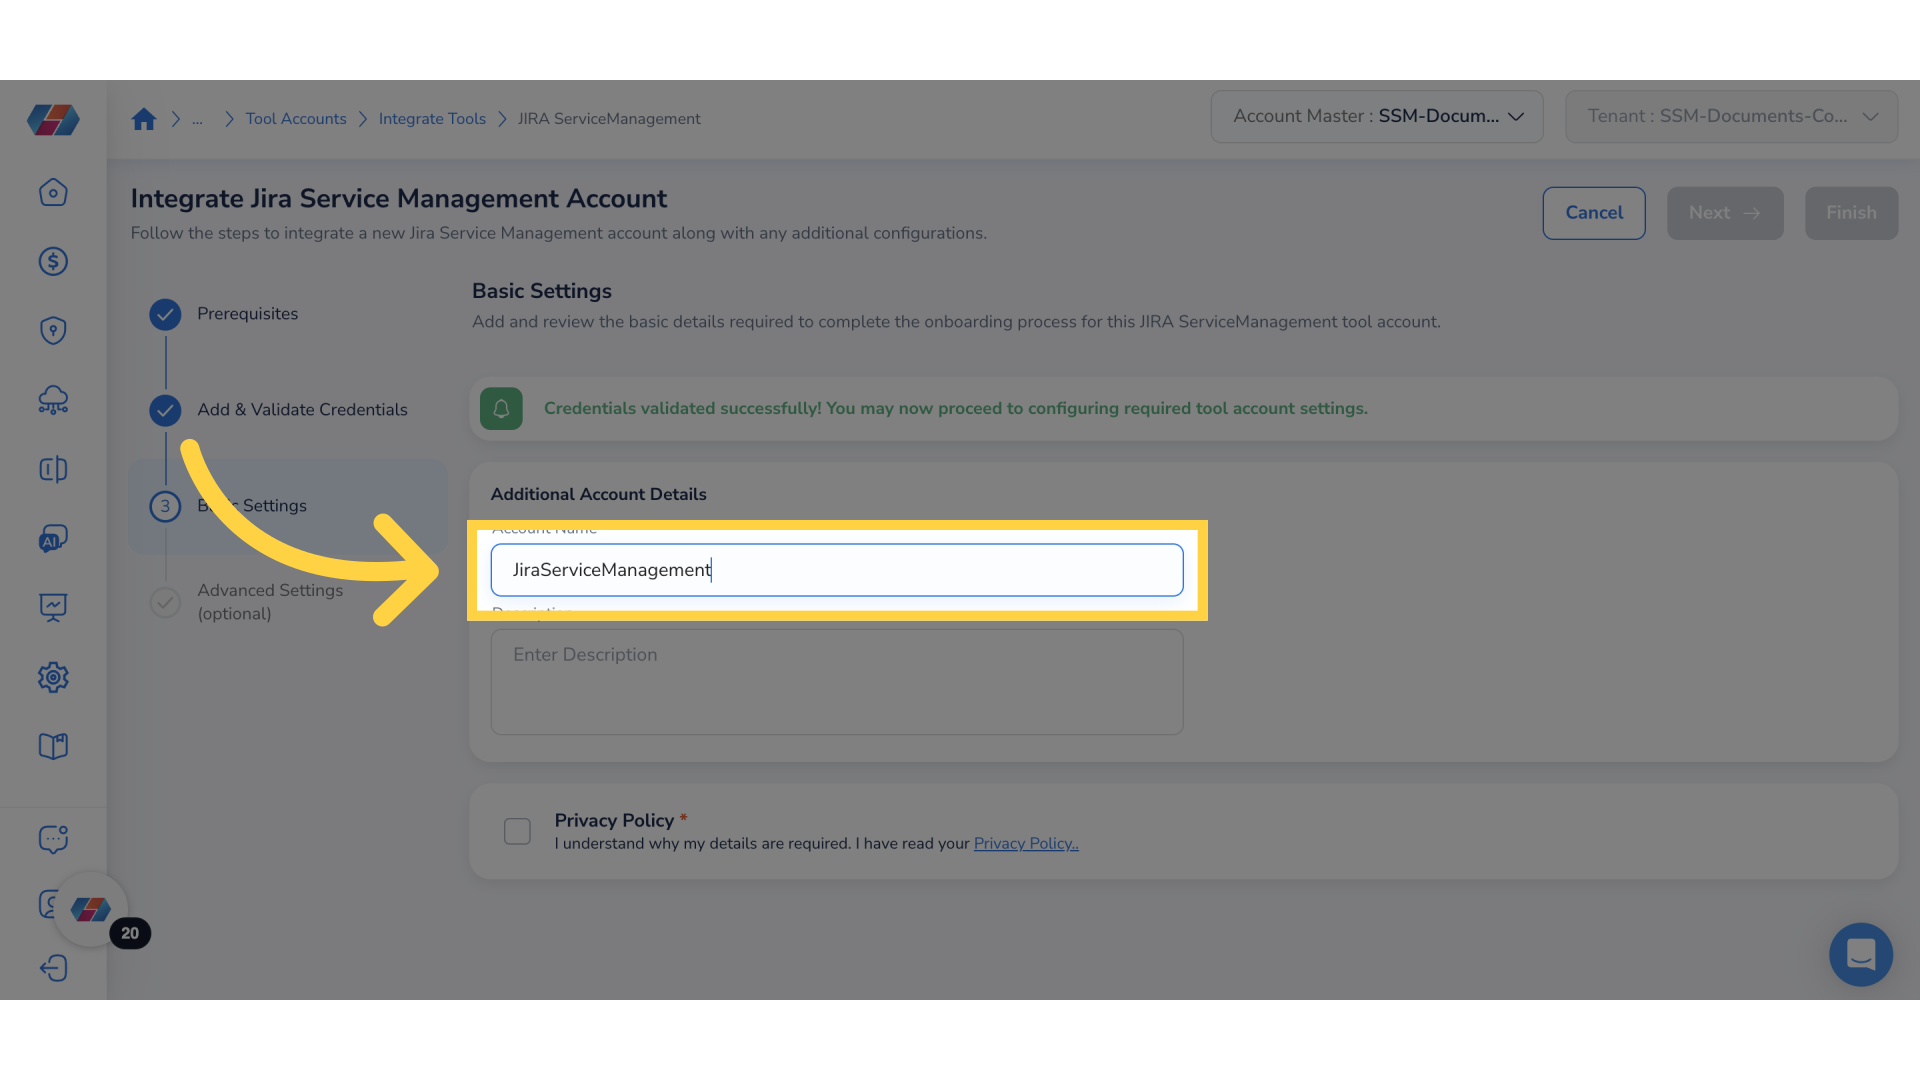
18. Select "Privacy Policy" Check Box
Select the Privacy Policy check box.
19. Click "Next"
Click Next to proceed.
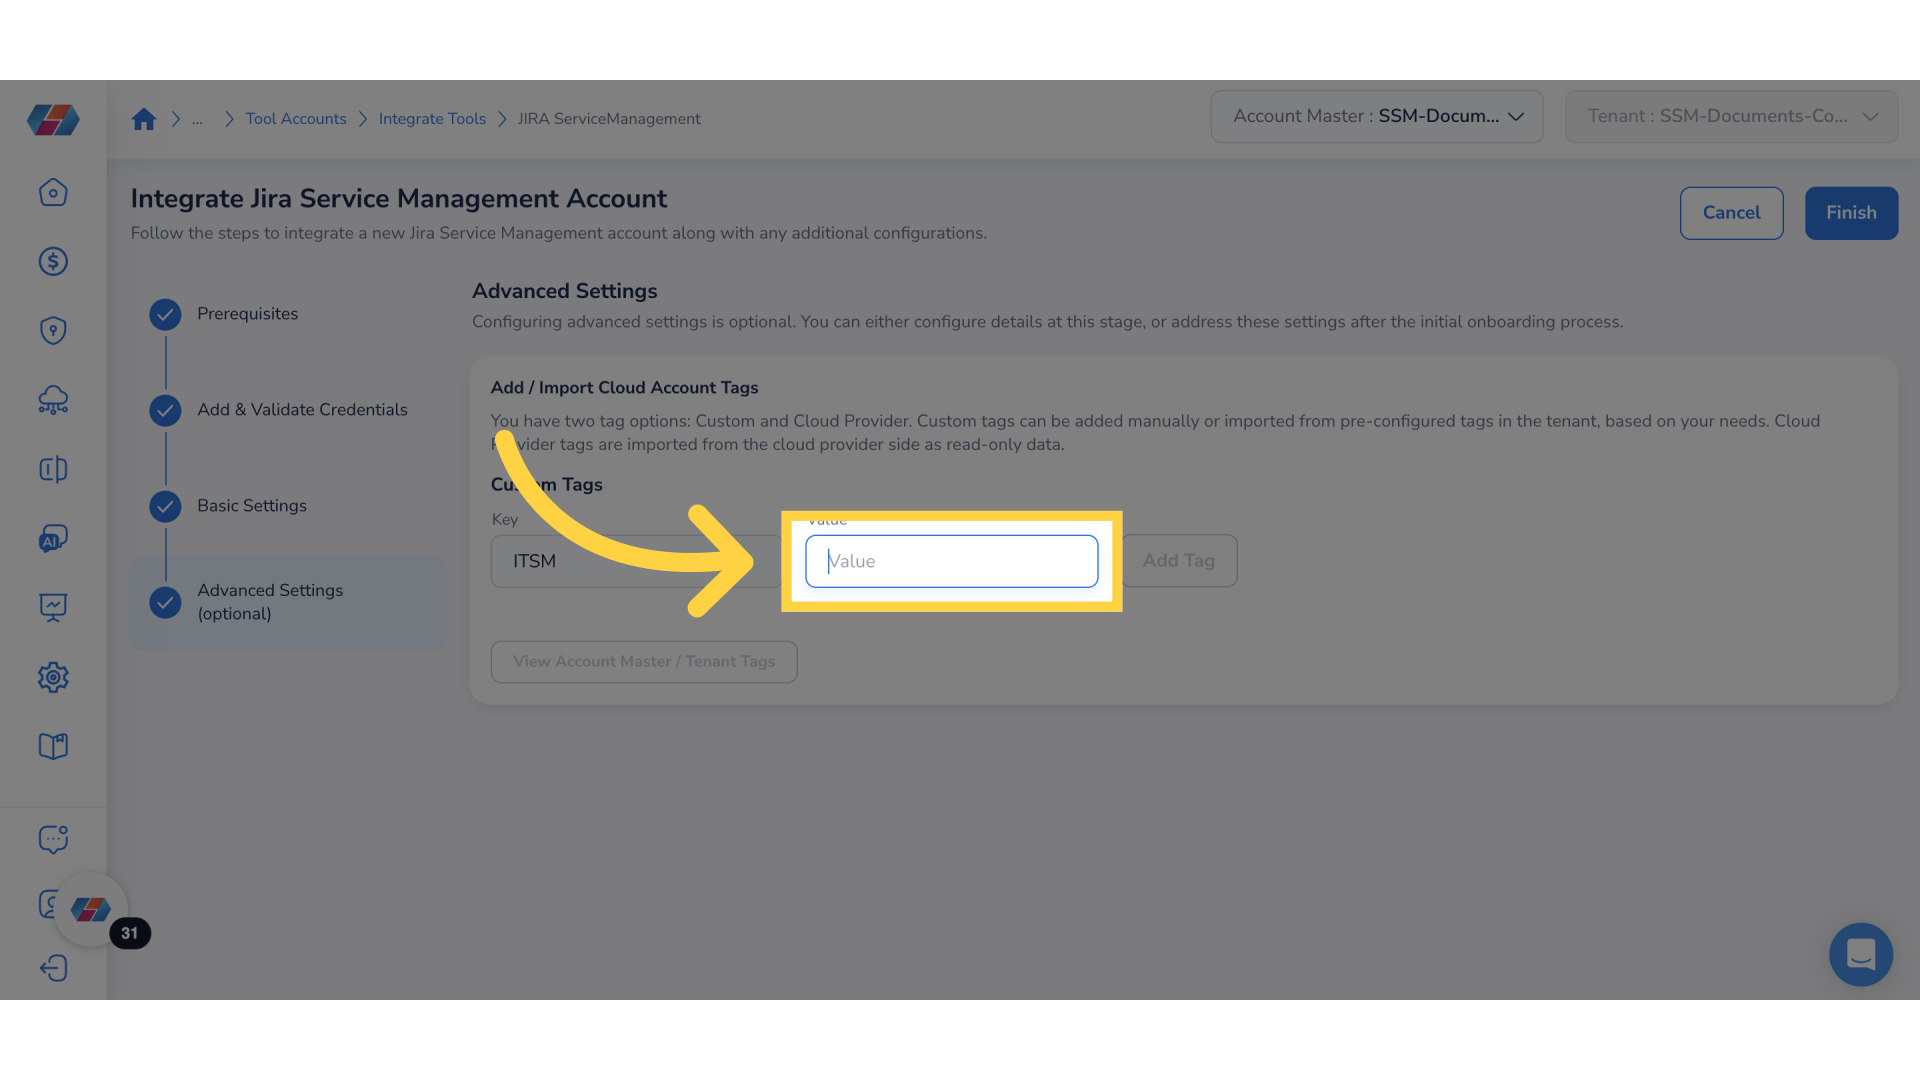
20. Add "Tag Key - Value"
In the Custom Tags field, in the Key box, enter the tag key and in the Value box, enter the tag value.
21. Click "Add Tag"
Click Add Tag. The tag key and value added by you is displayed just below.
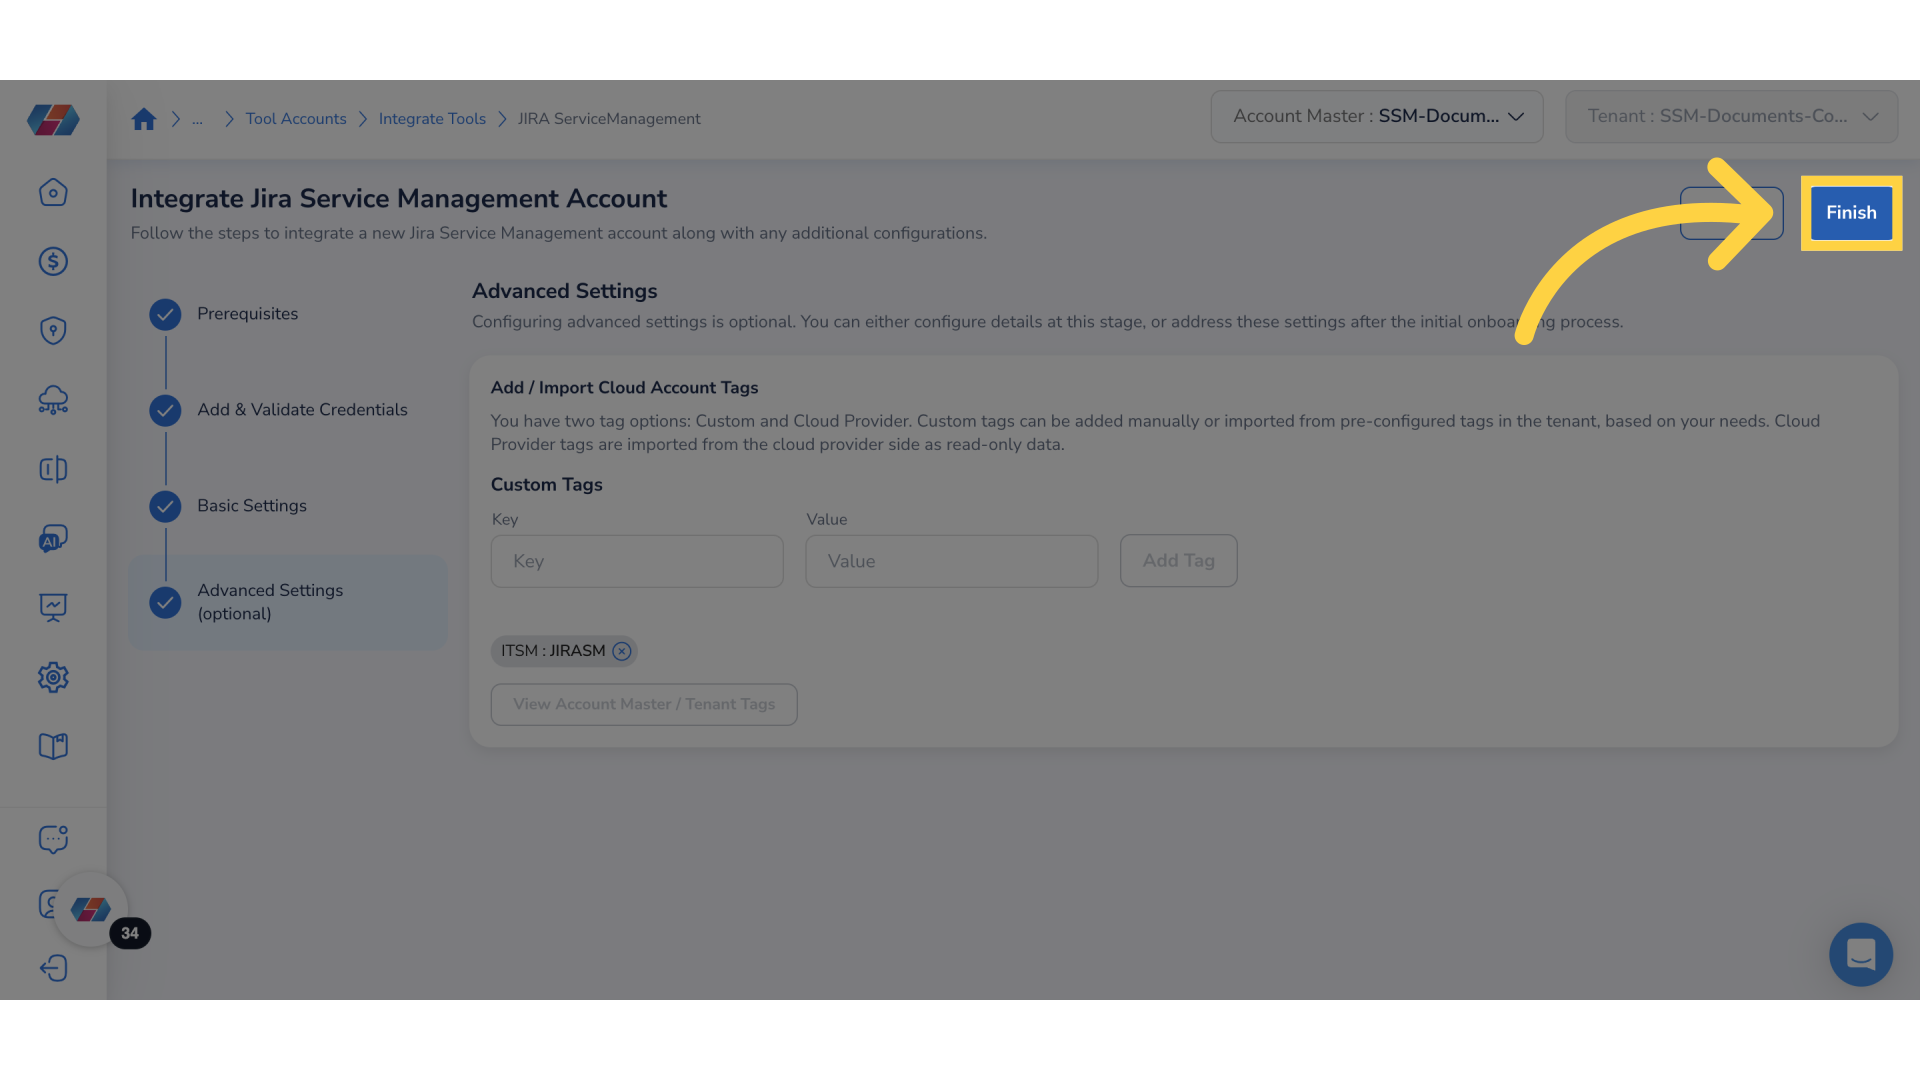
22. Click "Finish"
Click Finish to complete the process.
Note: No incident is being created for metric alerts.
This guide covers the essential steps required to onboard a new Jira tool account using CoreStack. From accessing Governance settings to adding key information, this guide explains about the smooth onboarding process.
Updated 8 months ago