

Integrate Tools
Introduction
There are various tools available in the marketplace supported by the platform that can help enhance the cloud governance experience. This user guide will cover the steps to integrate tool accounts into the platform.
Integrate a New Tool Account
Perform the following steps to integrate a new tool account:
-
Access the platform.
-
On the left menu bar, click Settings > Integrate Tools to view a list of the available tool account types to onboard.
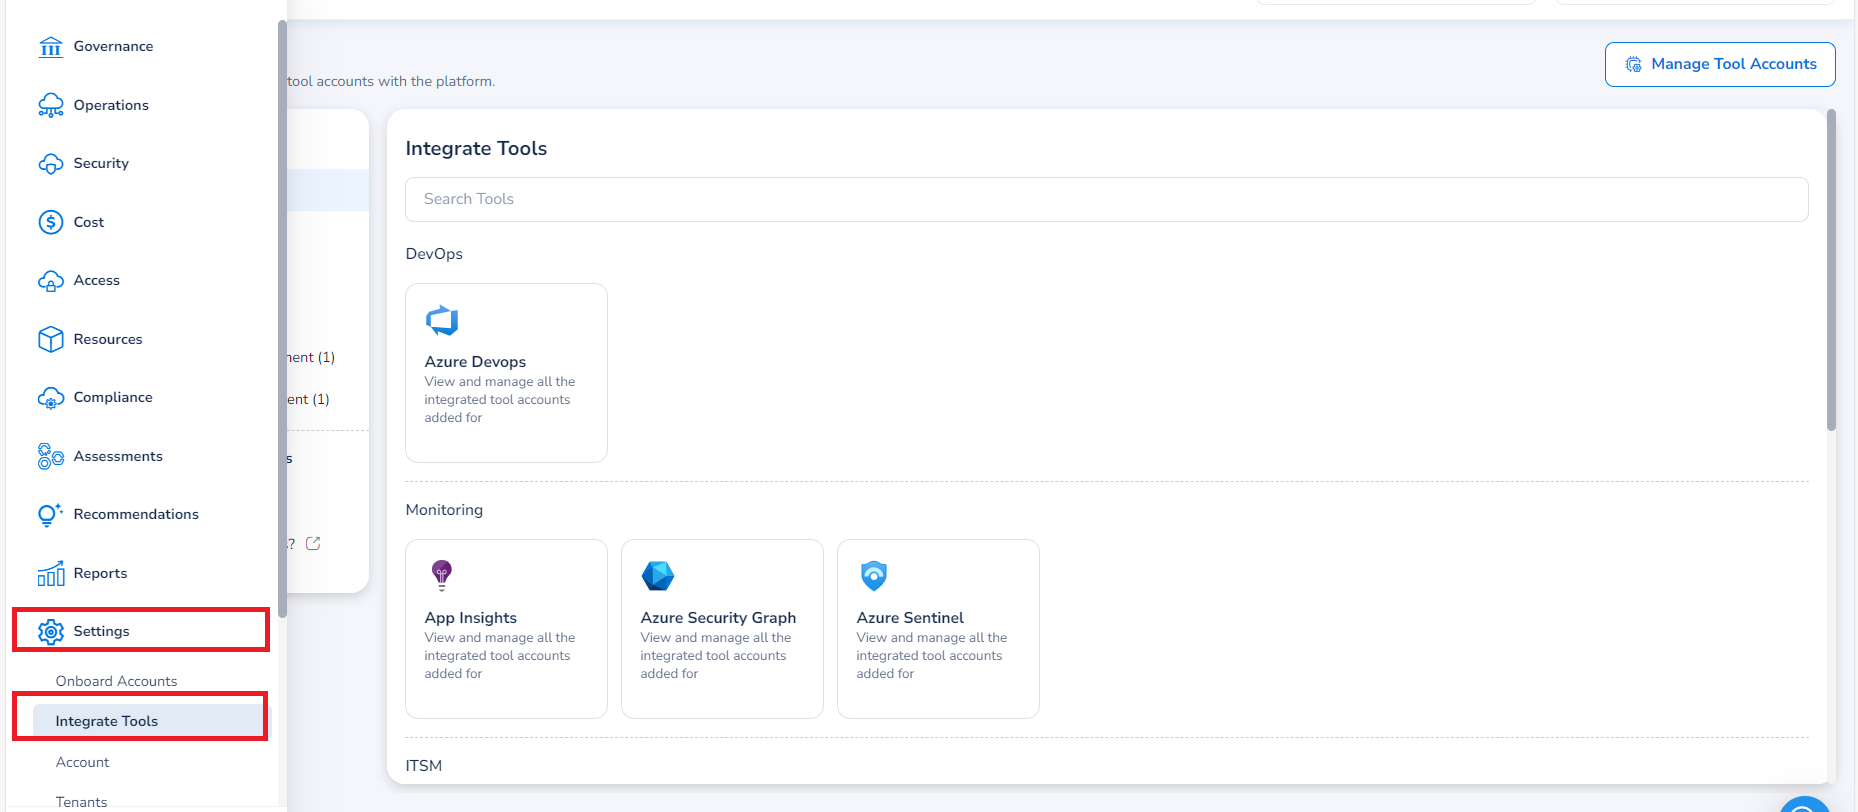
Note:Alternatively, you can also access this starting page for integrating new tool accounts from the Integrated Tools Dashboard (Governance > Account Governance > Integrated Tools) by selecting the Onboard Now button on that page.
Similarly, you can also access the Integrated Tools Dashboard anytime by selecting Manage Tool Accounts from the Settings > Integrate Tools page.
-
Hover the mouse over the tool that needs to be integrated and click Add New.
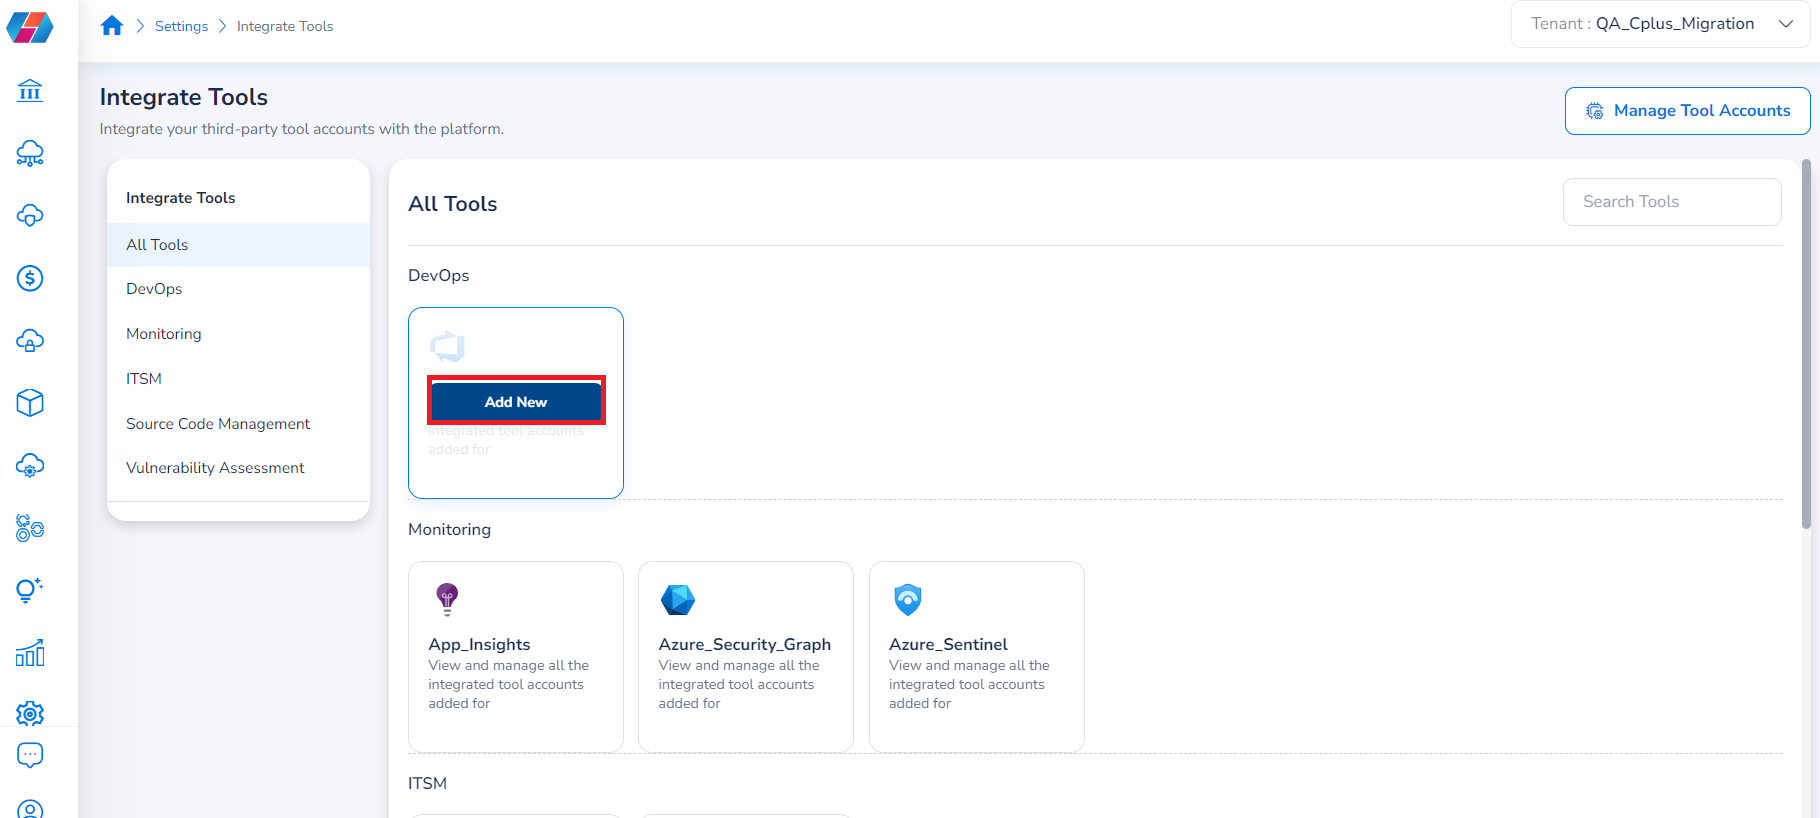
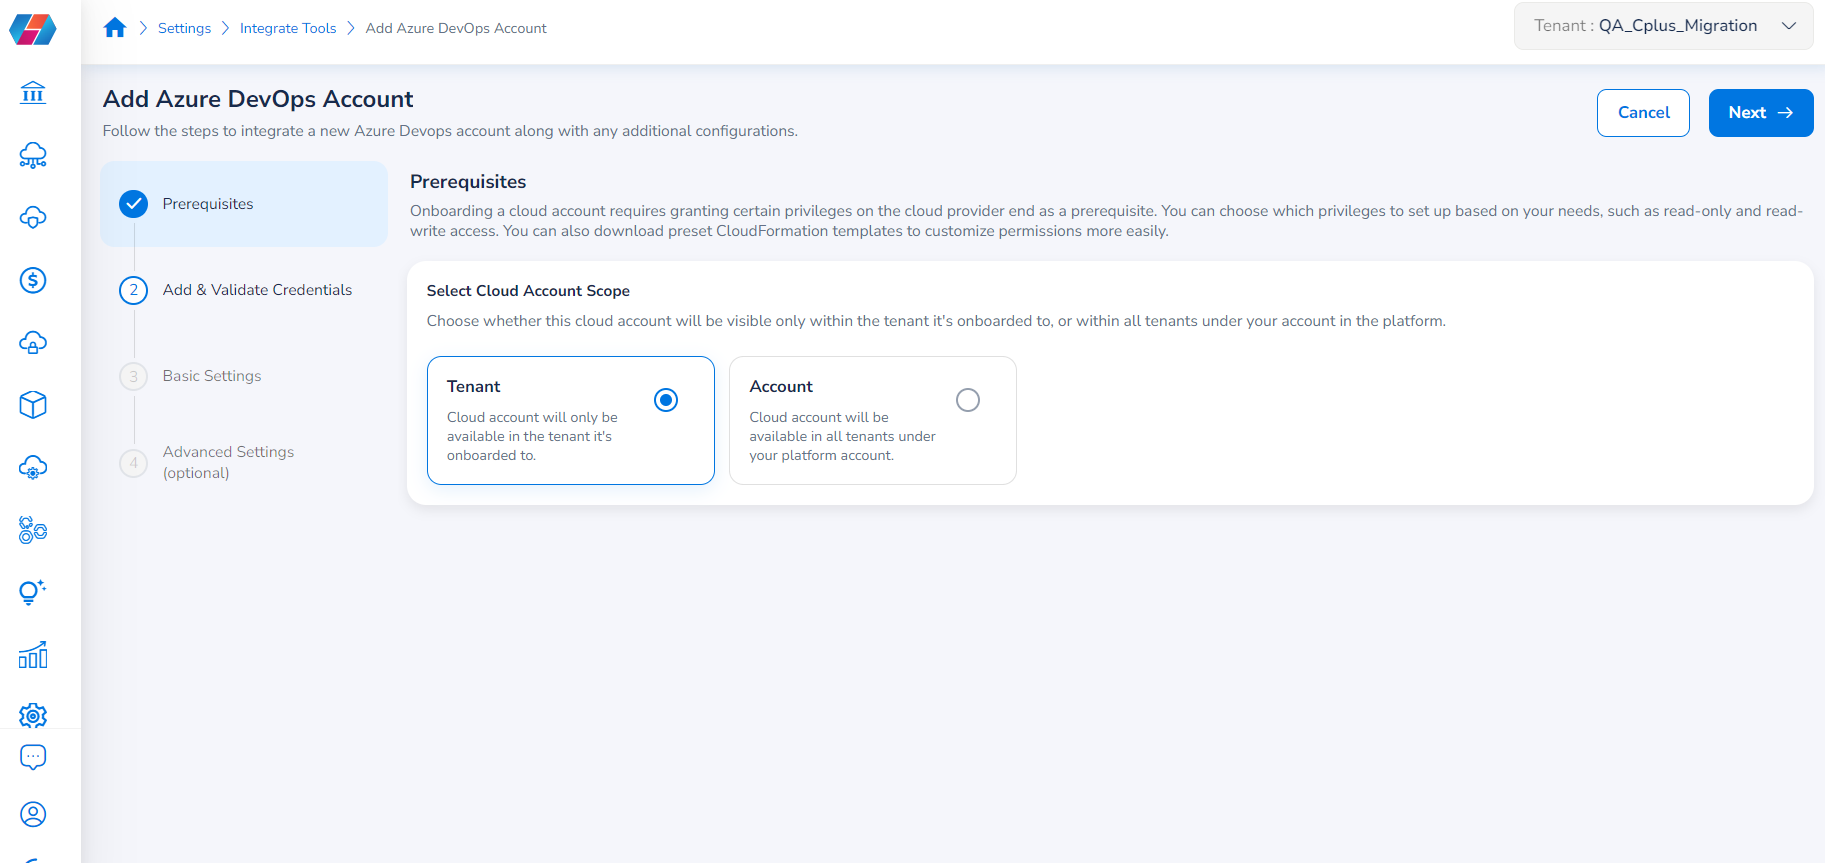
The Prerequisites section appears.
-
In the Select Cloud Account Scope field, select one of the following options and click Next:
-
Tenant: If you select this option, then the cloud account will only be available in the tenant it is onboarded to.
-
Account: If you select this option, then the cloud account will be available in all tenants under your platform account.
-
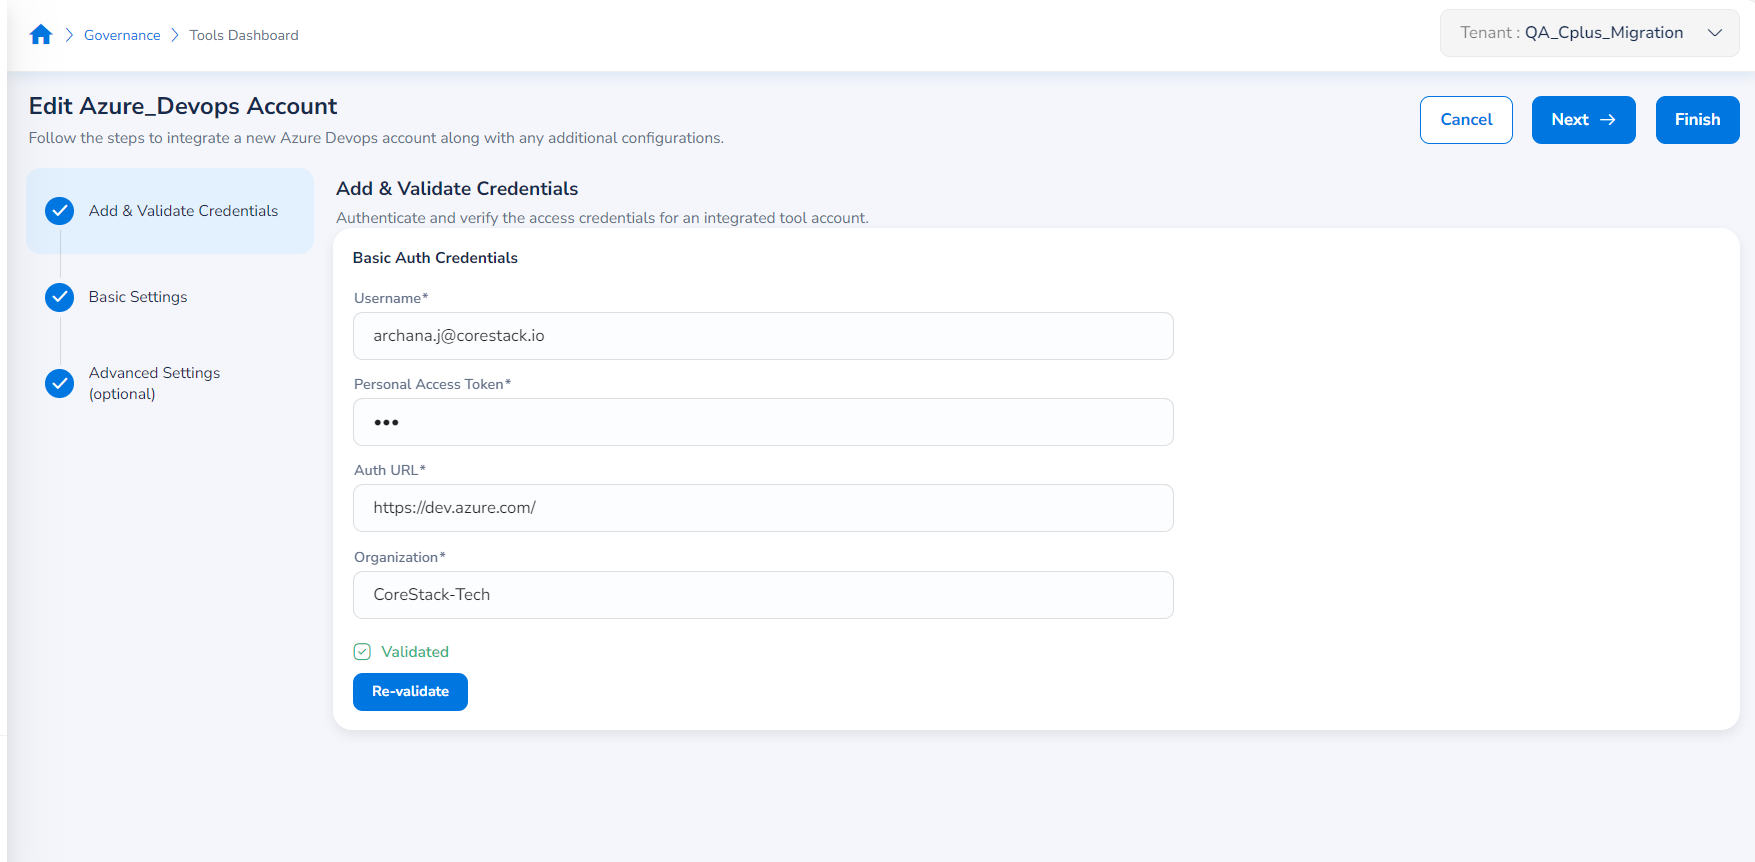
The Add & Validate Credentials section appears.
-
In the Add & Validate Credentials section, fill the following fields:
- In the Username box, type the name of the user.
- In the Personal Access Token box, type the personal access token.
- In the Auth URL box, type the authentication URL.
- In the Organization box, type the name of the organization.
- Click Validate. If an error occurs while validating the credentials, then click Re-Validate.
-
Click Next.
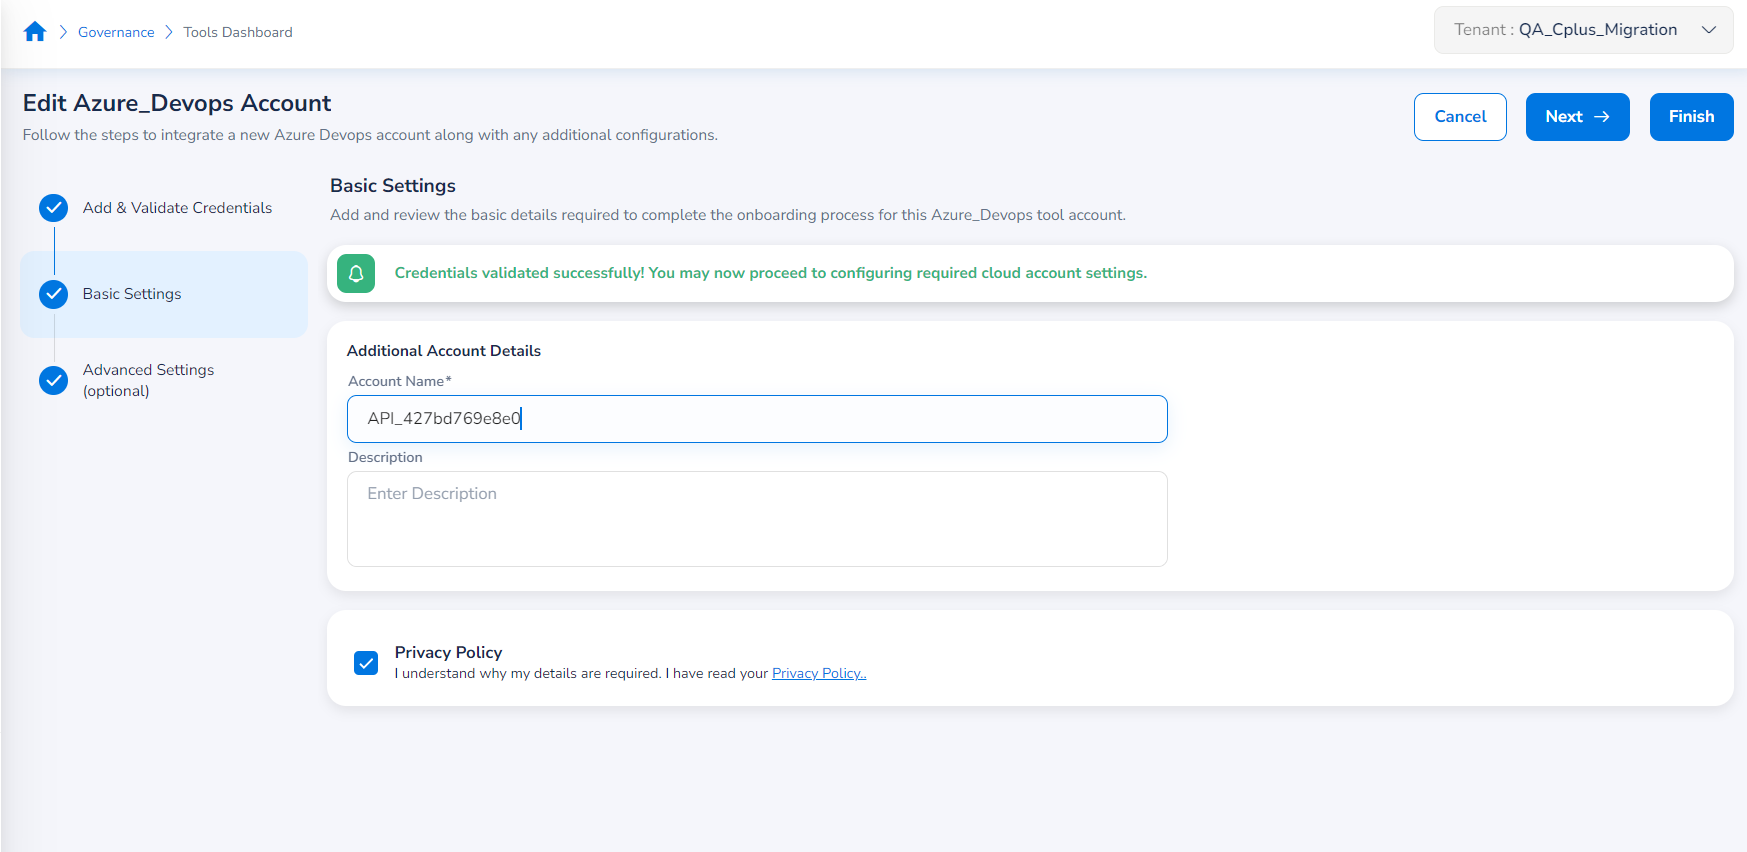
The Basic Settings section appears.
-
In the Basic Settings section, fill the following fields:
- In the Account Name box, type the tool account name.
- In the Description text box, type a description for the account.
- Select the Private Policy checkbox.
-
Click Next to go to the Advanced Settings section, which is the optional section to be filled or click Finish.
-
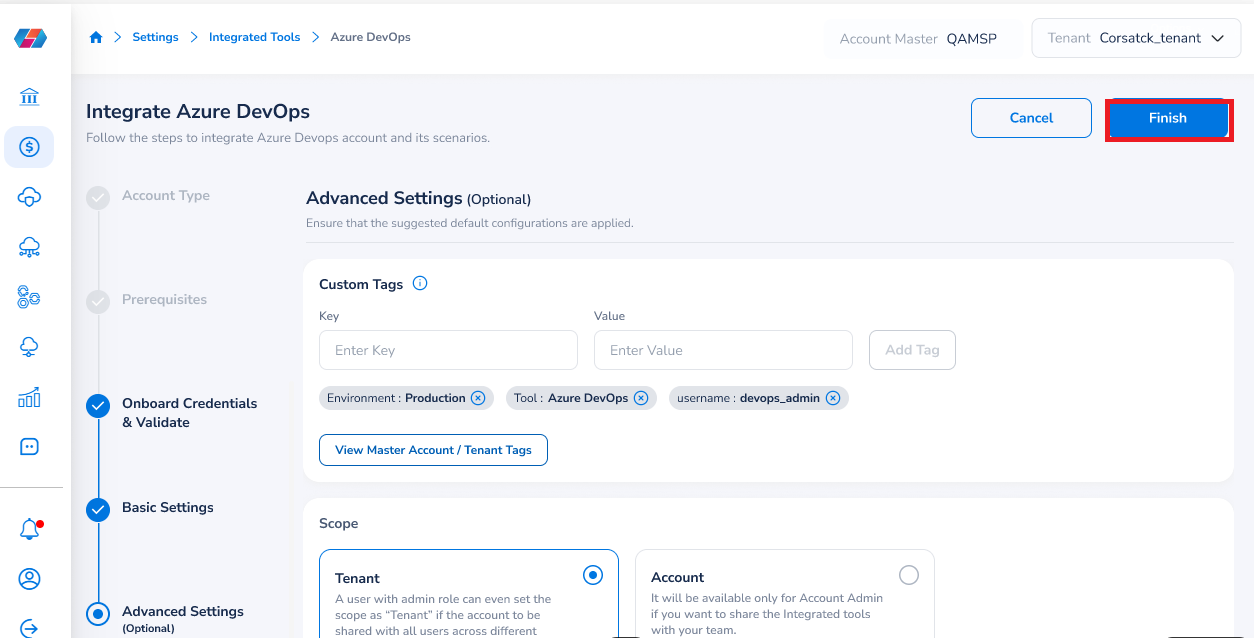
In the Advanced Settings*(Optional)* section, fill the following fields:
- To add custom tags, in the Key box, type the custom key, in the Value box, type the custom value, and then click Add Tag.
- Click View Master Account/Tenant Tags. In the Custom Tags dialog box, select the required tags, and click Insert Selected Tags. The selected tags will be added for the new tool account that will be integrated.
-
Click Finish.
The new tool account is now integrated. You can see the newly added tool account under the tool name it is integrated to.
For example, if you are integrating an Azure DevOps tool account, then after the account is integrated successfully, the newly added account will show under the category DevOps.
Note:Accounts that have the products CloudsOps and SecOps enabled during onboarding, the CloudsOps and SecOps tabs in the Cloud Account Governance page will not show settings for the tools Azure Sentinel and Tenable Nessus. In order for the user to add tool accounts, they would need to go to the Settings menu and edit the tool account details to make any changes.
Updated 8 months ago