

Billing Plans
This guide will walk you through setting up Billing Plans in the platform.
Introduction
Billing Plans are a feature within BillOps that can be used to manage common billing rules for multiple partners and apply dynamic pricing based on a variety of metrics and filters, allowing users to more easily scale their billing and cost allocation service.
Billing Plans can be used to manage pricing rules based on many different filters, including tenant, cloud account, service, region, charge type, and more. Adjustments can also be applied using Billing Plans, such as markups, discounts, and desired price margins. This provides the flexibility needed to handle various partner agreements with distributors, or between partners and their customers
Key features include:
- Contracted Cost included as a cost metric
- Adjustments like markup, discount, and margin
- Temporal rule flexibility (past 37 months up to 3 years ahead)
- Multi-partner scalability with rule inheritance and overrides
By following these instructions, you can learn how to efficiently manage and create Billing Plans, including markups, discounts, and cost allocation rules.
View Billing Plans
Let us now see the details that users can view for a billing plans.
1. Login to the Platform
You should see a landing page based on your preferences.
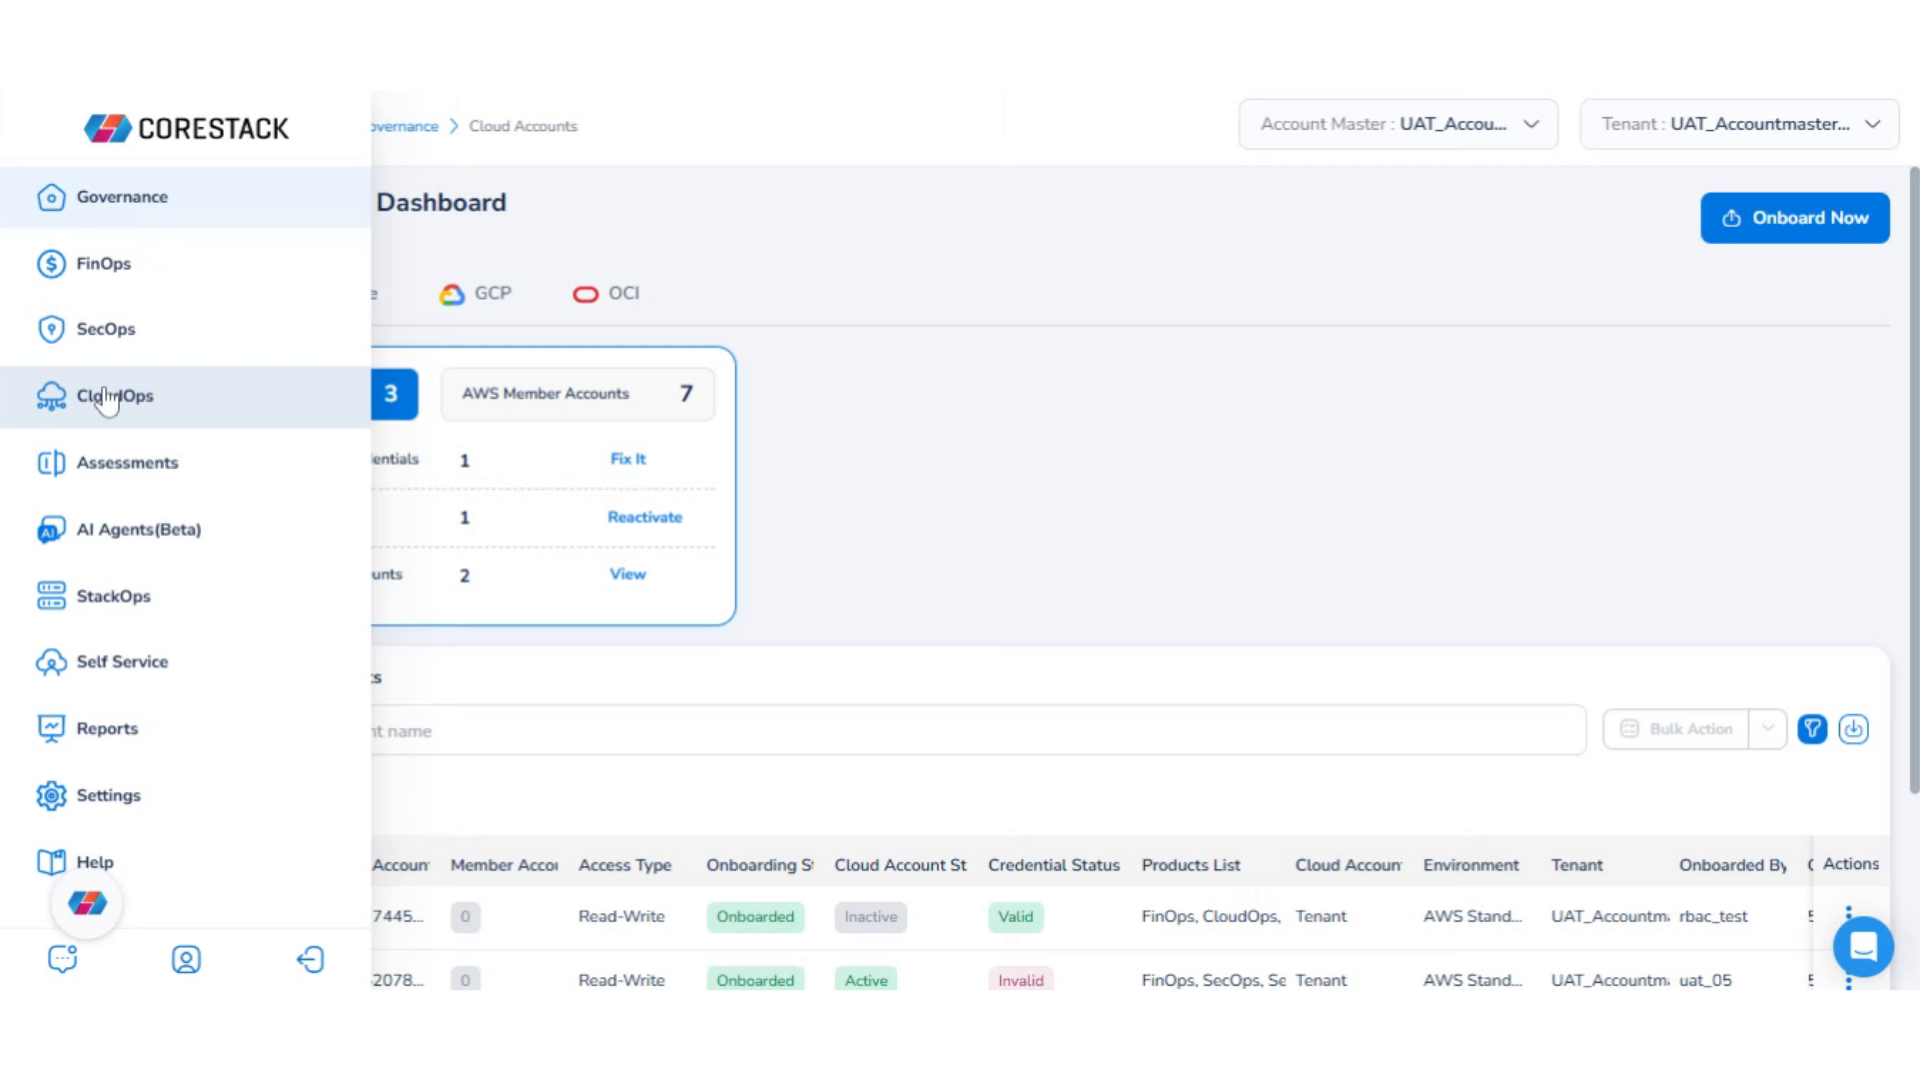
2. Navigate to "FinOps" in the Menu
First, login to the platform, Then, open the left navigation pane and select FinOps.
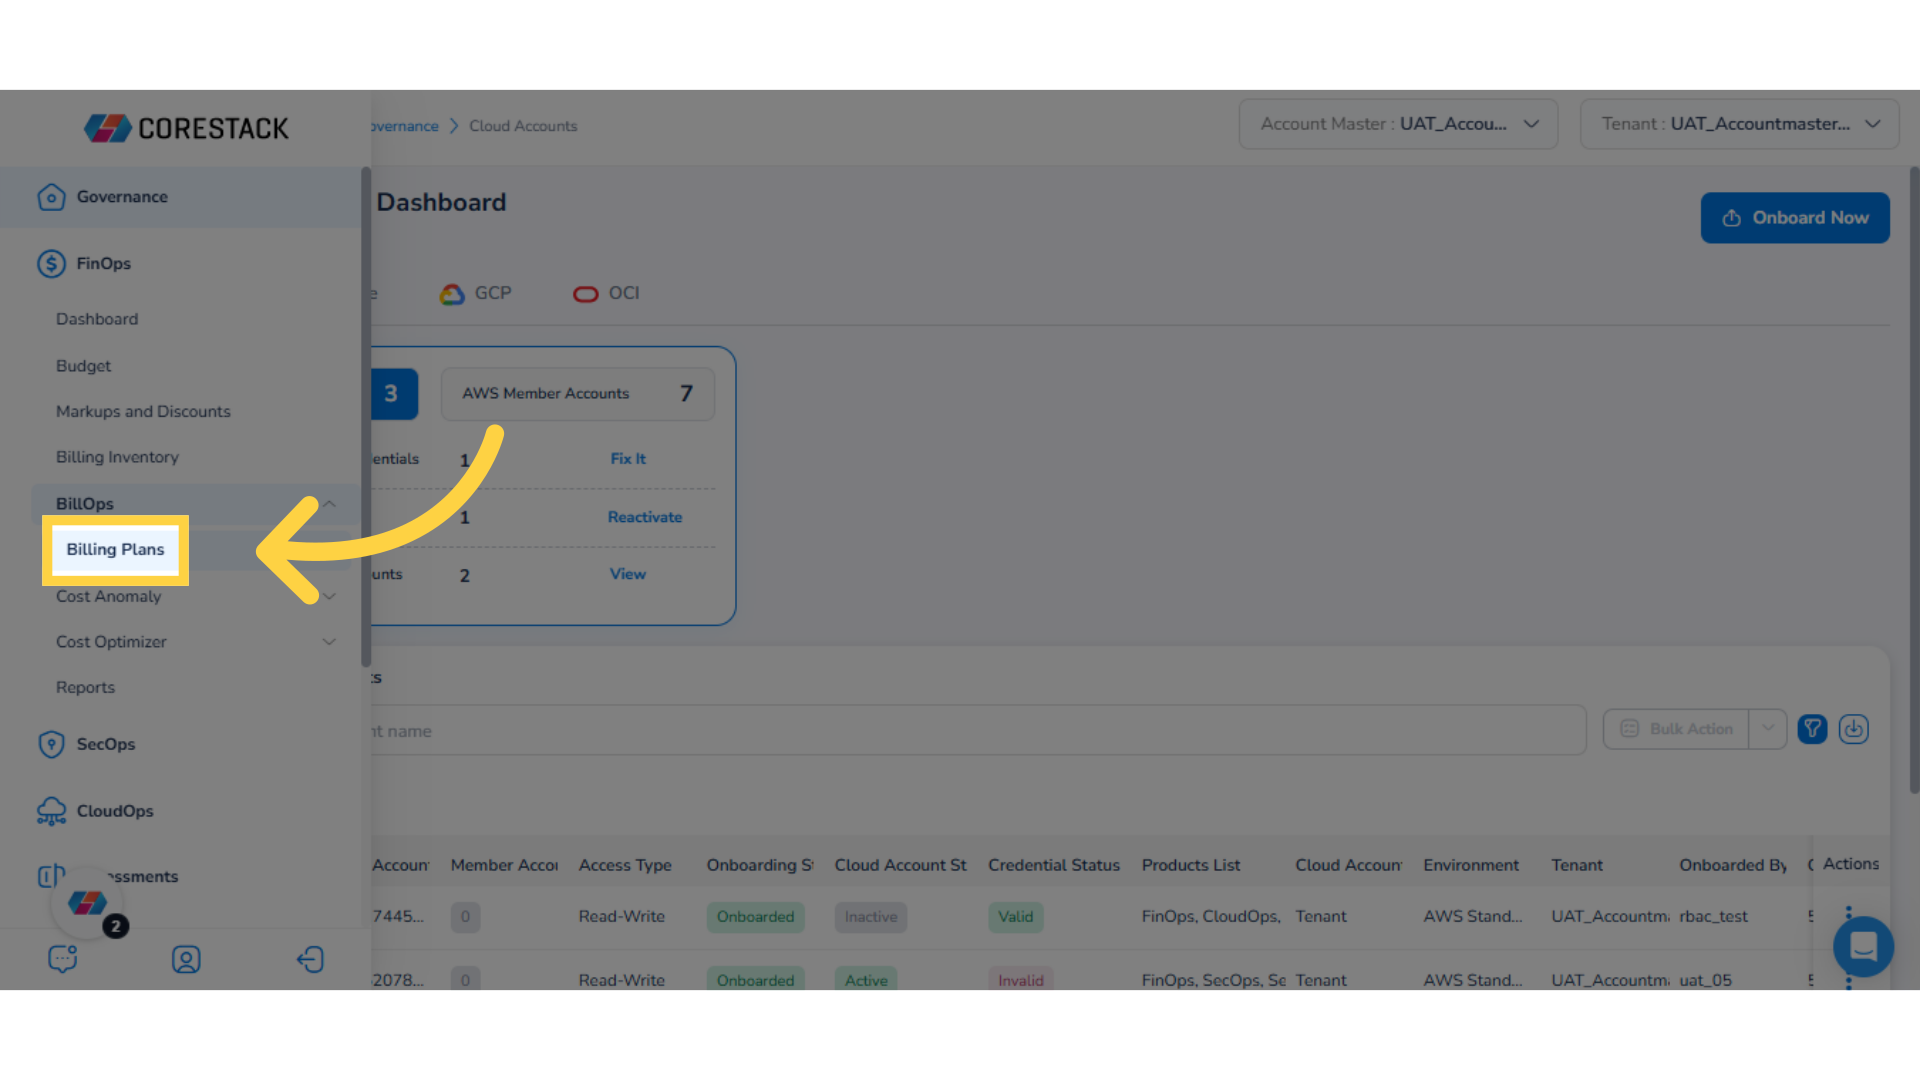
3. Select "BillOps" in the Menu
Next, select BillOps.
4. Select "Billing Plans" in the Menu
Under BillOps, select Billing Plans.
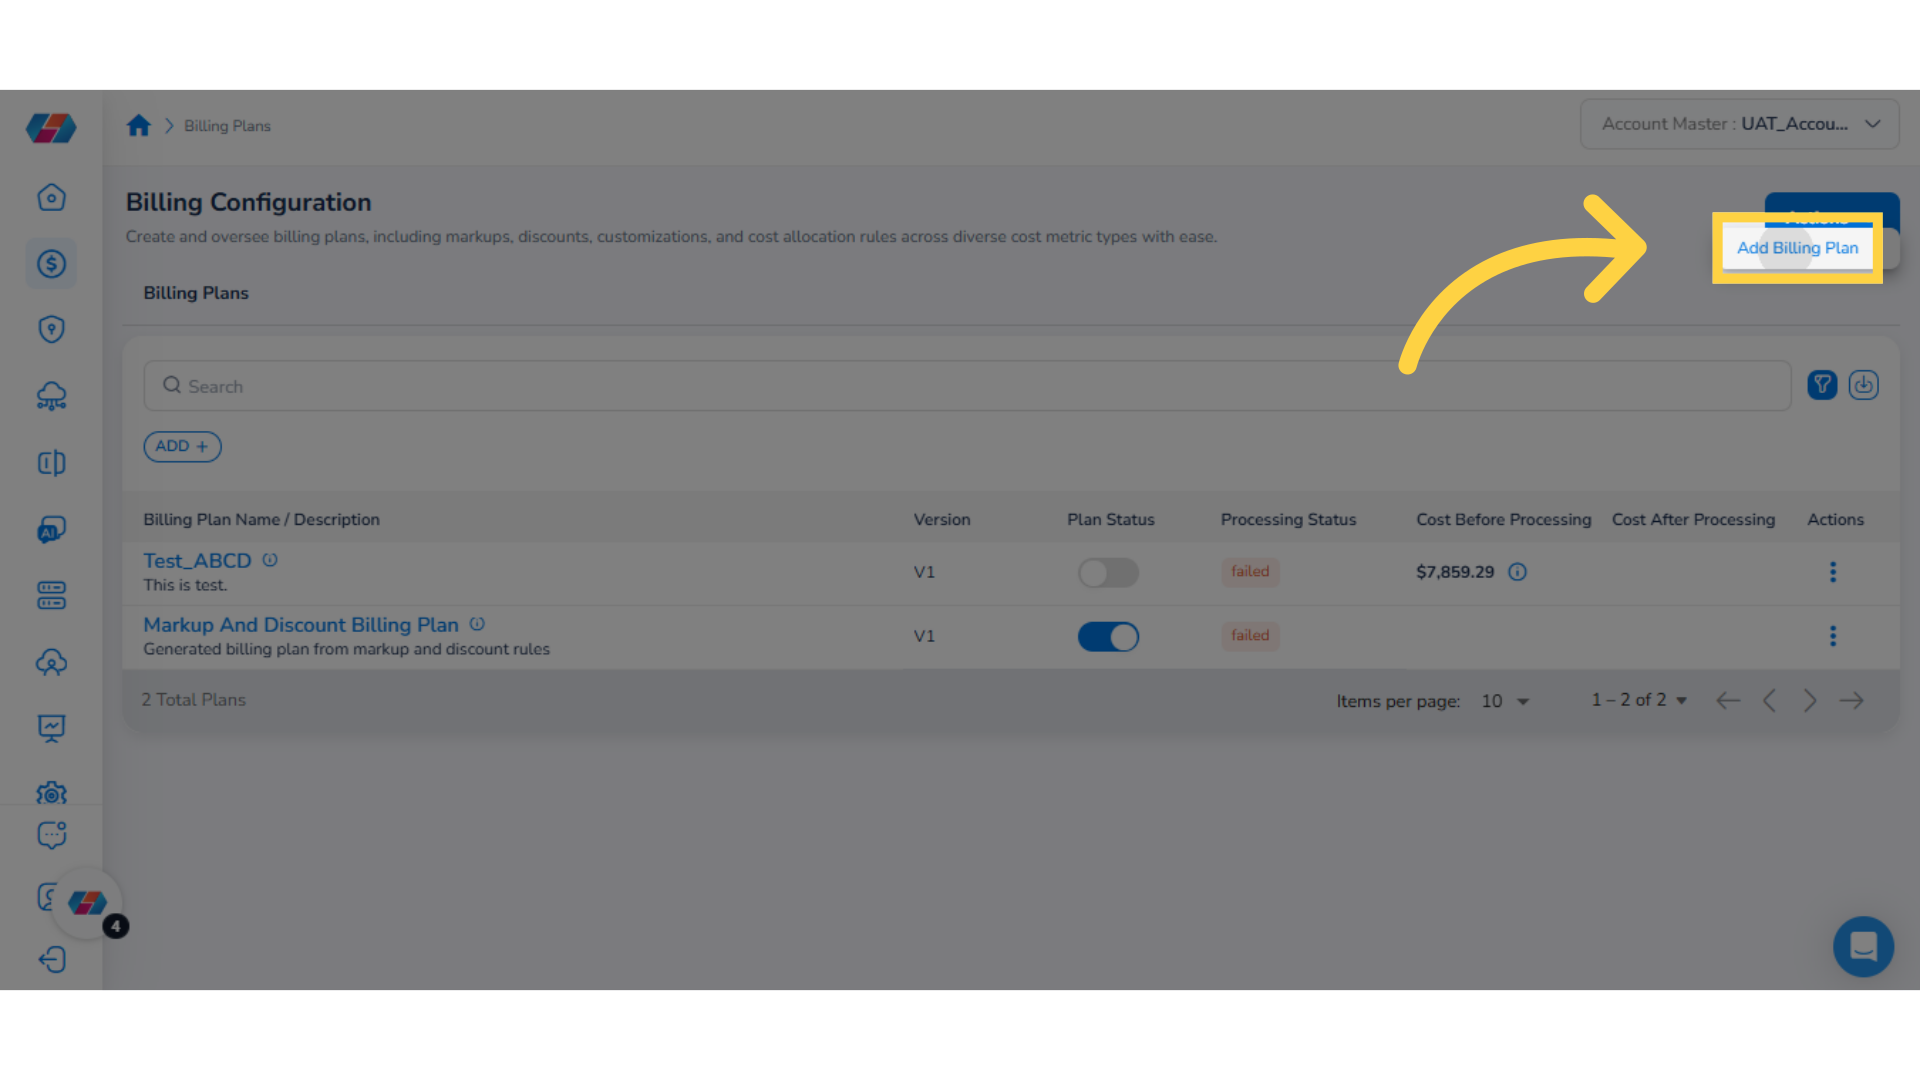
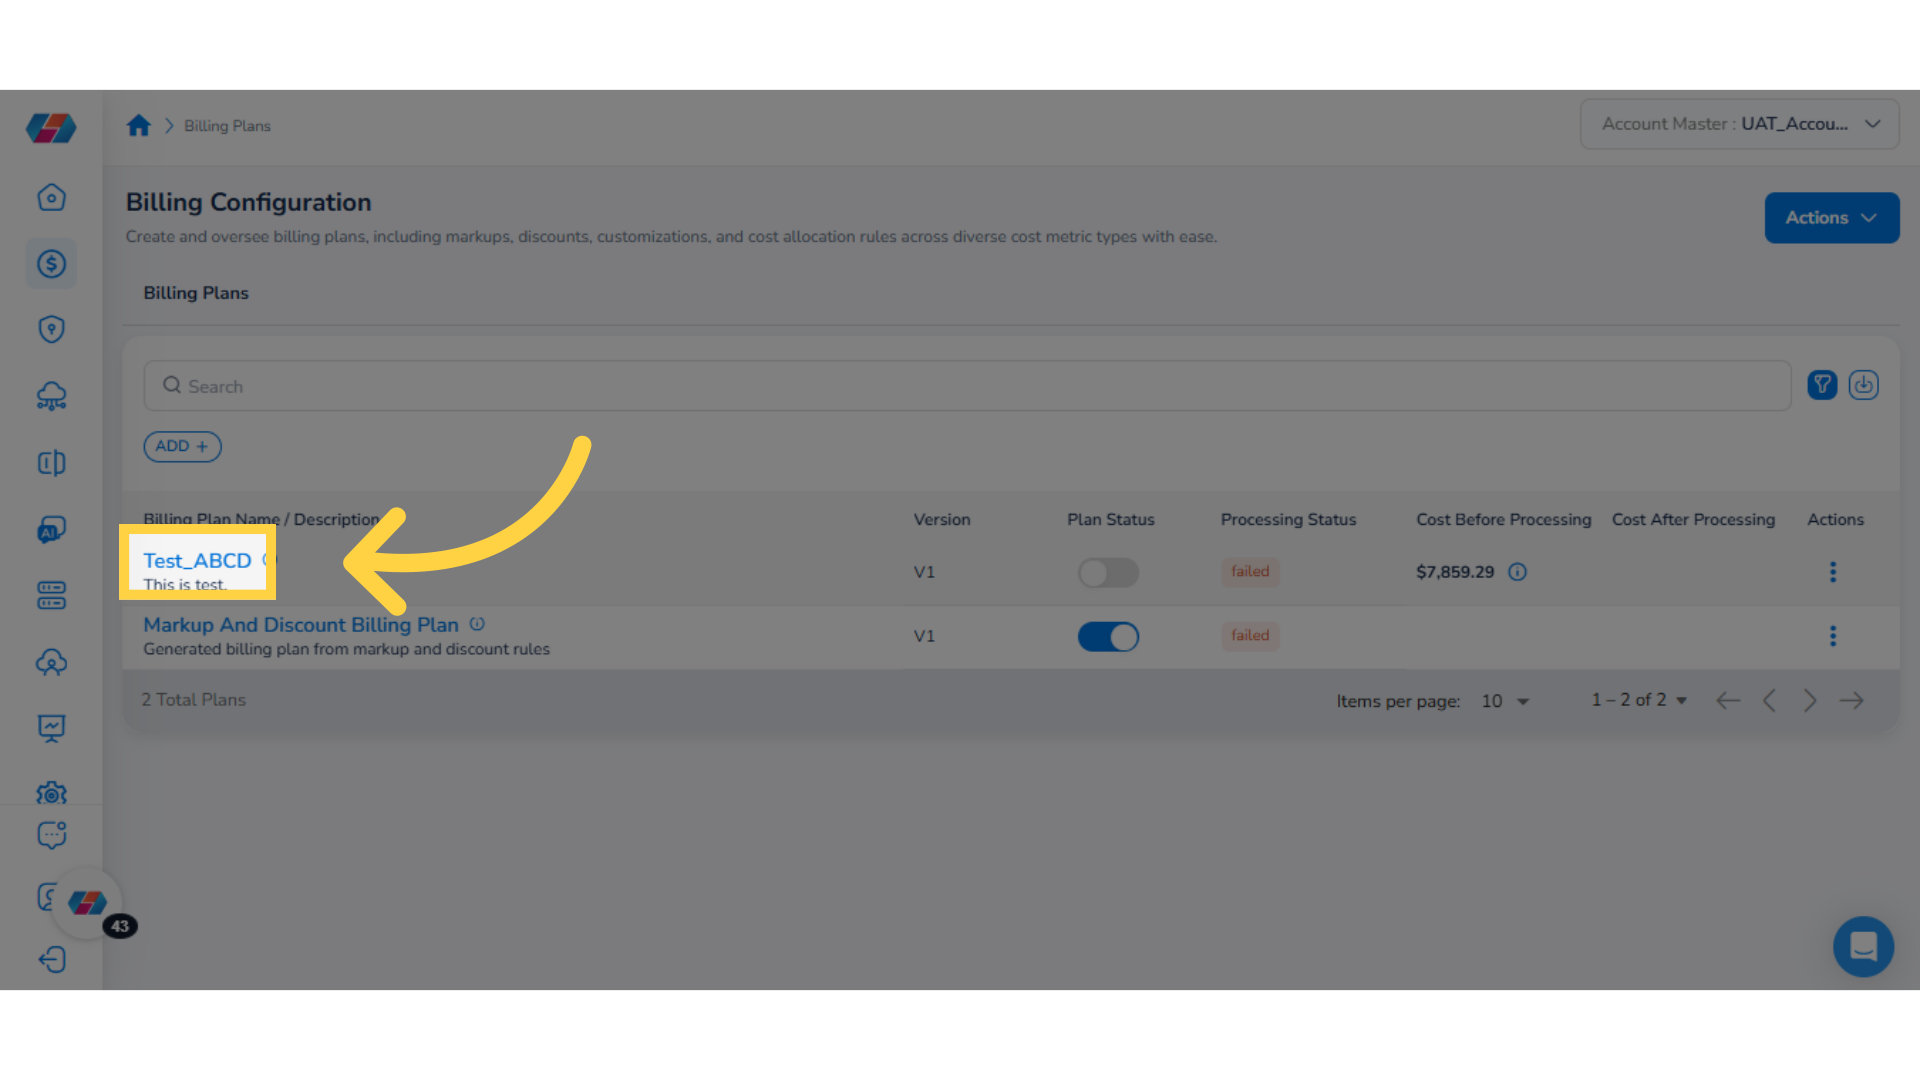
5. View Billing Configuration Page
The Billing Configuration page shows the list of all available Billing Plans. Each Billing Plan contains information about its set markups, discounts, cost allocations, cost metrics, etc.
In the table view containing the available Billing Plans, the following columns and their corresponding values are shown:
- Billing Plan Name/Description
- Version
- Plan Status
- Processing Status
- Cost Before Processing
- Cost After Processing
- and Actions.
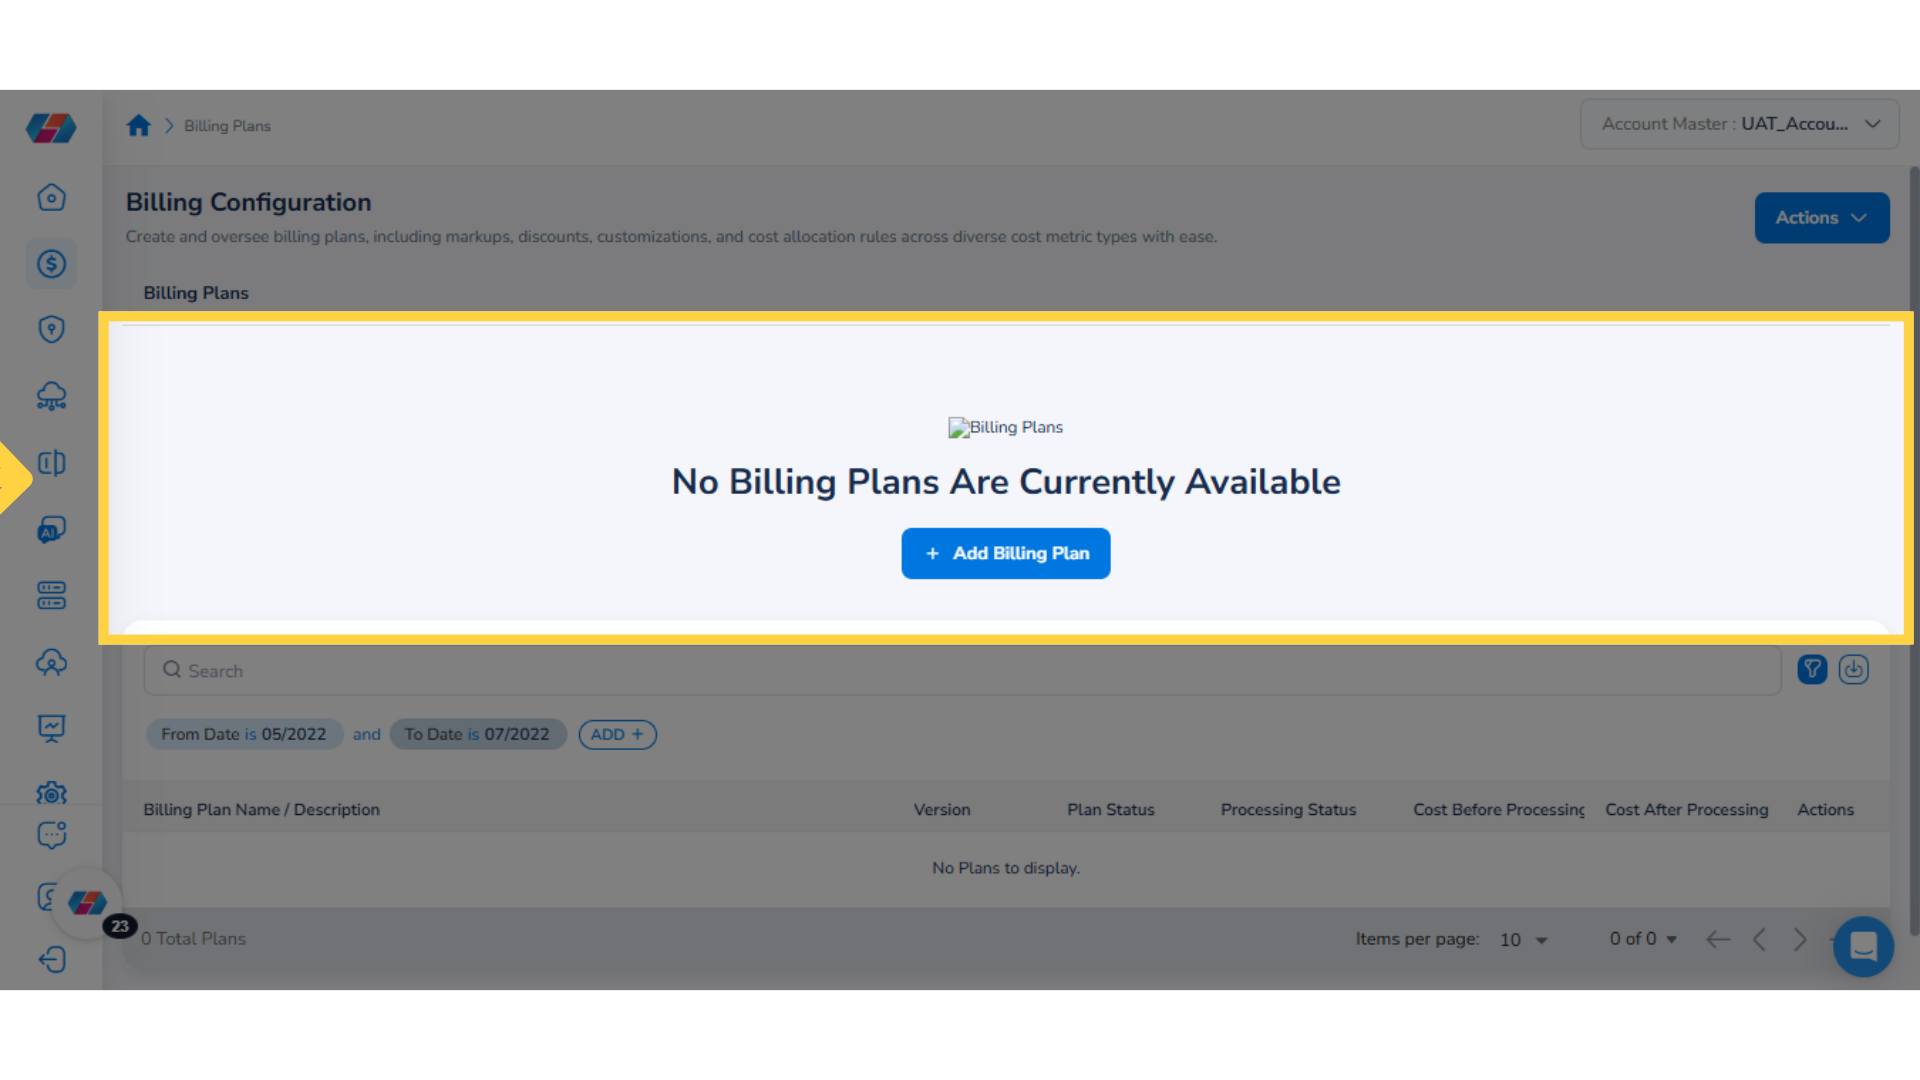
Note: If there are no Billing Plans available, users will see an empty table with a button to add a new Billing Plan.
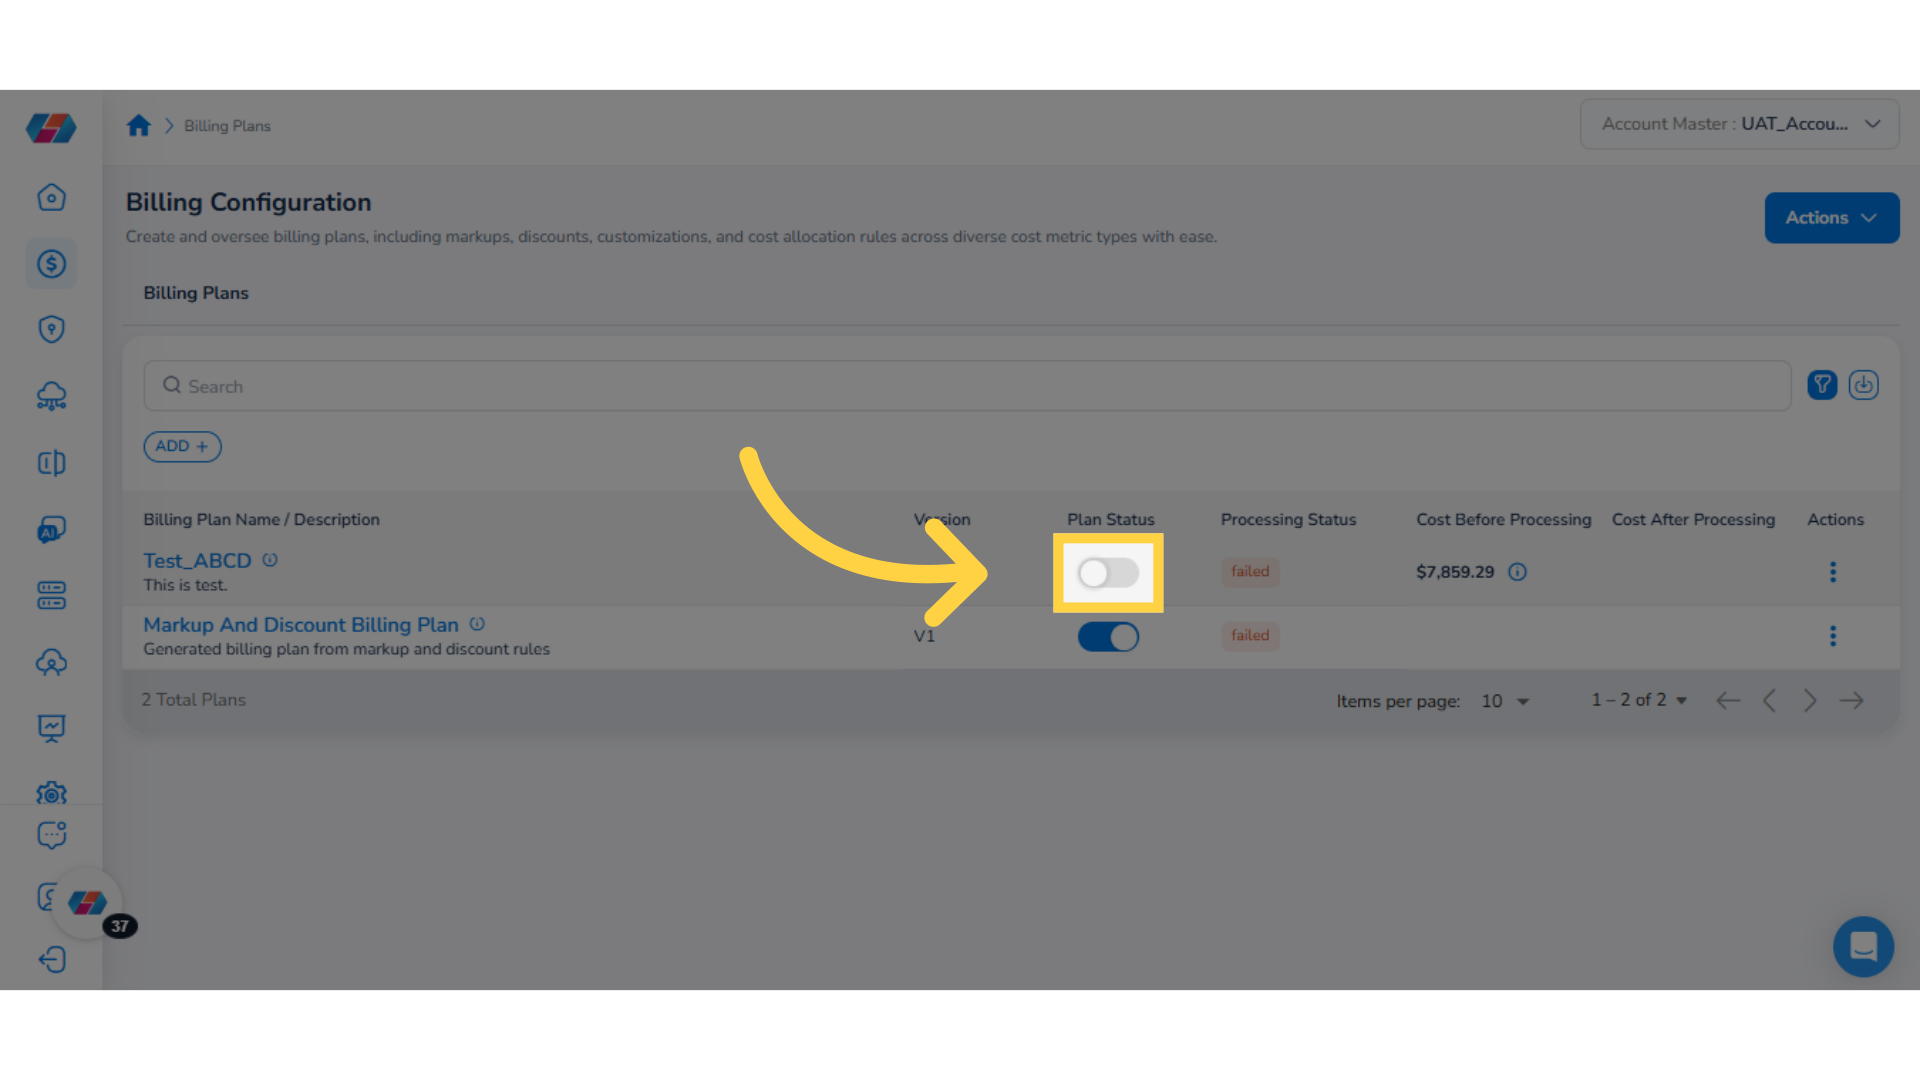
Under the Plan Status column, users can move the slider left/right to enable or disable a Billing Plan.
Under the Actions column, users can click ellipses next to a plan and take any of the following actions -- View, Edit, Clone Plan, or Delete Plan.
Users can use the search box to search for any information related to billing plans. The ADD+ button can be used to add a customized filter to get a more specific view of the available Billing Plans.
6. Add a Billing Plan
To add a new Billing Plan, click Actions > Add Billing Plan. This will take users to a new page where they can follow instructions to fill all the required fields and create a new Billing Plan.
For more details about the steps to add a new Billing Plan, check our [Add a Billing Plan] (https://app.guidde.com/share/playbooks/1kWzwcJk5q74BBvCS73xqz?origin=Y2fNFkKOgeVJJu5VRB8YUi2kVh62) user guide.
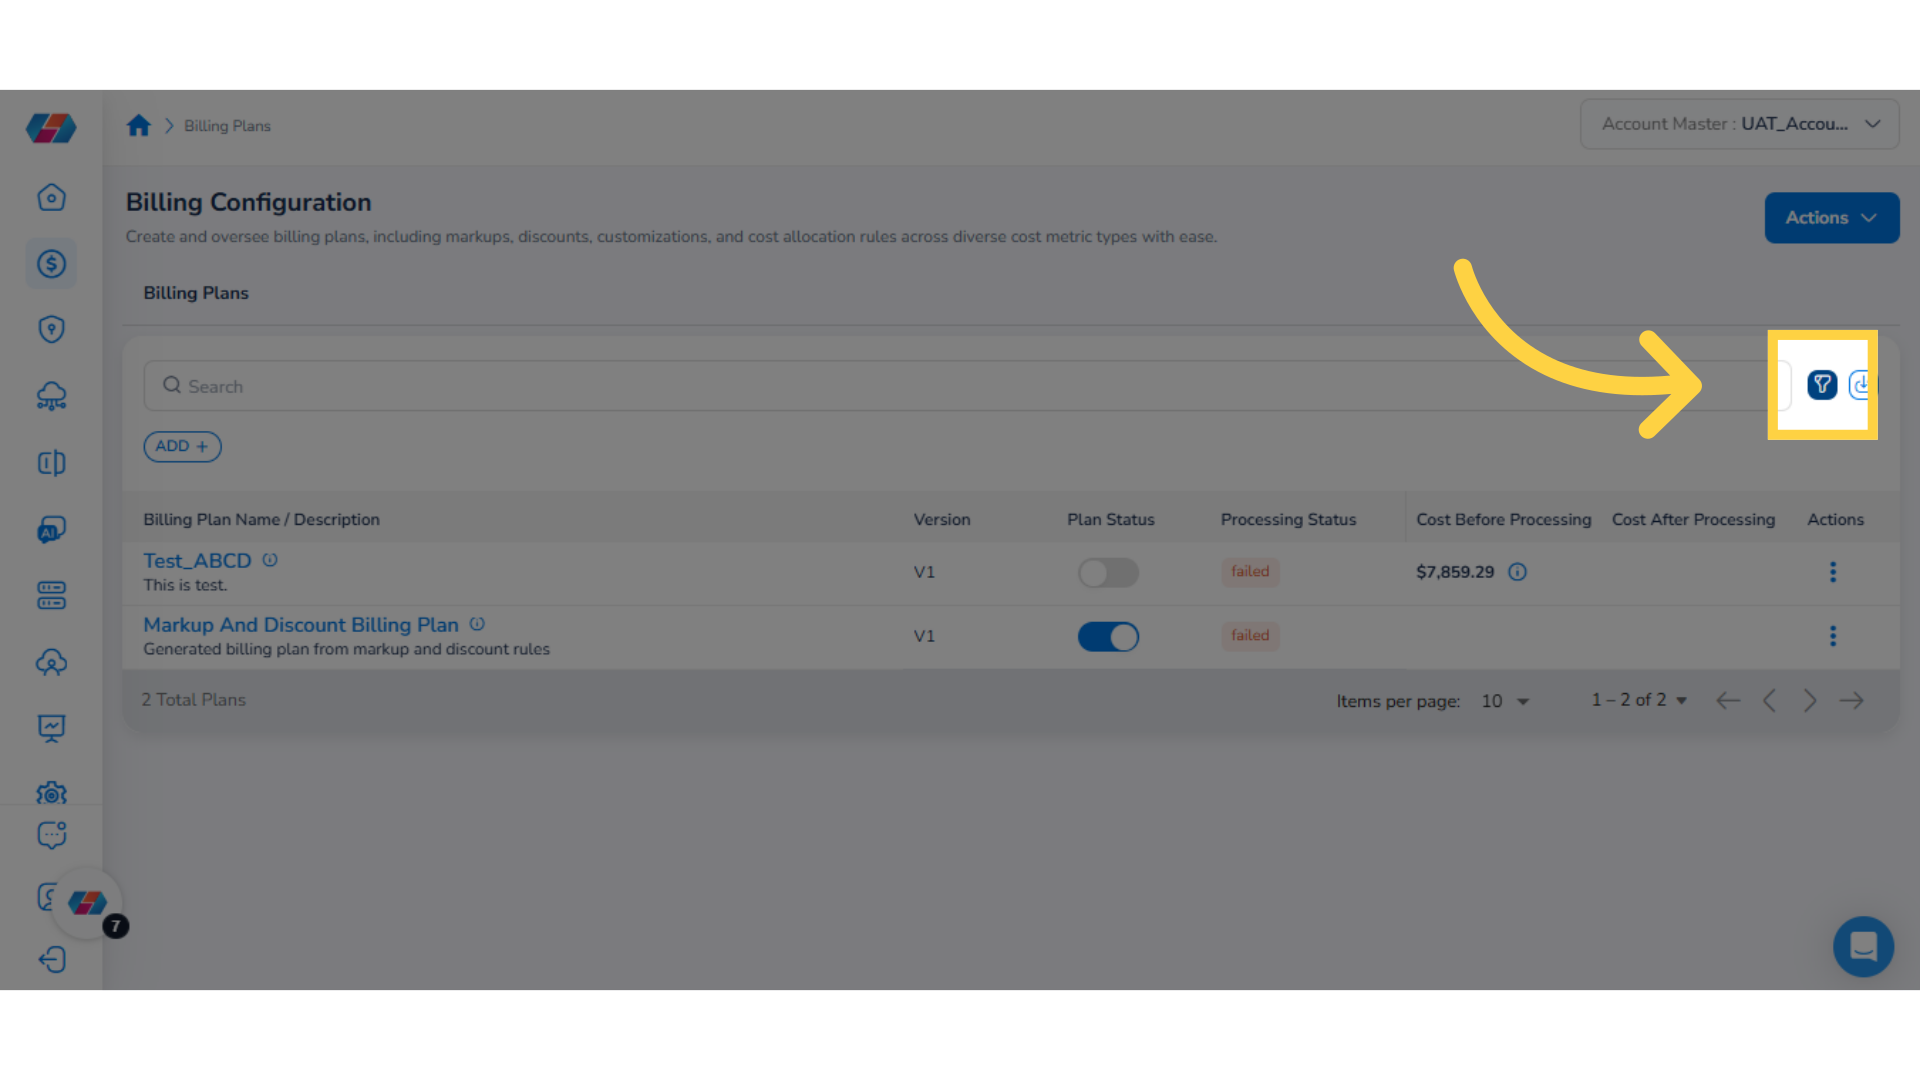
7. View Filters
Click the filter icon to view or hide the active filters, as well the ADD+ button for adding custom filters.
8. Adding Custom Filters
Users can click the ADD+ button to add a custom filter on the Billing Configuration page. This helps to view specific details. To add a custom filter, click ADD+.

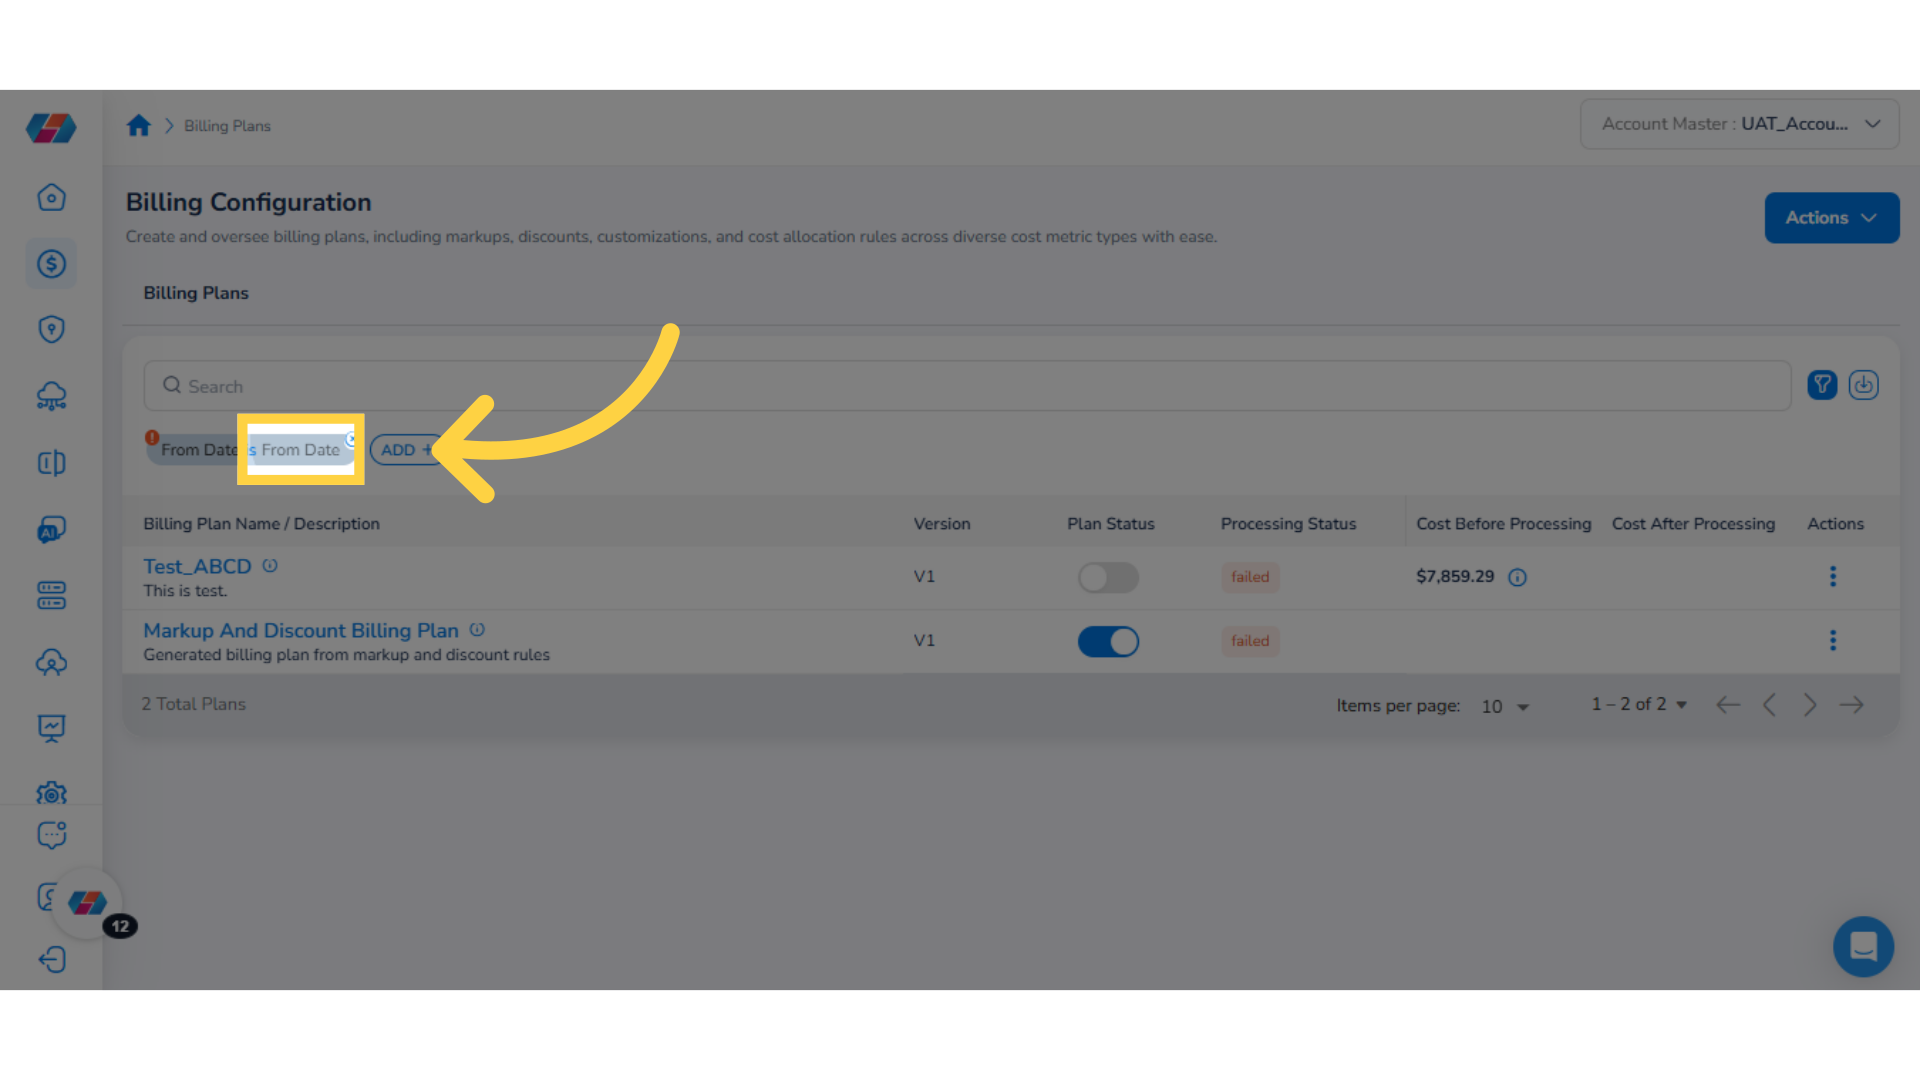
9. Select an Option for the Custom Filter
After clicking ADD+, select an option from the drop-down menu. In this case, select the From Date option.
10. Click the drop-down for "From Date"
In the From Date filter, click the drop-down list, select all relevant options, and then click Ok.
11. Adding Additional Filters
To add more filters, click the ADD+ button again and repeat the above steps.
12. Adding a Billing Plan (if none available)
If there are no Billing Plans available, users will see an empty table with a button to add a new Billing Plan. To add a new Billing Plan, click the button.
13. Removing Filters
To remove a filter, select the cross (X) icon above the custom filter field.
14. Enable/Disable "Plan Status"
Under the Plan Status column, select the slider to move it towards the left or right to enable/disable the plan status for a Billing Plan.
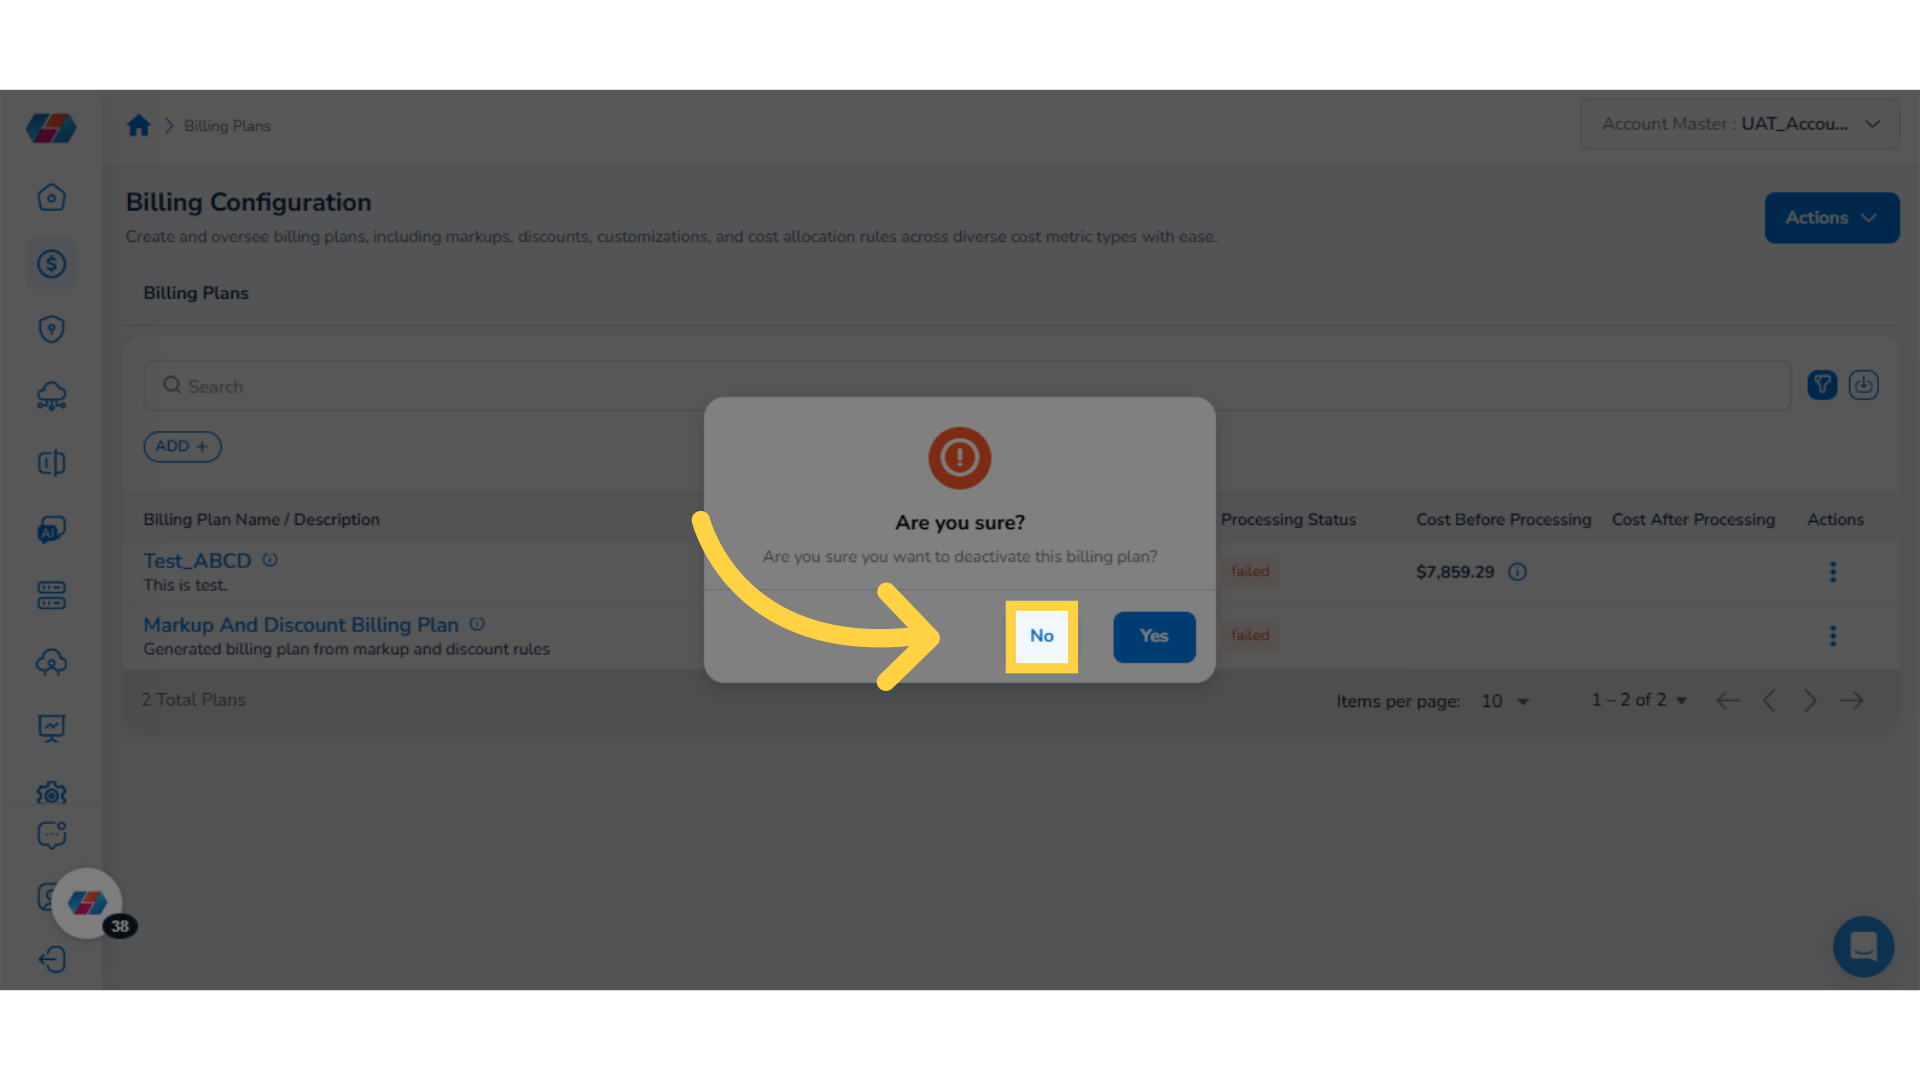
15. Confirm Plan Status Changes
While changing the Plan Status of the Billing Plan, a dialog box appears. Users must select either Yes or No to make or cancel the status update.
16. View Billing Plan Details
Under the Billing Plan Name/Description column, select a Billing Plan name to view more detailed information on a new page.
17. Billing Plan Detail Page
The View Billing Plan Detail page shows an overview of the selected Billing Plan's details in three tabs -- Plan Brief, Scope, and Pricing Rules.
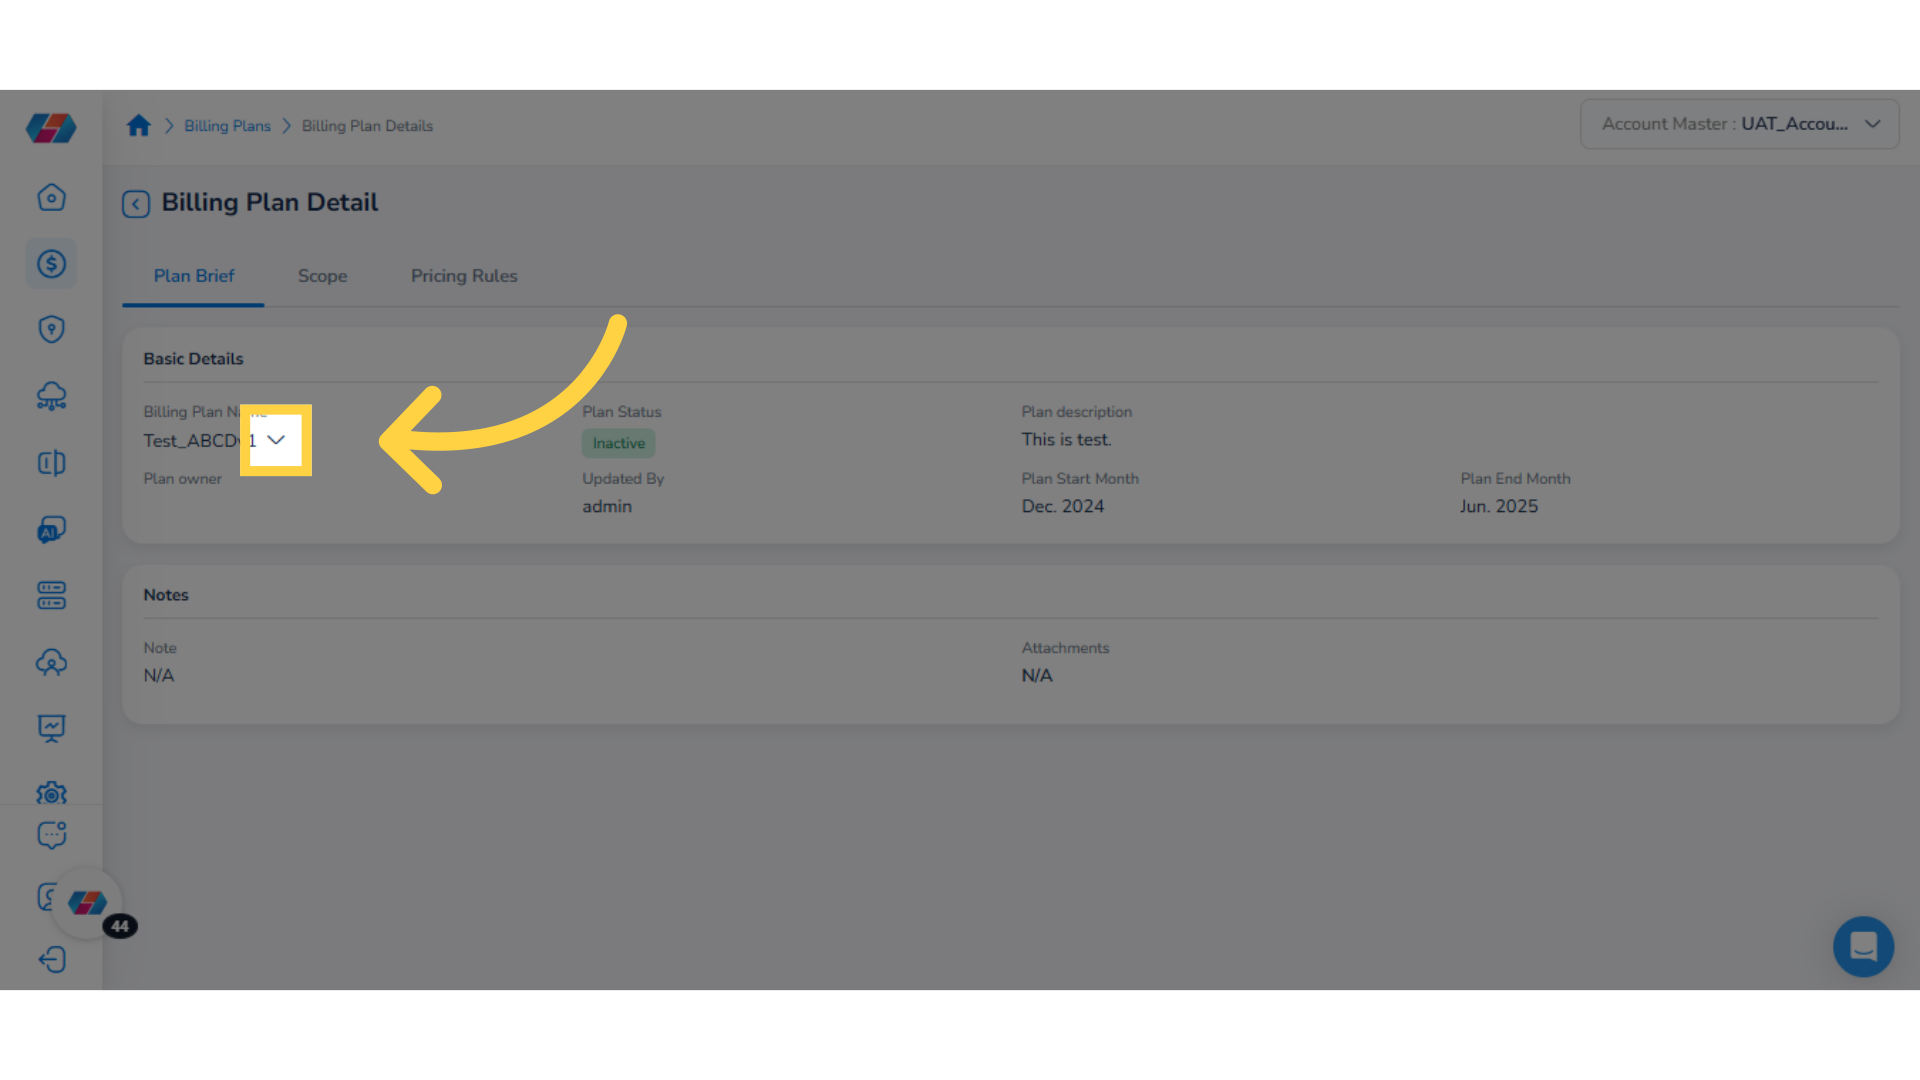
18. Plan Brief, Scope, and Pricing Rules
- View the basic details about the plan in the Plan Brief tab.
- View the Billing Plan scope details in the Scope tab.
- Navigate to the Pricing Rules tab to view pricing details.
19. View Pricing Rule Details
Under the Pricing Rule Name/Description column, select a Pricing Rule name to view further details for it.
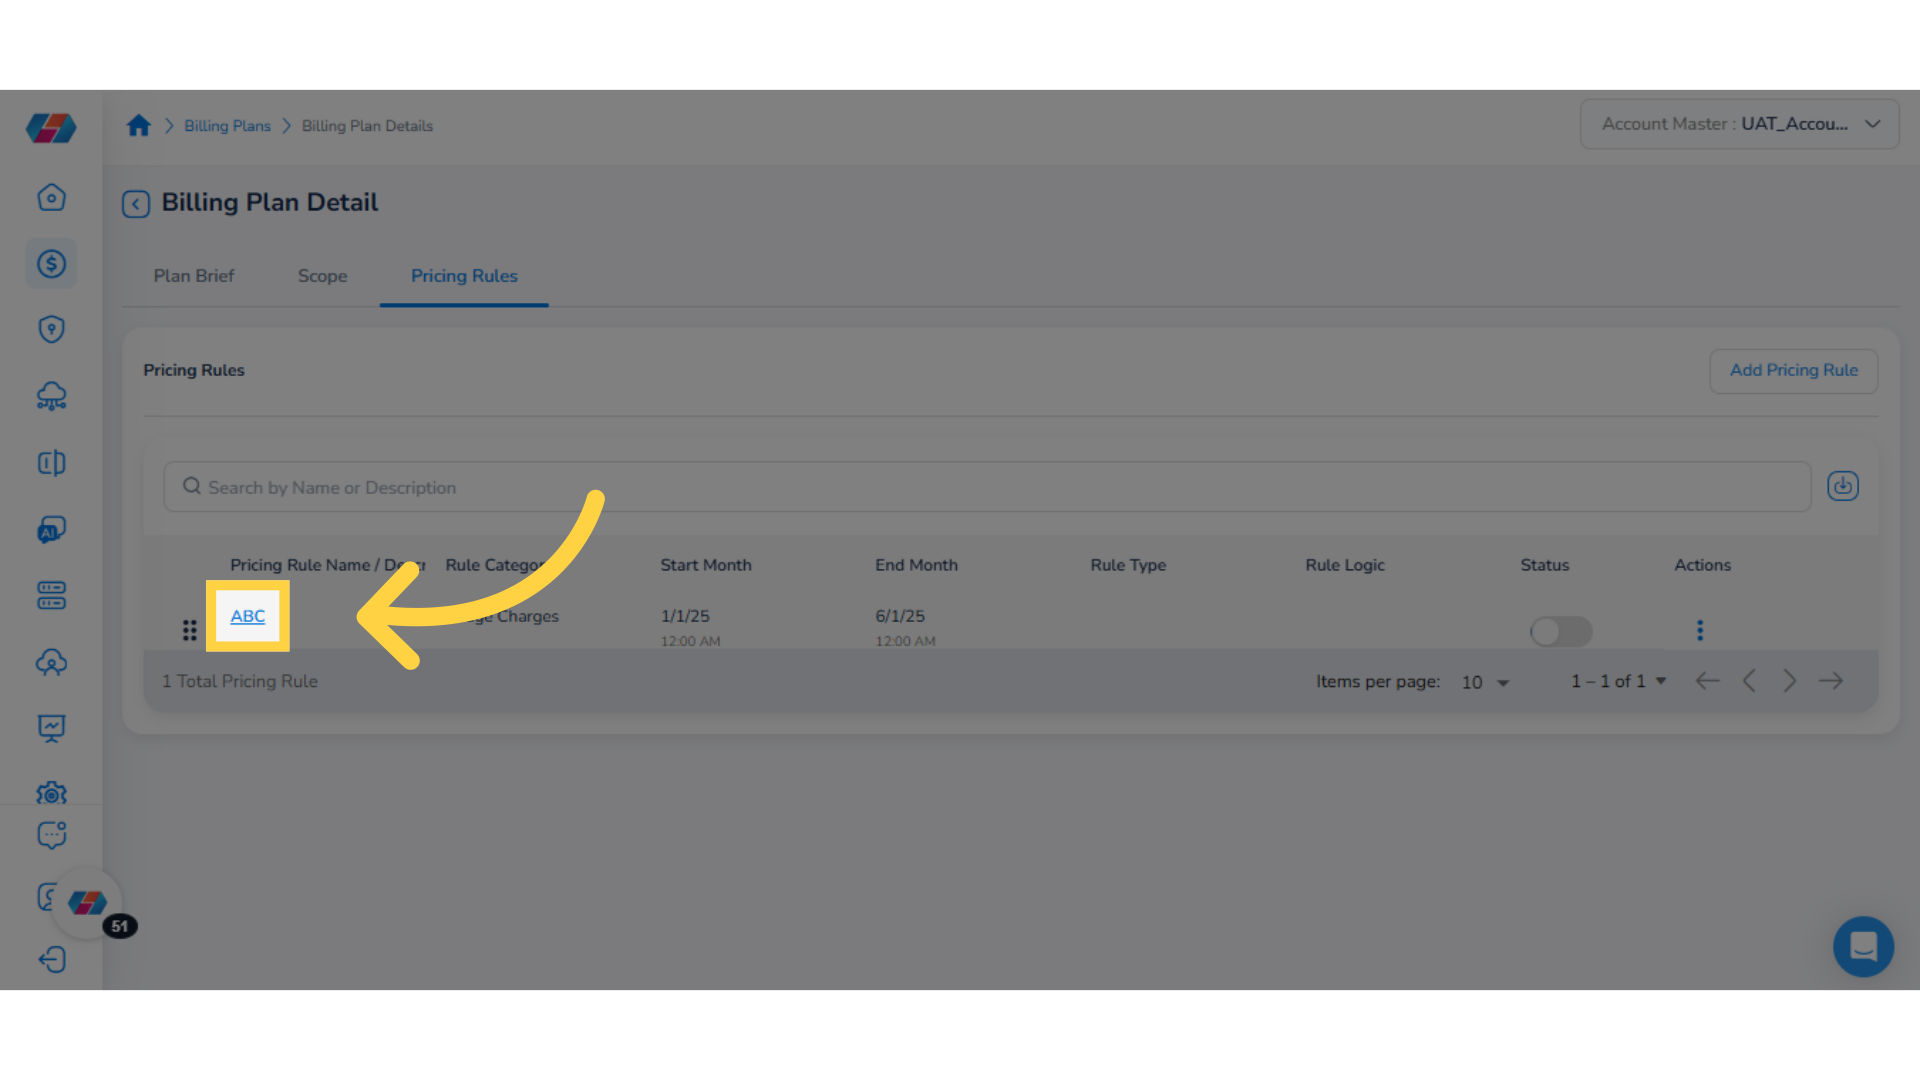
20. Pricing Rule Detail Page
View pricing details in Pricing Rule Detail page. Users can view the Pricing Rule details in three sections:
- Basic Plan Detail
- Rule Scope
- Pricing Adjustment Logic
21. Return to Billing Plan Details Page
Click the back arrow to go back to the Billing Plan Detail page.
22. Change Pricing Rule Status
In the Pricing Rules tab, move the slider under the Status column to enable or disable a Pricing Rule.
23. Pricing Rule Actions
In the Pricing Rules tab, under the Actions column, click the ellipses to select one of the following actions:
- Edit: Select this option to make changes in the Pricing Rule.
- Delete Plan: Select this option to remove a Pricing Rule.
24. Edit a Pricing Rule
To make updates to a pricing rule, select the Edit option.
25. Save Pricing Rule Changes
After making changes in the pricing rule, click Save Pricing Rule.
Note: To delete a Pricing Rule, click Actions > Delete Plan. A dialog box appears where the user needs to click either Yes or No. You can click Yes to confirm the deletion of the pricing rule, else click No.
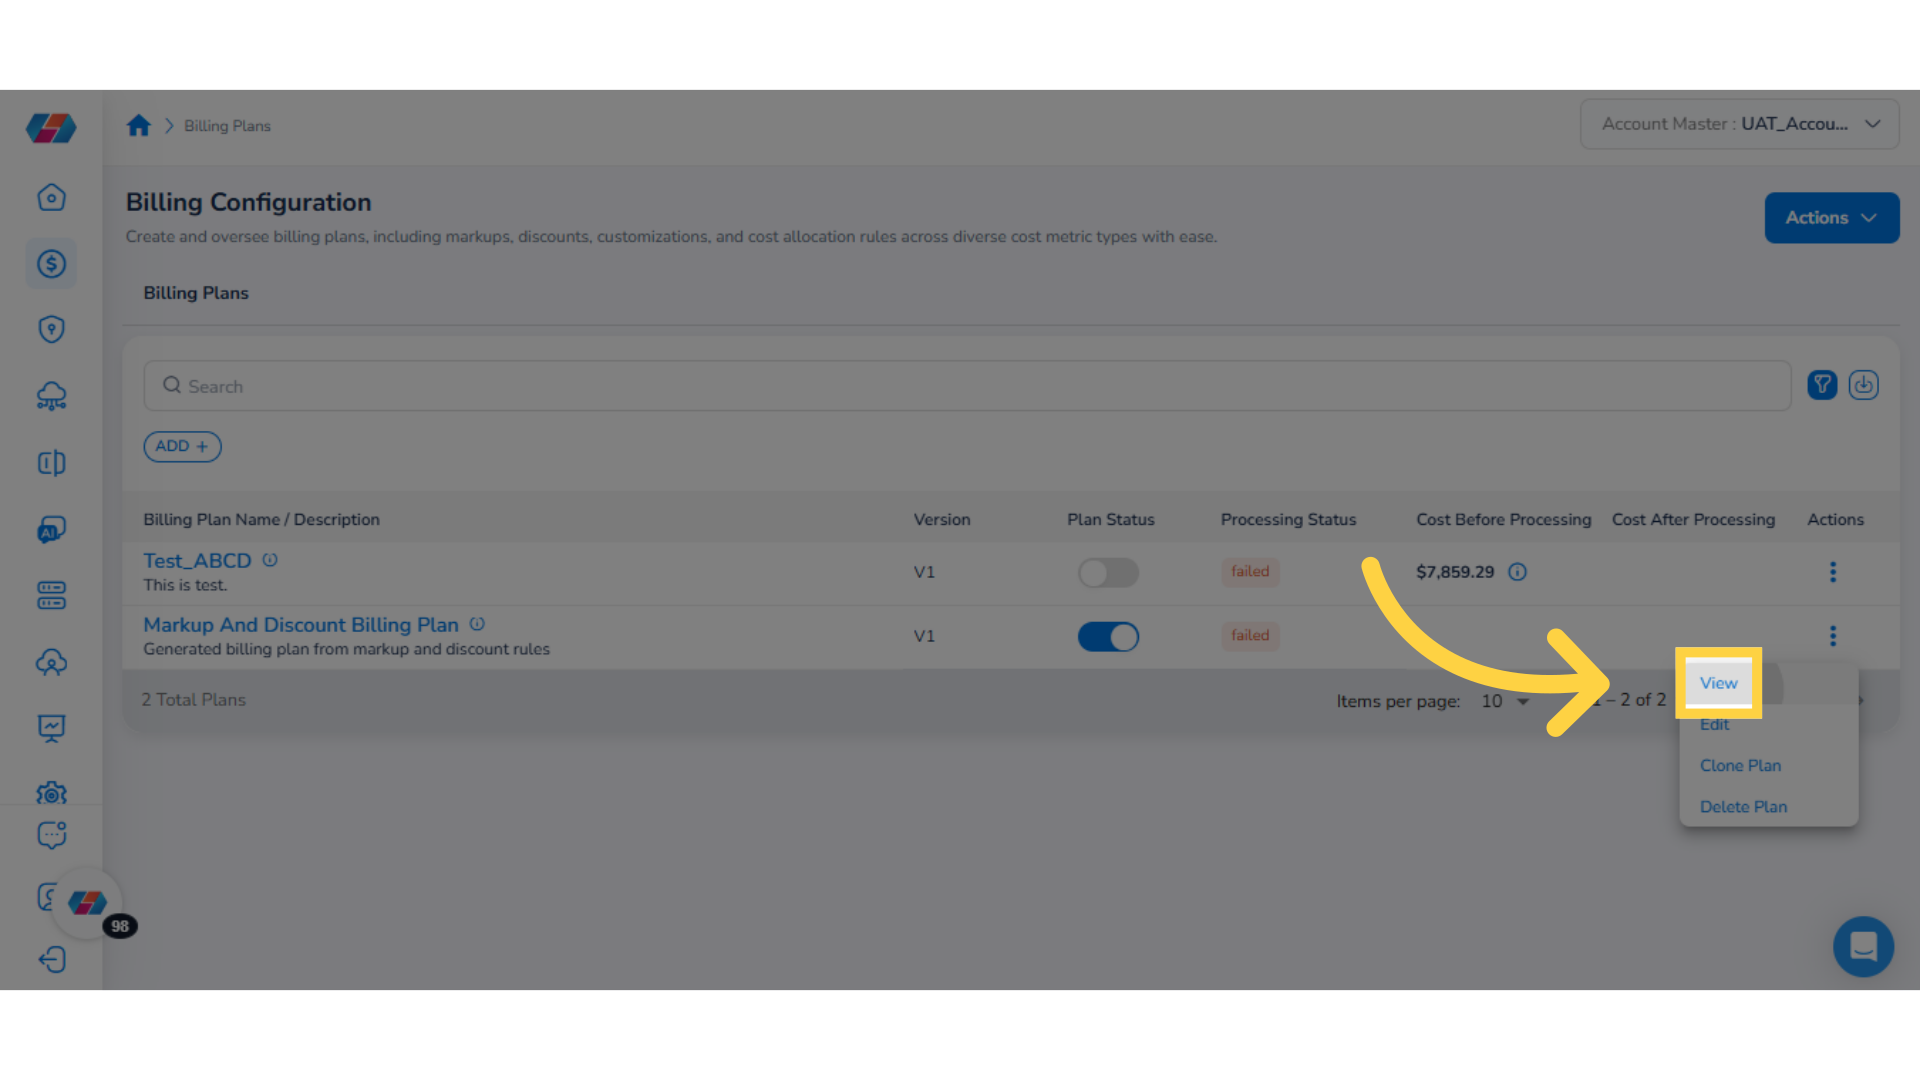
26. Billing Plan Actions
Users can take action on a Billing Plan from the Billing Configuration page. To take an action on a billing plan, under the Actions column, click ellipses corresponding to the billing plan on which action needs to be taken.
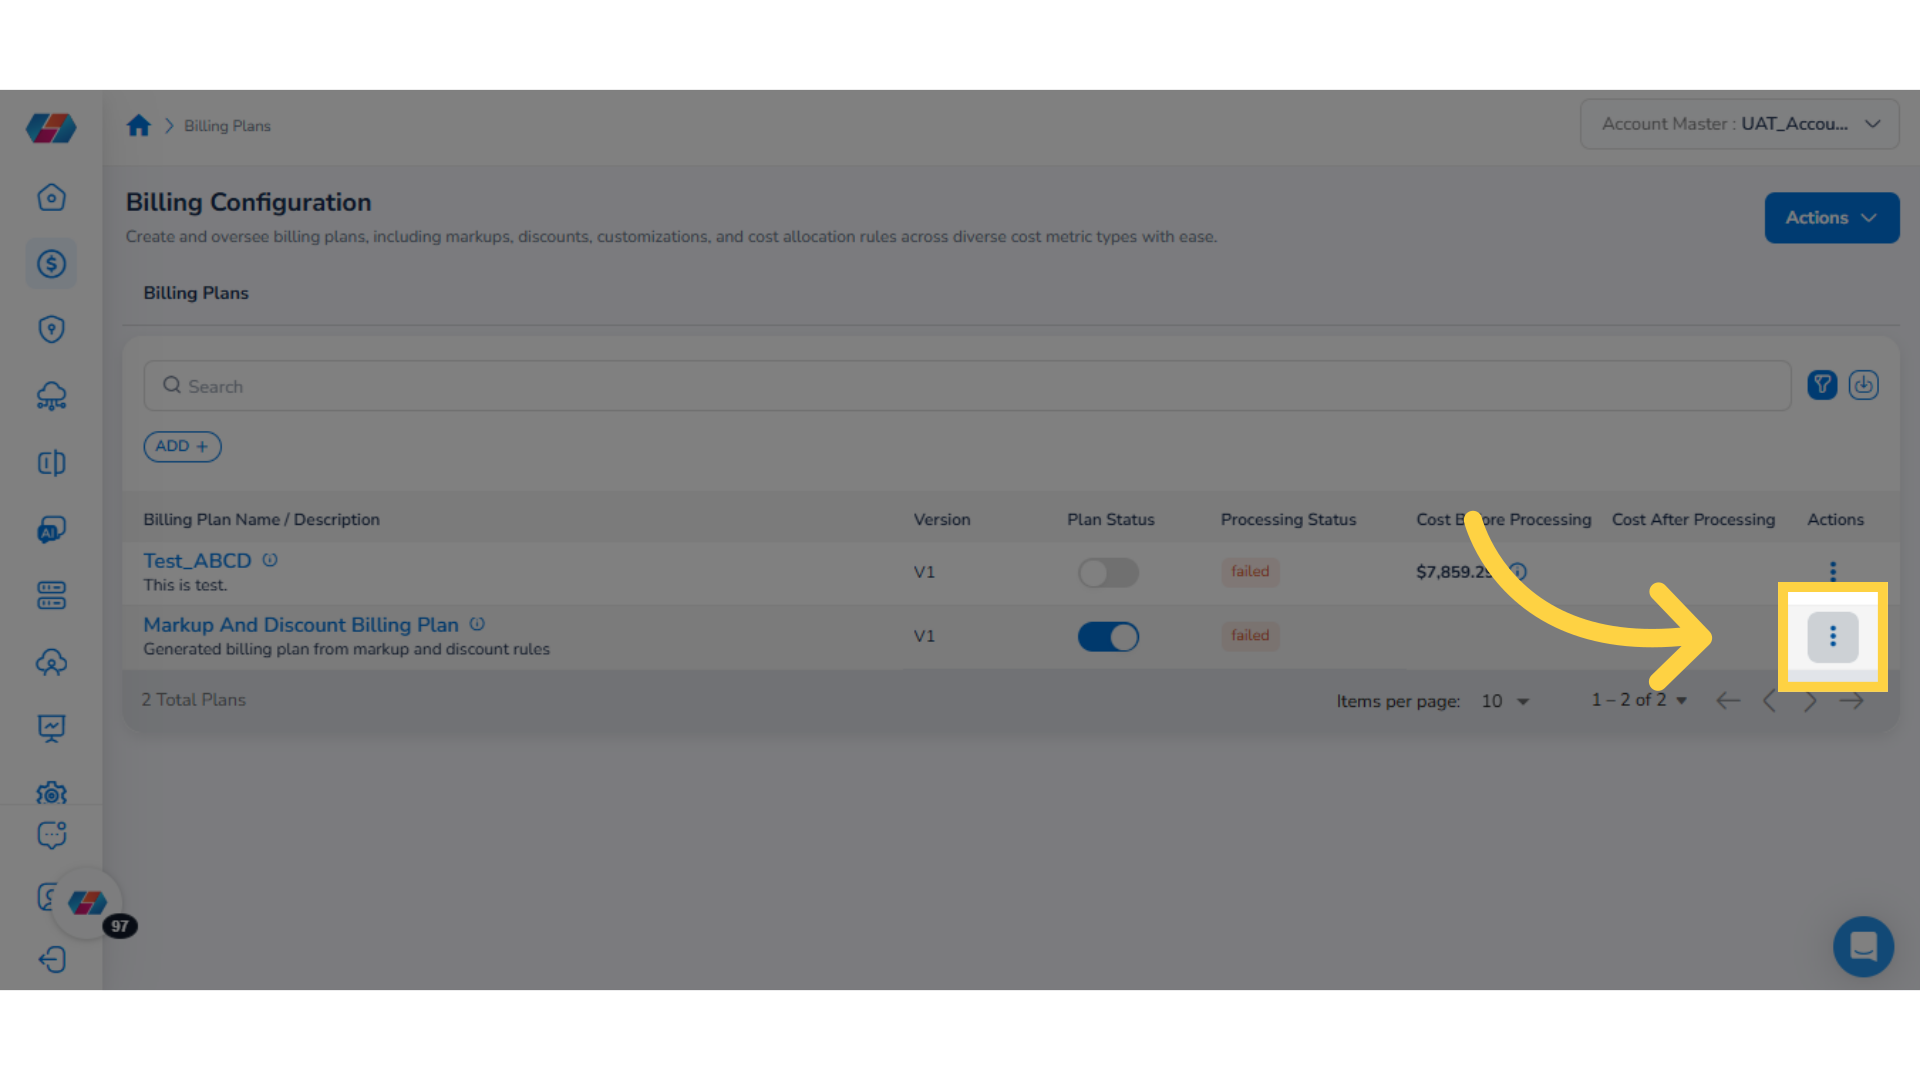
27. Select a Billing Plan Action
Users can take any of the following actions on a Billing Plan:
- View: Users can select this option to view the Billing Plan details.
- Edit: Users can select this option to make changes in the existing Billing Plan.
- Clone Plan: Users can select this option to clone an existing Billing Plan. This option is generally helpful for adding a Billing Plan that will have same details as the existing plan, but with minimal changes in information.
- Delete Plan: Users can select this option to delete an existing Billing Plan. When a user selects this option, a dialog box appears asking for confirmation to delete the plan. Users can click Yes to delete the billing Plan, else they can click No.
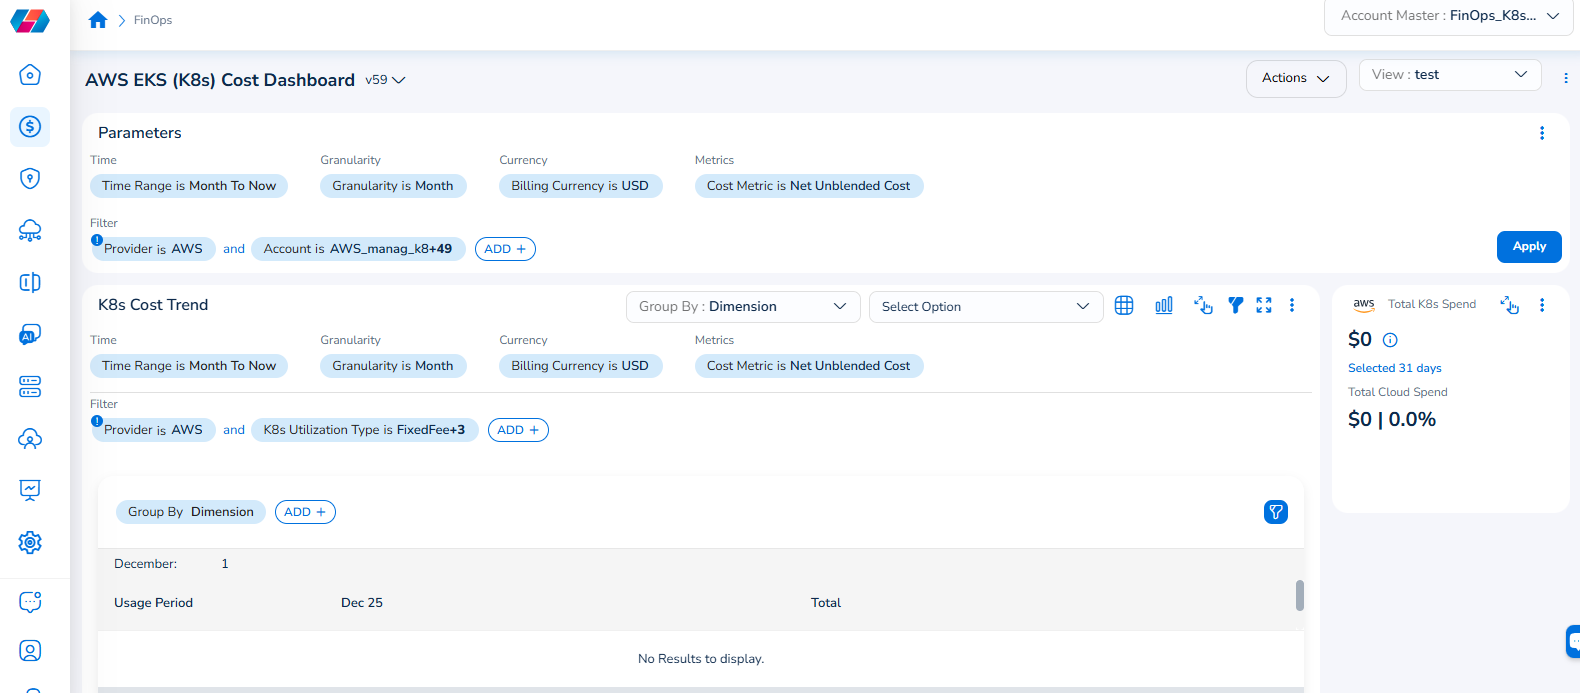
Note that the Cloud Account filter has been renamed to Account, and the Cloud Provider filter has been renamed to Provider.
For example, if you see the dashboard shown in the screenshot below, the Parameters > Filter section shows the Provider filter for which the value selected is AWS.
To add the Account filter, users can click ADD+ and select Account. In the drop-down list that appears, users can select all applicable values, and click Ok. Details will be displayed in widgets as per the selected filter(s).
In every widget that is available within a dashboard, users can click the Filter icon that appears on the top-right side of the widget and view the pre-defined filters. The Provider filter appears as a pre-defined filter. Users can use the ADD+ option to add custom filters and they have the option to add the Account filter from here.
Updated 7 months ago