Tenable Nessus
Introduction
CoreStack integrates with the Tenable Nessus platform to collect vulnerability, compliance, and system data.
Tenable Nessus is a remote security scanning tool which scans your network and raises an alert if it discovers any vulnerabilities that malicious hackers could use to gain access to any computer you have connected to that network. It does this by running over 1,200 checks on a given computer, testing to see if any of these attacks could be used to break into it or otherwise harm it.
This document describes how to use Nessus Cloud Agent for various instances from the CoreStack console, including viewing vulnerability assessment findings.
Minimum Requirements
- Make sure you ask a Tenable Nessus representative to enable your account.
Install Tenable Nessus
Tenable Nessus comes in two parts: a server called nessusd, and a client. The server is the part of Tenable Nessus that runs the tests, and the client is used to tell the server what tests to run on which computers.
The server exists only for Unix/Linux platforms, but there are clients available for Unix/Linux, Windows, and Mac. Therefore, once the server is set up and running, an administrator can run regularly scheduled Tenable Nessus tests using a client written for almost any platform.
To install a Tenable Nessus agent, visit the Tenable website.
Set Up Tenable Nessus Integration in the Platform
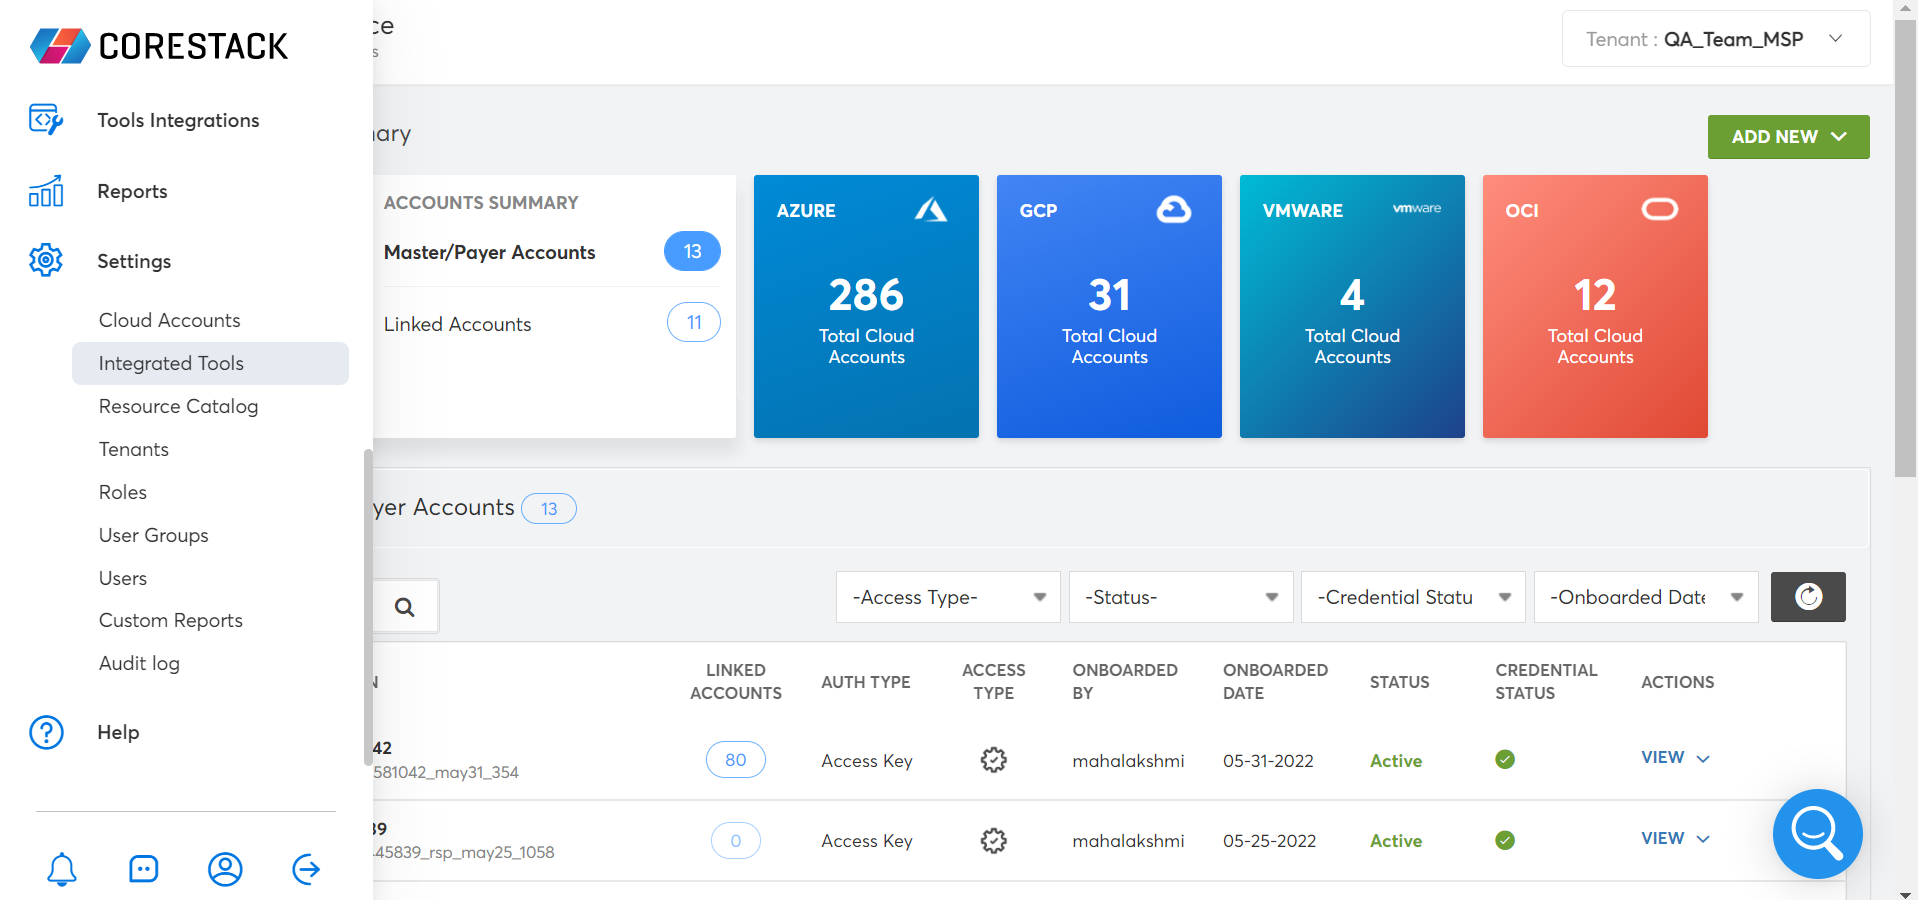
- Click Settings > Integrated Tools.

The Integrated Tools window appears.
-
Click Tenable_Nessus.
-
Click Add Account.
-
After onboarding, select the Service Account Type. If you have any instance in the selected cloud account, you can install a policy agent into the resources.
-
Click Next. Any vulnerabilities data is captured using Tenable Nessus.
- Click the eye icon to see vulnerability details.
You can see vulnerabilities by:
- Accounts
- Resource Type
- Type (Code Execution, SQL Injection, etc.)
Updated 3 months ago