

Policy Exclusions
1. Introduction
With the help of Policy Exclusion feature, users of the CoreStack platform can exclude specific resources from recommendation listings in the Cost Optimizer page, thus enhancing the ability to manage resources based on application and business criticality. Using this feature, bulk recommendations can be skipped at a time for the defined timeframe.
Suggesting to use the content below. Refine it as required, but the introduction should cover the needed details and HOW to can follow next
The Policy Exclusion feature introduces a strategically governed mechanism for filtering out non-actionable or contextually irrelevant recommendations across operational domains. This capability empowers both tenant and account-level administrators with granular control over the recommendation engine’s output, aligning insights more closely with organizational priorities and operational nuances.
Key Capabilities:
Rule-Based Exclusion FrameworkUsers are empowered to define customizable exclusion rules that operate on a scheduled or ad-hoc basis. These rules act as dynamic filters, enabling intelligent suppression of recommendations for resources that are either out of scope or deemed non-impactful.
Multidimensional ApplicabilityThe feature spans across core pillars—Operations, Security, Cost, Access, and Resource classifications—ensuring comprehensive coverage. Cost-based exclusions focus specifically on suppressing cost savings recommendations, with current limitations on "schedule recommendation" exclusions.
Administrative Scope and Governance
Account-Level Rules: Configurable by account administrators, enabling localized control.
Tenant-Level Rules: Governed by tenant administrators, enabling organization-wide policy enforcement.
All applicable rules, whether tenant or account-based, are applied at the time of recommendation generation to ensure contextual relevance.
Filter-Driven Rule DefinitionEach rule encapsulates a set of filters such as cloud account, resource ID, tags, region and so on. This precision targeting enhances operational flexibility and optimizes the recommendation filtering process.
Temporal EffectivenessRules are defined with explicit effective periods—ranging from continuous application ("Always") to bounded intervals (e.g., Start-End Date) and pre-set durations (e.g., 7 days)—enabling time-aware policy enforcement.
Comprehensive Rule ManagementAdministrators can perform a full lifecycle of actions on each rule:
View & Edit – Access and modify rule configurations
Activate/Inactivate – Manage rule state transitions
Delete – Remove obsolete or redundant rules
View Log – Audit and trace rule activity for governance
Apply All Rule – Retroactively enforce rules against existing recommendations, eliminating the need for policy reassessment runs
2. Click "Governance".
On the left navigation pane, click Governance.
3. Click "Guardrails".
Click Guardrails.
4. Click "Policy Exclusions".
Click Policy Exclusions from the menu.
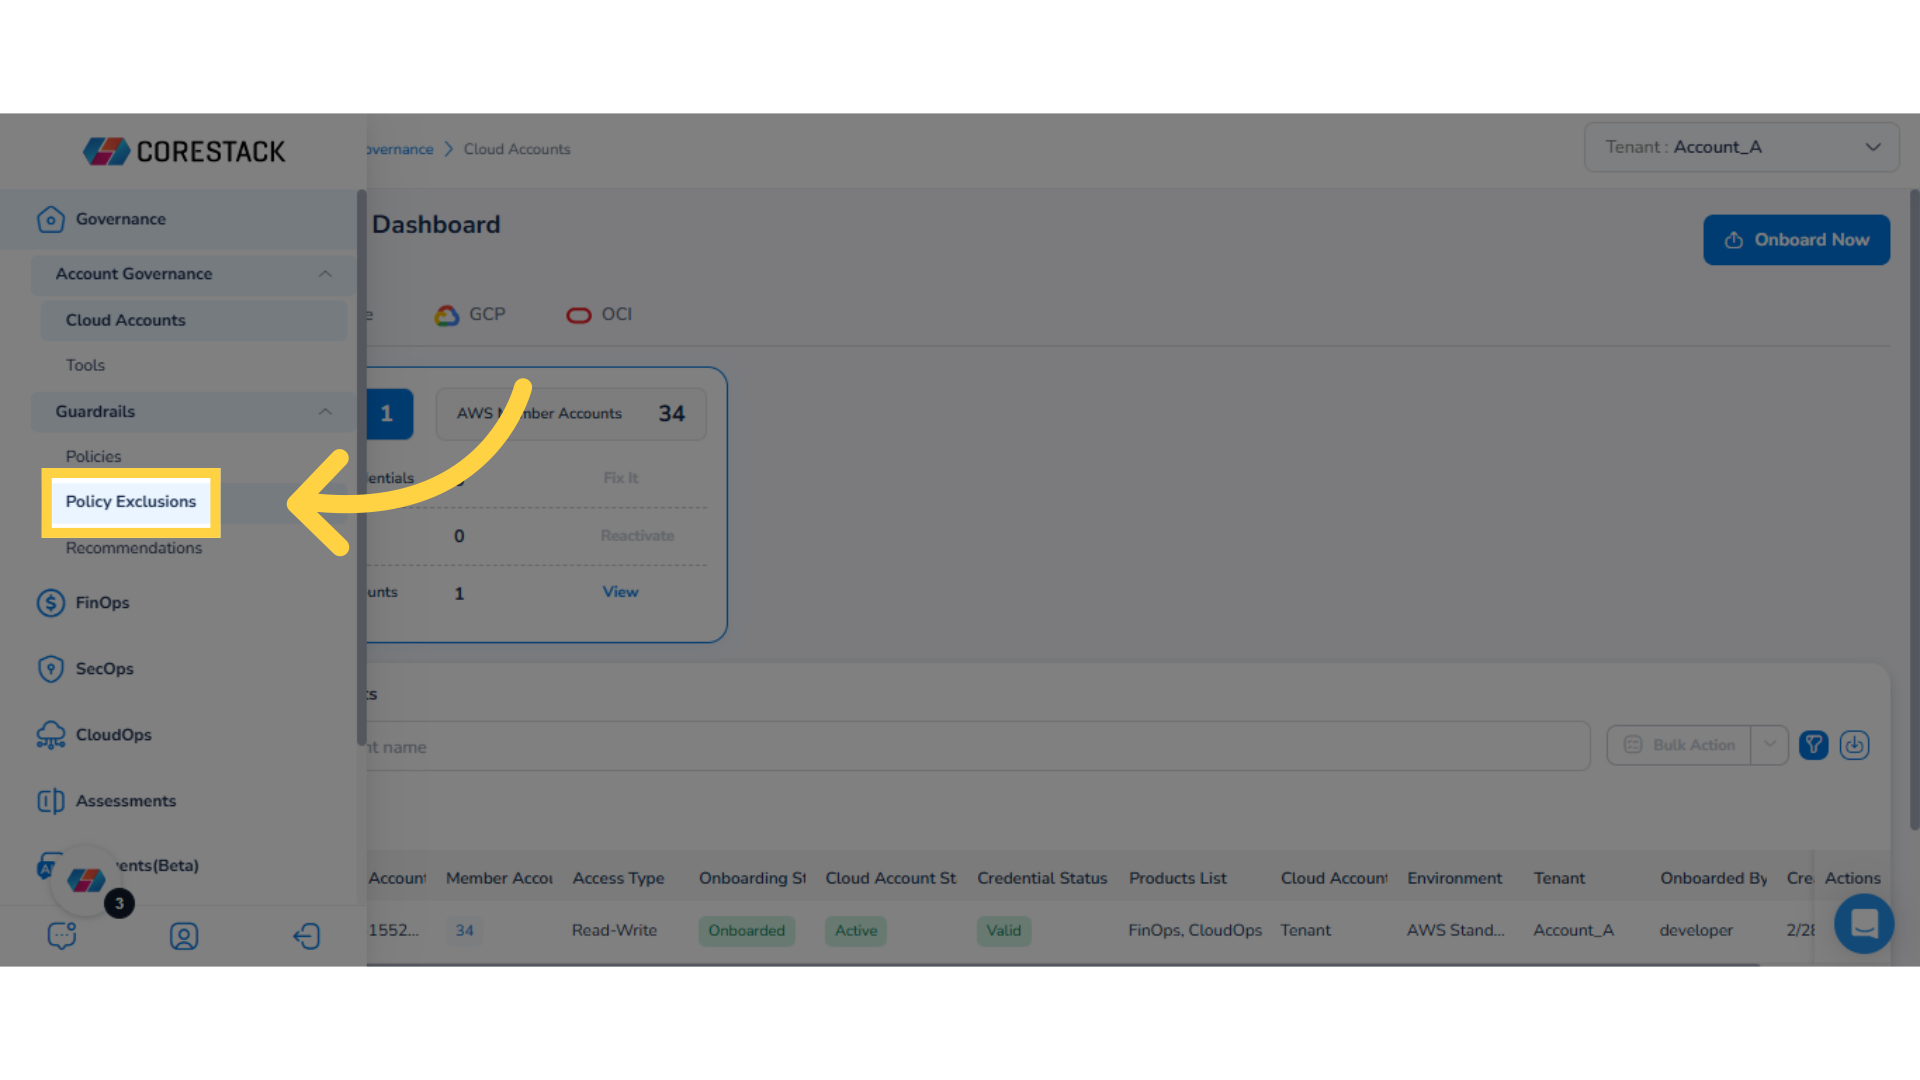
5. Click "+ Add Rule".
The Policy Exclusions screen shows various columns with rule details. Users can click on Add Rule to add custom filters and refine their view as per policy classifications. Users can use the search box to search for a rule and they can also take action on an existing rule. To define a new policy exclusion rule, click 'Add Rule'.
6. Click "Rule Name".
In the Rule Name box, type the name of the rule.
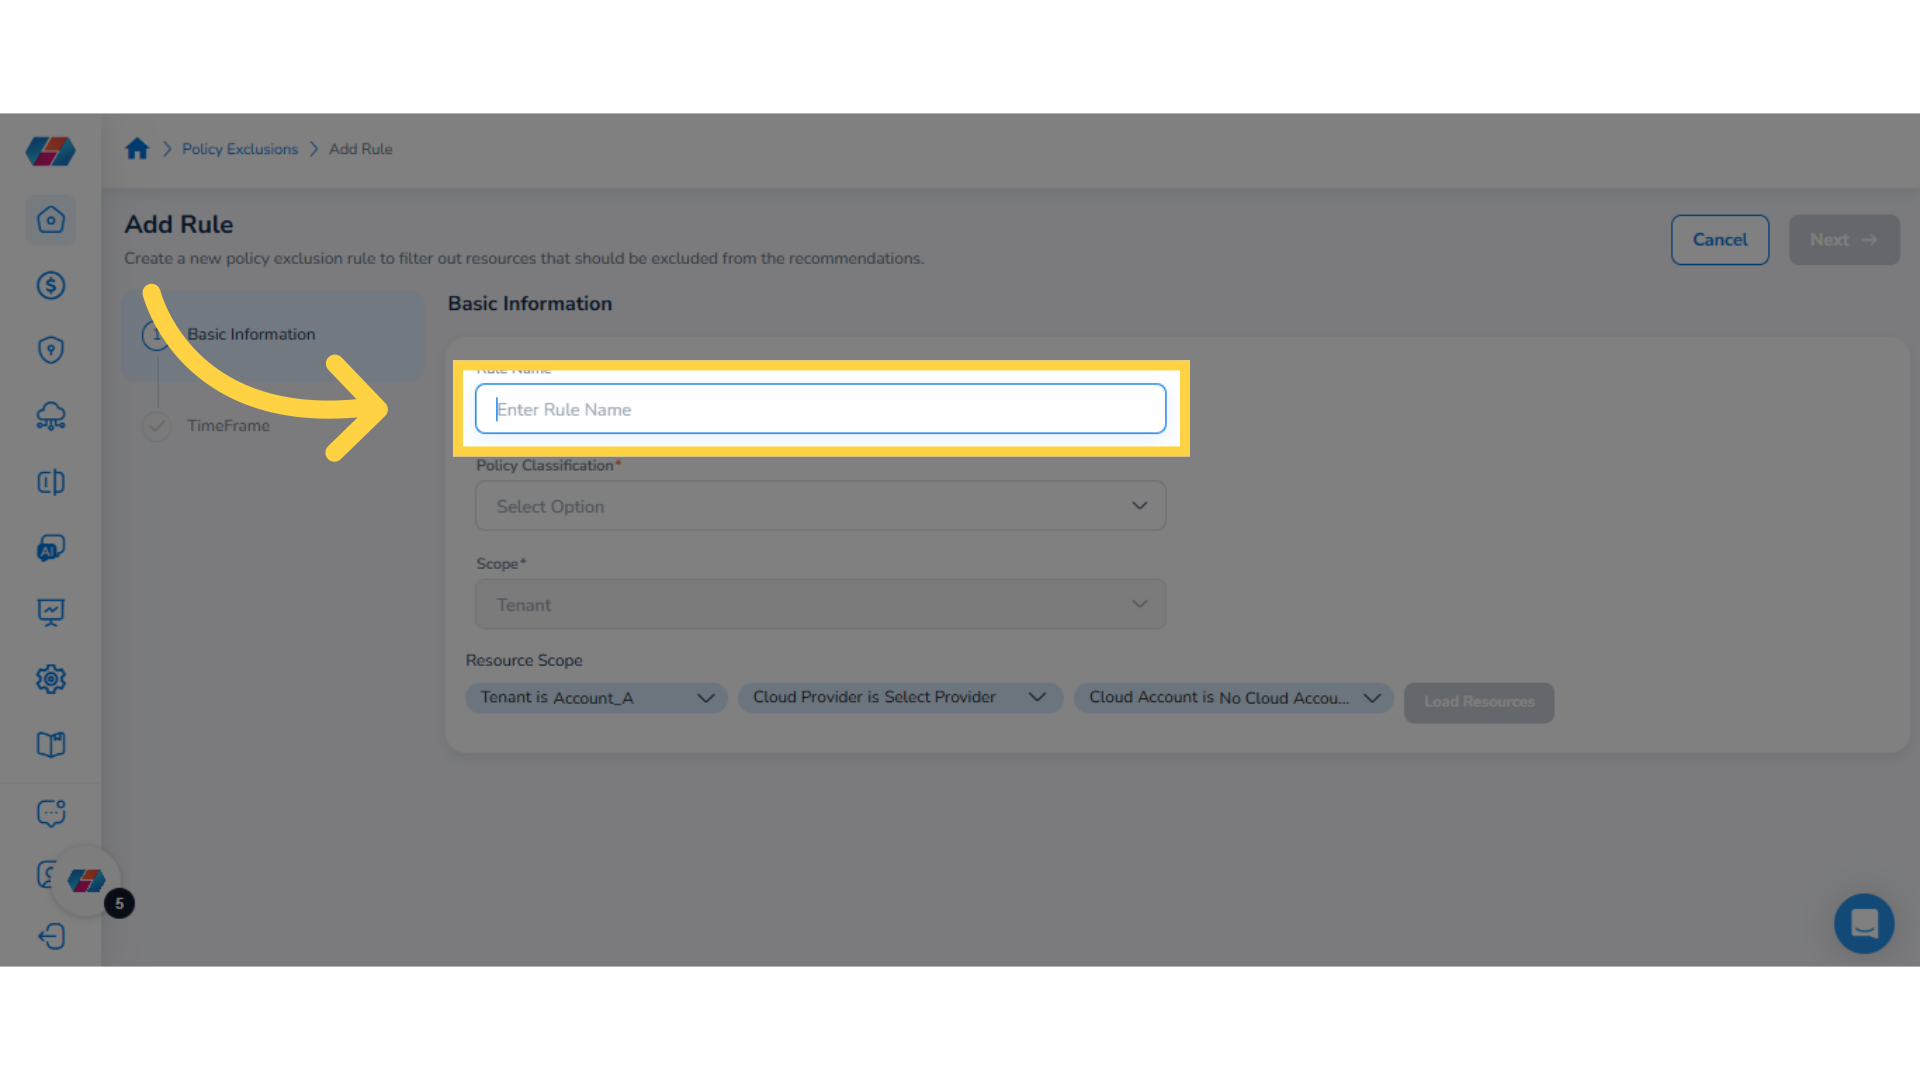
7. Select "Policy Classification".
In the Policy Classification drop-down list, click to select the relevant options and/or sub-options. The rule will be created and applied based on the selected classifications.
8. Expand the options to view sub-options.
Policy classifications are grouped in the drop-down list. When you click the drop-down list, you can see that the policy classifications are grouped and you can expand a section to view the sub-options within it. Select all the applicable options.
9. Click "Ok".
Click Ok to confirm your selection.
10. Select Resource Scope.
The Resource Scope section shows Tenant, Cloud Provider, and Cloud Account filters. Users need to select appropriate options in these filters to view refined resources.
11. Select option in "Tenant Account" filter.
In the Tenant Account drop-down list, select the relevant options, and then click Ok.
These are optional steps. User can choose Tenant & Tags, Tenant & Cloud Account and create a rule
12. Select an option in "Cloud Provider" filter.
Click the Cloud Provider drop-down list and select the cloud provider.
These are optional steps. User can choose Tenant & Tags, Tenant & Cloud Account and create a rule
13. Select options in "Cloud Accounts" filter.
Click the Cloud Accounts drop-down and select applicable options. Click Ok to finalize your selection.
These are optional steps. User can choose Tenant & Tags, Tenant & Cloud Account and create a rule
14. Click "Load Resources".
Click Load Resources to view the resources as per the applied filters.
15. View "From Recommendation".
The "From Recommendation" tab shows the resources from the recommendation that match the resource scope filters defined above.
16. View "From Inventory".
The "From Inventory" tab shows the resources from the inventory that match the resource scope filters defined above.
17. Click "ADD+".
To apply custom filter, click 'Add' and then you need to select an option from the list that is shown. After that, select values for the custom filter, and click Ok.
18. Select "Region".
For example, click Add and select Region. Then select all relevant regions and click Ok.
This is an optional step. User can choose Tenant & Tags, Tenant & Cloud Account and create a rule
19. Click "Next".
Click Next to go to the next page.
20. Select Timeframe
In the Timeframe field, select either Always or Days. Policy exclusion will happen as per the selected timeframe.
21. Select "Always".
If you select Always, then add details in the Rule Note text box.
22. Select "Days".
If you select the timeframe as Days, then in the Select Days drop-down list, select an appropriate option as per which policy exclusion will happen. If you select the option Custom Range from the the Select Days drop-down list, then fill the Start Date and End Date fields. The Start Date and End Date fields are enabled only for the Custom Range option and are disabled for the rest of the options. To select the Start Date and End Date, click the calendar icon and select the custom dates.
23. Click "Save Rule".
Click Save Rule to save the policy exclusion rule. The saved rule appears on the Policy Exclusions page.
24. Click ellipses.
After a policy exclusion rule is created, users can can edit an existing rule, make an existing rule inactive, delete a rule, create a duplicate copy of the rule, and view log details. To take an action, click the ellipses corresponding to a policy exclusion rule and select an action.
25. Click "Edit Rule".
To make changes in an existing rule, under the Action column, click ellipses and select Edit Rule.
26. Make updates and save the changes.
Make the updates in the required fields and click Save Rule to save the changes.
27. Click "Inactivate".
Click the ellipses under the Action column and select Inactivate. A dialog box appears asking for confirmation to inactivate the selected policy exclusion rule. You can click Yes to confirm the inactivation or you can click No to discard the action.
28. Select "Duplicate".
Under the Action column, click ellipses and select Duplicate. This action creates a duplicate copy of the selected rule.
29. Make updates and save rule.
The Duplicate option is generally used to create a copy of an existing policy and then few changes are made to add it as a new rule. While using the Duplicate option, make all the policy changes and then save it.
30. Select "View Log".
Click the ellipses under the Action column and select View Log. You can now view the log details.
31. Select "Delete".
Click ellipses under the Action column and select Delete to remove a rule. A dialog box appears asking for confirmation to delete the selected rule. You can select Yes to confirm the deletion or you can click No to discard the action.
This guide covered navigating through Policy Exclusions in CoreStack, setting rules, and taking actions effectively. Follow the instructions to optimize the configuration process seamlessly.
Updated 9 months ago