

CSP Customer to Tenant Access
Setting up Customer as a Tenant
To setup a CSP Customer as a tenant in the platform, follow the steps below:
-
Login as an Account Admin.
-
Navigate to Governance > Account Governance > Cloud Accounts > Azure tab > Microsoft Partner Agreements (CSP). The default tenant for the respective account appears.
-
To view the list of Microsoft Partner Agreement Customers (CSP) accounts: under the Customers column in the table grid > click the number that appears with a hyperlink > Customers tab.

Users can now view a table with details about CSP accounts, customer IDs, customer names, and subscription details.
-
Click a specific CSP account to view details of the respective CSP account customers and subscription details.

-
Select a customer name that you want to create as a tenant and then in the Actions column, click ellipsis > Create Tenant.
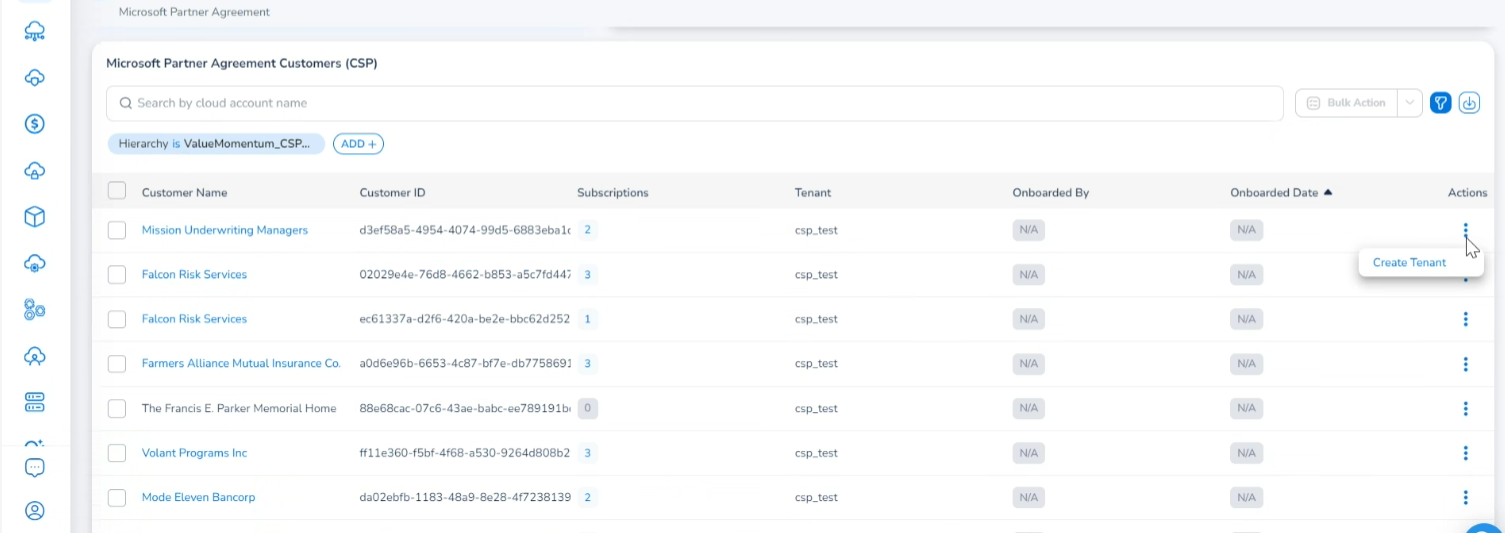
-
A dialog box appears asking if you would like to create the tenant or not. Click Yes to create the tenant, else click No.
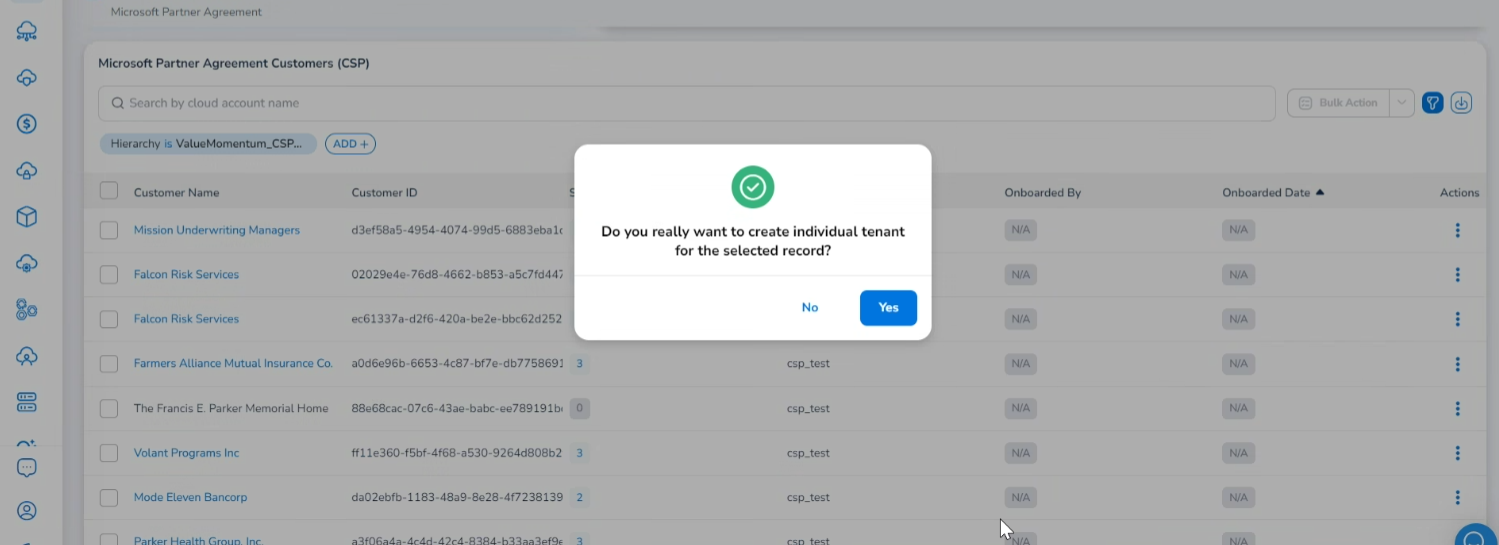
A tenant is now created using the corresponding customer and you can view it as a new record.
- Logout and login back to see changes to tenant additions. The newly added tenant appears, and you can navigate to the new tenant.
You can use the Tenant list at the top-right corner of the screen to select another tenant.
The subscriptions under a particular customer are made available to the newly created tenant.
Updated 8 months ago