

JIRA Service Management - Configure Tenant Level Settings
Configuring Tenant Level Settings
This guide explains about configuring tenant-level settings in CoreStack for Jira Service Management.
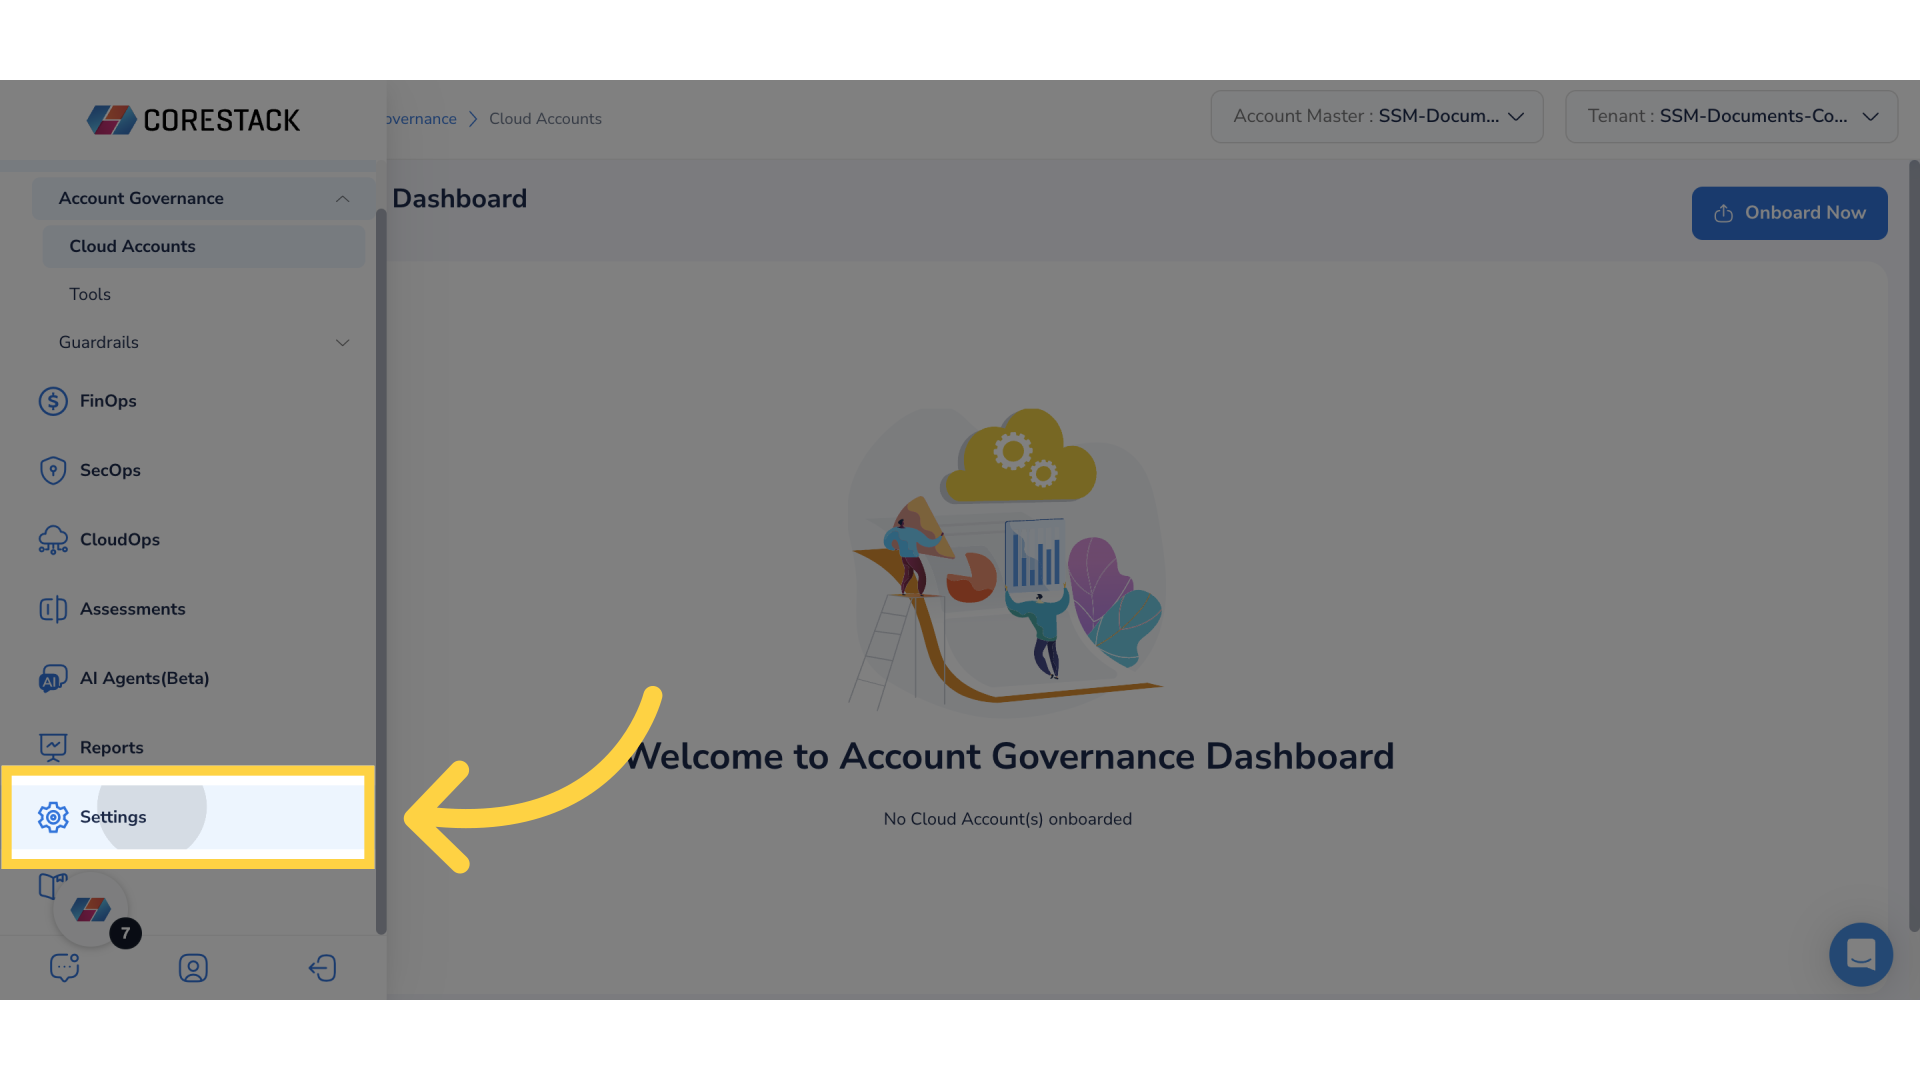
1. Navigate to "Settings" in the Menu
On the left navigation pane, click Settings.
2. Select "Tenant Management" in the Menu
Click Tenant Management.
3. Expand "Activity Queue Settings"
Select a tenant from the list that is displayed on the left side of the screen and expand the Activity Queue Settings section.

4. Click "Edit"
Click the Edit icon to configure the Activity Queue Settings section.
5. Select "Activity" Check Box
Select the Activity check box. This action displays a drop-down list on the right side.
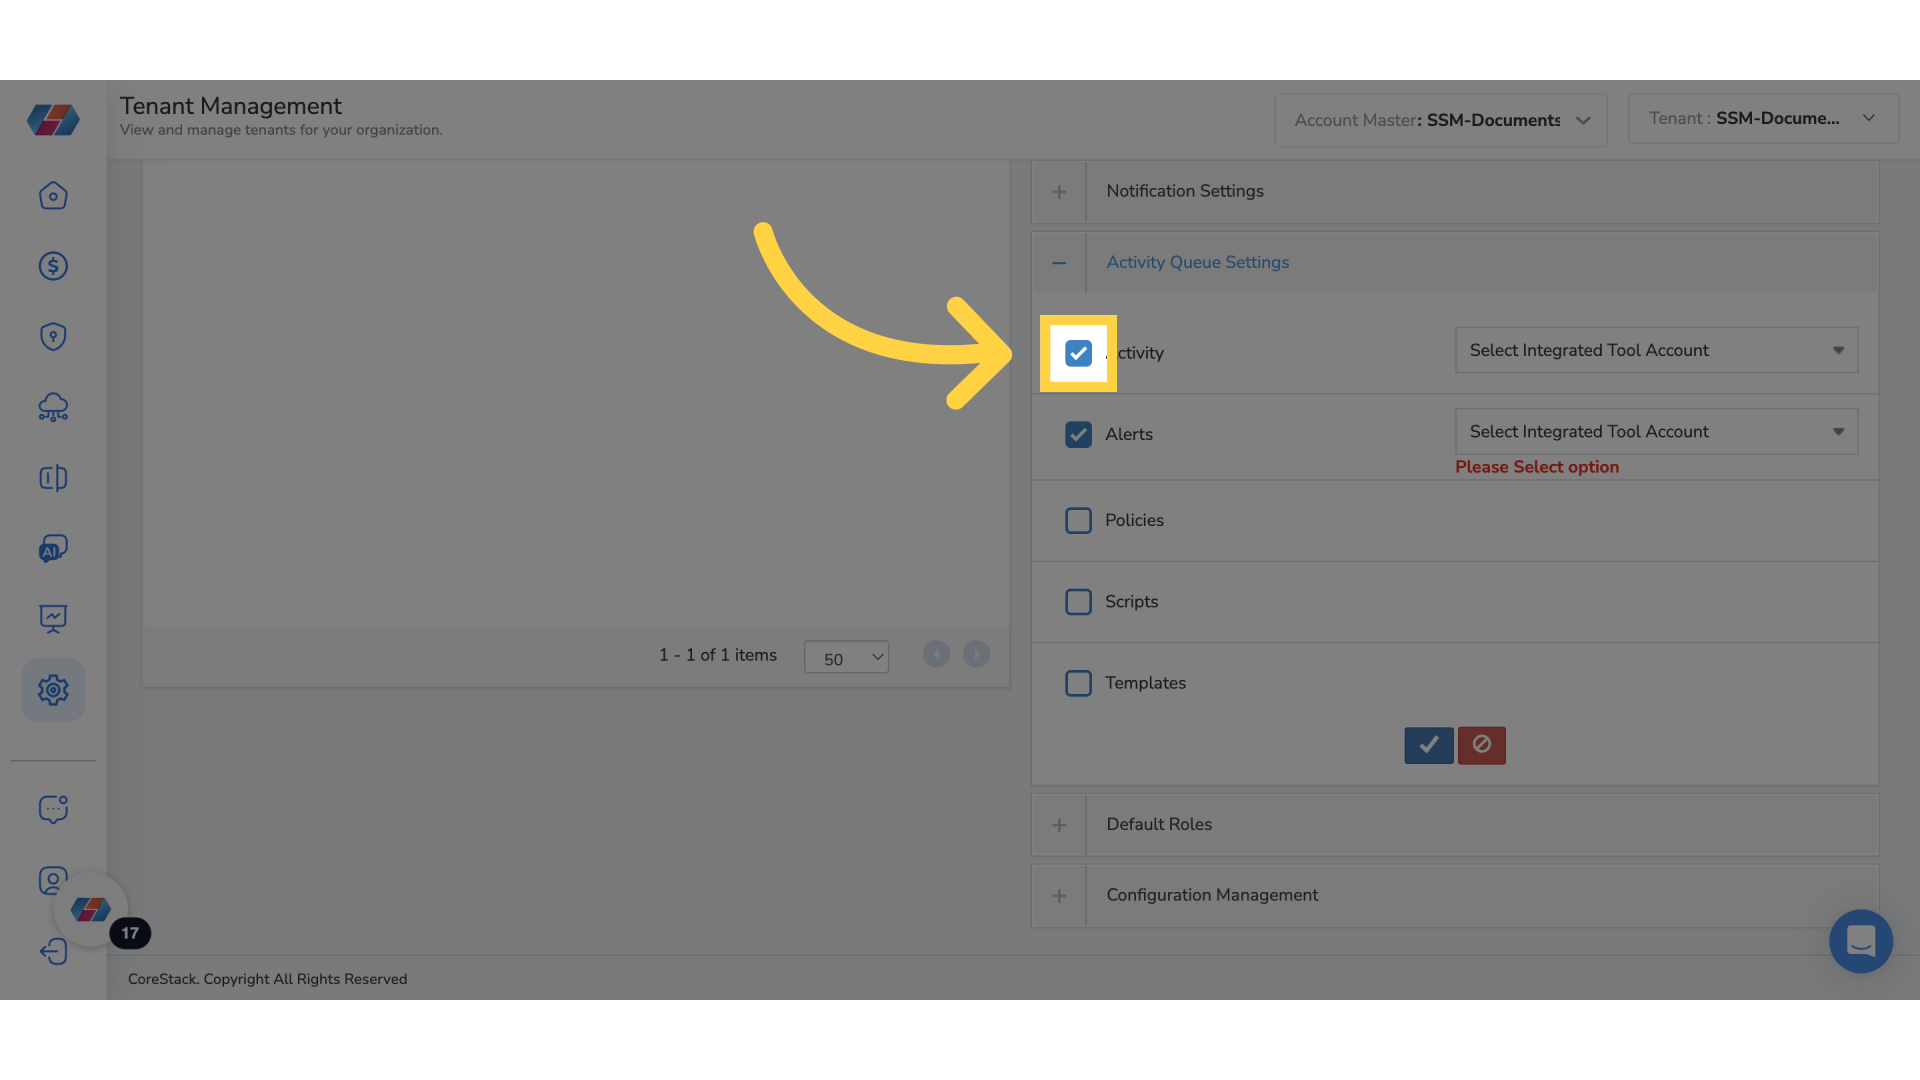
6. Select Integrated Tool Account
In the Select Integrated Tool Account drop-down list, select the specific integrated tool account.
7. Select Relevant Options
Ensure to select all relevant options to complete the configuration.
8. Apply the Configuration
Click Apply (the tick mark icon).
This guide covered configuring tenant-level settings in CoreStack, including accessing settings, managing tenants, and selecting integrated tool accounts.
Updated 8 months ago