

Fiscal Year Settings
1. Introduction
Organizations operate on different fiscal calendars, making it essential for Finance teams to have clear visibility into their specific fiscal year setup. This feature allows users to configure fiscal year settings at either the account master level or tenant level, ensuring alignment with organizational requirements.
- Fiscal year settings can be configured at the account or tenant level. The tenant-level configuration takes precedence over the account level for all roles except the account administrator.
- In most partner environments, each tenant represents a distinct customer, making tenant-level configuration crucial.
- For account administrators, the account-level setting takes precedence if enabled. This is particularly beneficial for partners managing multiple regions, as it provides a unified view while allowing flexibility for individual tenants to maintain their own fiscal settings.
- Users can specify the fiscal start date, end date.
- Once configured, the fiscal year preset becomes available in visibility filters wherever a time range filter is used.
- If a tenant-level fiscal year is set, fiscal presets are available only when a single tenant is selected.
- If the account-level setting is enabled (or takes precedence for the account admin), multiple tenants can share the same fiscal preset.
This configuration ensures financial reporting and analytics align with organizational structures while maintaining flexibility for different user roles.
From accessing account information to saving configurations, each step is outlined to streamline the process.
2. Click "Settings"
Navigate to the Settings section.
3. Click "Account Management"
Access the Account Management tab.
4. Click "Account Info"
Open the Account Information page.
5. Click "Advanced Settings"
Proceed to the Advanced Settings section.
6. Enable / Disable Fiscal Year Setting
Use Toggle to enable or disable Fiscal Year Setting
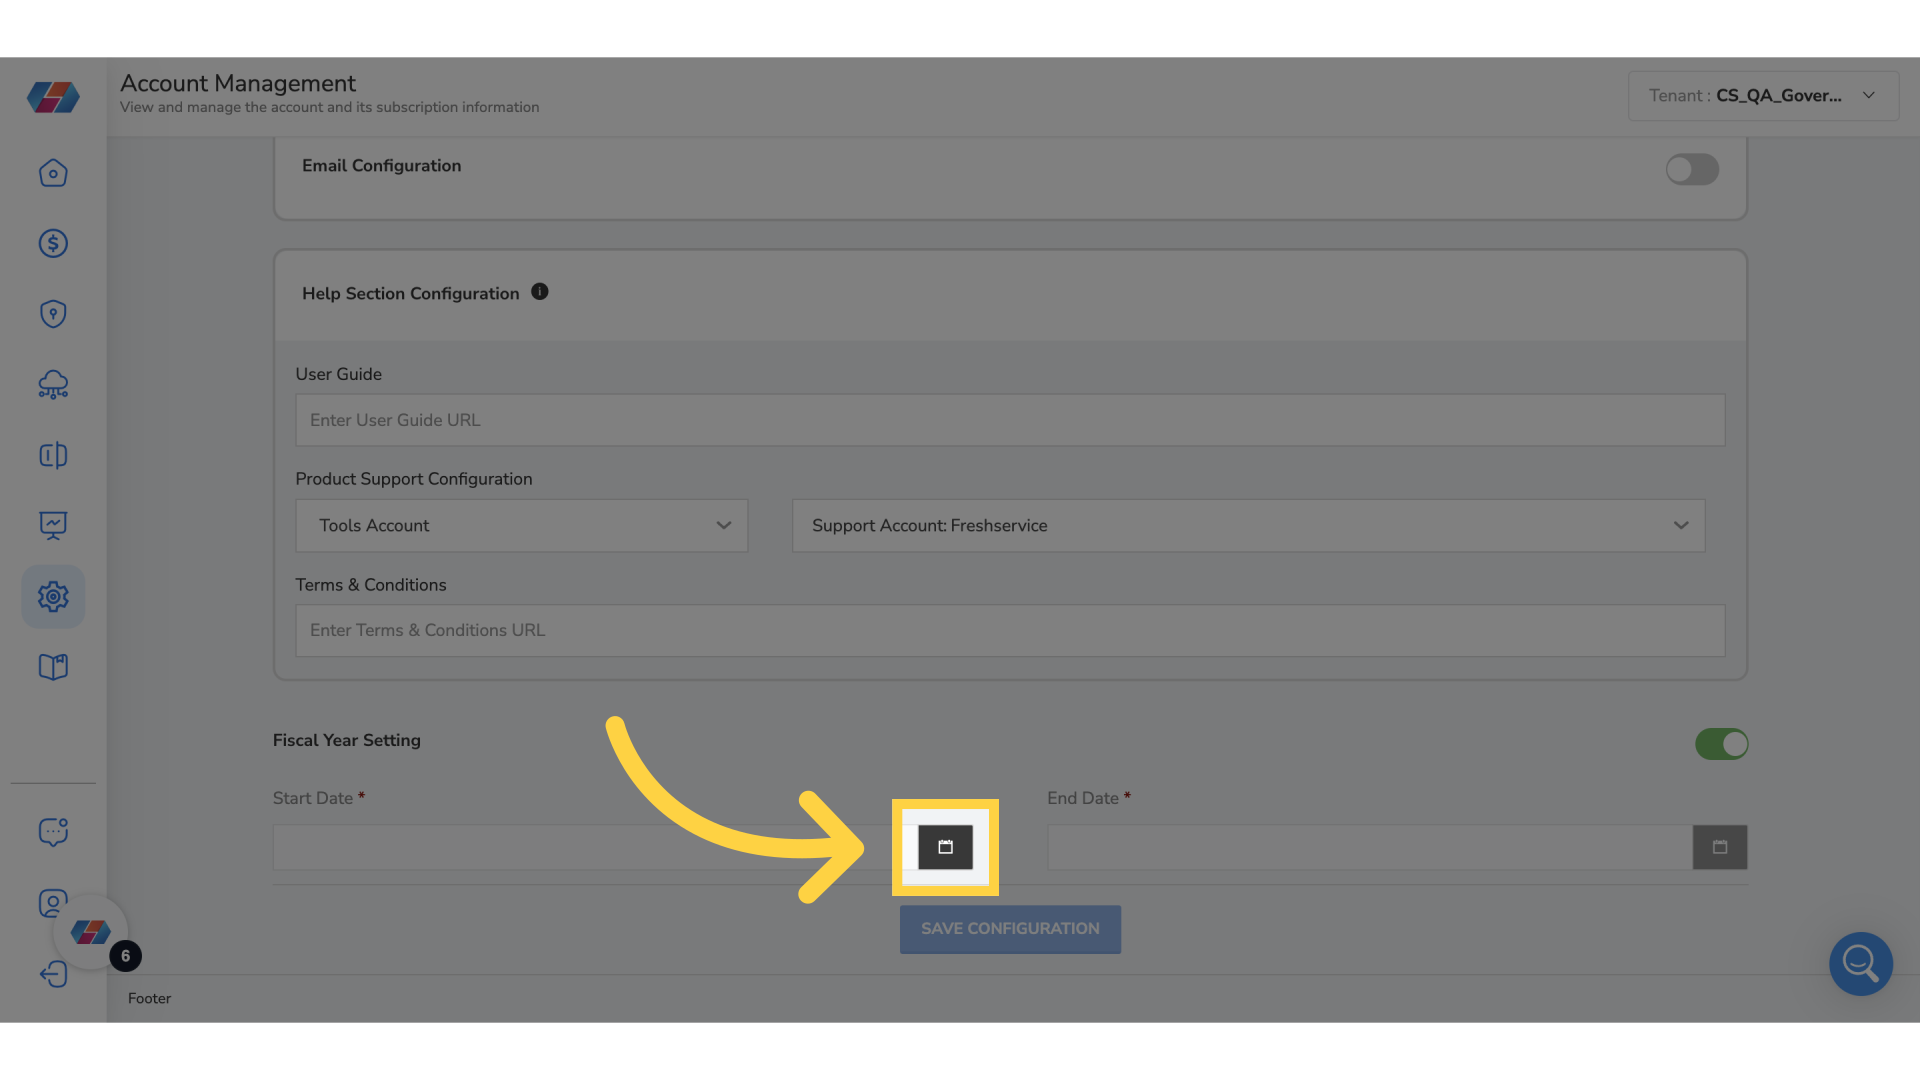
7. Choose Date and Month
Click on Calendar icon to select the date and month. This automatically selects the End date considering 12months from the selected Start Date.
8. Click "Save Configuration"
Save the current configuration settings.
9. Click "Tenants"
Access the Tenants section, to configure Fiscal Year Setting at the Tenant level.
10. Click "Additional Information"
View Additional Information.
11. Click "Fiscal Year Setting"
Click on Pencil icon to add details.
12. Click "Calendar" icon
Click Calendar icon to add start date. This will choose the end date by considering 12months from the start date.
13. Click "Check"
Select the check mark to save the details.
The guide covered navigating through various sections in Corestack to configure fiscal year settings efficiently. From accessing account information to selecting specific options, the steps provided offer a clear pathway to complete the setup.
Updated 8 months ago