

JIRA Service Management Tool Account Validate Details and Configure Project(s)
This guide will walk you through the essential steps to validate details and configure projects in JIRA Service Management tool.
Introduction
Follow these engaging instructions to efficiently navigate through the necessary settings for incident management and go through various options.
The integration of the platform with Jira Service Management streamlines your IT operations, providing a cohesive experience for managing incidents and changes across platforms.
Key Features:
-
Jira Account Onboarding: Seamlessly connect your Jira Service Management accounts to the platform, enabling integrated incident and change management workflows.
-
Incident Management Enhancements:
-
Supported areas:
- FinOps: Budget Alerts
- CloudOps: Operational Alerts
- SecOps: Policy Violations and Security Alerts
-
Attribute Mapping: Configure mappings between CoreStack and Jira fields to ensure accurate data synchronization.
-
Customizable Incident Descriptions: Tailor incident details by selecting relevant fields.
-
-
Change Management Integration:
- Cost Recommendation Approvals: Implement a structured approval process for cost optimization recommendations.
- Attribute Mapping for Change Requests: Define how CoreStack's cost recommendations translate into Jira change requests, facilitating automated execution upon approval.
Validating Account Details and Configuring Projects
Perform the following steps to configure and validate tool account details:
1. Login to the Platform
You should see a landing page based on your preferences.
2. Click a Jira Tool Account
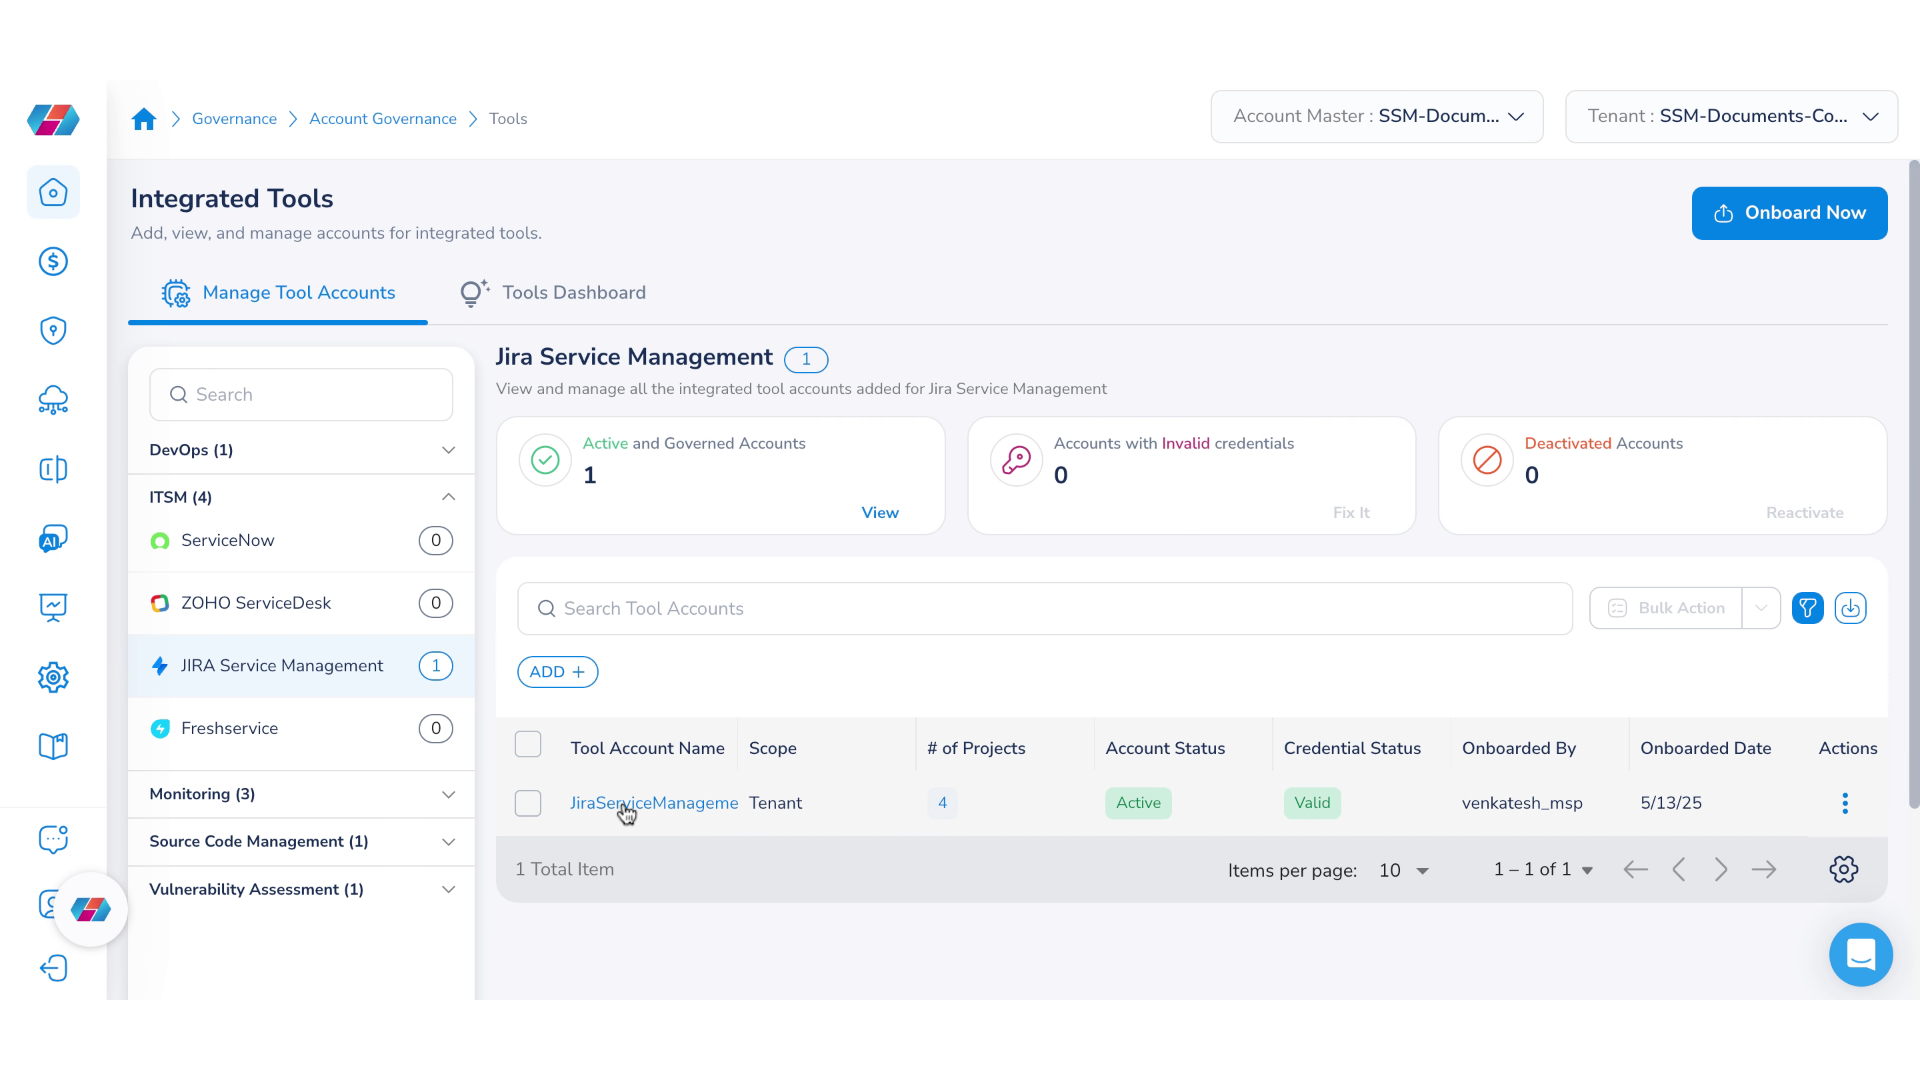
To begin with, on the left navigation pane, click Governance > Account Governance > Tools. The Integrated Tools page appears and by default, the Manage Tool Accounts tab shows up.
To view Jira Service Management page, click ITSM > JIRA Service Management. Under the Tool Account Name column, click a tool account. The Tool Account Summary page appears.

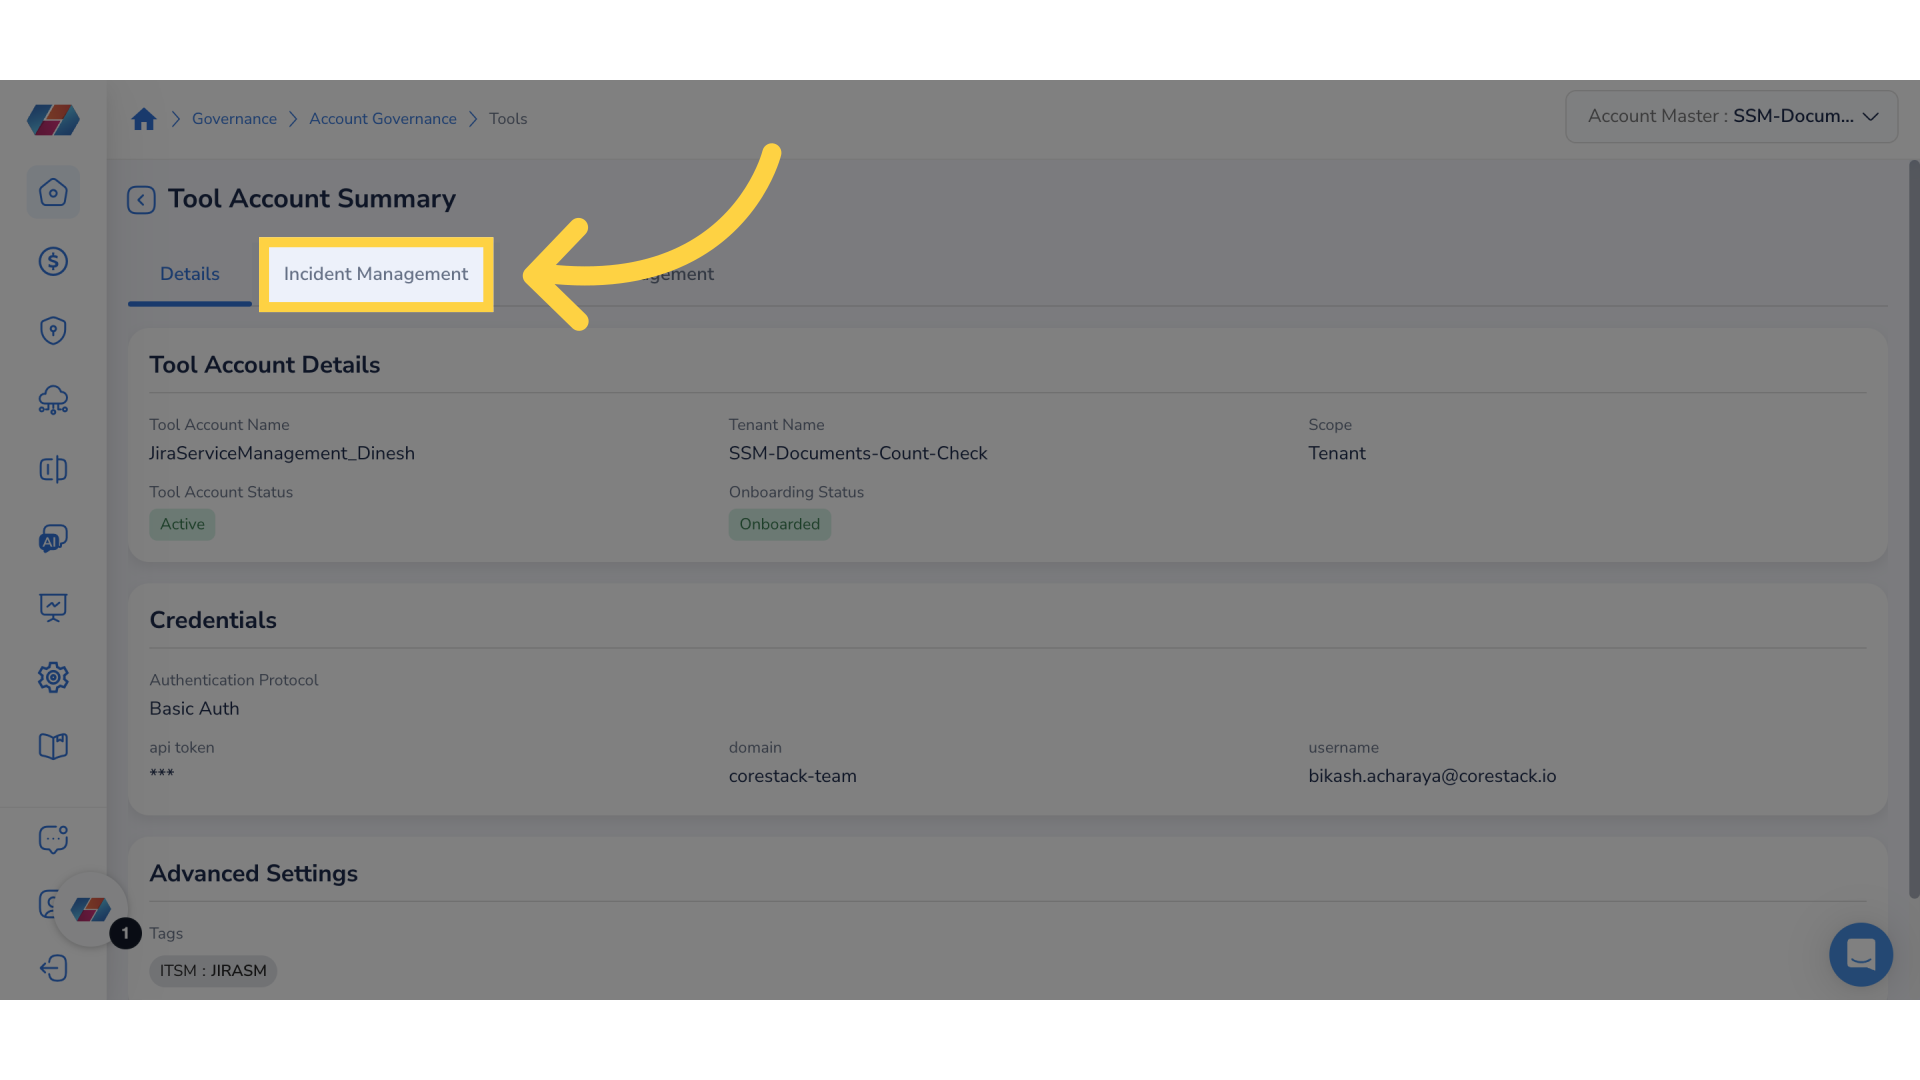
3. Click "Incident Management"
Click the Incident Management tab to view details. This tab lists the projects as per its status, along with the mapped tenant or alert category.
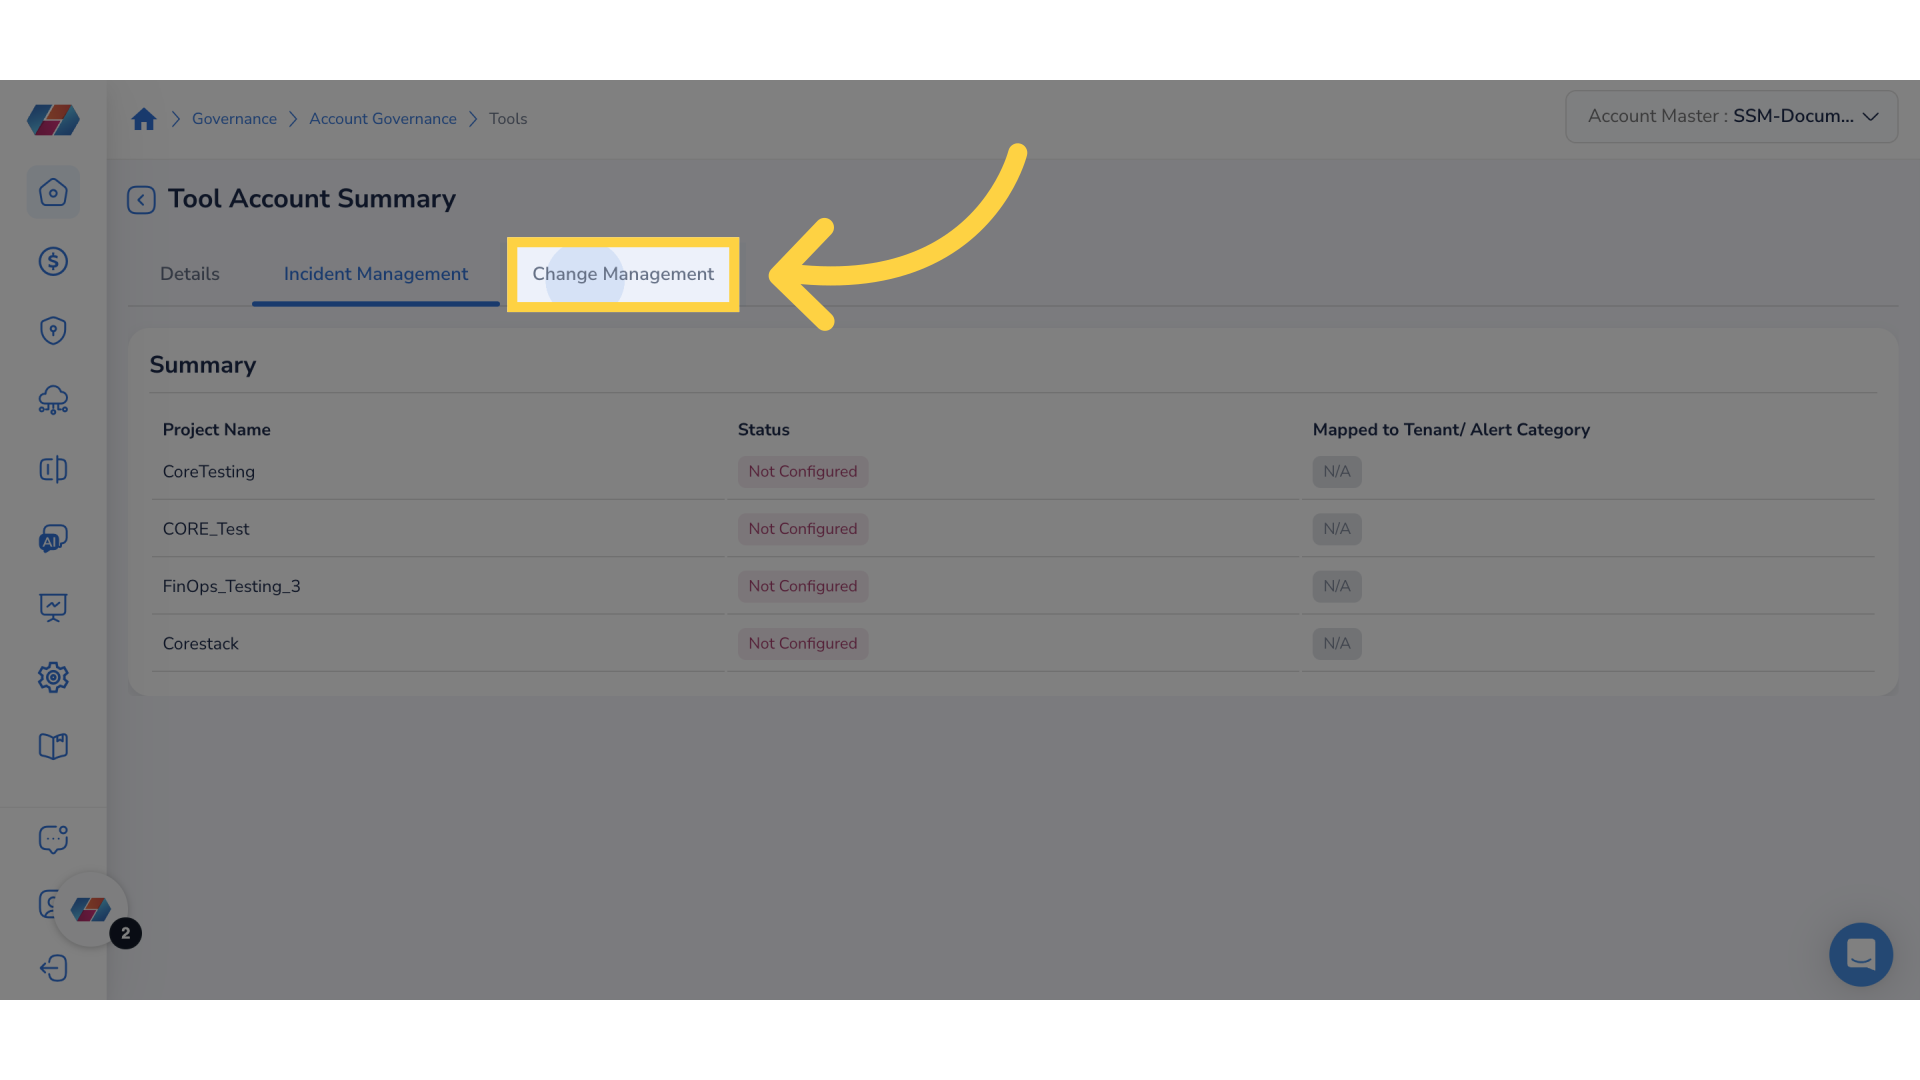
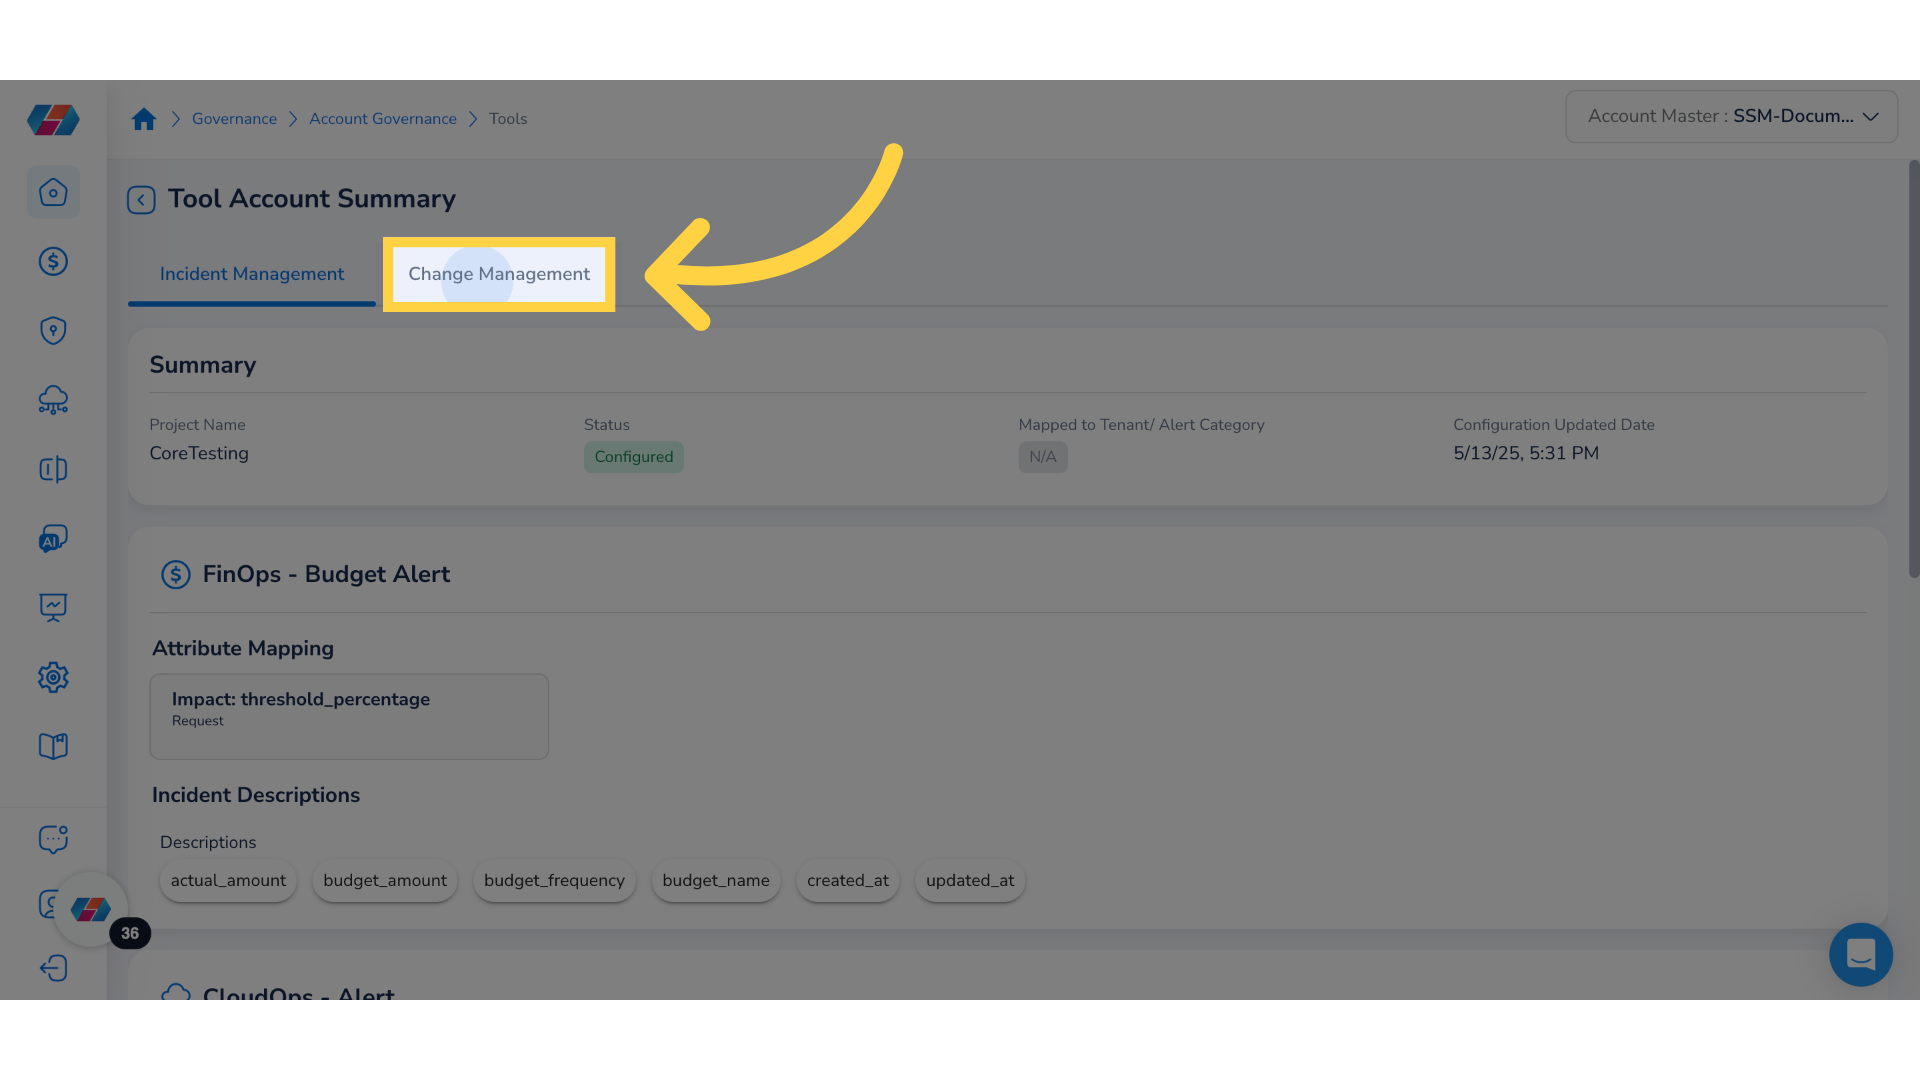
4. Click "Change Management"
Click the Change Management tab to view details about projects and its status.
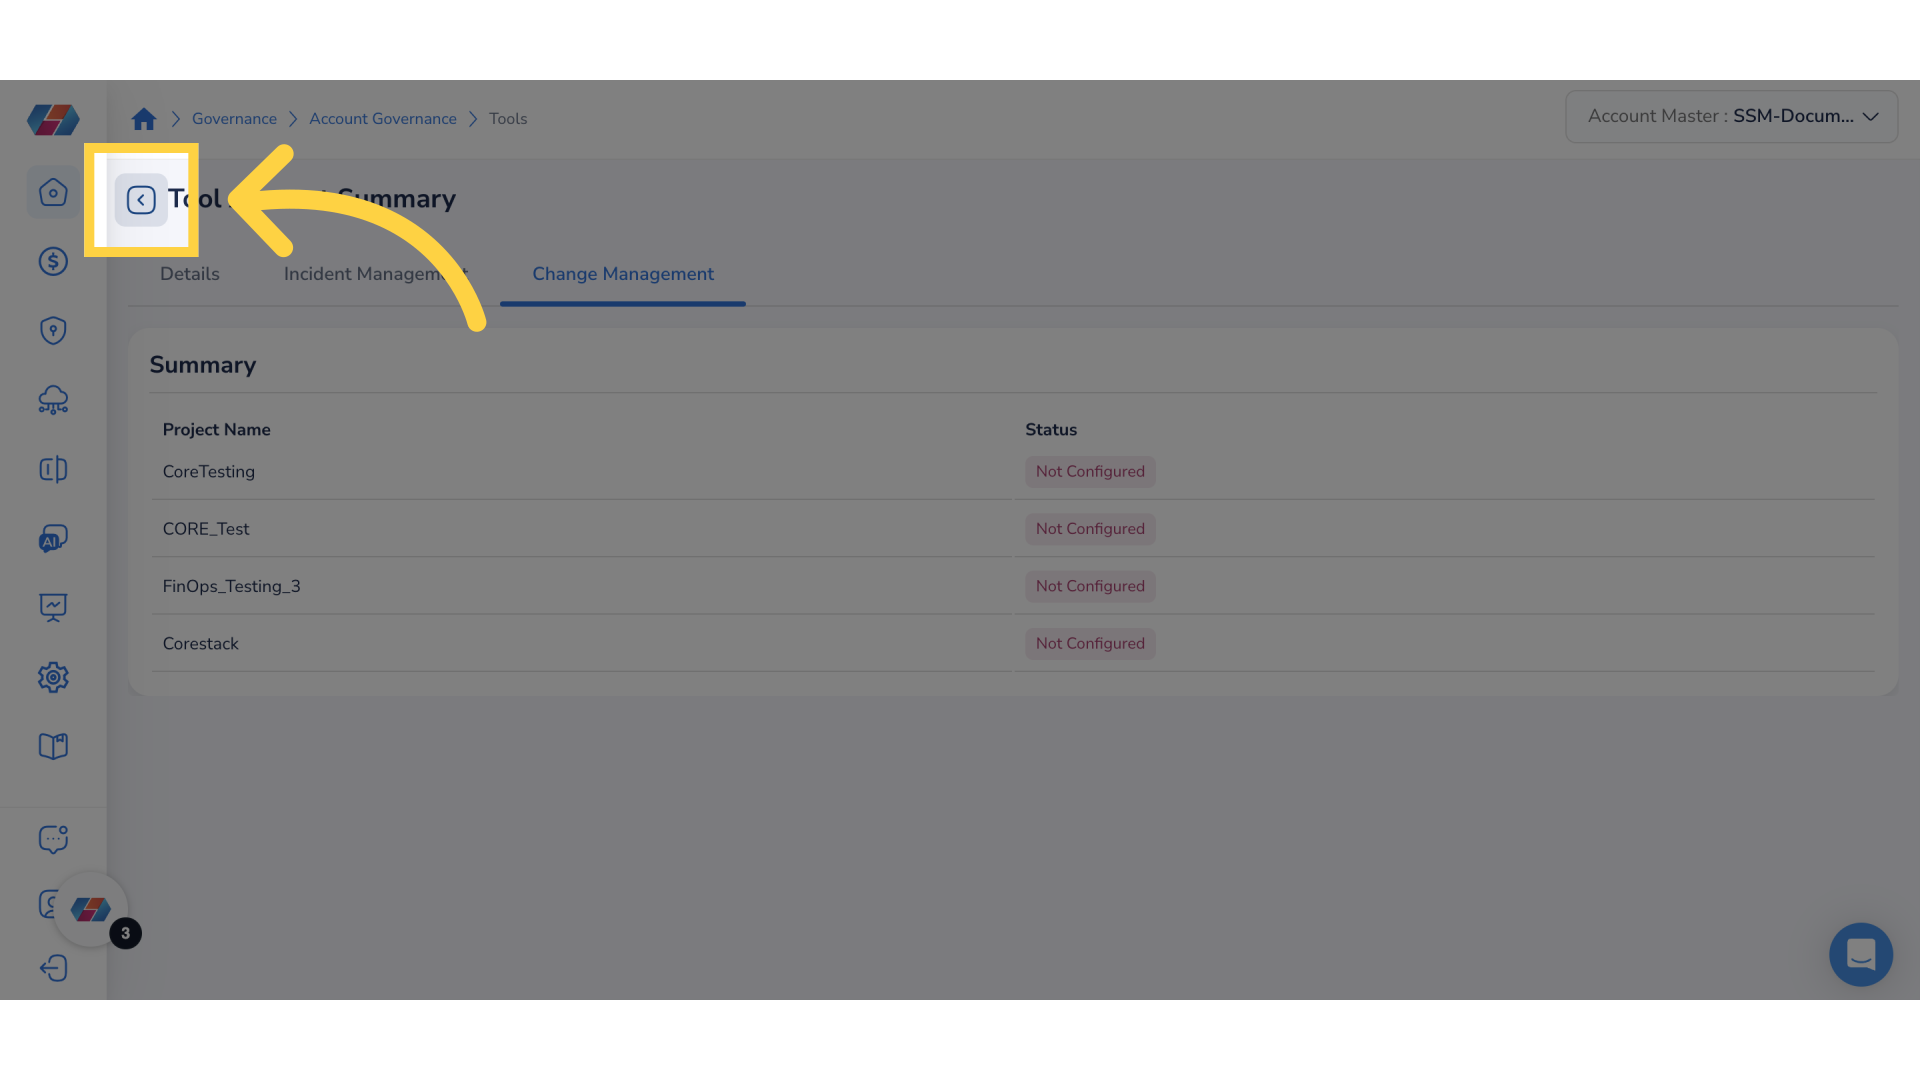
5. Return to the Previous Screen
Click the back arrow - pointing left to navigate to the configuration screen.
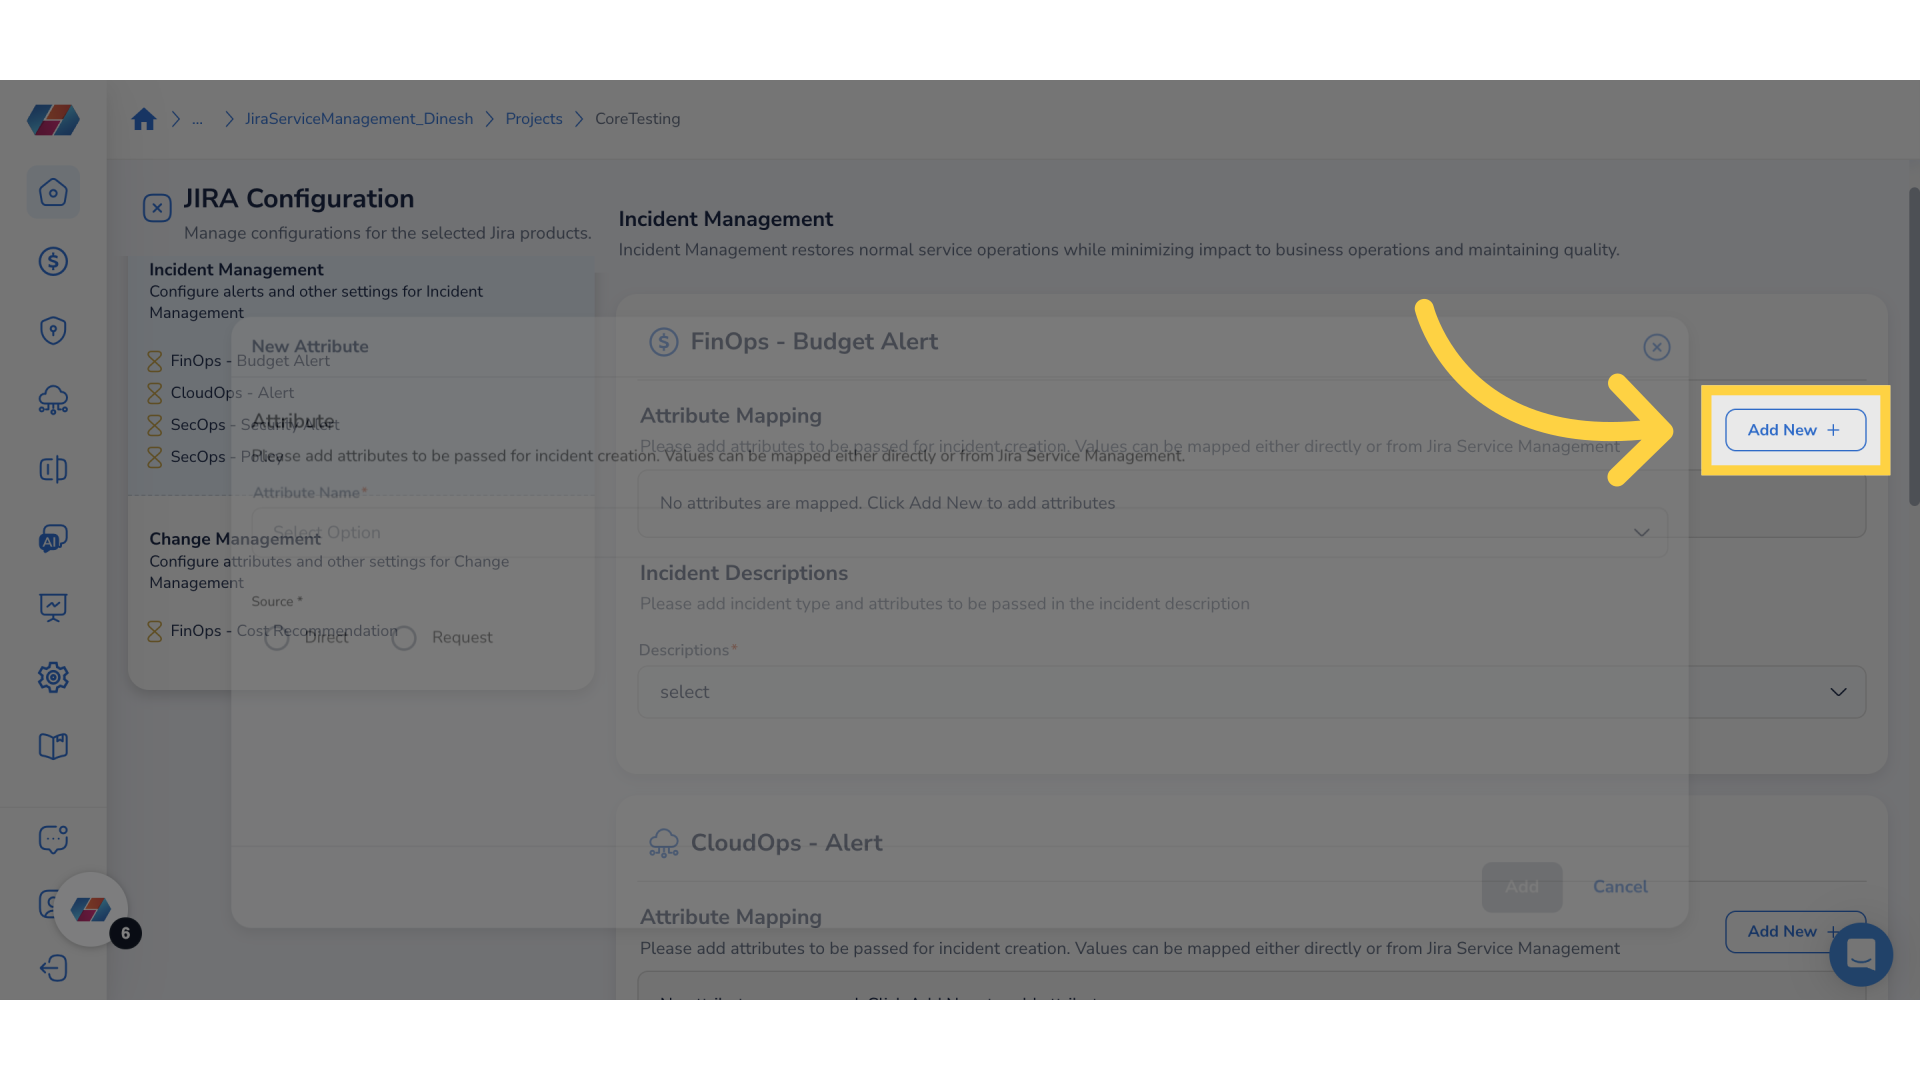
6. Click "Add New" in the Incident Management Section
In the Jira Service Management page, under the #of Projects column, click the number that appers corresponding to a tool account. You can now view the list of projects for a tool account.
To open the Incident Management section for a project, either click Configure or click ellipses > Edit.
Go to Incident Management > FinOps - Budget Alert > Add New to add new attributes.
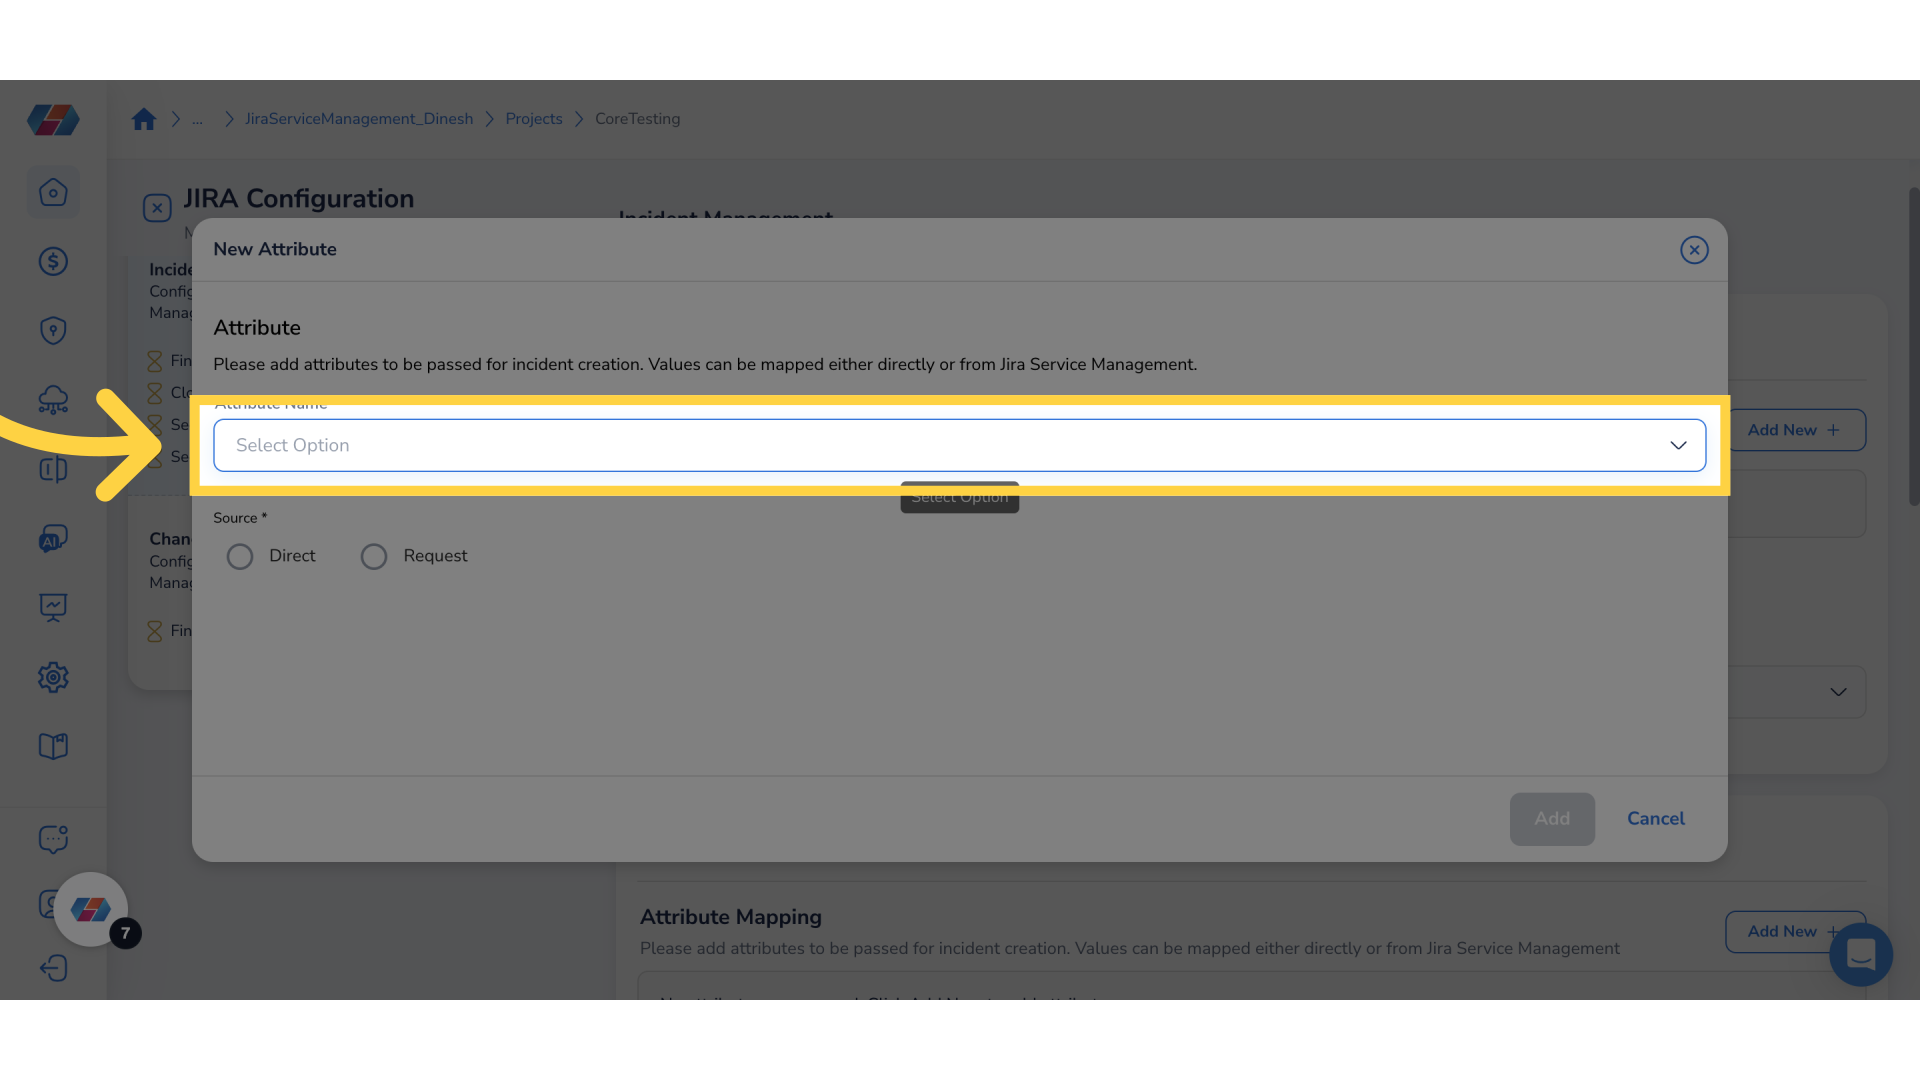
7. Click "Attribute Name" drop-down
In the New Attribute window, click the Attribute Name drop-down list and select an attribute name.
8. Confirm Your Selection
Click Ok to confirm the attribute selection.

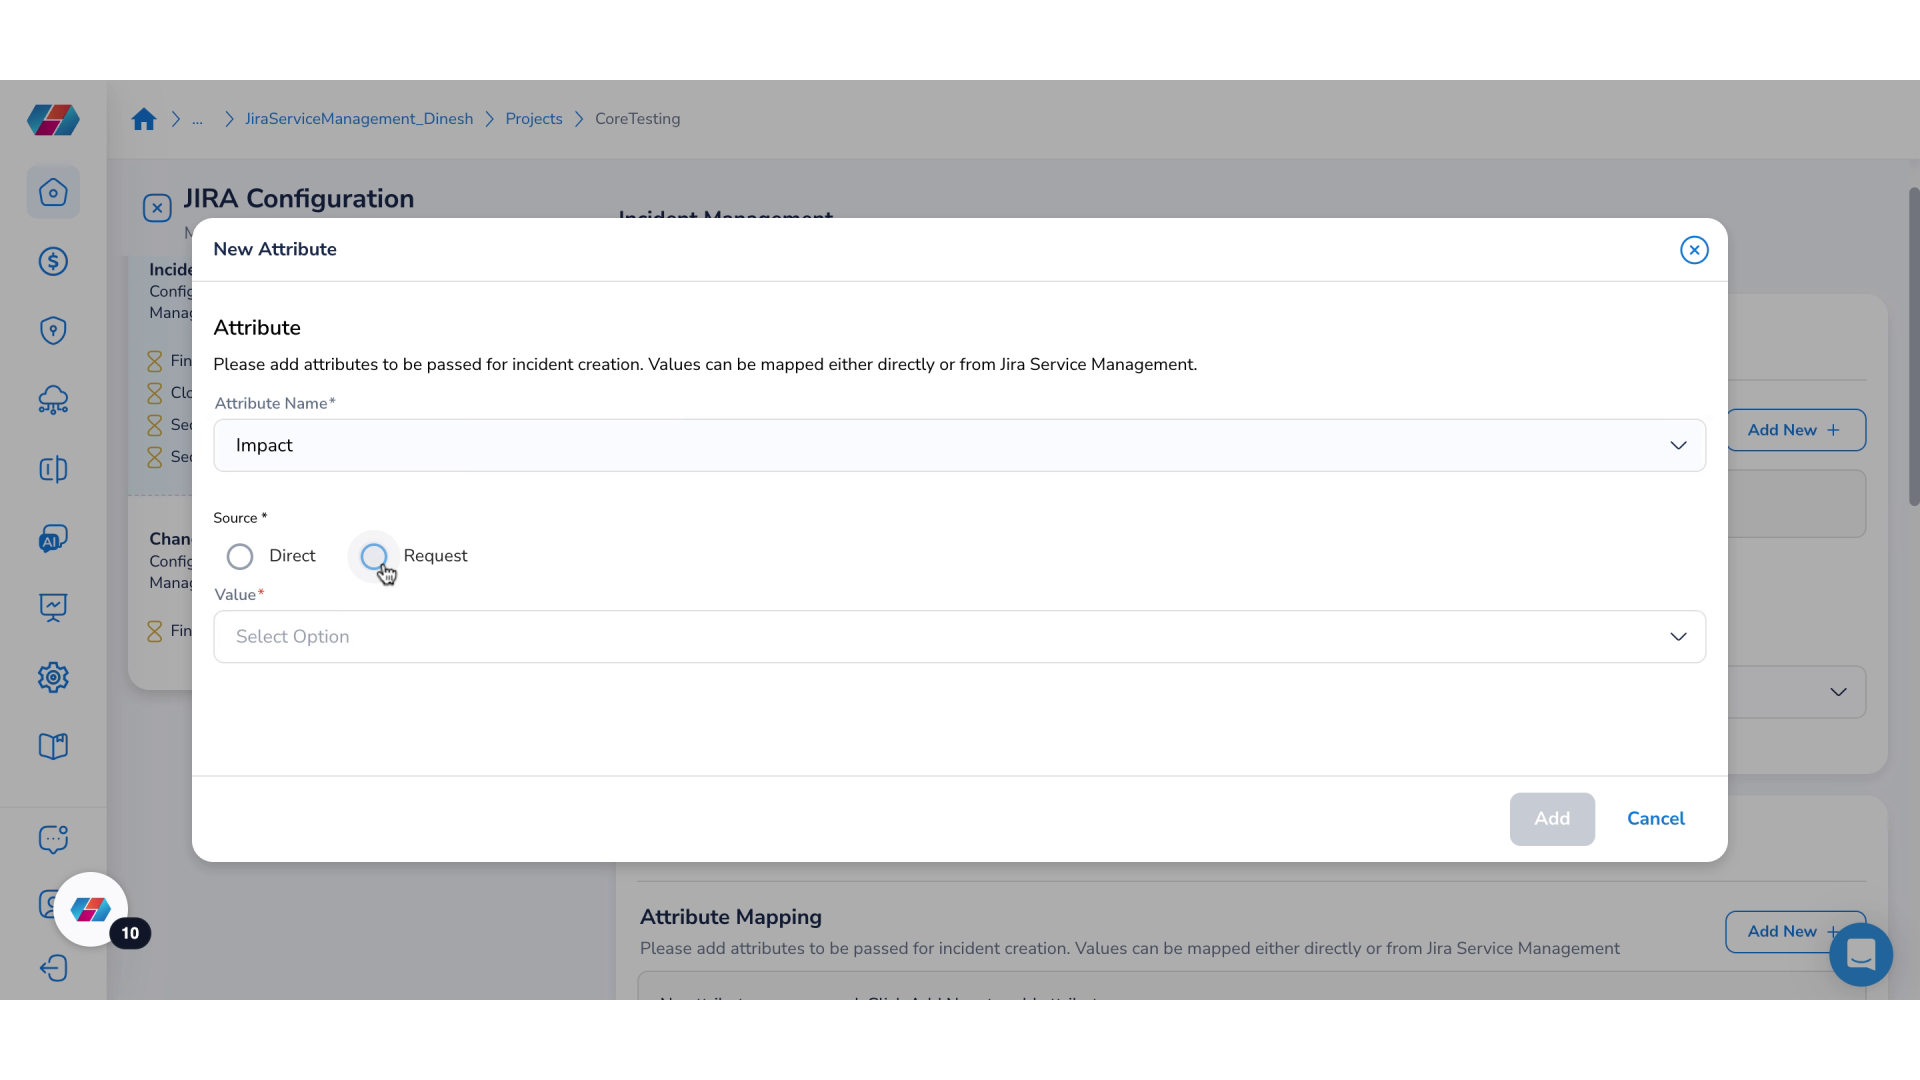
9. Select "Source"
In the Source field, select either Direct or Request.
- Direct: The value entered in this field will be mapped to the field selected in the attribute drop-down.
- Request: This is a drop-down that shows the field details from the tool. Users can select the required option from the drop-down to map to the Attribute Name field and then click Ok.
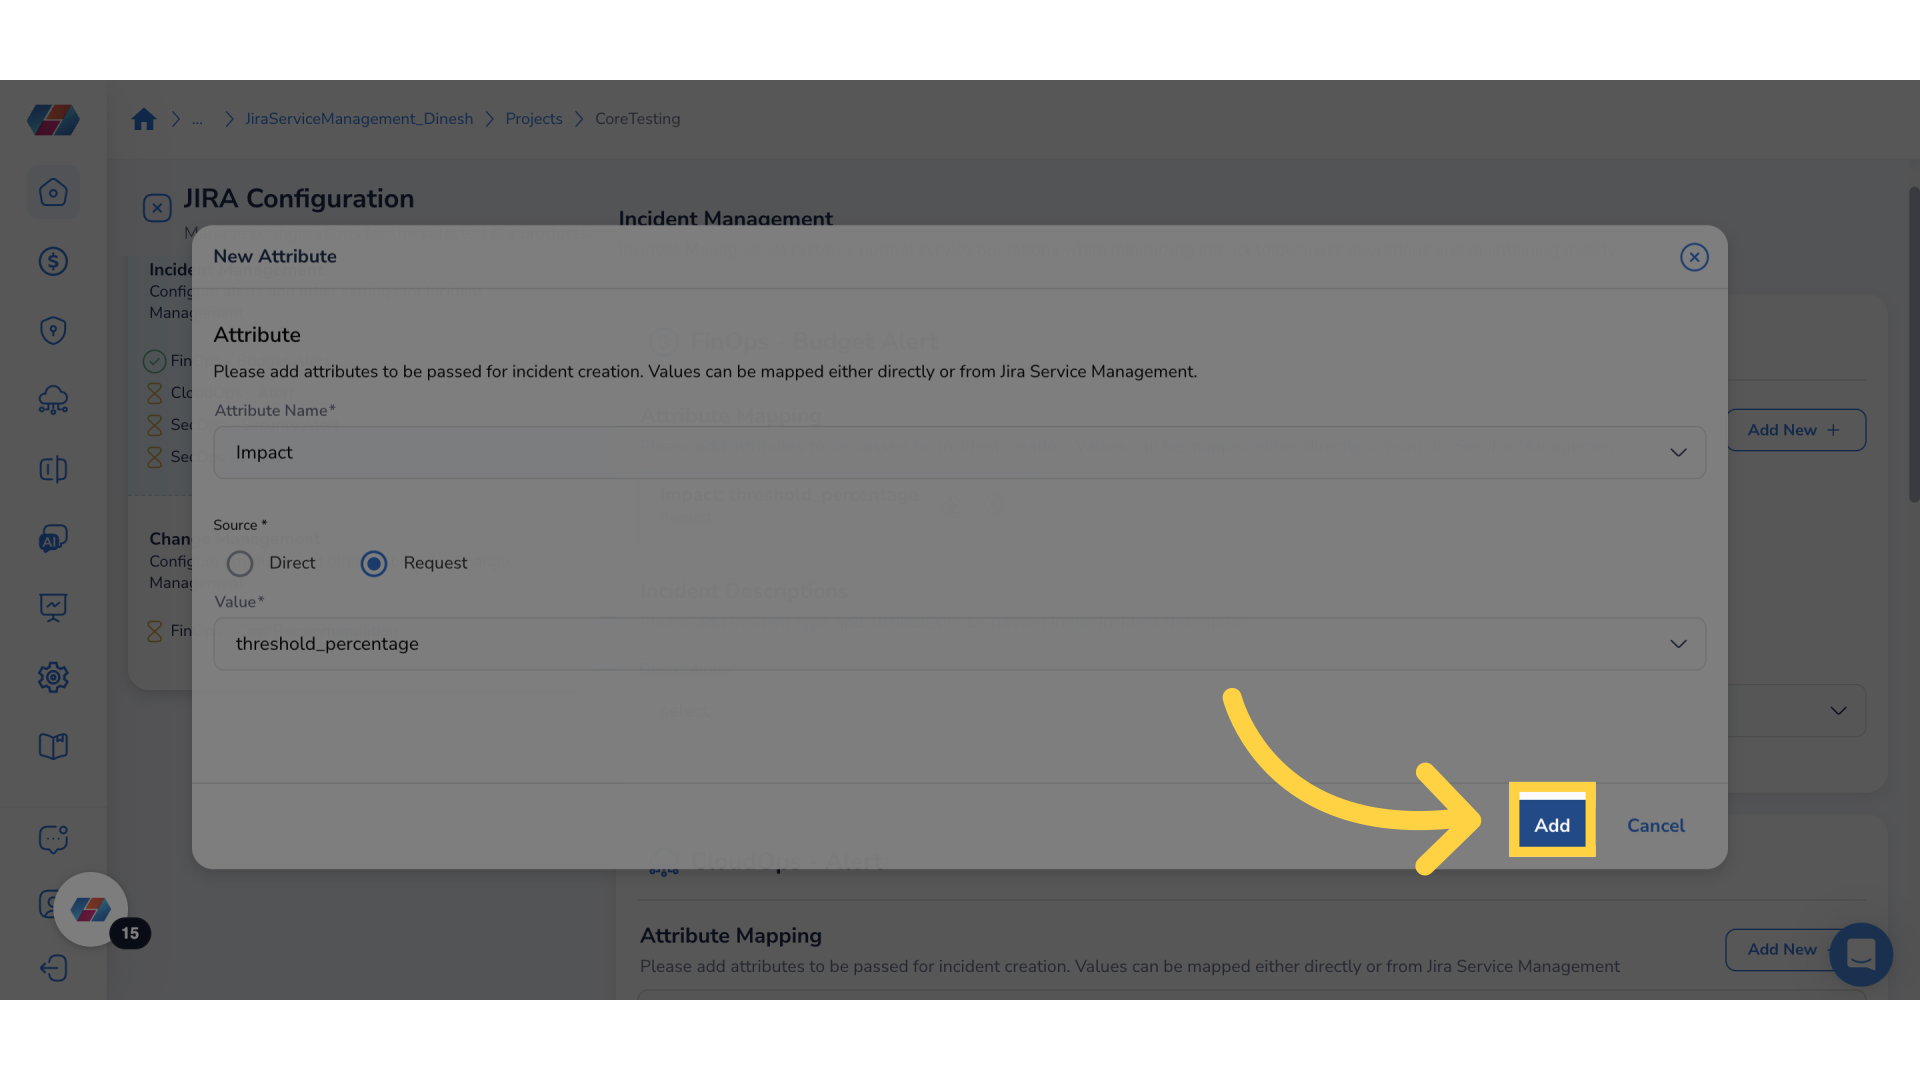
10. Add New Attribute
Click Add to add the new attribute.
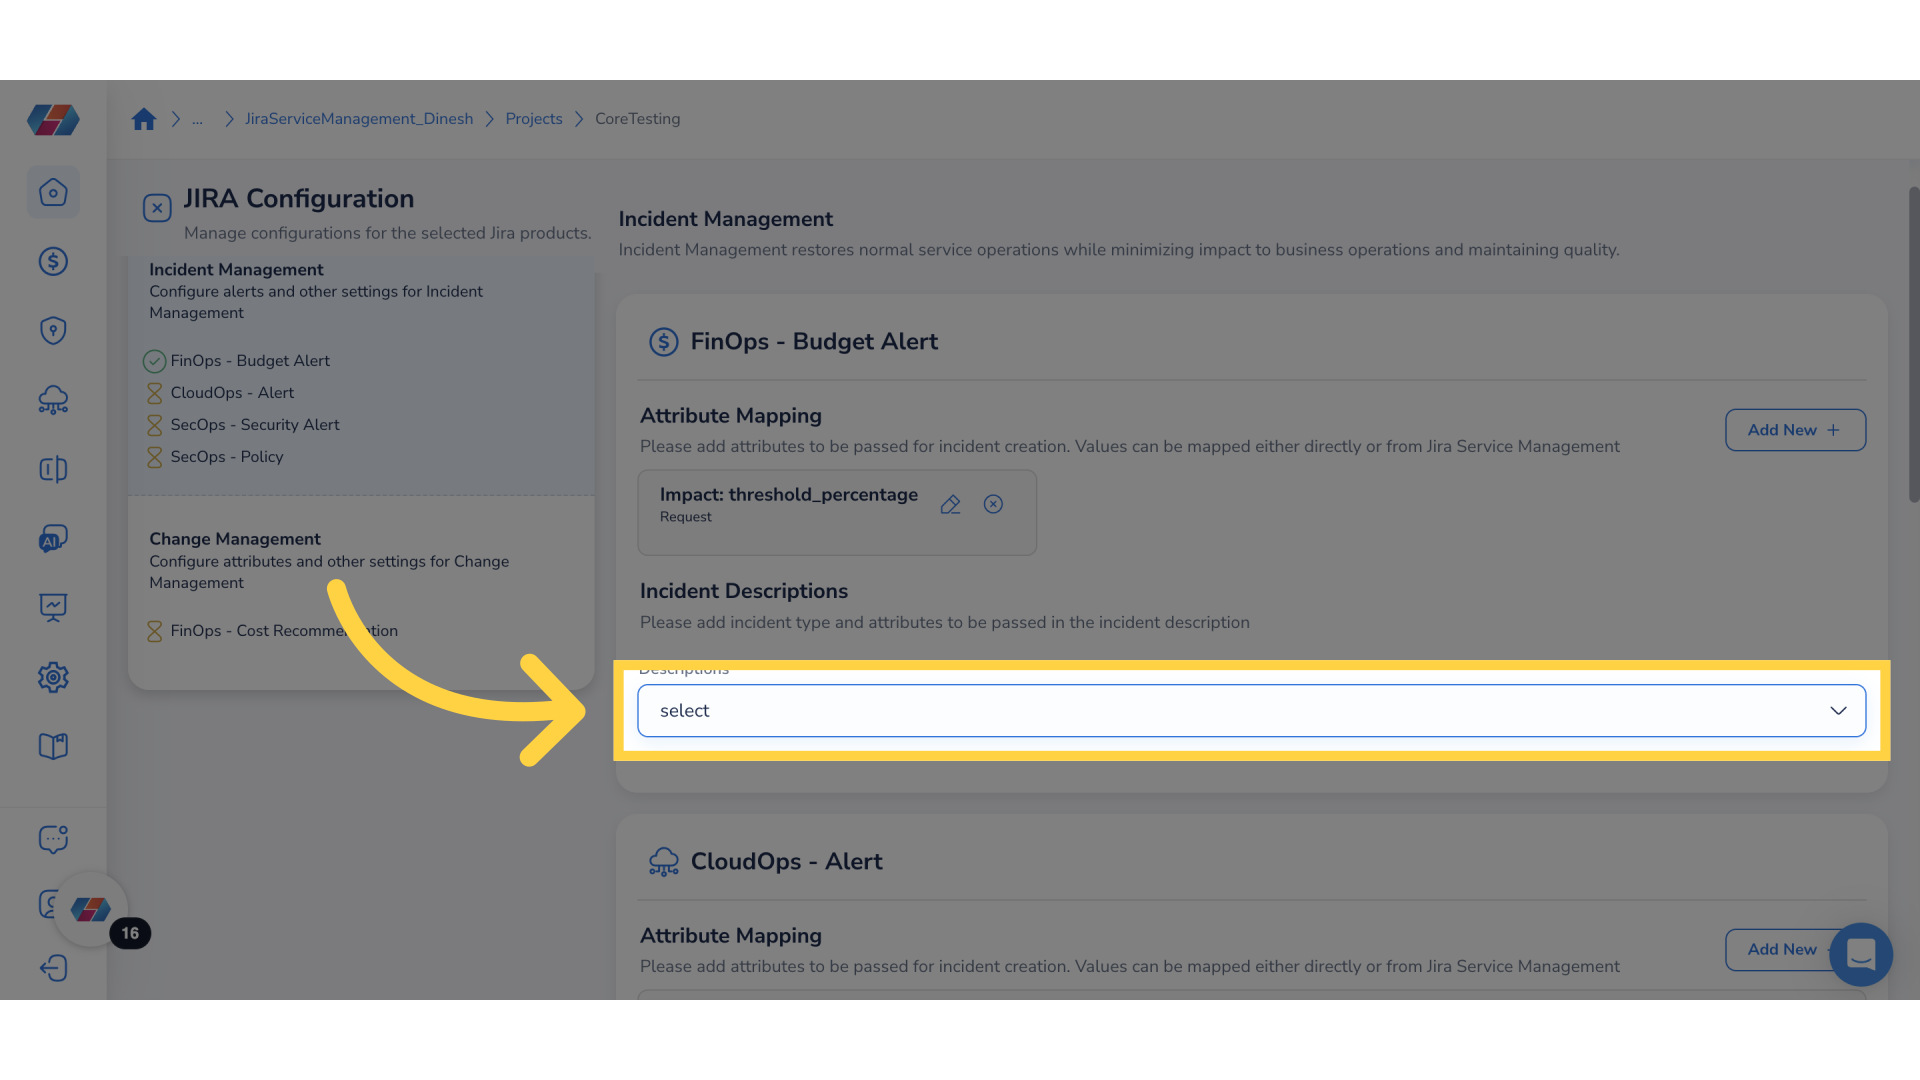
11. Select Options from "Descriptions" drop-down
In the Descriptions drop-down list, select all appropriate options for incident description.
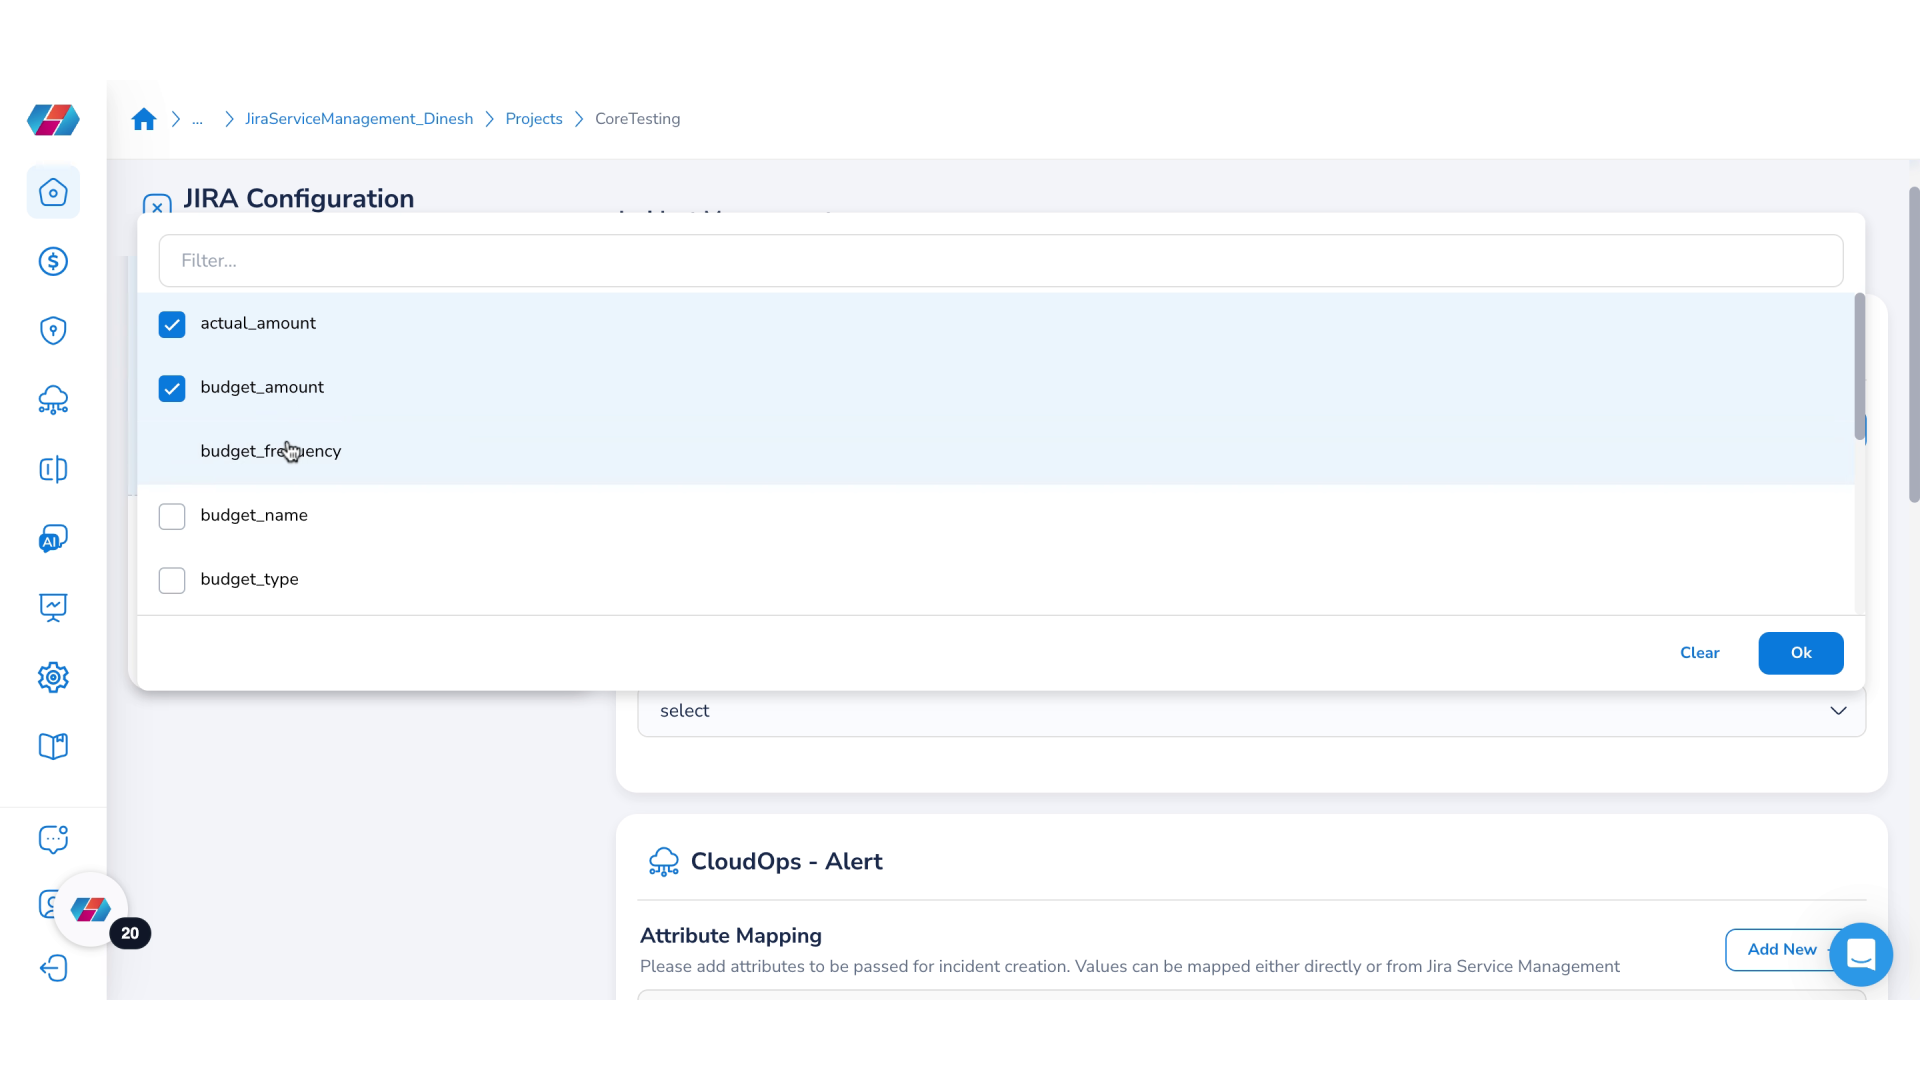
12. Select Required Options
The selected values will be added to the incident description.
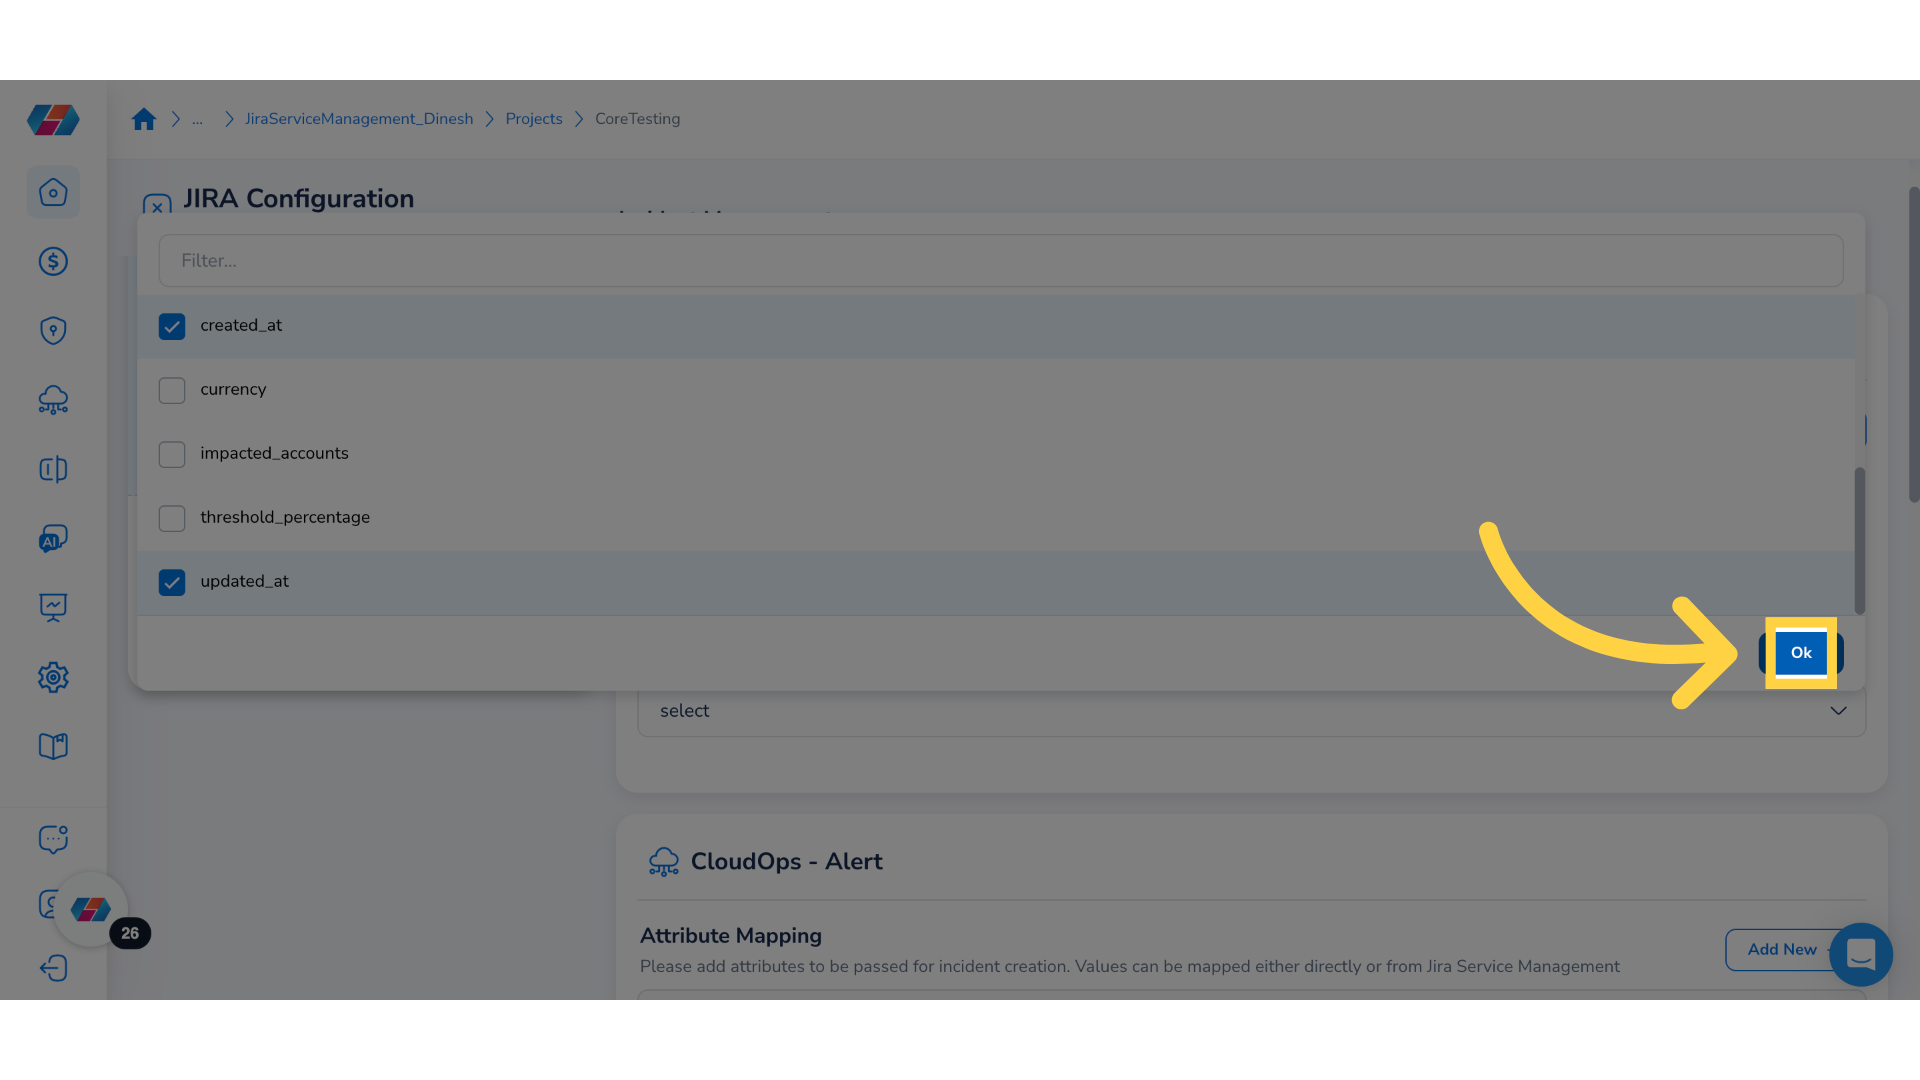
13. Confirm Your Selection
Click Ok to confirm your selection.
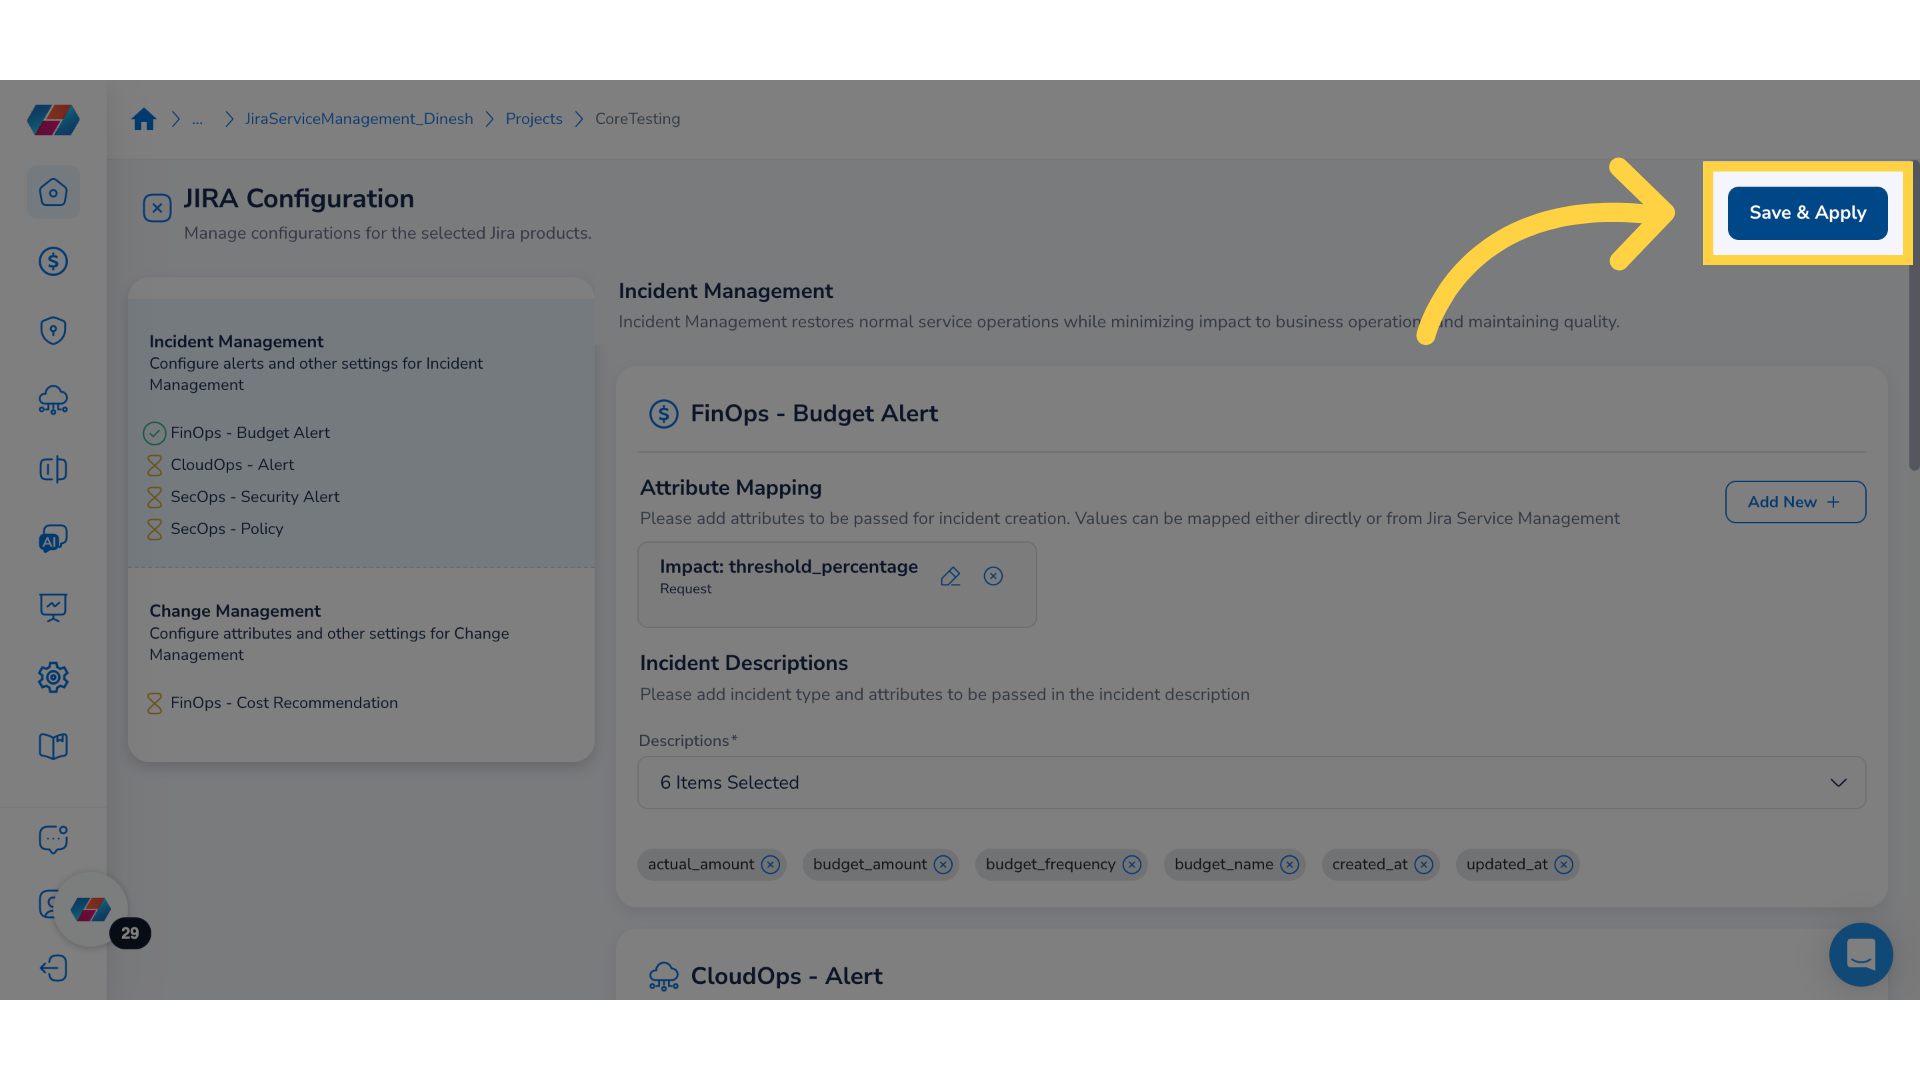
14. Save & Apply
Click Save & Apply.
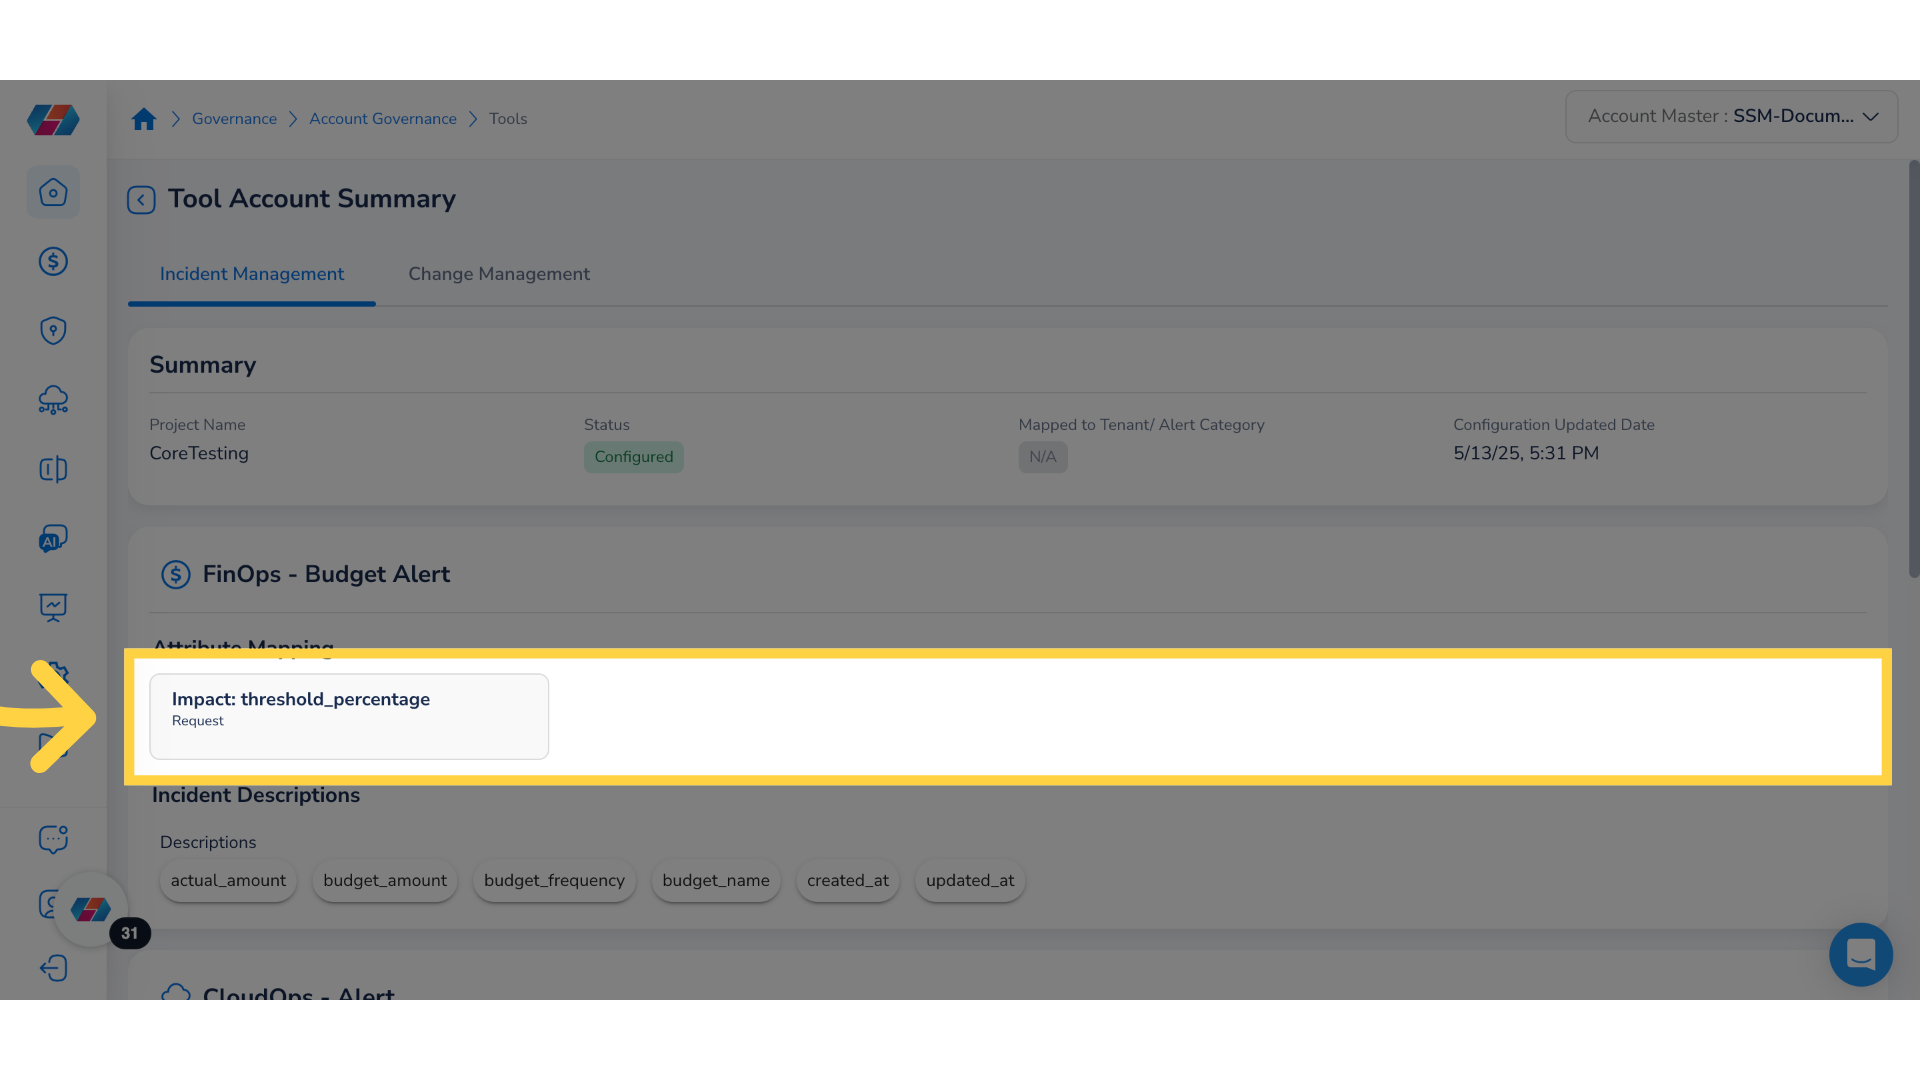
15. View Attribute Mapping for FinOps - Budget Alert
To view mapped attributes for configured projects, under the Actions column, click ellipses > View. The Incident Management tab opens by default. In the FinOps - Budget Alert section, view the mapped attributes.
16. Navigate to CloudOps - Alert
Navigate to CloudOps - Alert section to view attribute mapping details.

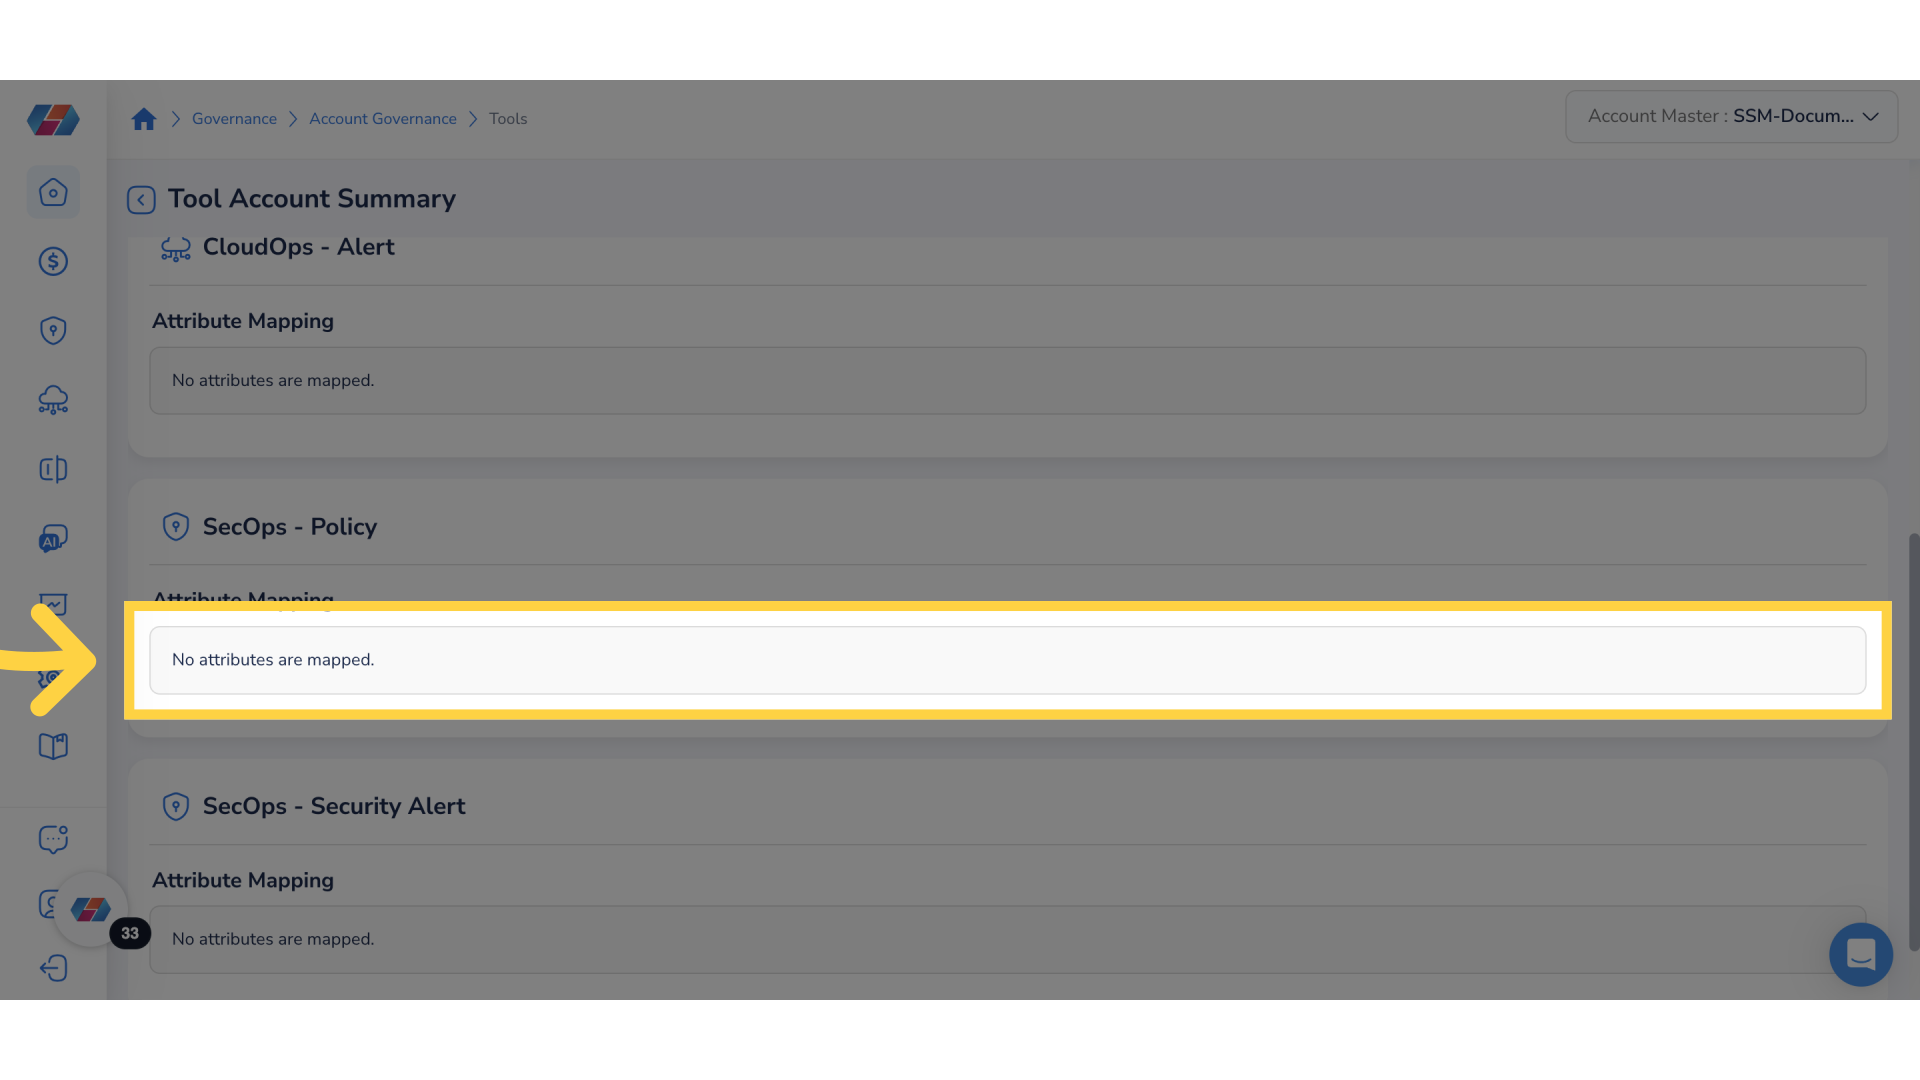
17. Navigate to SecOps - Policy Section
Navigate to SecOps - Policy section to view attribute mapping details.
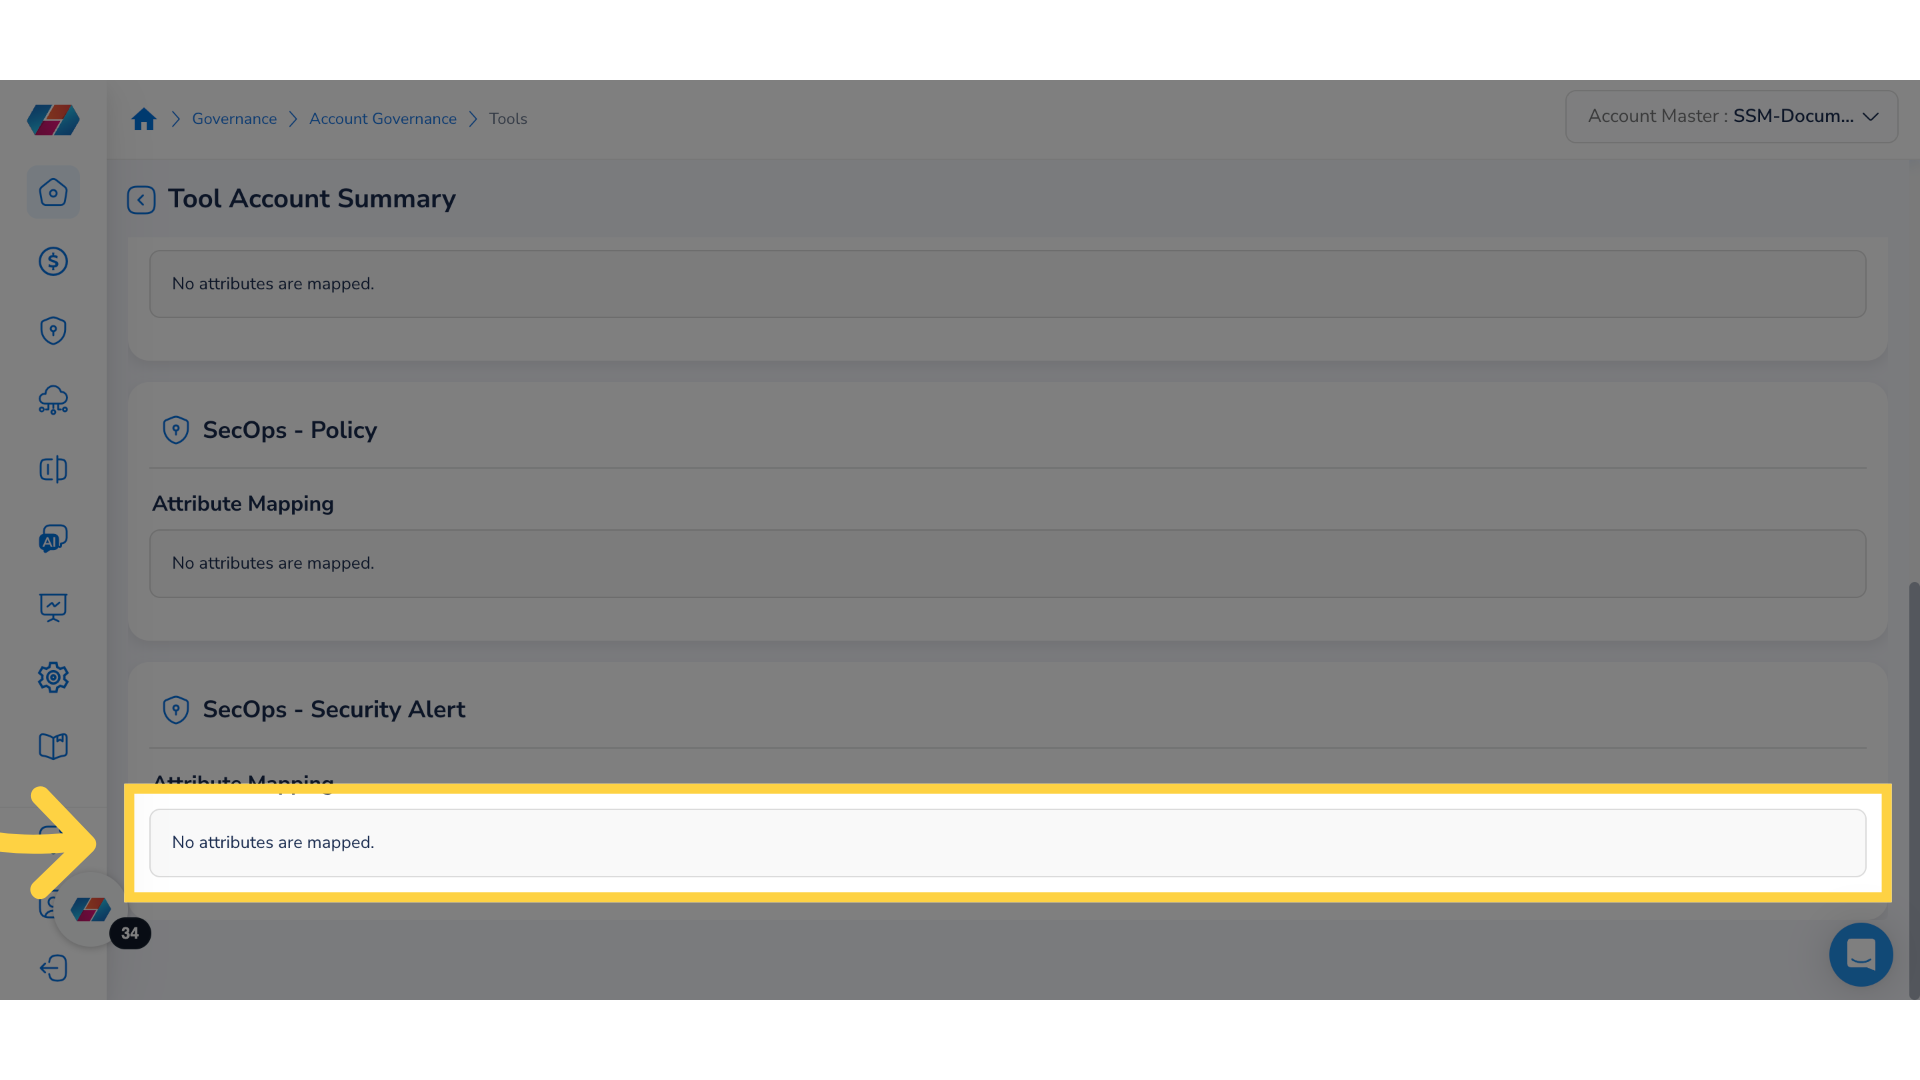
18. Navigate to SecOps - Security Alert Section
Navigate to SecOps - Security Alert section to view attribute mapping details.
19. Click "Change Management"
Click the Change Management tab to view all the mapping details.
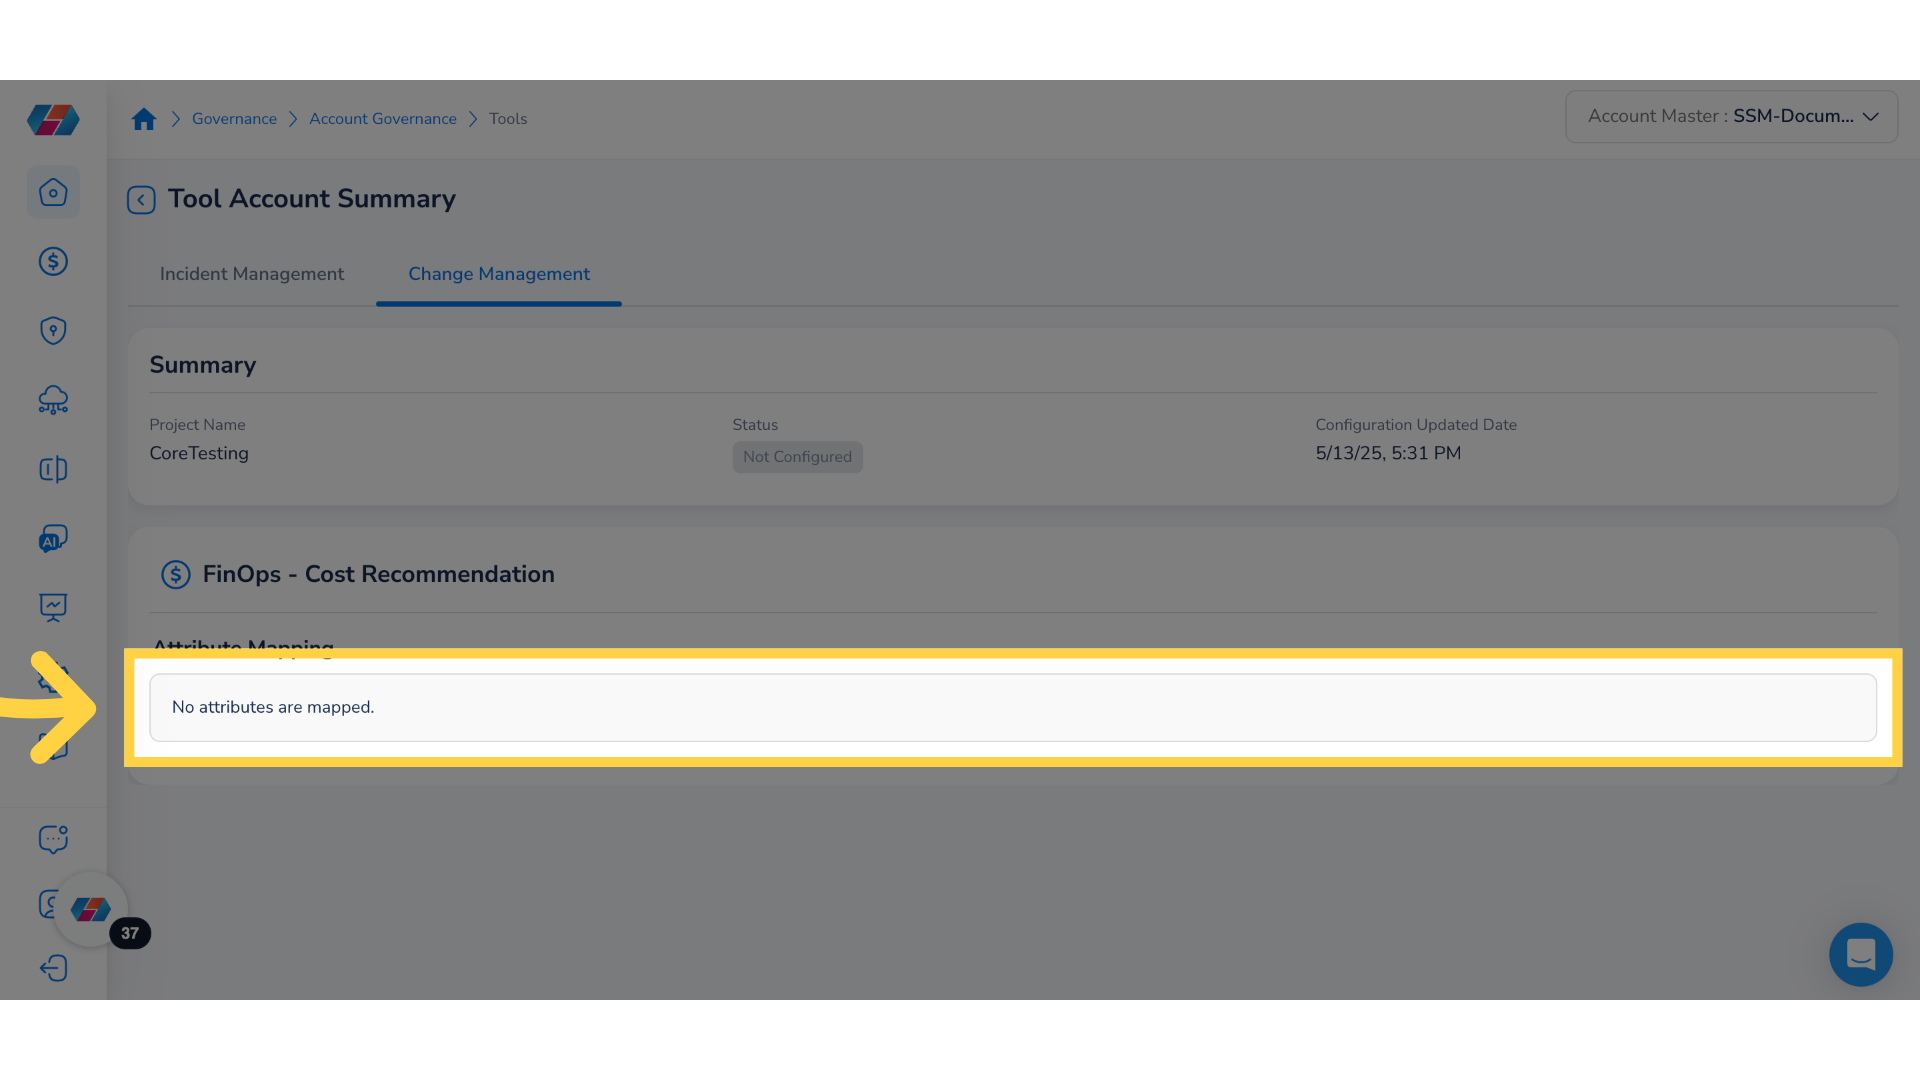
20. View "FinOps - Cost Recommendation"
View attribute details in the FinOps - Cost Recommendation section.
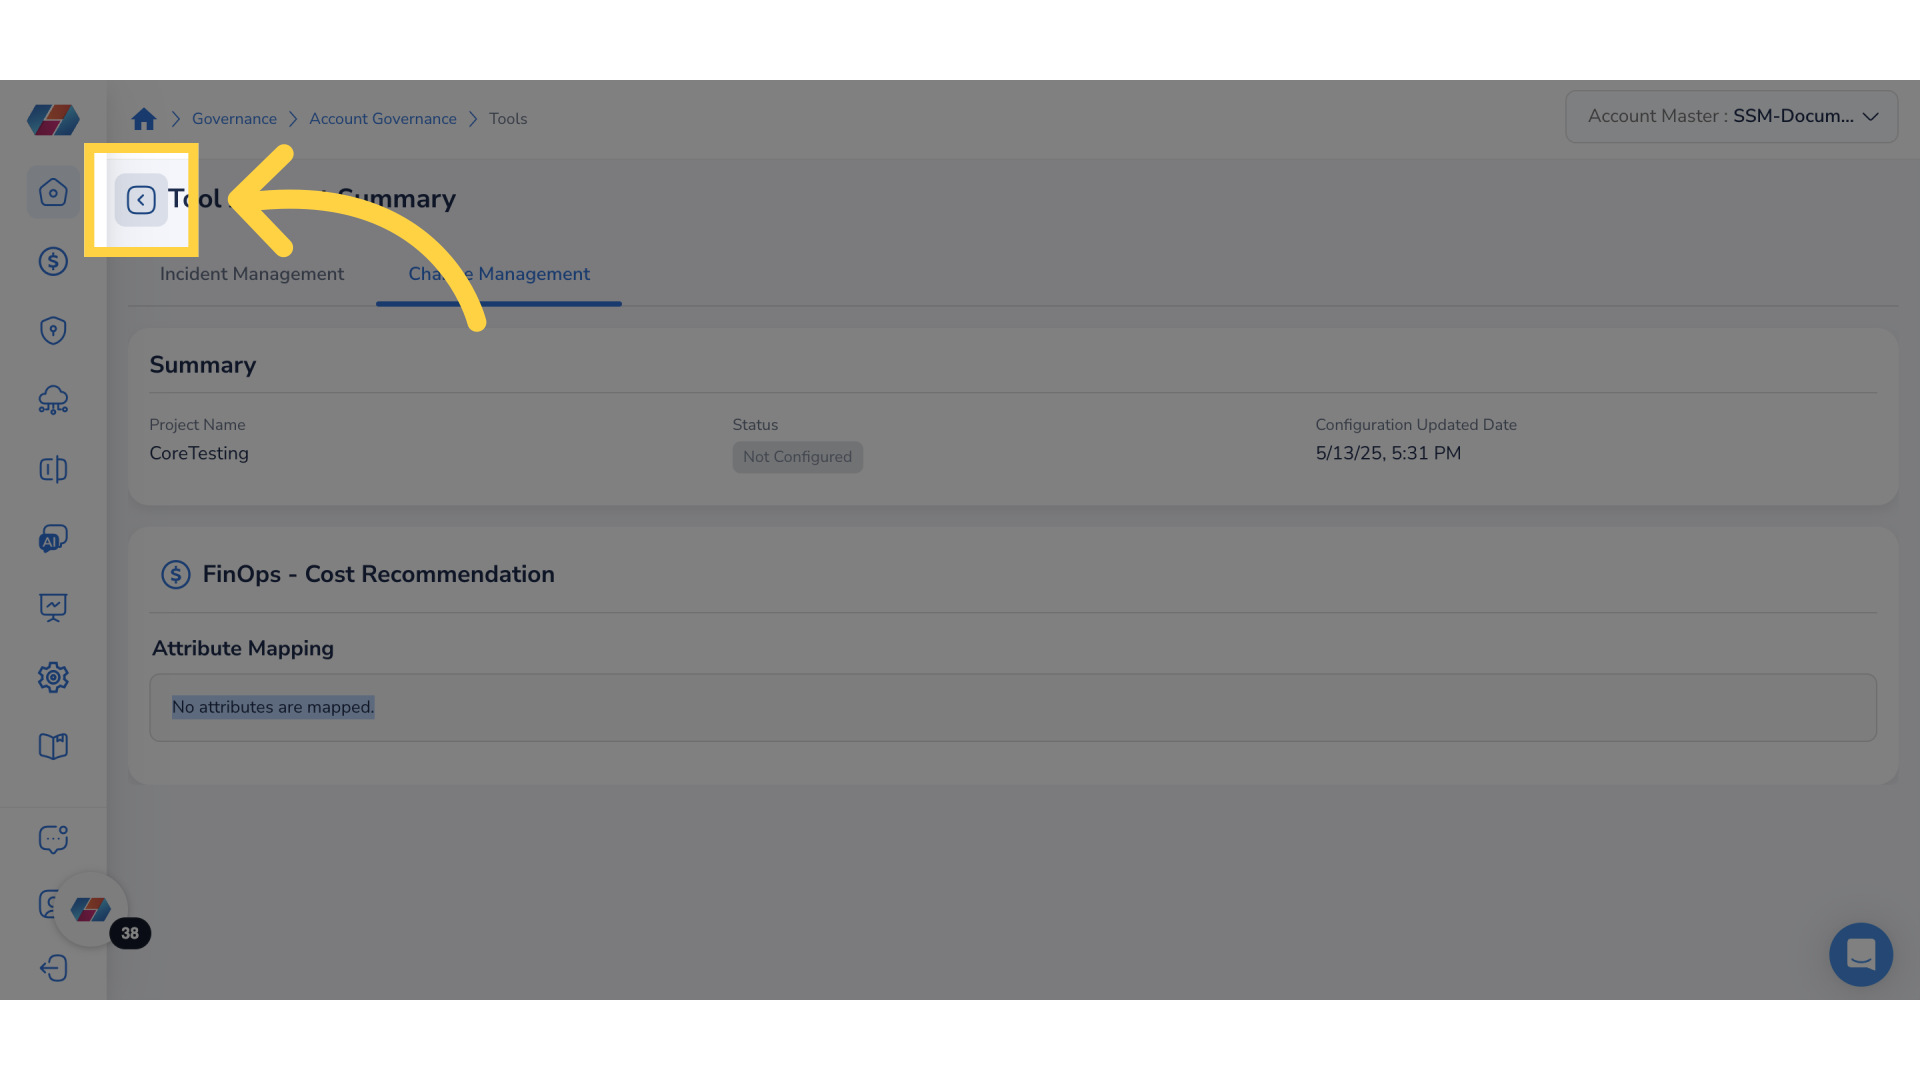
21. Return to Previous Page
Click the arrow pointing left to go to the previous screen.
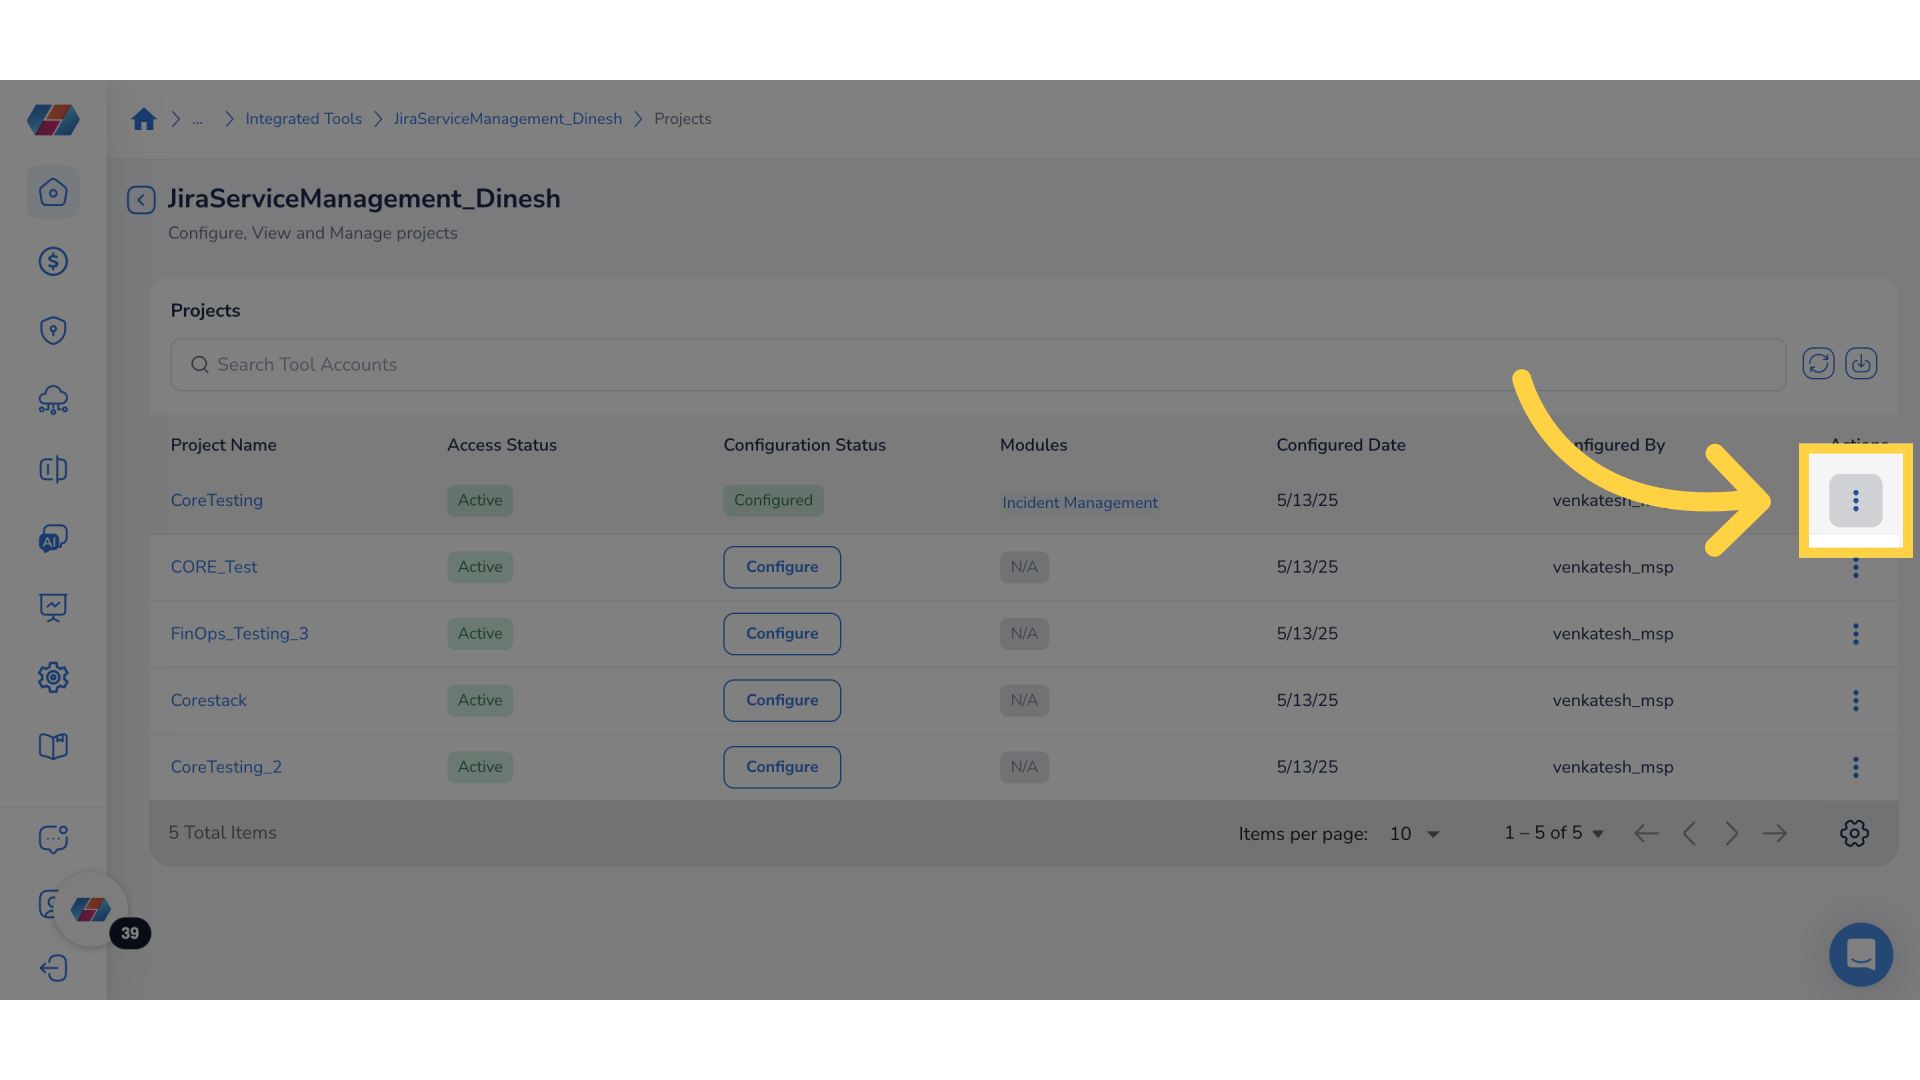
22. Click Ellipses
To manage the project, click the ellipses corresponding to a project.
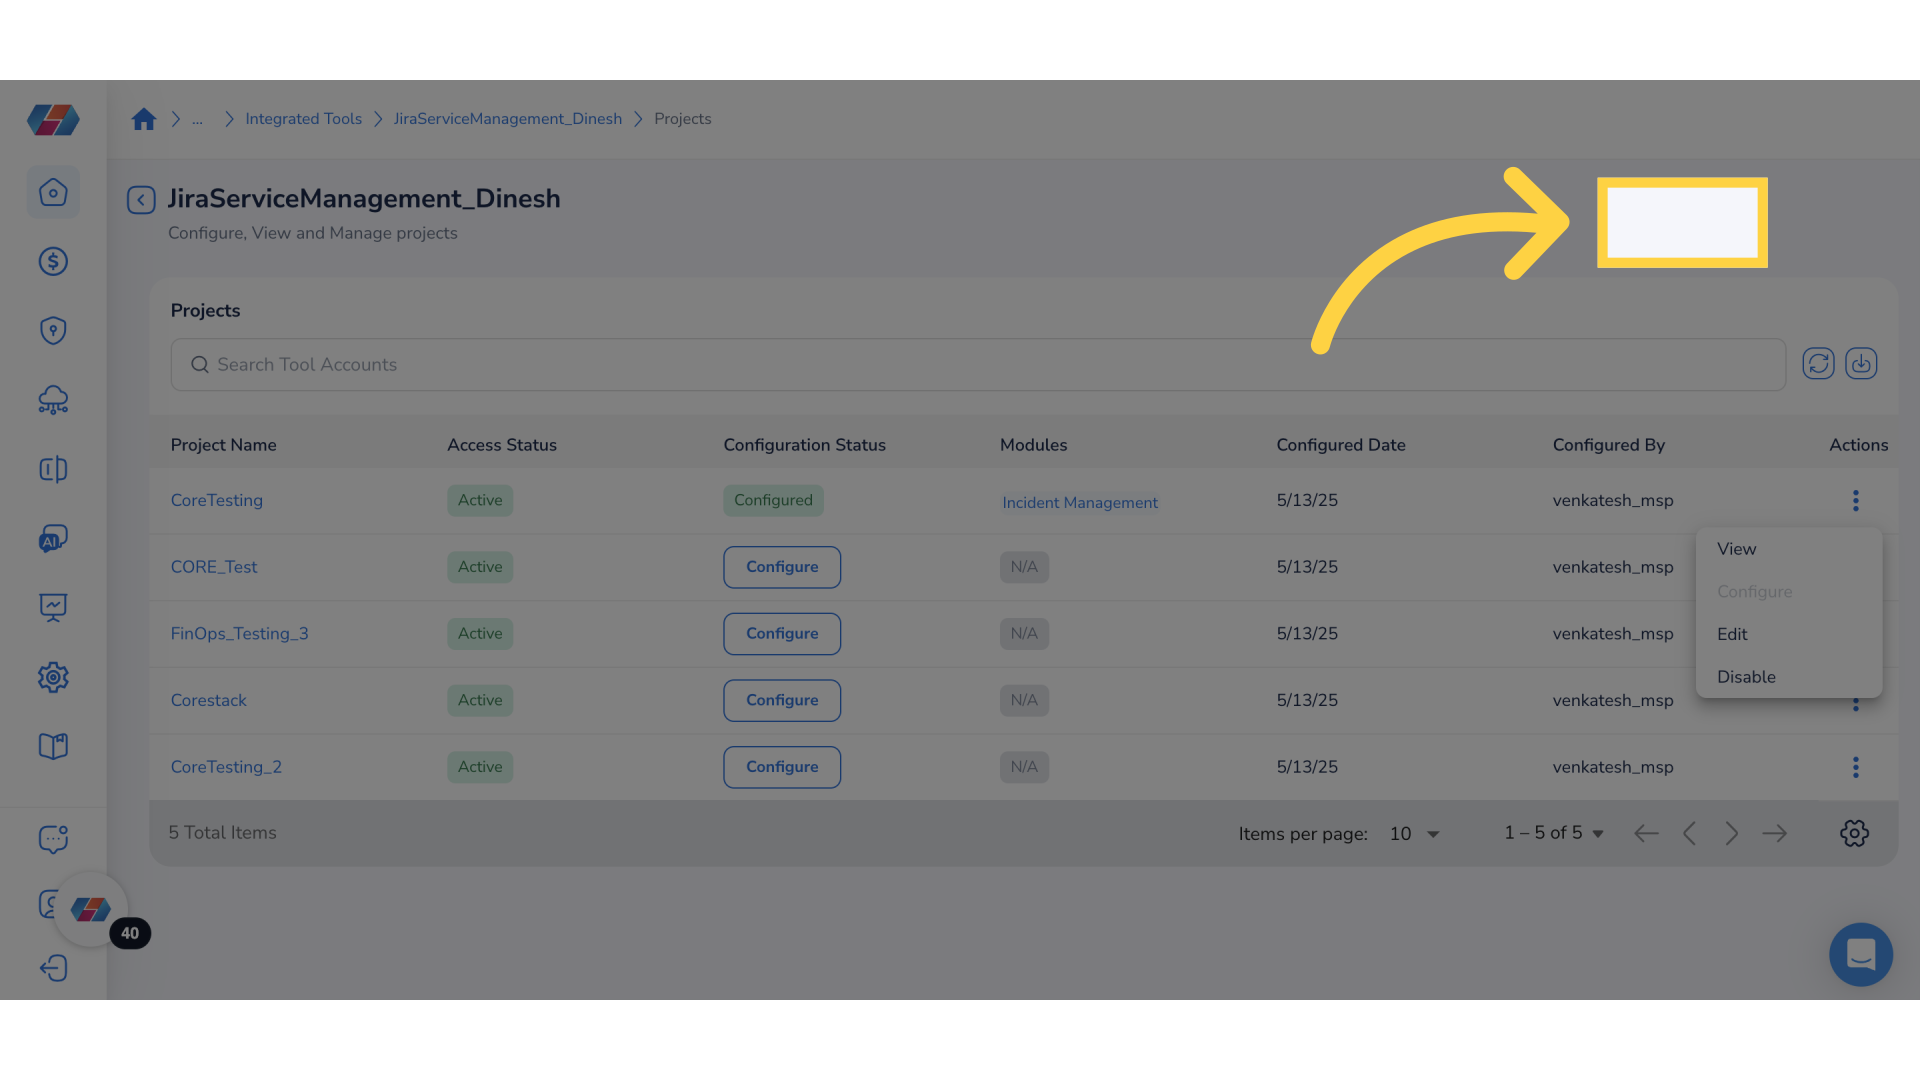
23. Select an Action
Take any of the following actions:
- View: Select this option to view project details.
- Configure: Select this option to configure project details.
- Edit: Select this option to edit project details.
- Disable: Select this option to disable a project.
Note: The [System] Incident issue type must include the "Resolved" status to enable automatic resolution of system-generated incidents. If the "Resolved" status is not available, then incidents will not be auto-resolved and must be closed manually by the user.
Note: Before proceeding with the project configuration, ensure that your Jira project includes the issue types [System] Incident and [System] Change.
This guide covered the process of navigating and configuring various settings for JIRA tool accounts, ensuring you can effectively validate details and set up projects as needed.
Updated 8 months ago