

Create / Delete Dashboard View
Introduction
This user guide will guides users through the steps to create and delete Views in the FinOps Dashboard.
Create a Dashboard View
1. Set filters
In the available filter options, apply the filter options as per the requirement.
Example: In Cost Metric filter choose an option like "Effective Cost".
2. Click ellipses on the dashboard.
On the dashboard page, click the ellipses on the extreme top-right side of the screen.
3. Click "Create New View".
To create a new view for the dashboard, click Create New View. A dialog box displays.
4. Type the view name.
In the Name box, type the name of the view.
5. Name your view
In the pop-up window enter the name for the view and 'Save' the custom view for your easy access.
6. Enable Private View.
In the Create New View dialog box, select the Private View checkbox if you would like to make the new view as a private view and is accessible to the user who has created it.
7. Click 'Save'
Save the changes made by clicking 'Save'.
8. Click drop-down list.
Click the View drop-down list to see the list of existing views.
9. Click Delete View.
To delete an existing view, in the View drop-down list, click the delete icon.
10. Click "Yes".
In the dialog box that appears, click Yes to delete the view.
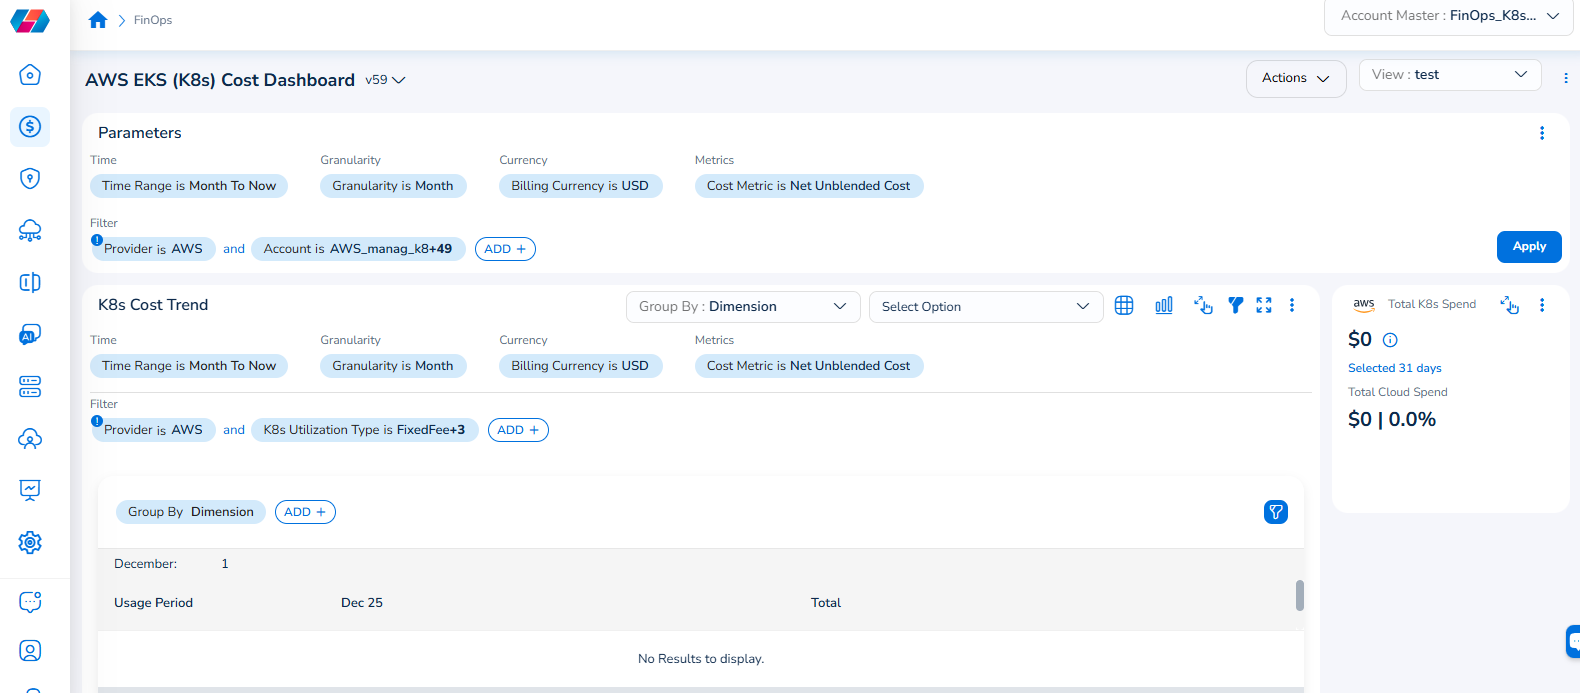
Note that the Cloud Account filter has been renamed to Account, and the Cloud Provider filter has been renamed to Provider.
For example, if you see the dashboard shown in the screenshot below, the Parameters > Filter section shows the Provider filter for which the value selected is AWS.
To add the Account filter, users can click ADD+ and select Account. In the drop-down list that appears, users can select all applicable values, and click Ok. Details will be displayed in widgets as per the selected filter(s).
In every widget that is available within a dashboard, users can click the Filter icon that appears on the top-right side of the widget and view the pre-defined filters. The Provider filter appears as a pre-defined filter. Users can use the ADD+ option to add custom filters and they have the option to add the Account filter from here.
Updated 7 months ago