

Cost Metrics
Introduction
Role-Based Access Control (RBAC) for Cost Metrics allows users to authorize who can view certain cost data, including True Cost and margin details, for account-type dashboards.
The platform allows all metrics by default, but users can explicitly deny specific cost metrics by cloud provider account types for roles (system or custom roles) or user groups from a central configuration page.
Note: A user is denied access to a cost metric only if all assigned roles for that particular user are denied access to the cost metric and all user groups the user is in are denied access to the cost metric.
Accessing RBAC for Cost Metrics
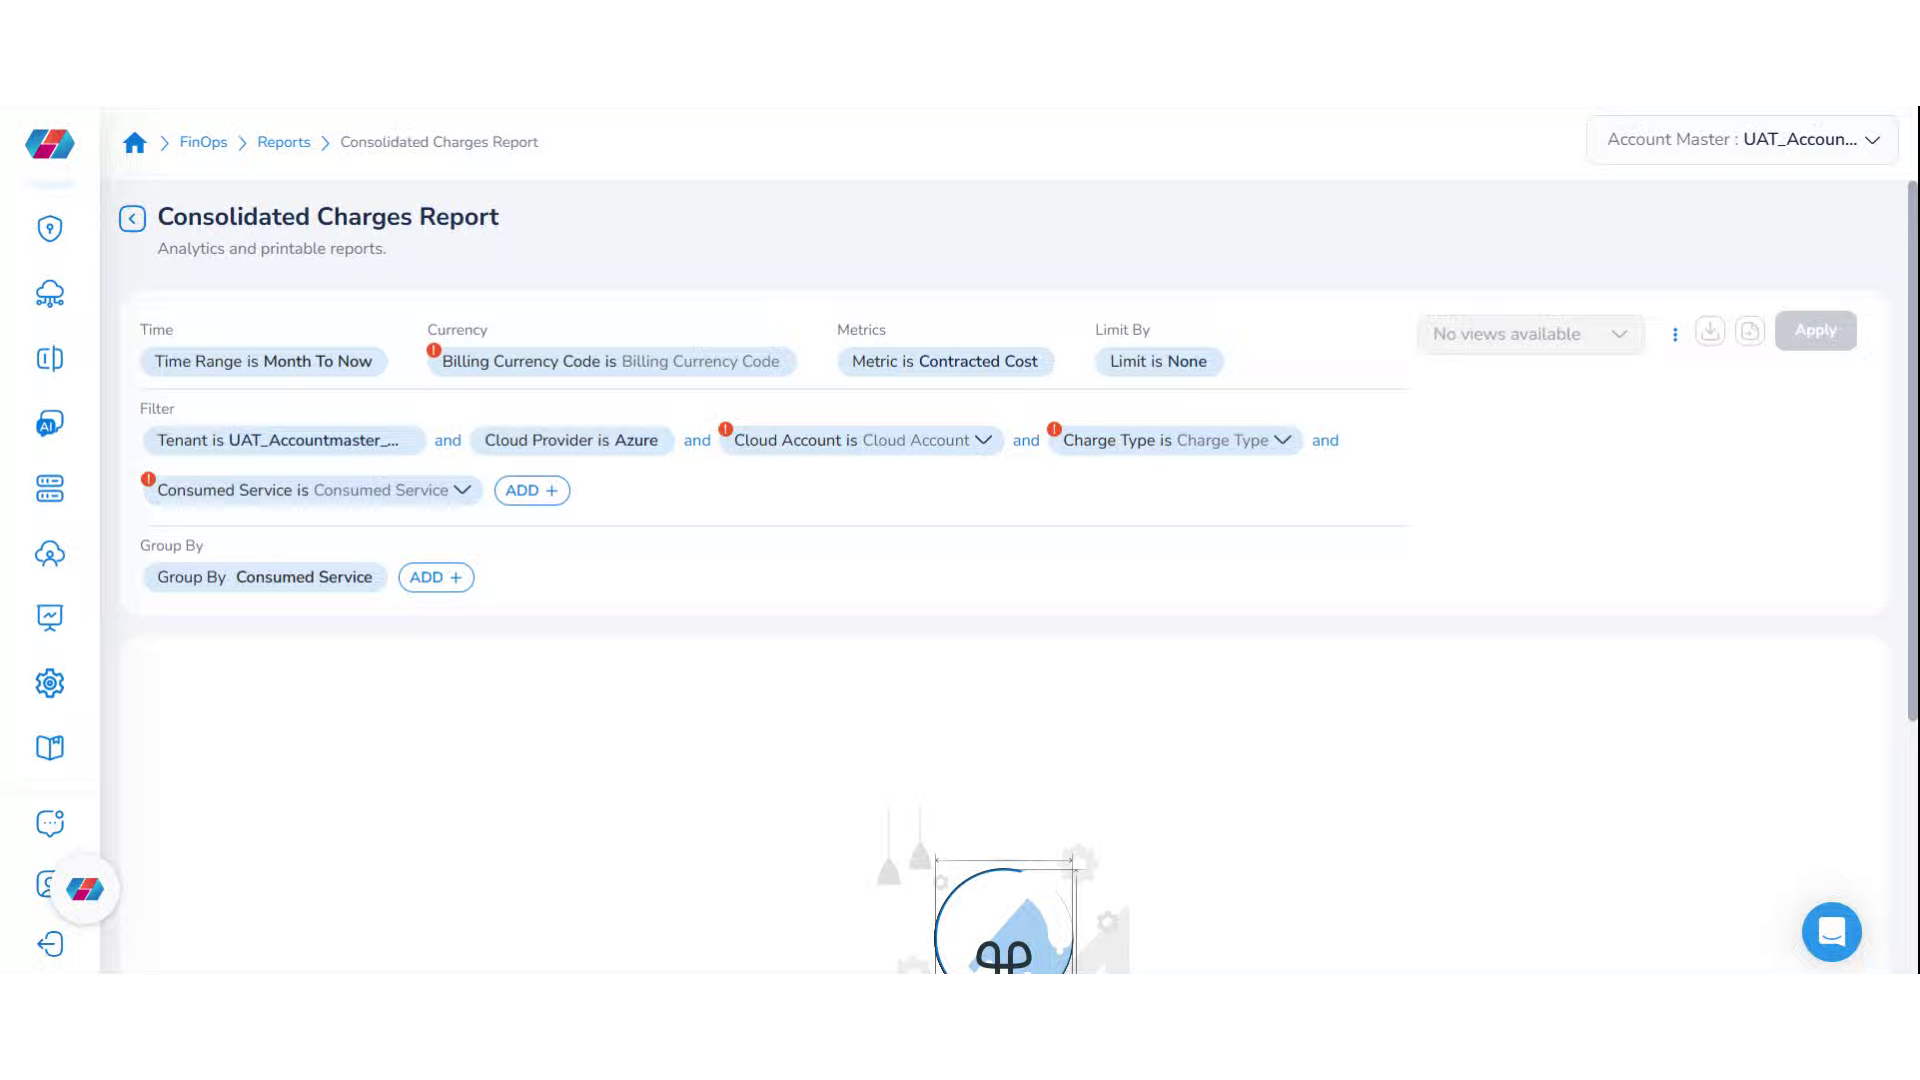
Navigate to "Settings" in the Menu
On the left navigation pane, click Settings.

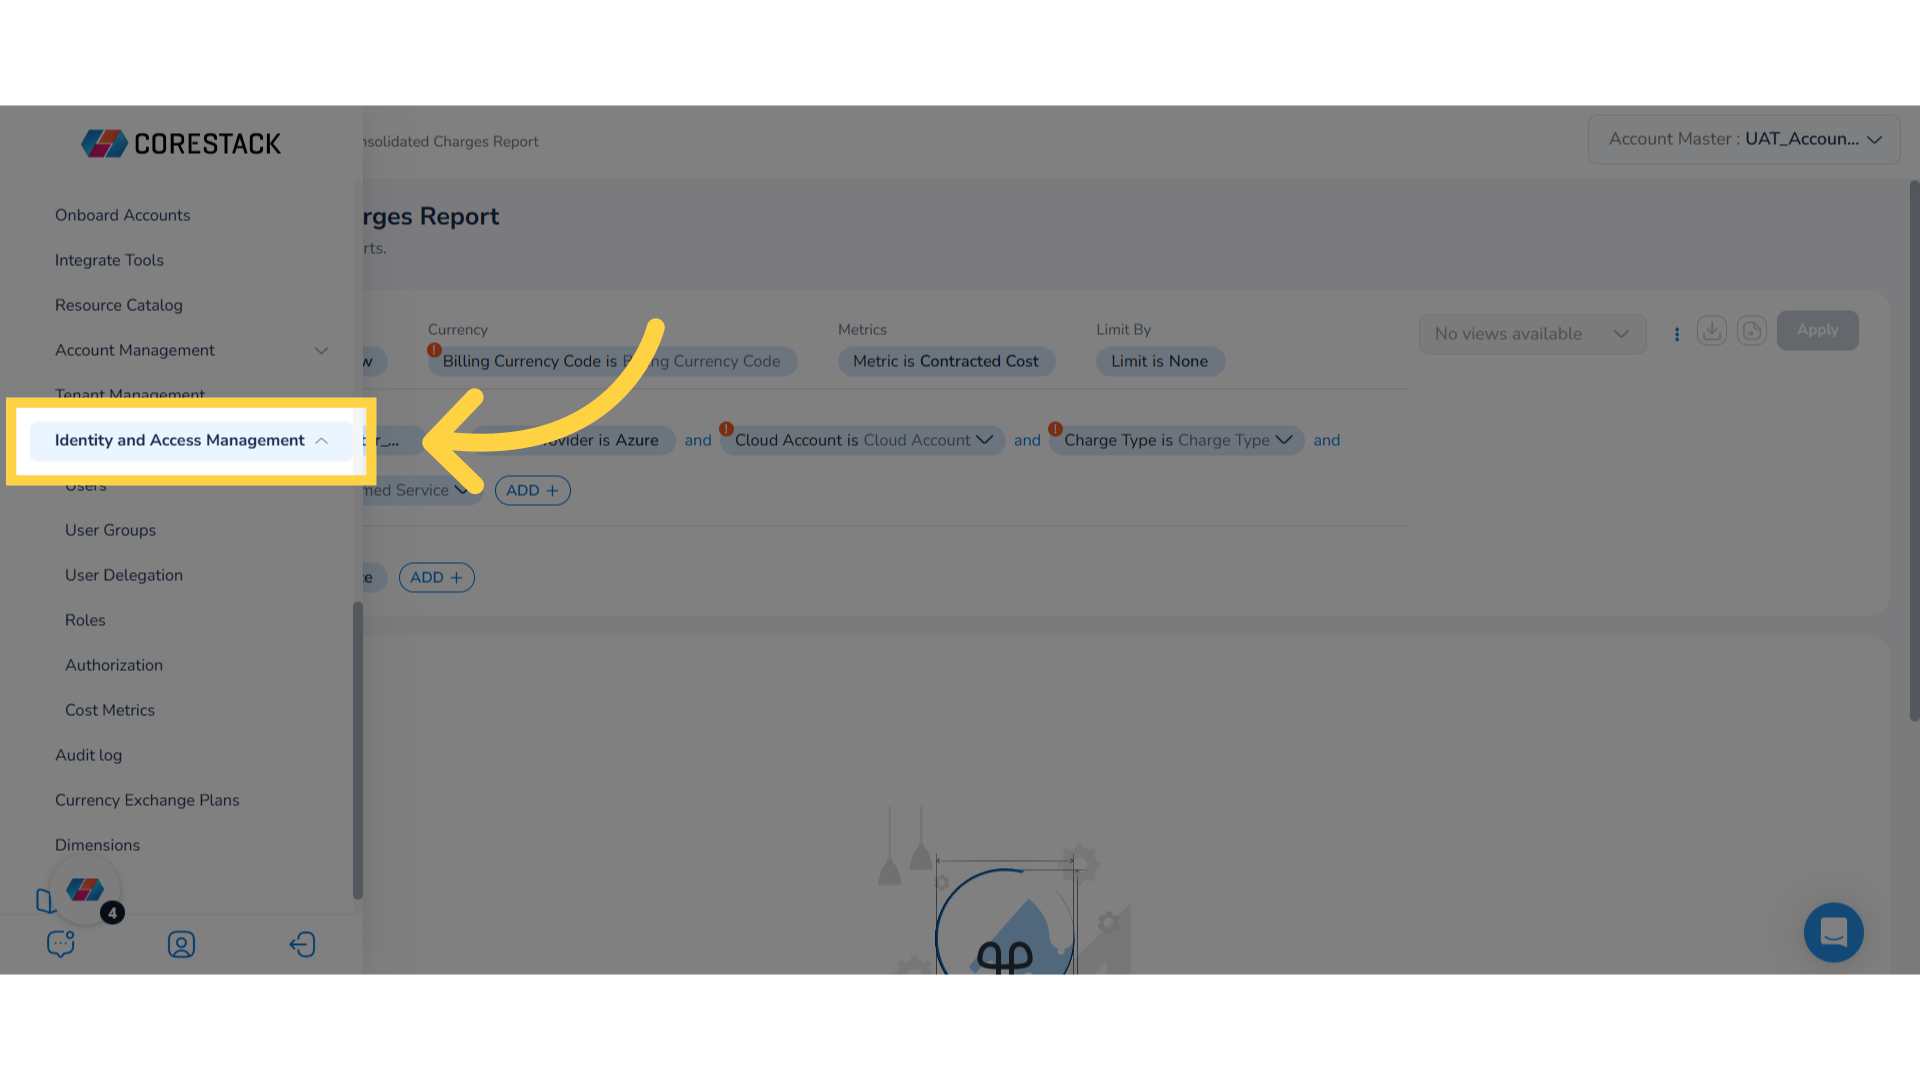
Select "Identity and Access Management" in the Menu
Click Identity and Access Management.
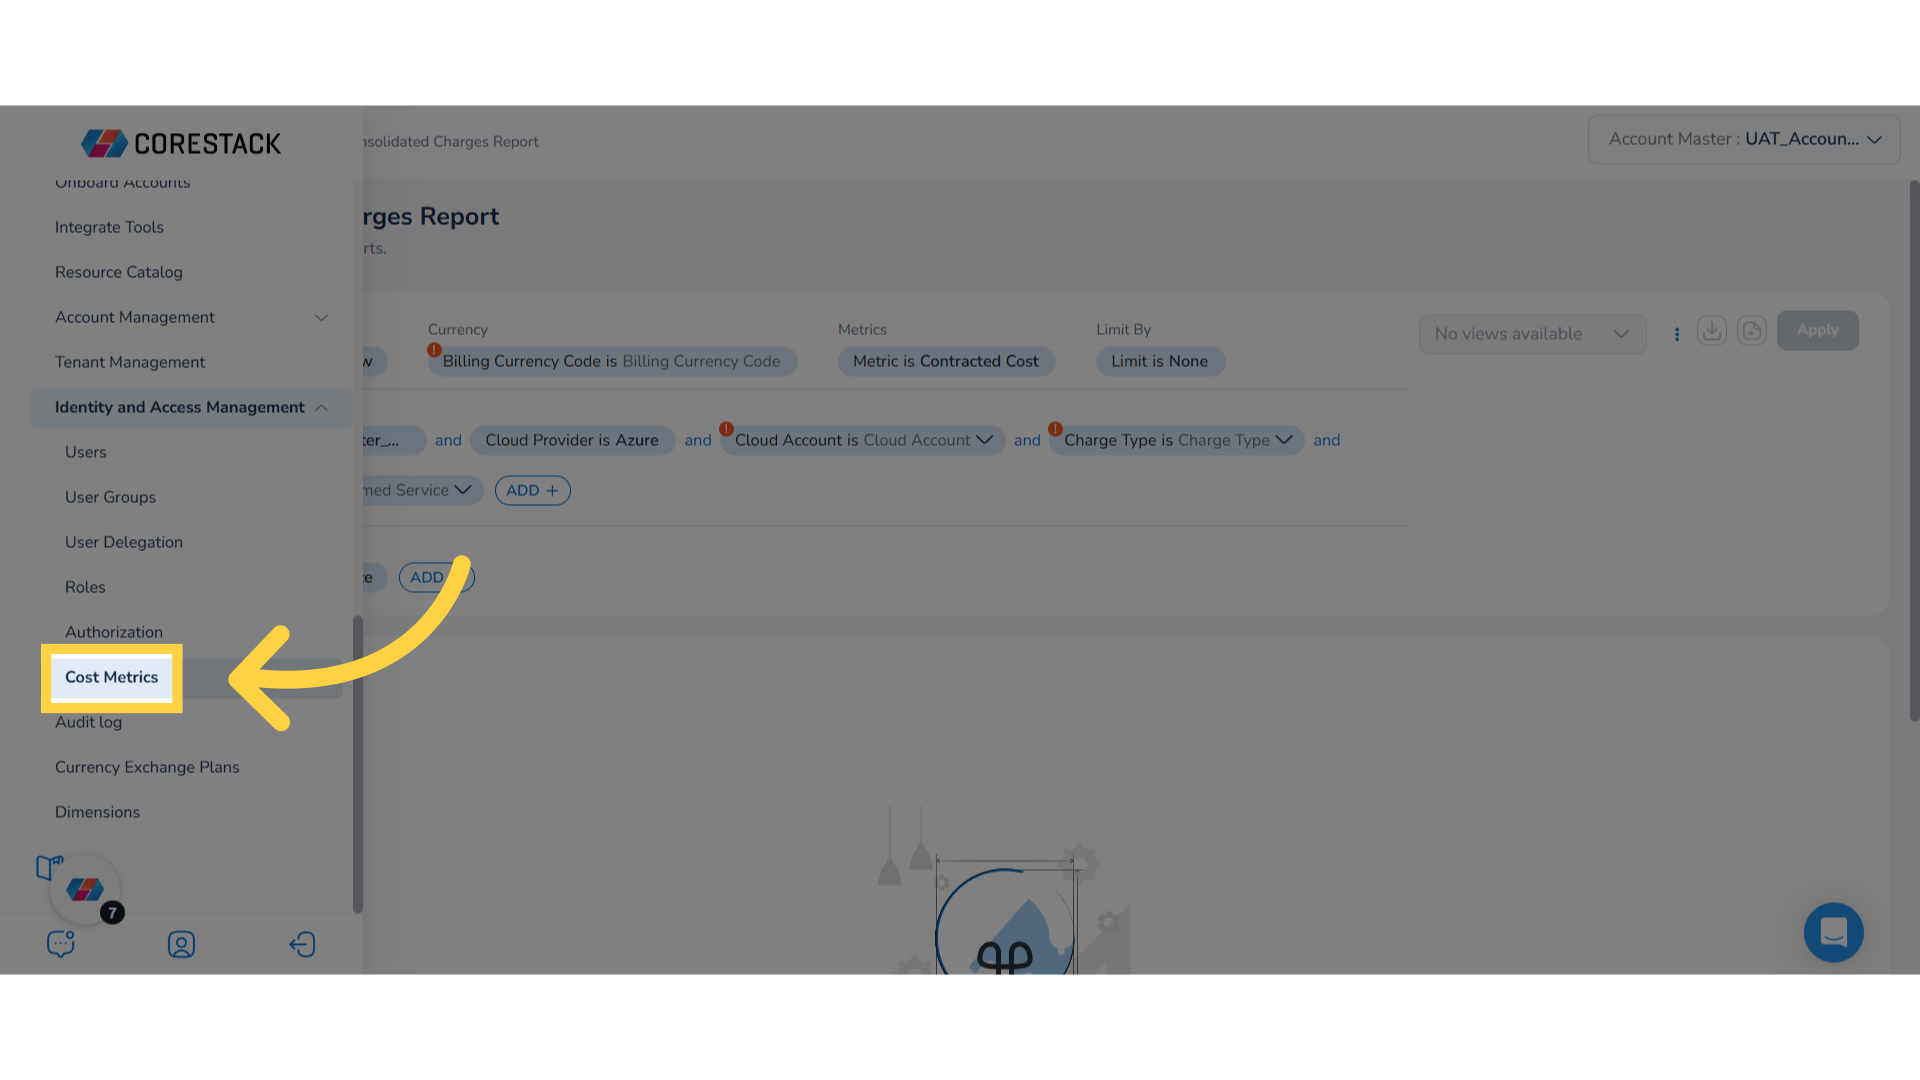
Select "Cost Metrics" in the Menu
Click Cost Metrics.
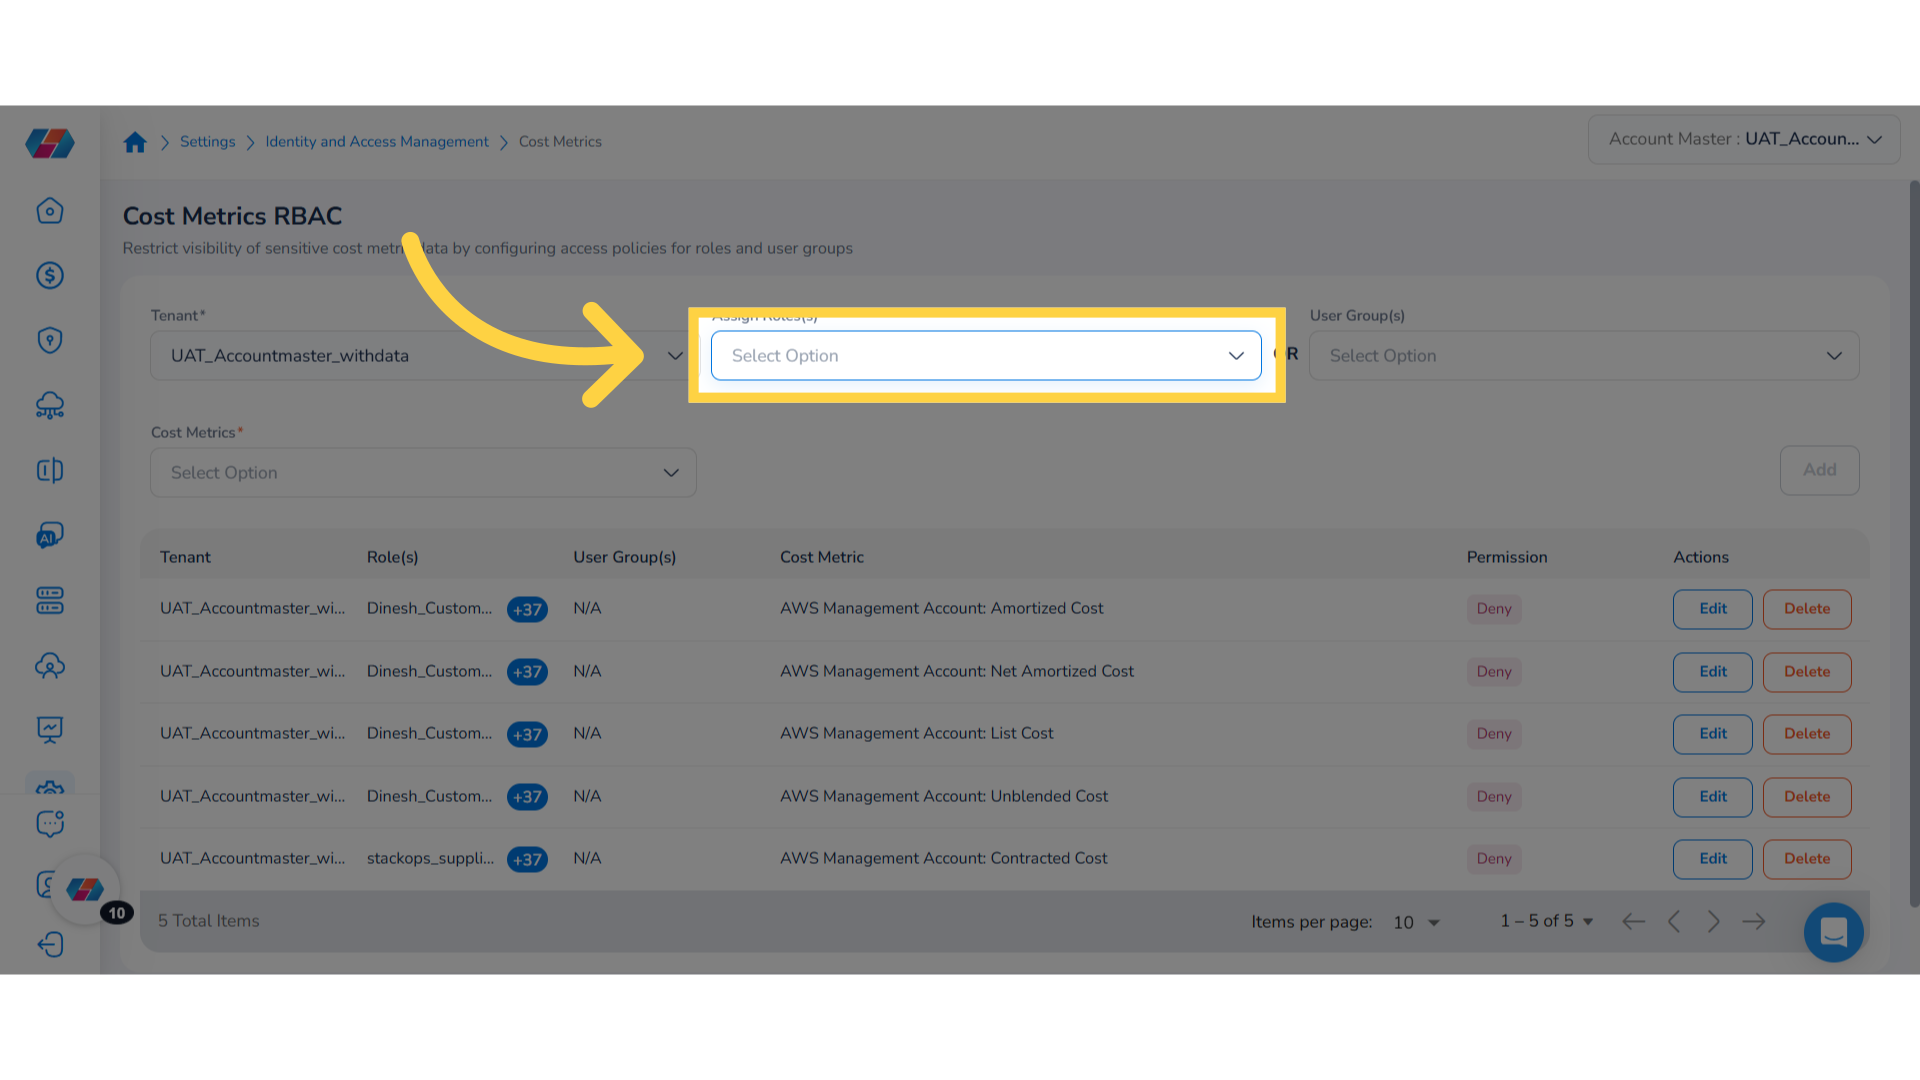
In the Cost Metrics RBAC page, users can restrict visibility of sensitive cost metric data by configuring access policies for roles and user groups. Users have the option to select tenant and roles, or they can select user groups to make the configuration.
Configuring RBAC for Cost Metrics
Select a Tenant from the drop-down
In the Tenant drop-down list, click to select a tenant. Choosing the correct tenant ensures that your metrics and policies are applied accurately within the right context.

Select Assign Roles from the drop-down
In the Assign Roles drop-down list, click to select all applicable roles and click Ok.
Select All or Clear in the drop-down
Note: You can click Select All to choose all options or you can click Clear to reset your selection.
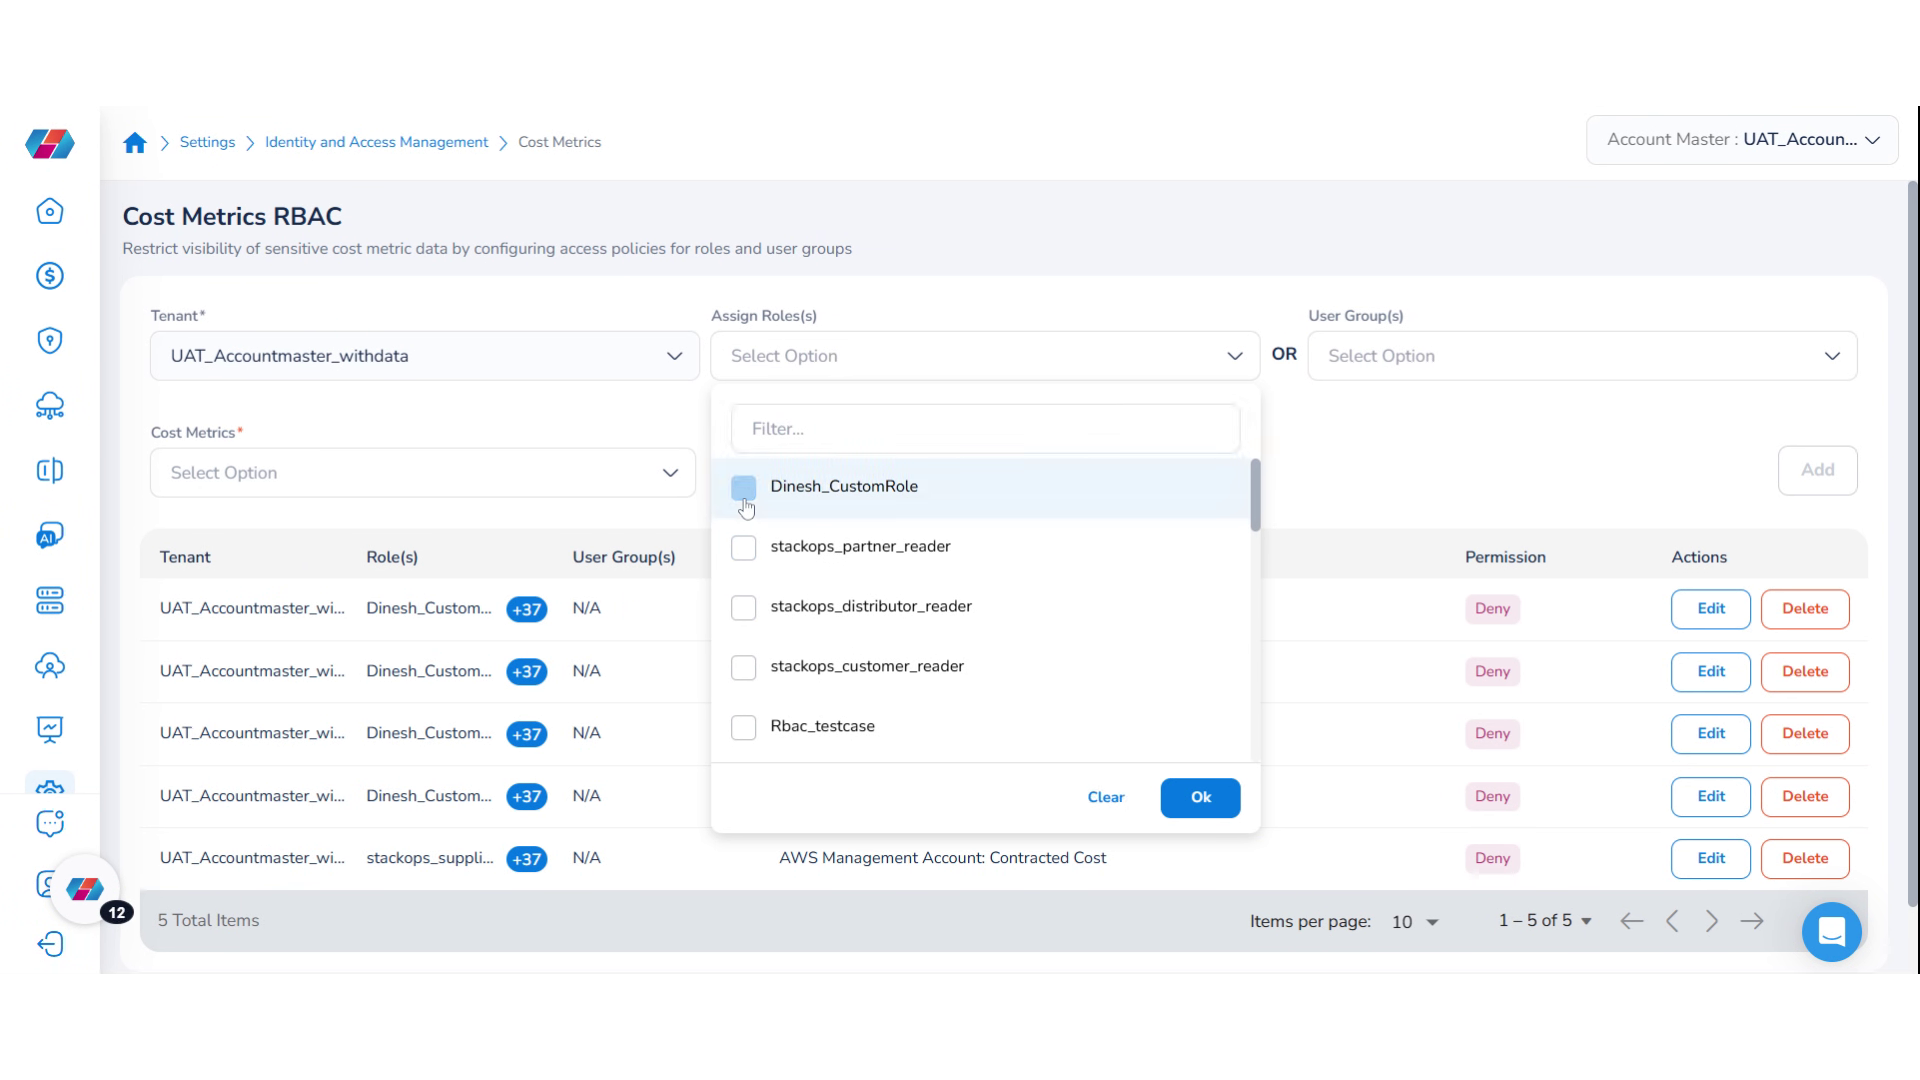
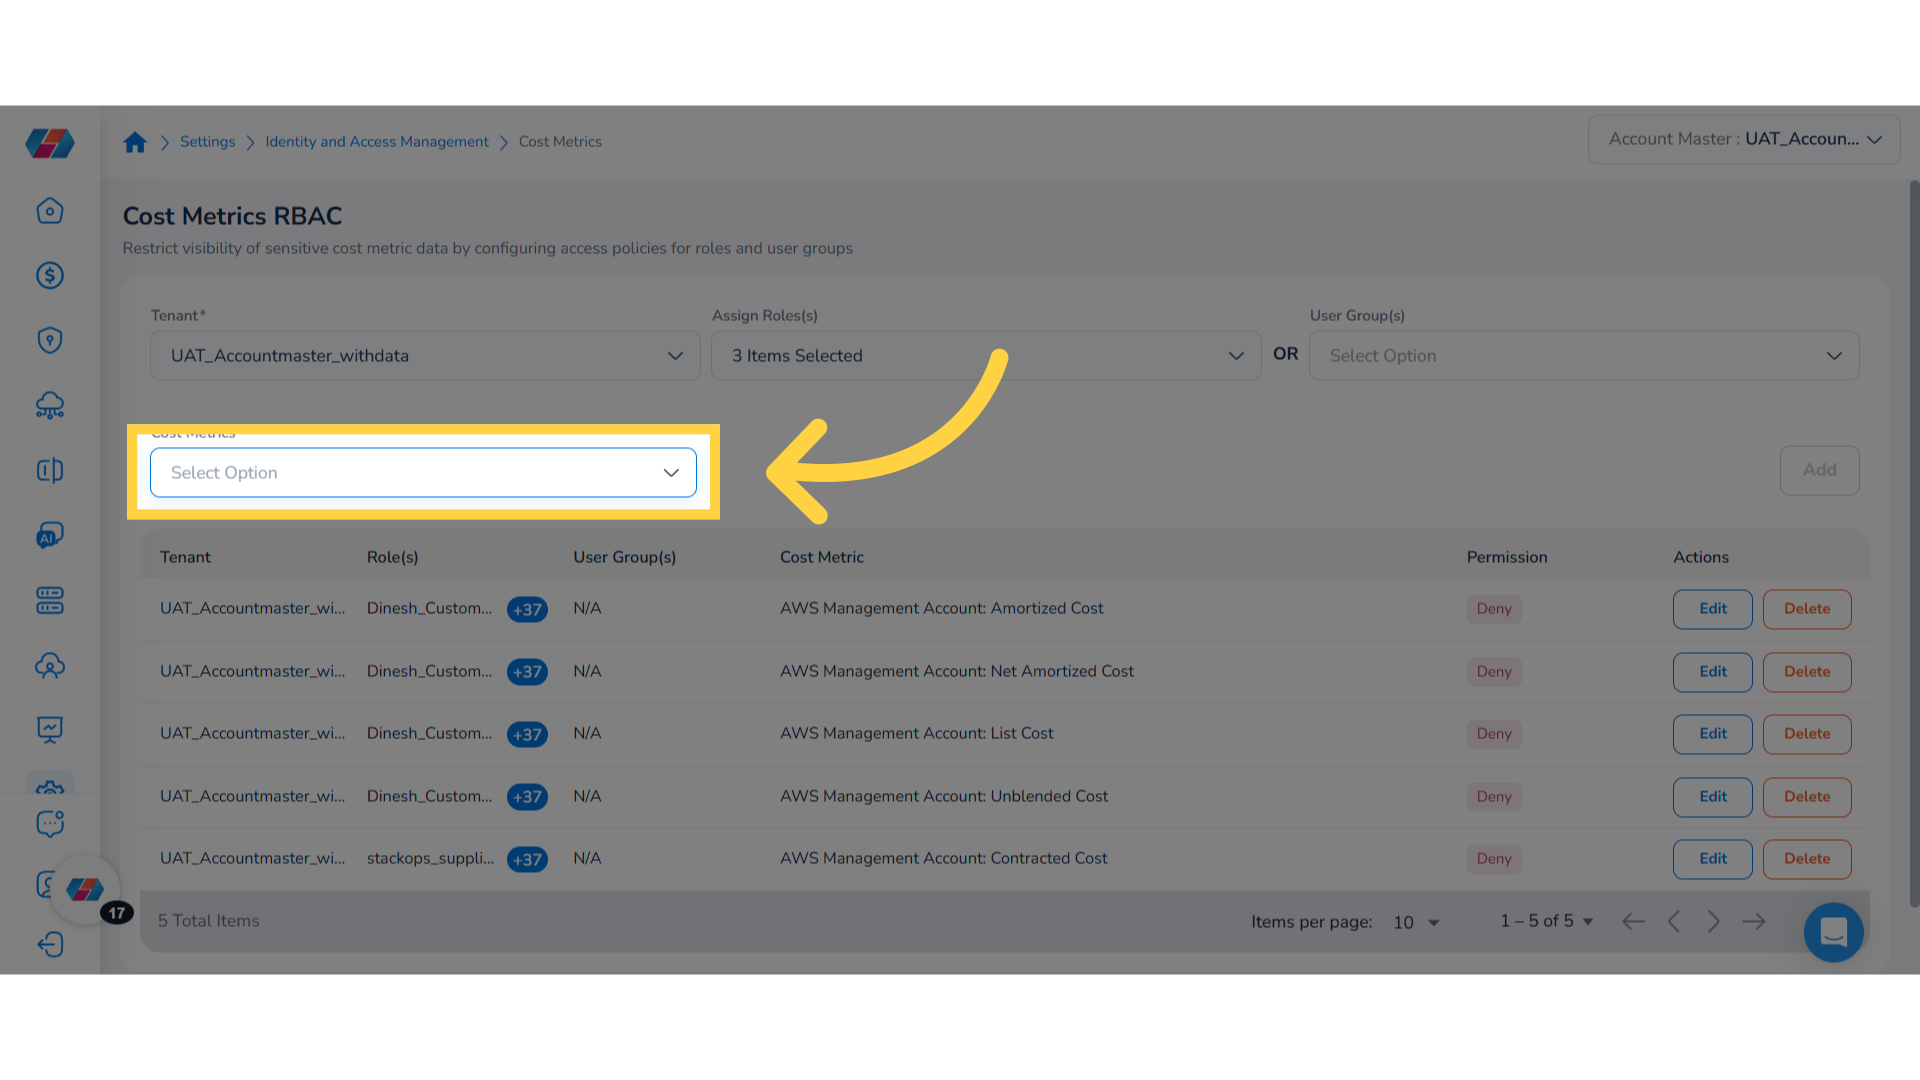
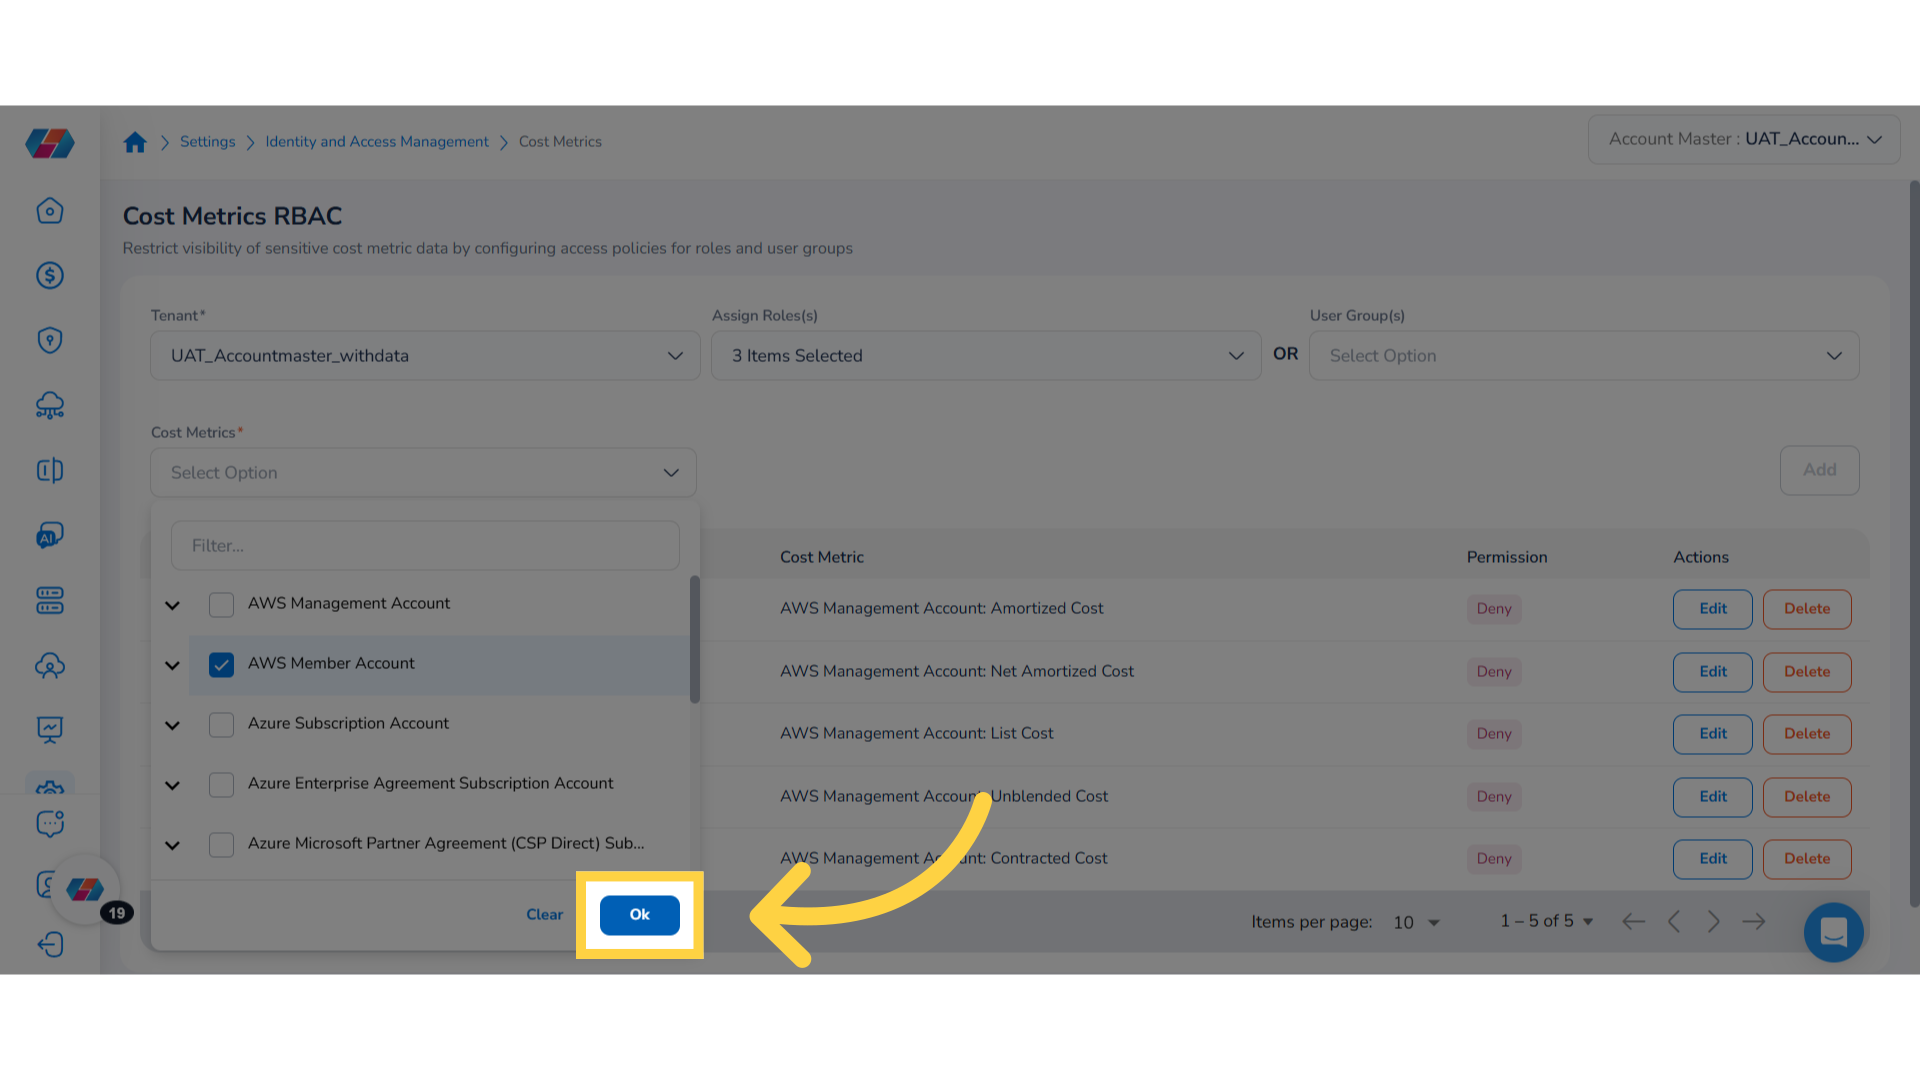
Select "Cost Metrics"
The metrics in the Cost Metrics drop-down list are grouped by cloud account. To select metrics from the Cost Metrics drop-down list, click to select the cloud account and then select all applicable metrics.
Confirm Your Selection
Click Ok to confirm your selection.
Restricting Permissions
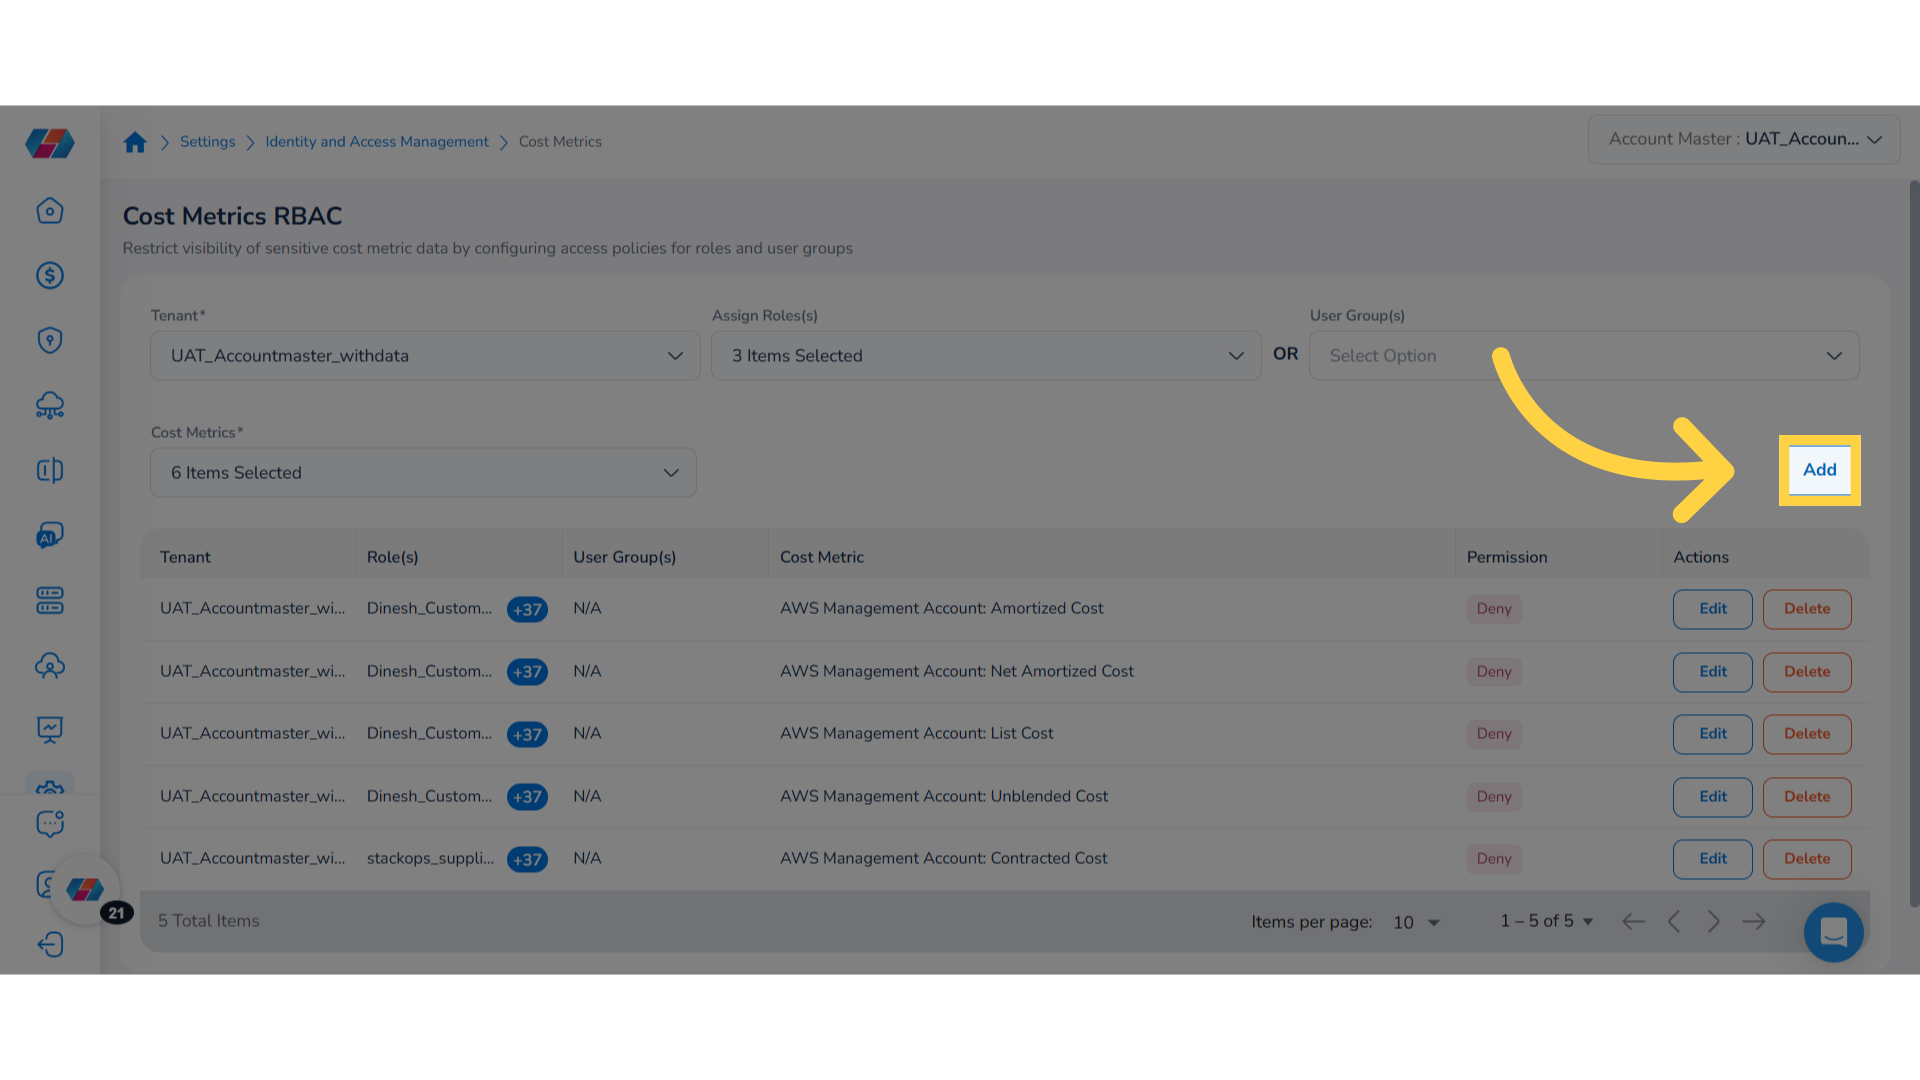
Restrict Permissions for Tenant and Roles
Click Add to restrict permissions for the selected tenant and roles. You can now view the table that lists the restricted permissions for cost metrics.
Alternative Way to Restrict Permission
Users can add permission restrictions for the cost metrics by selecting specific user groups and making the configuration.
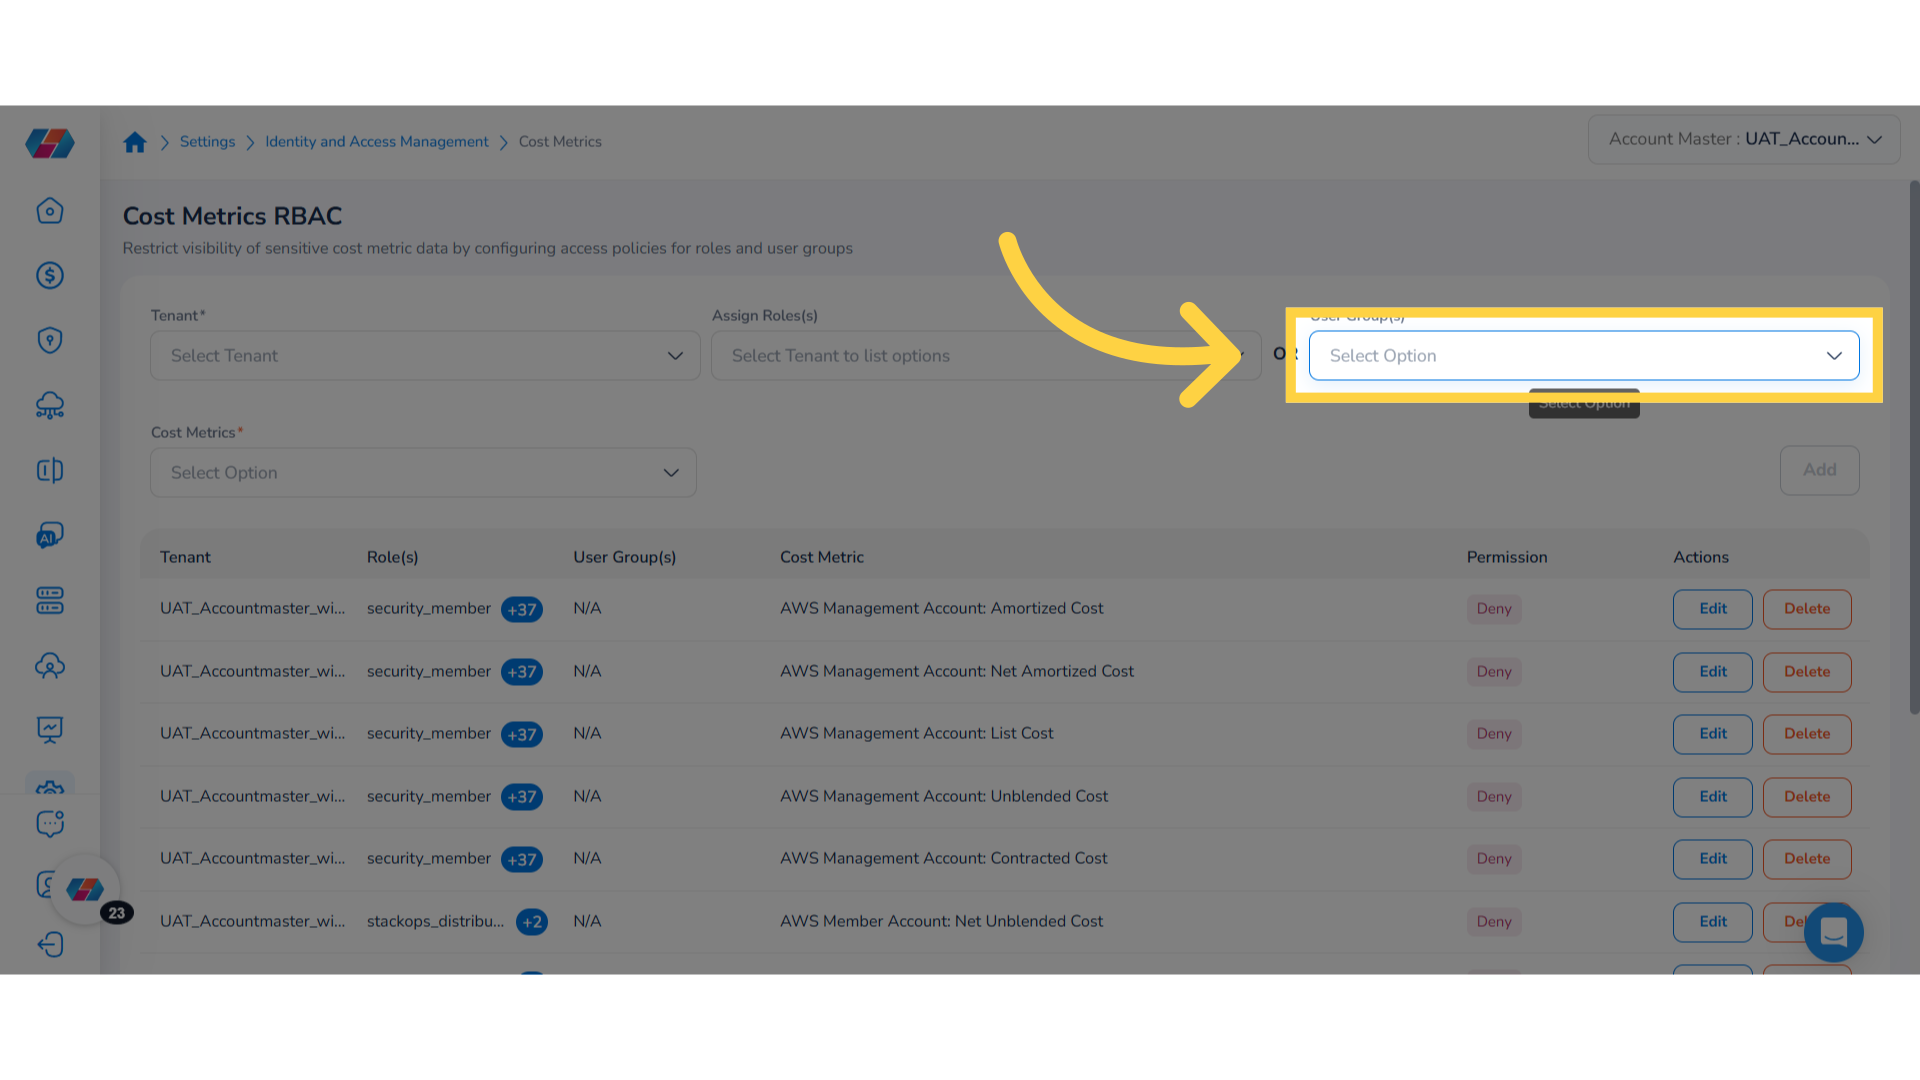
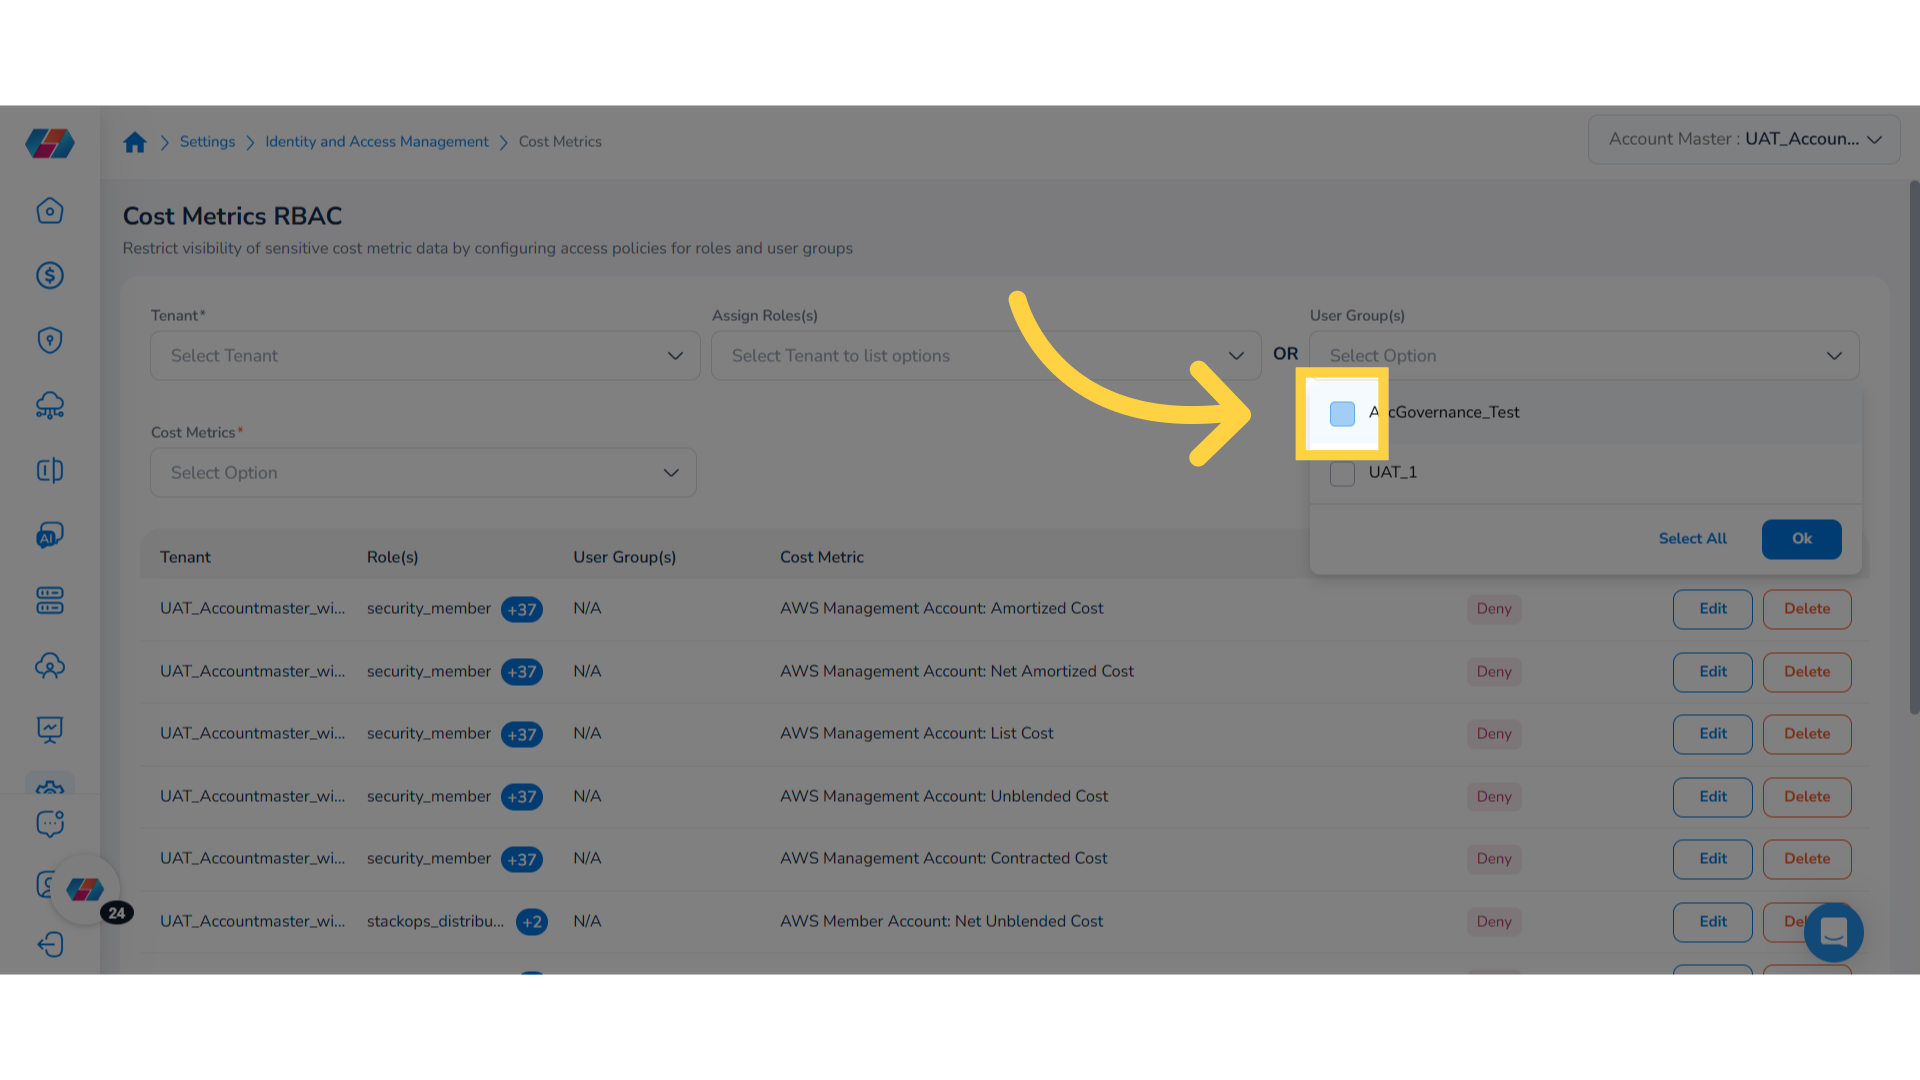
Select User Group(s) from the drop-down
In the User Group(s) drop-down list, select all applicable options, and then click Ok.
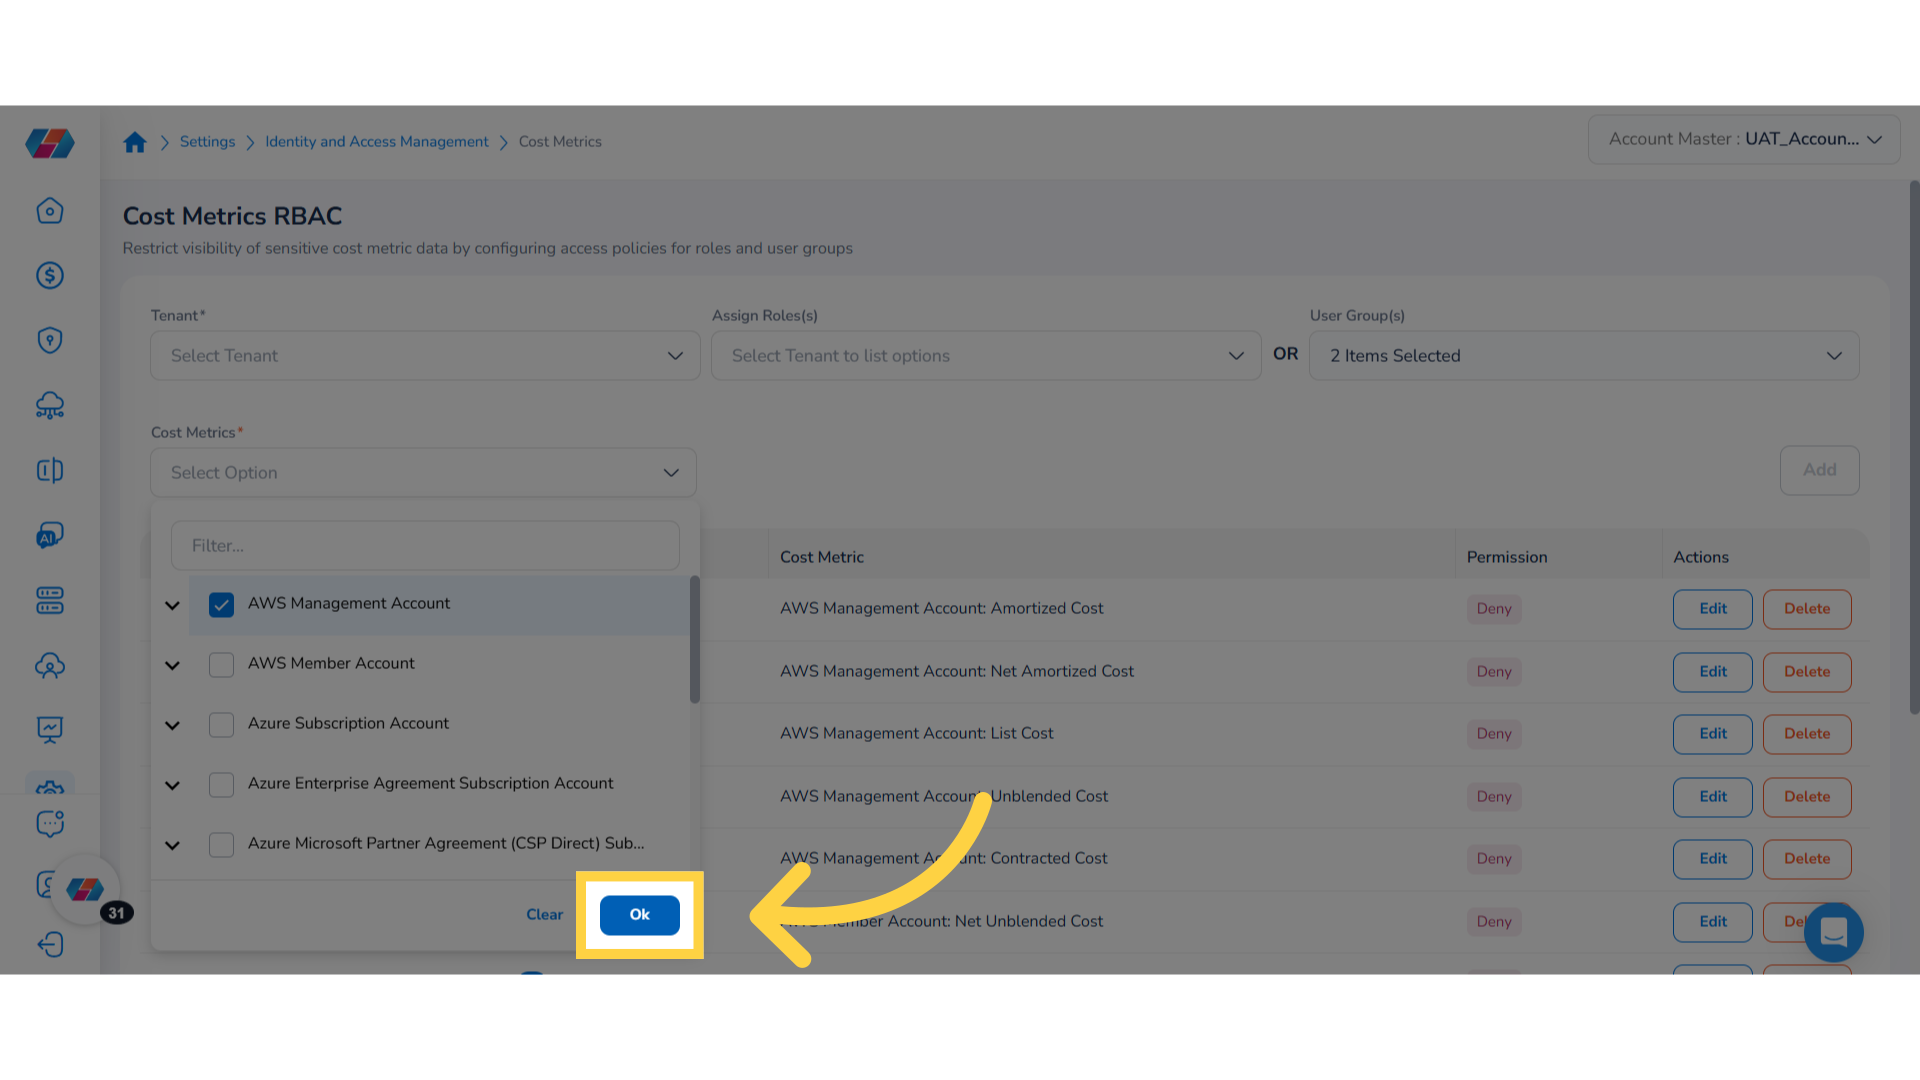
Select Cost Metrics from the drop-down
In the Cost Metrics drop-down list, select applicable cloud accounts and then select cost metrics.

Confirm Your Selection
Click Ok to confirm your selection.
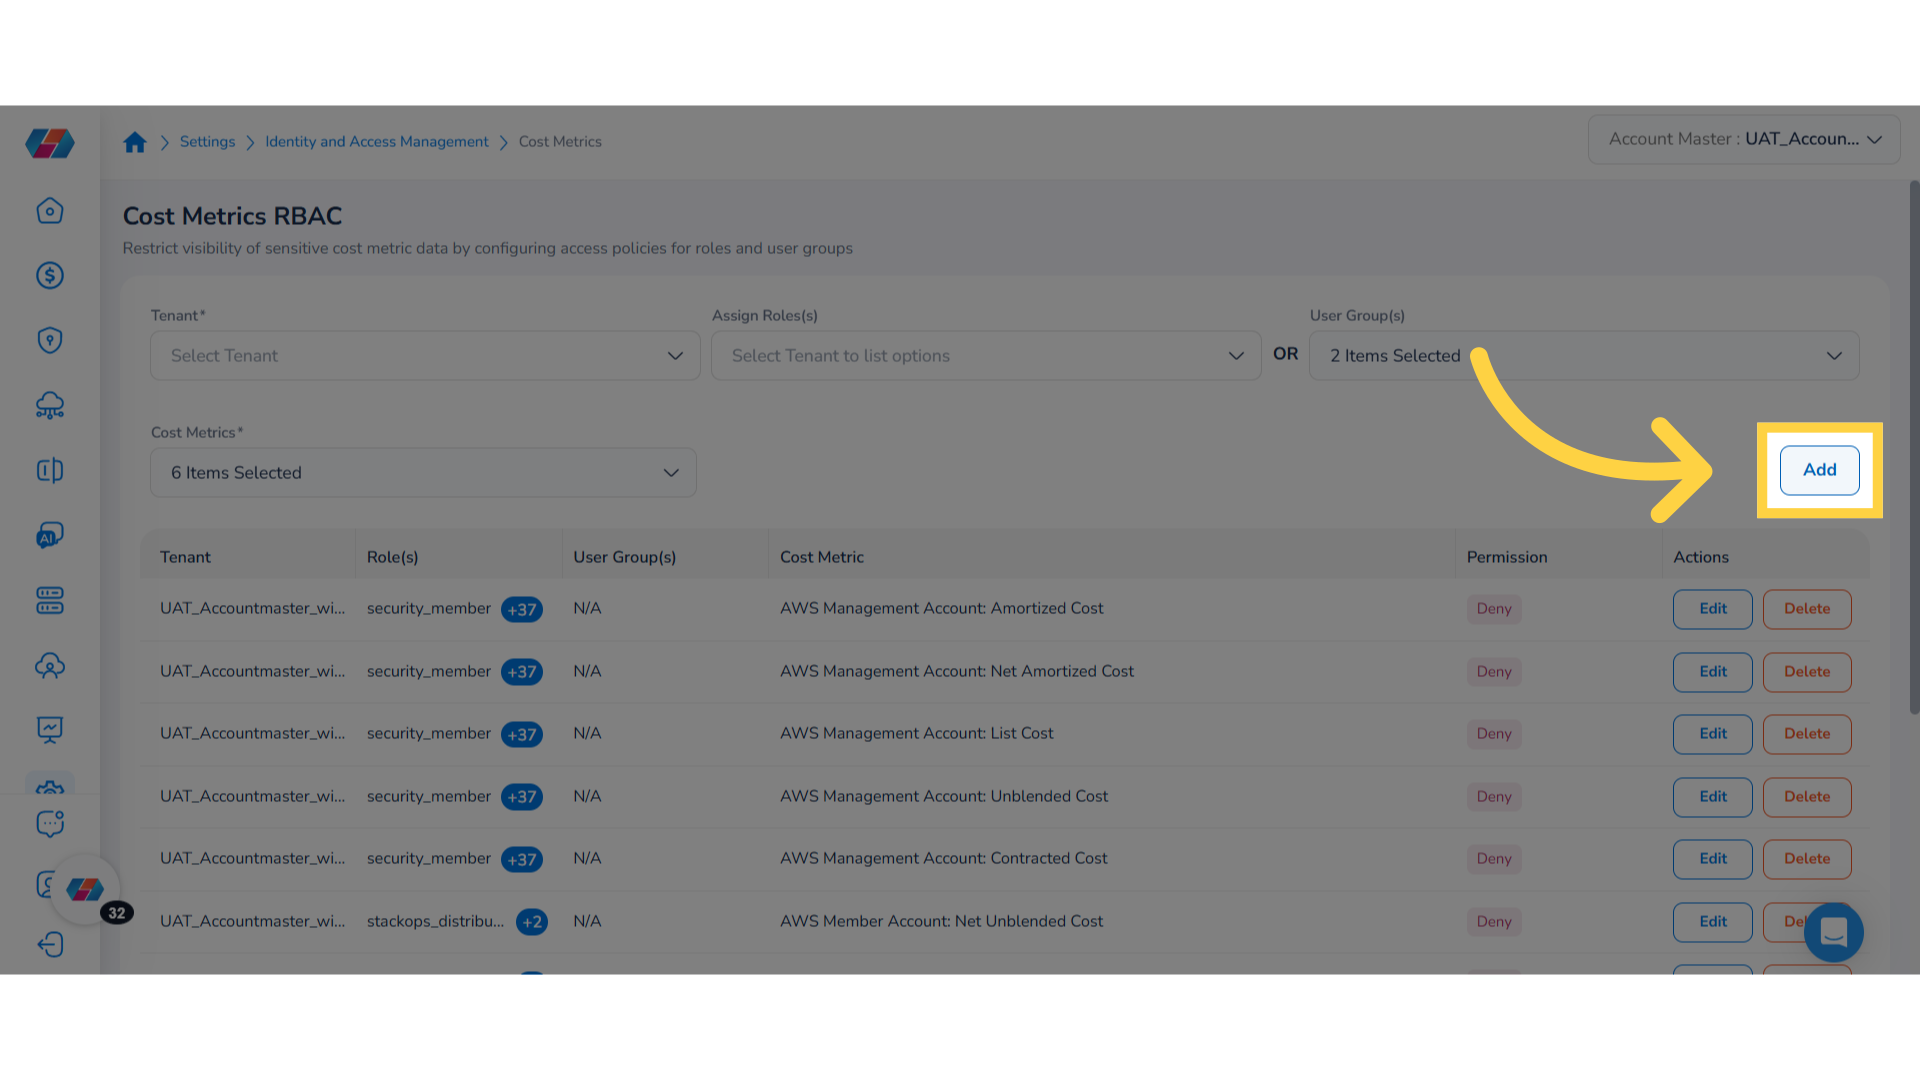
Click "Add" to Restrict Cost Metrics
Click Add to restrict visibility of selected cost metrics data to the selected user groups. You can view the restriction list in the table that appears below.
Removing Configurations
Remove Metric Configuration
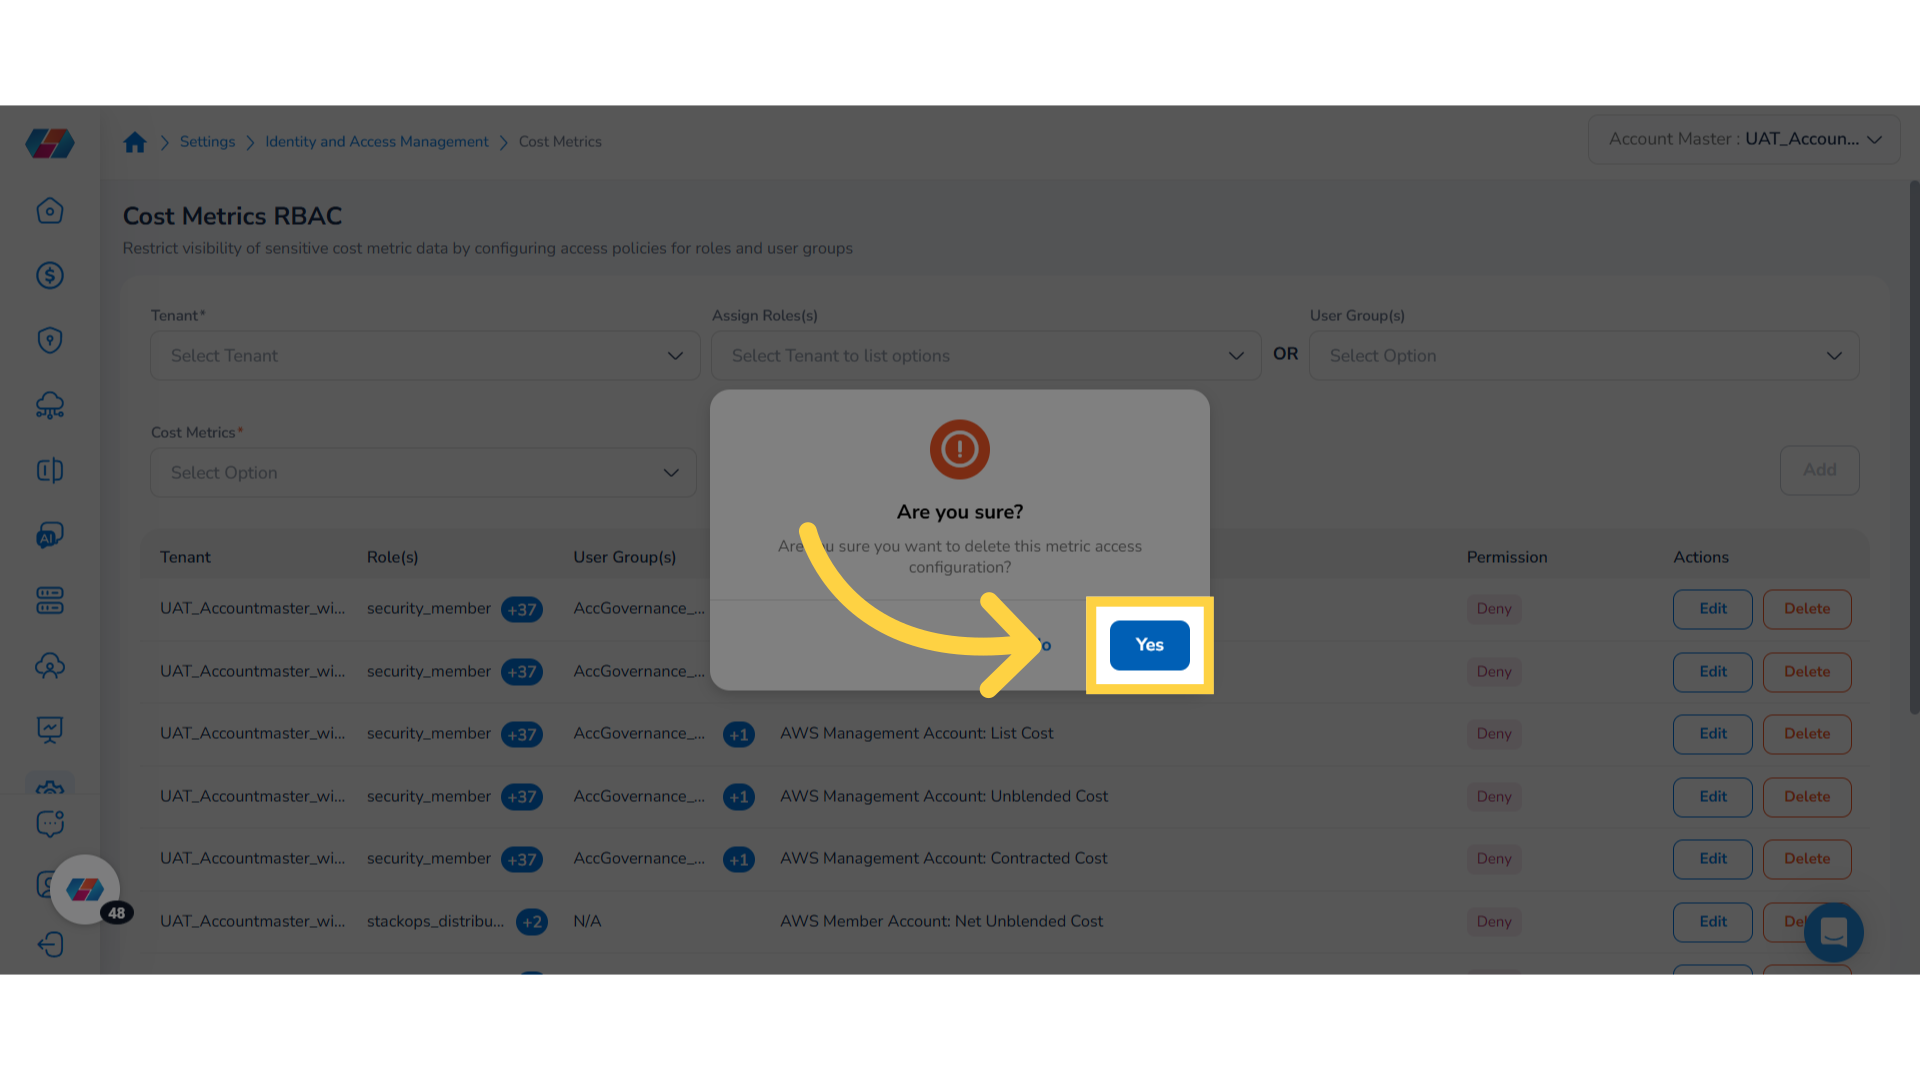
To remove a metric access configuration, click Delete.

Confirm Deletion
Click Yes to confirm the deletion, otherwise click No to cancel.
Updating Configurations
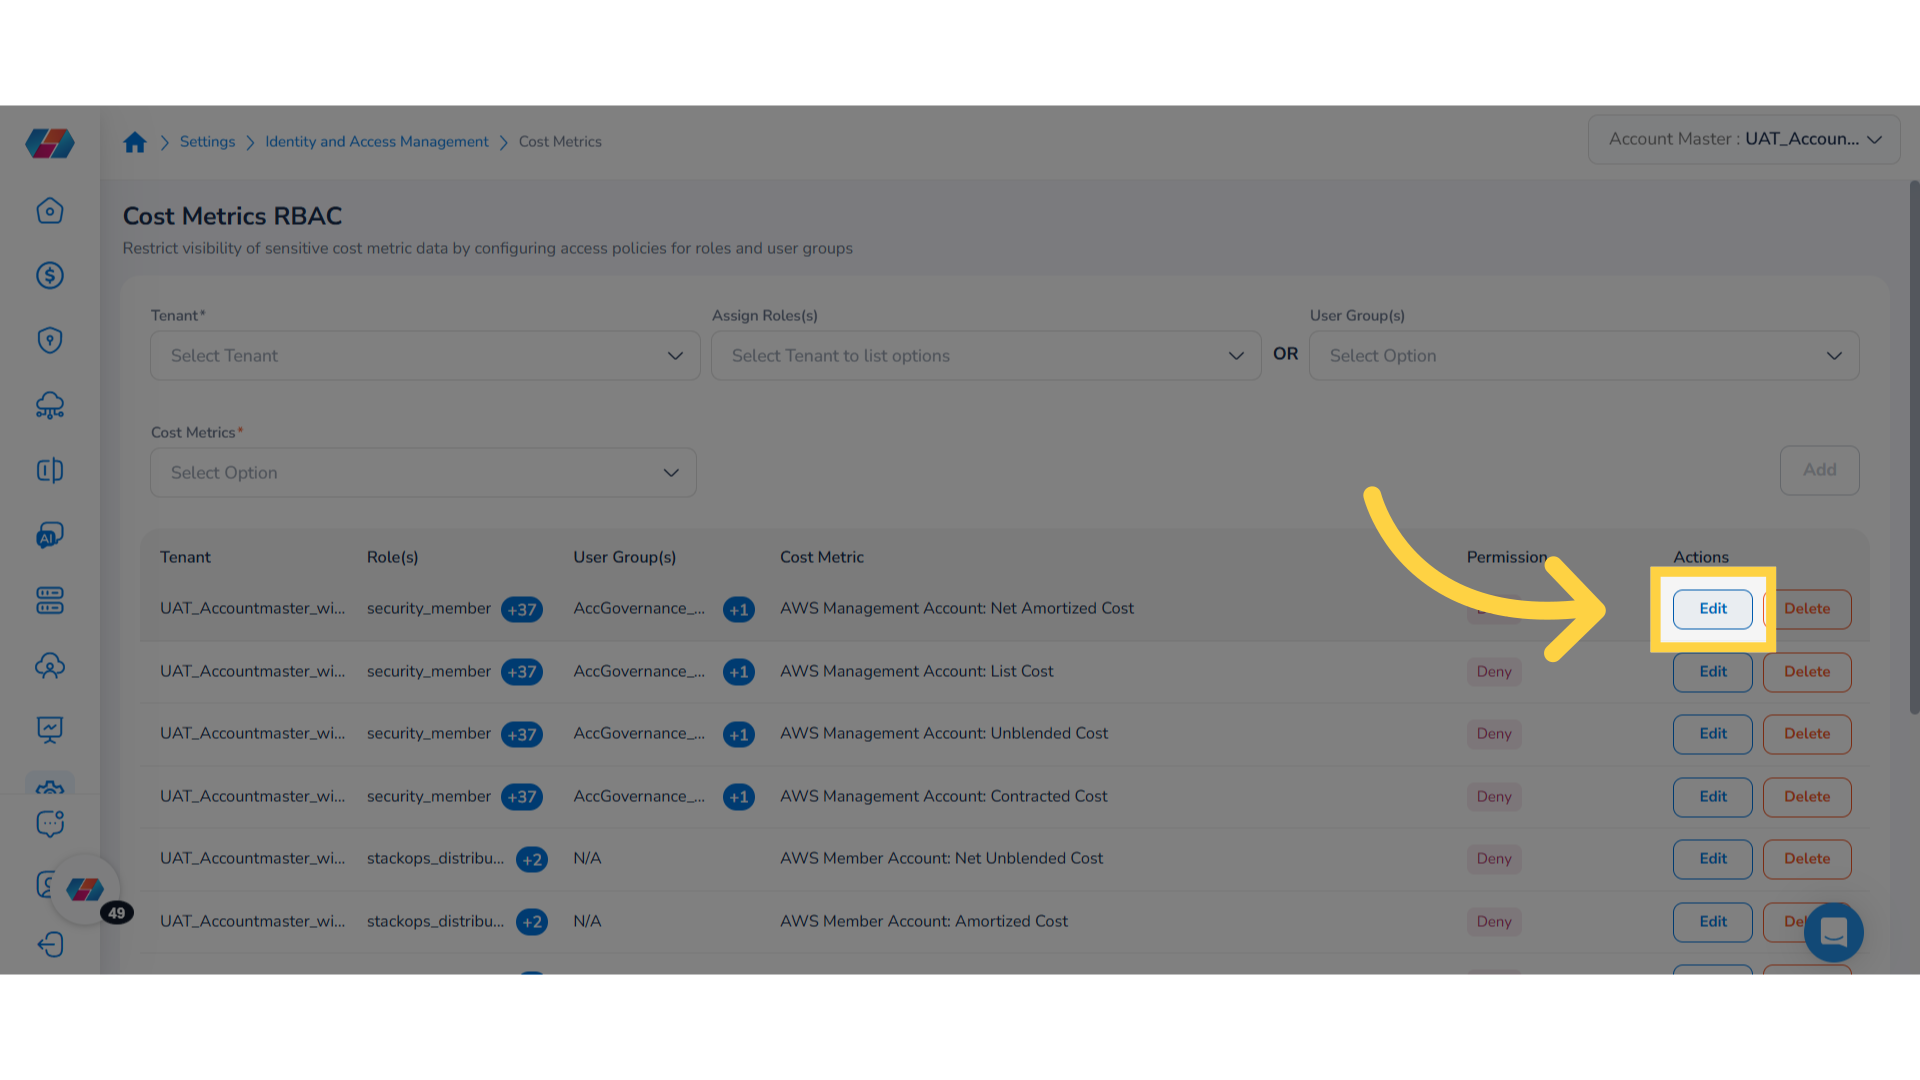
Make Updates in the Configuration
Click Edit to make updates in the cost metrics visibility configuration.
Make Updates and Proceed
The Edit dialog box appears and it shows the details that were selected earlier. You can make the relevant changes and proceed.
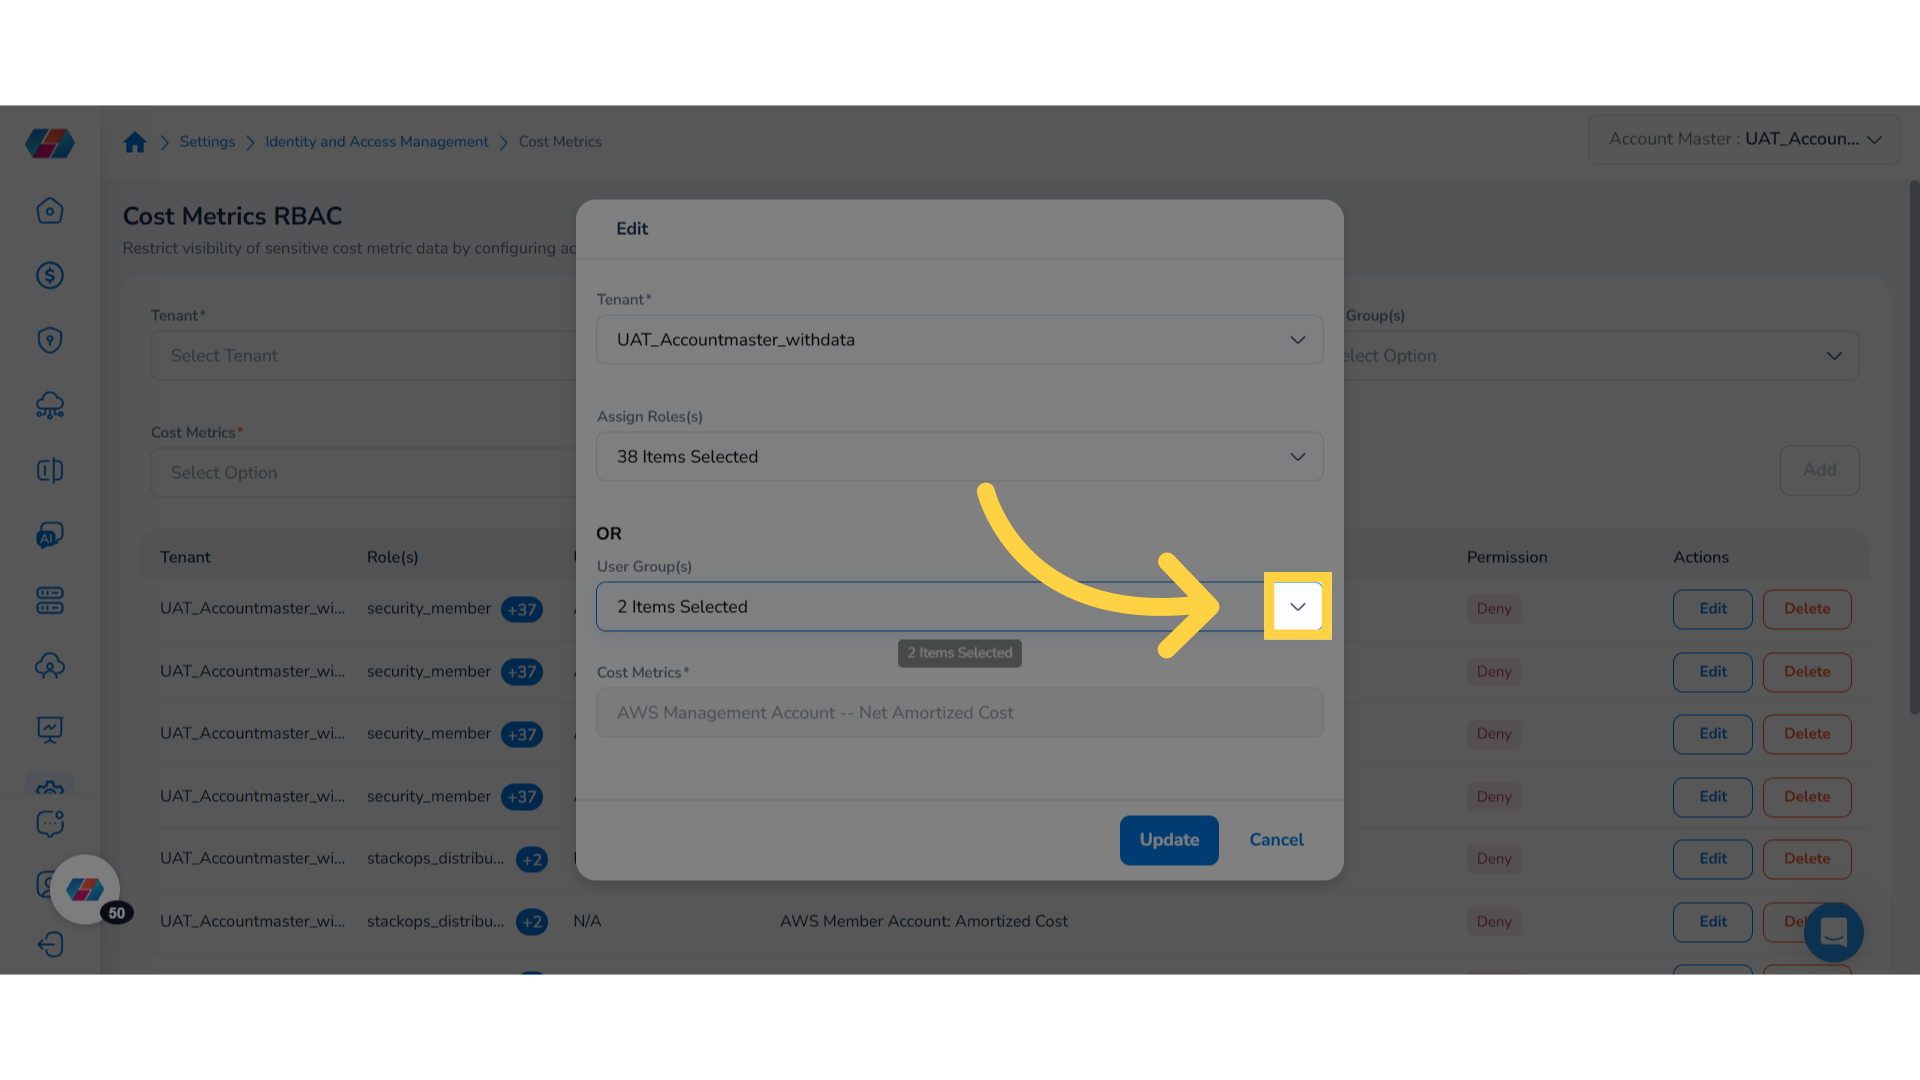
Select User Groups
For example, select an additional user group and then click Ok.

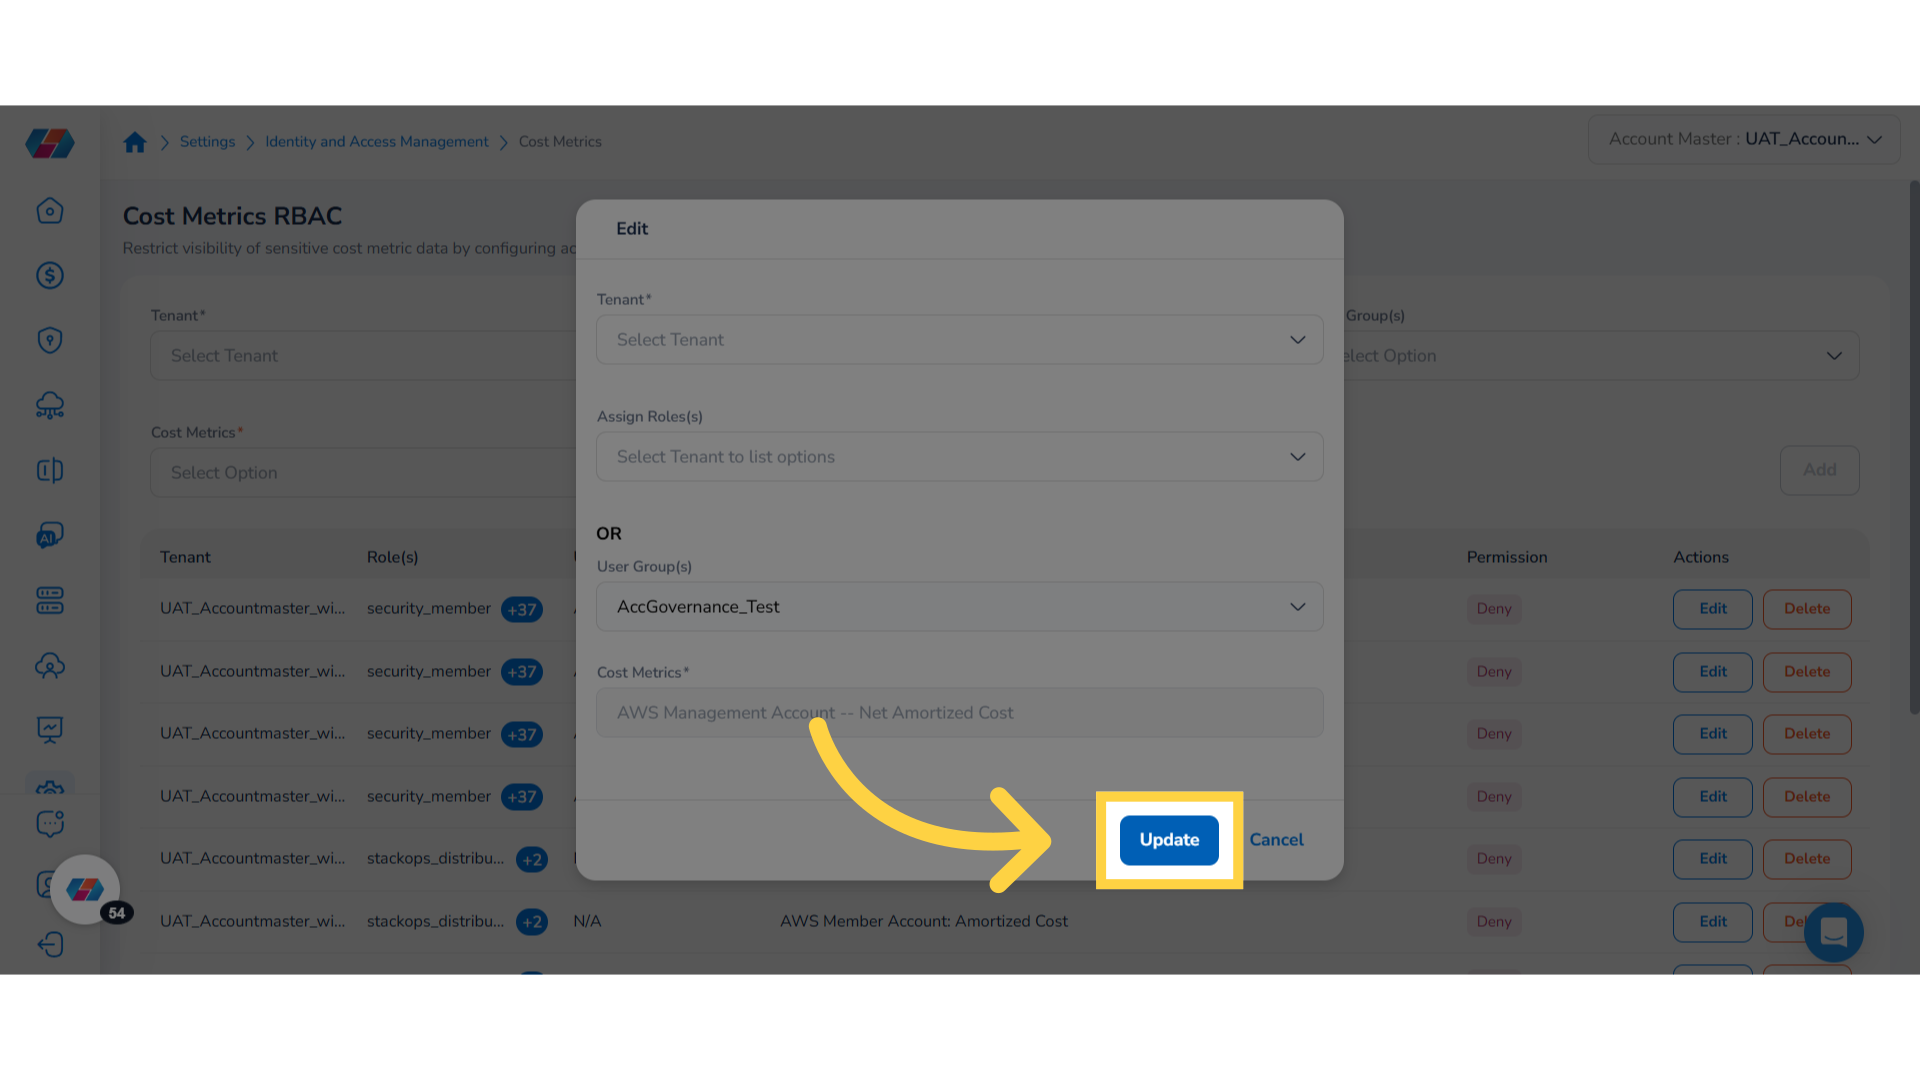
Apply Changes
Click Update to apply the changes.
Change & Rearrange Columns
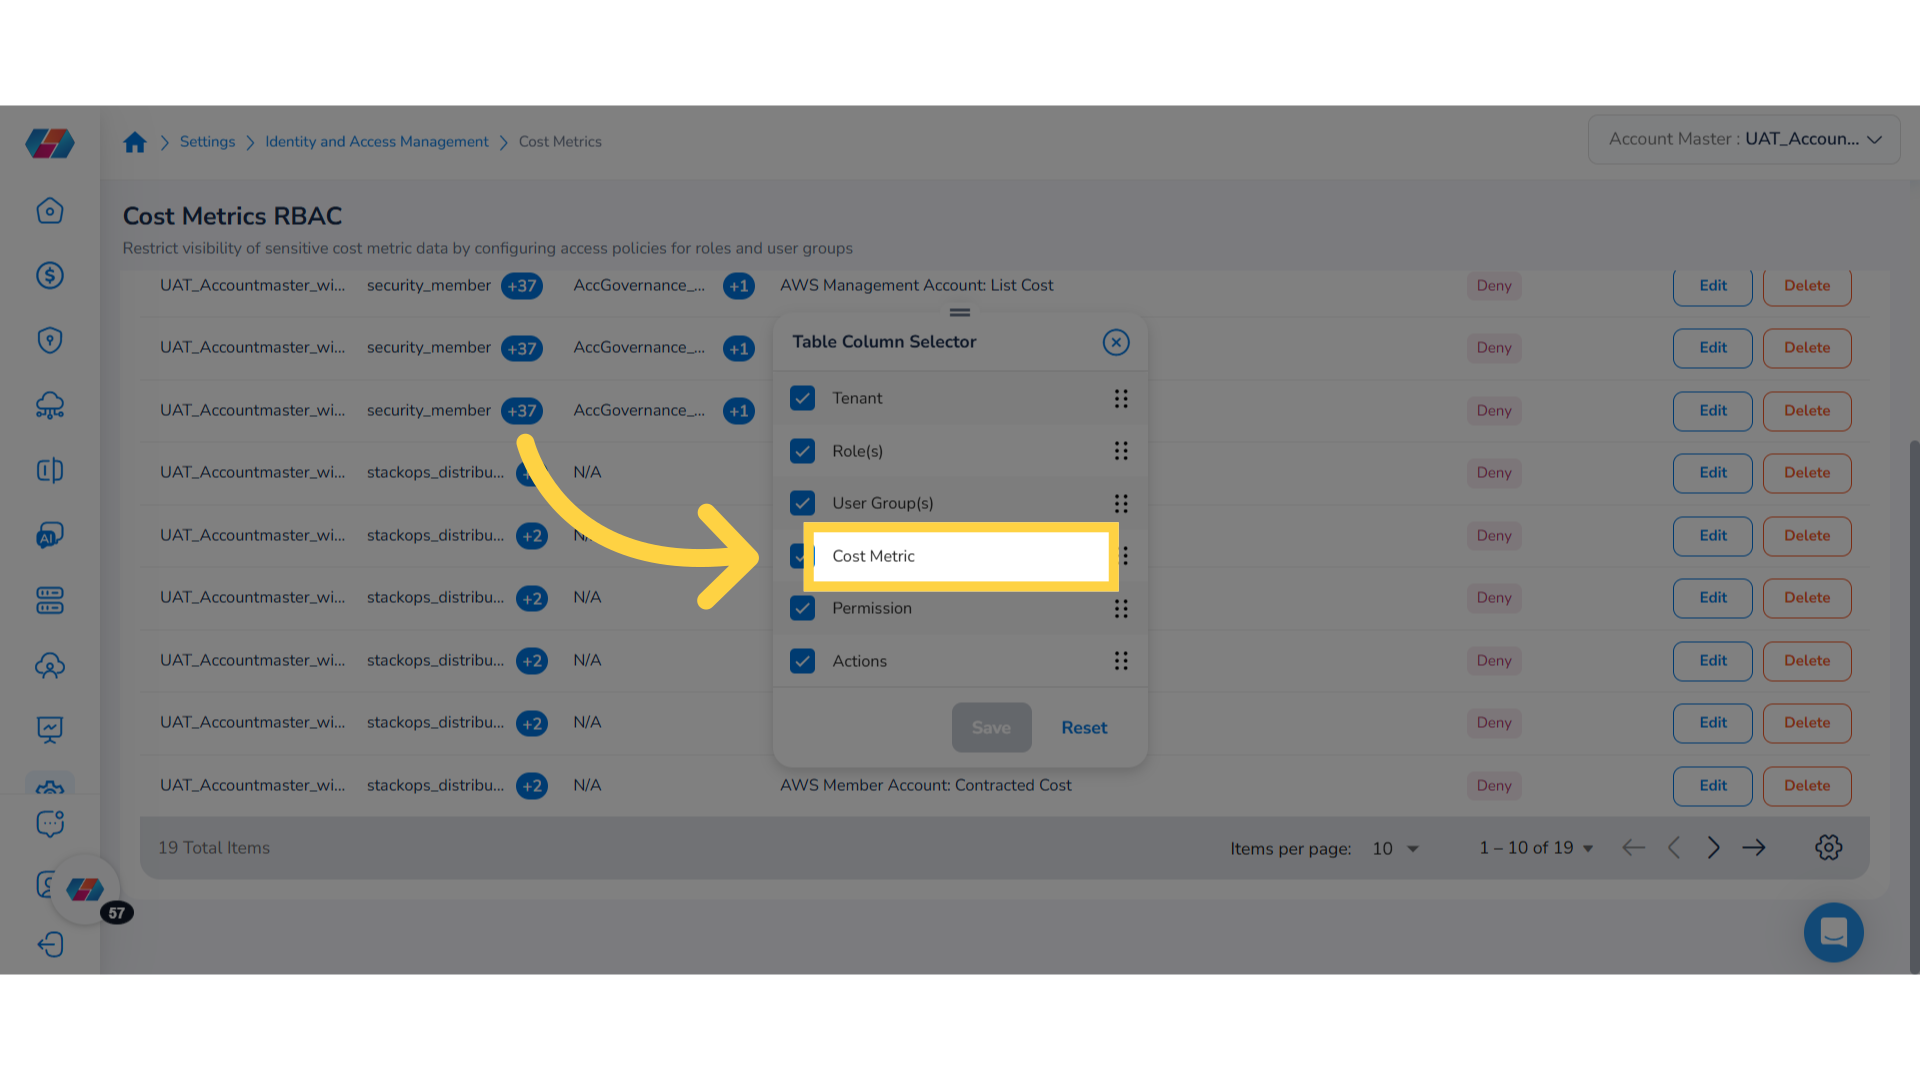
Open "Table Column Selector"
Click the wheel icon at the bottom-right side of the screen to open the Table Column Selector dialog box. To hide a column from appearing in the table, clear the check box corresponding to the column name and then click Save. To bring back that column in the table, select that column name and save the changes.
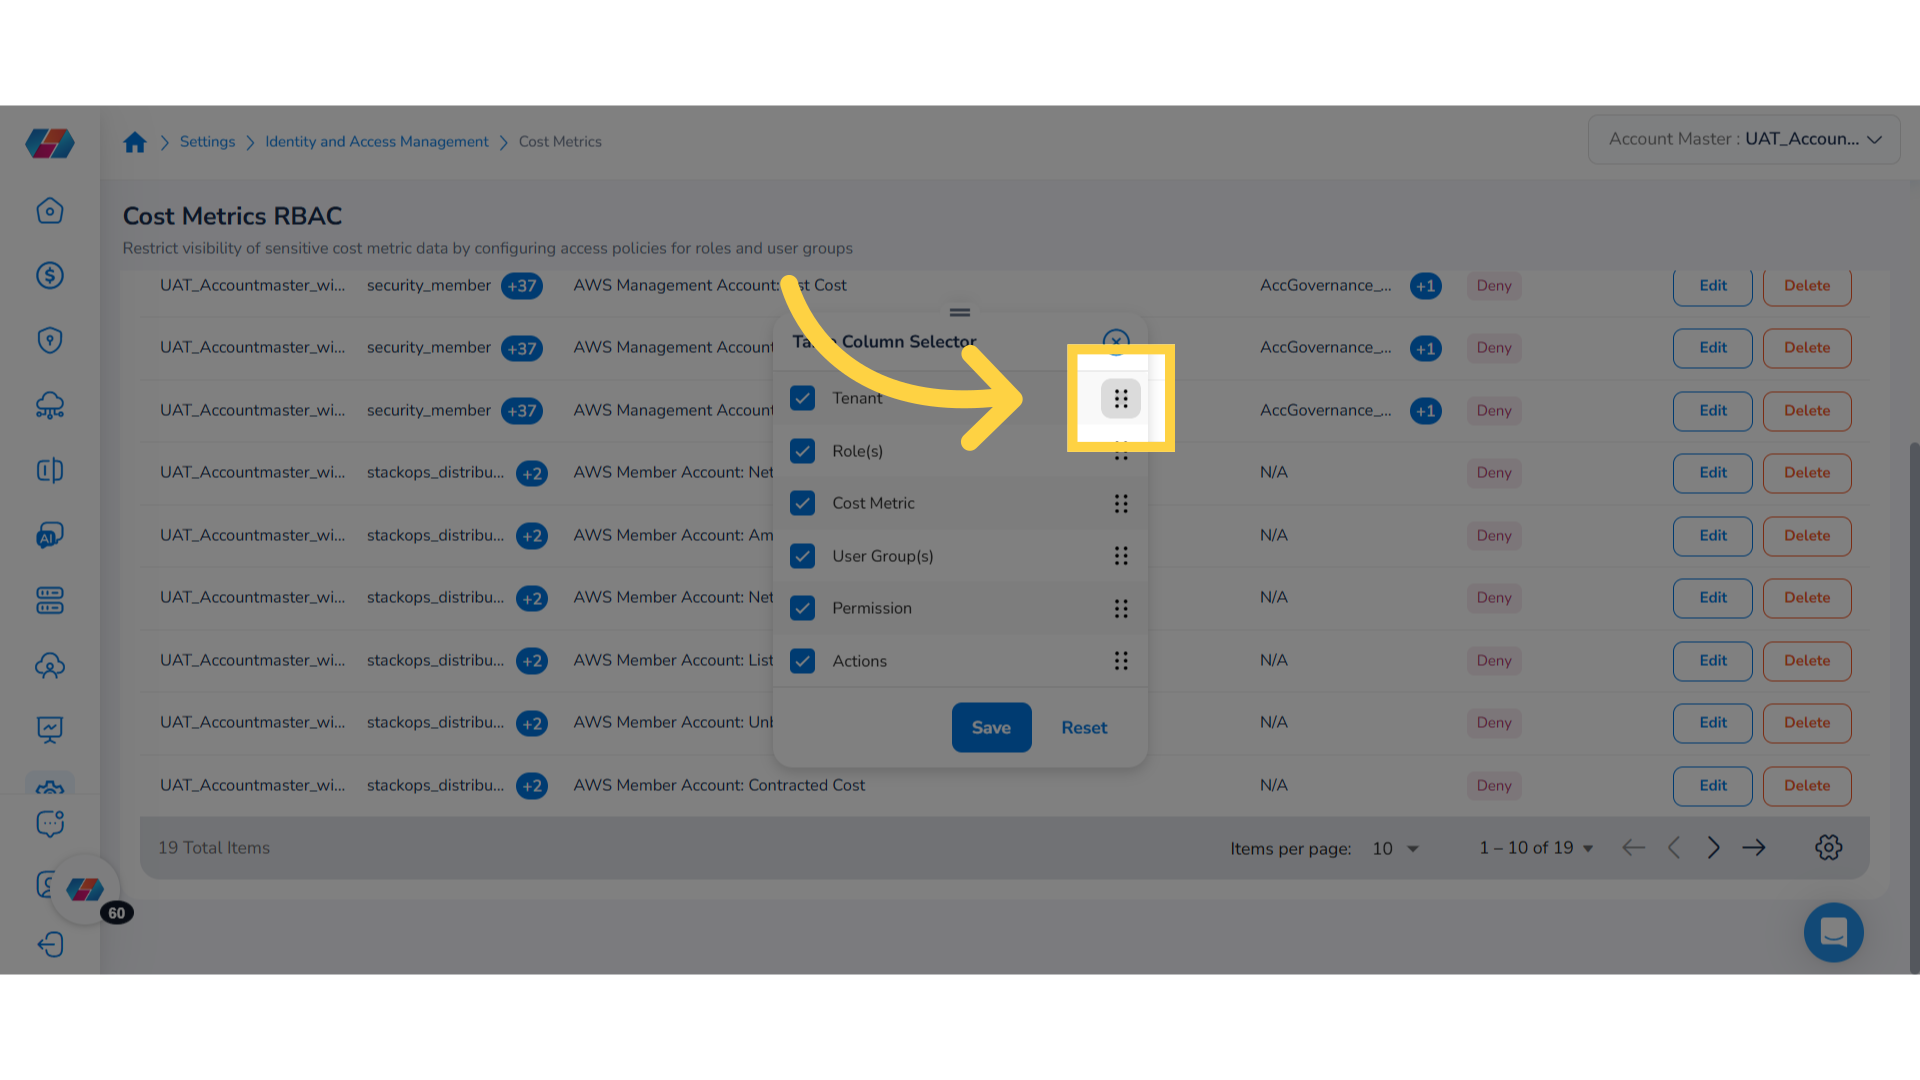
Rearrange Columns
Drag and drop the column names to rearrange them in the table view as per your requirement.
By leveraging the RBAC for Cost Metrics feature, you can enhance data security and streamline access management. This guide empowers you to configure permissions effectively, ensuring that your sensitive cost data is visible only to authorized users, ultimately enhancing your organization's financial oversight and compliance.
Updated 8 months ago