

OAuth Credentials for GCP Billing Account Onboarding
Introduction
This user guide explains about how to grant access, assign roles, and configure the OAuth consent screen to enable secure authentication for creating OAuth credentials for onboarding GCP billing accounts.
Create OAuth Credentials
Perform the following steps to create OAuth credentials:
-
Go to console.cloud.google.com.
-
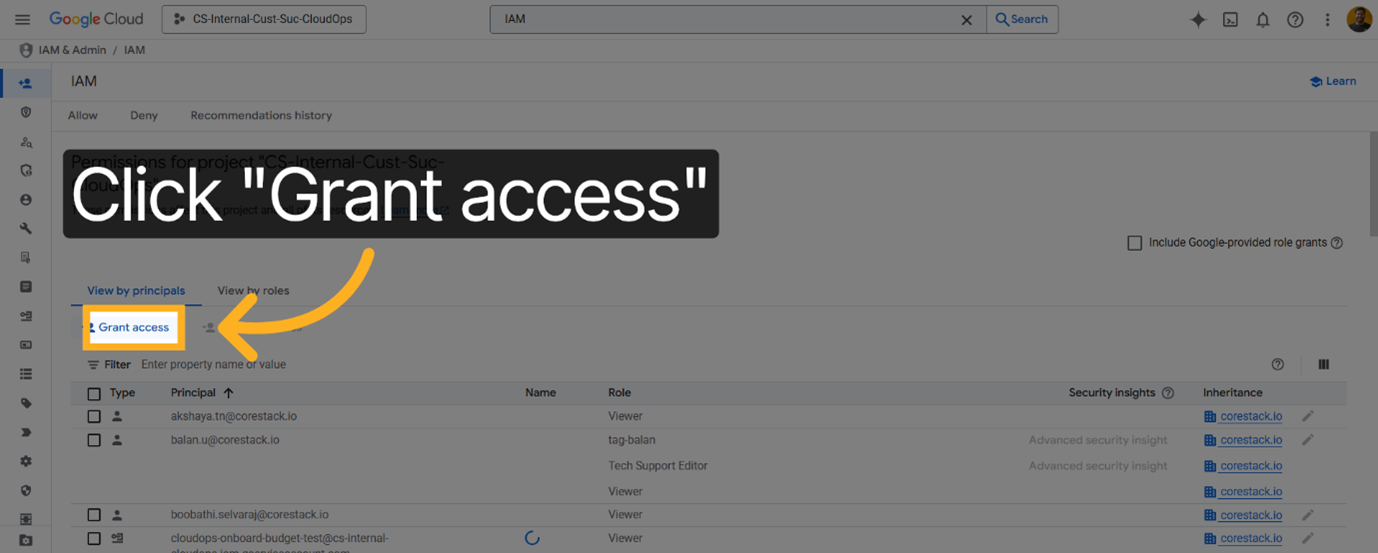
To begin assigning permissions for OAuth creation, click Grant access.
-
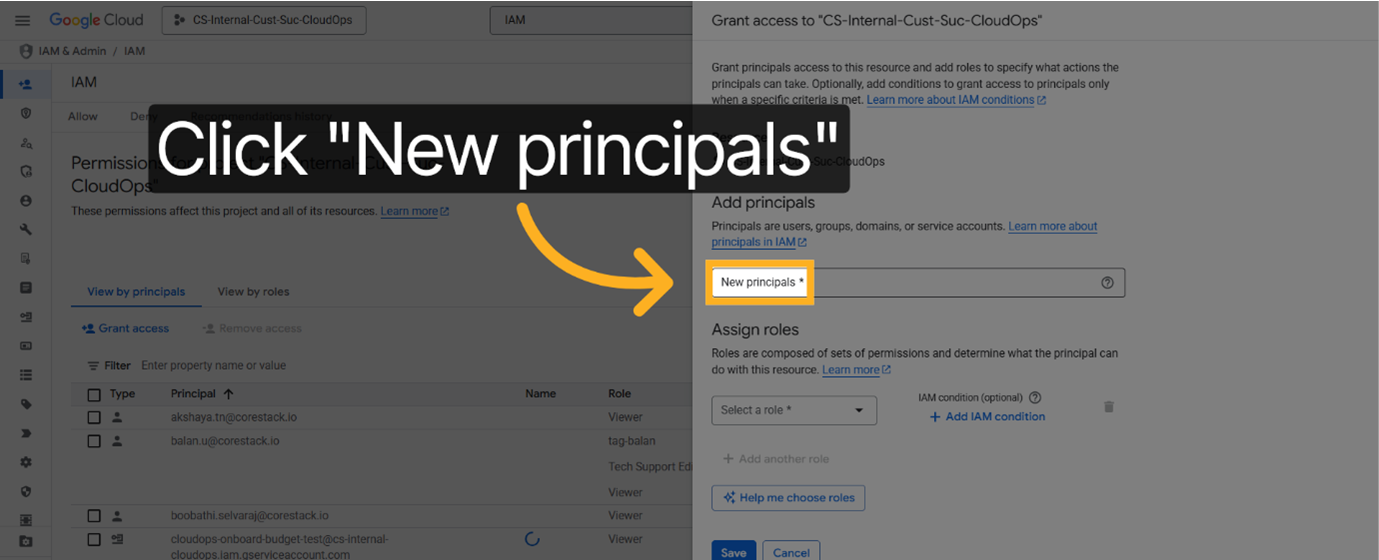
To add new users or service accounts for access, click New principals.
-
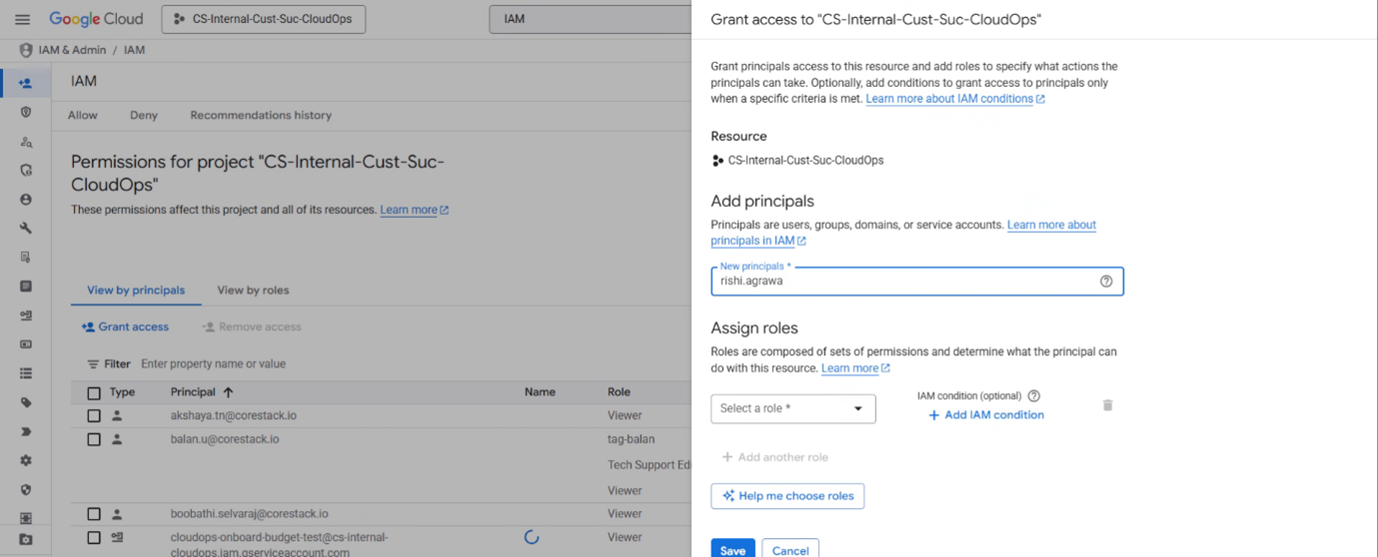
In the New principals box, enter your email address to specify the principal who will receive access.
-
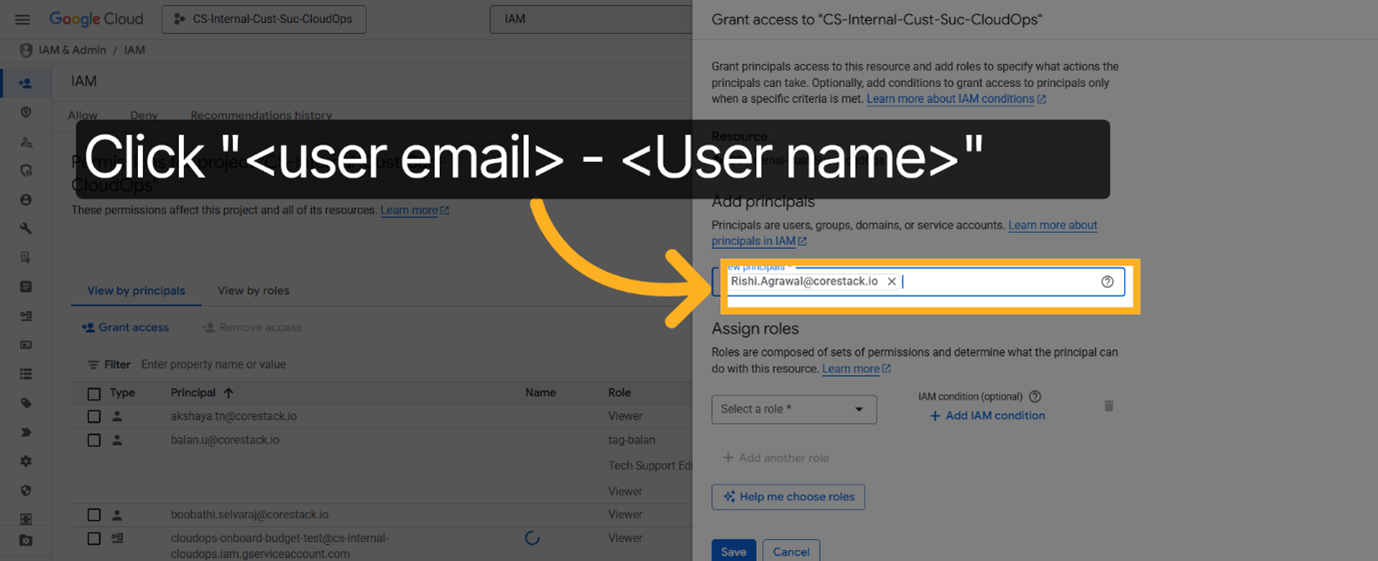
To confirm the principal's identity, select the user from the suggested list.
-
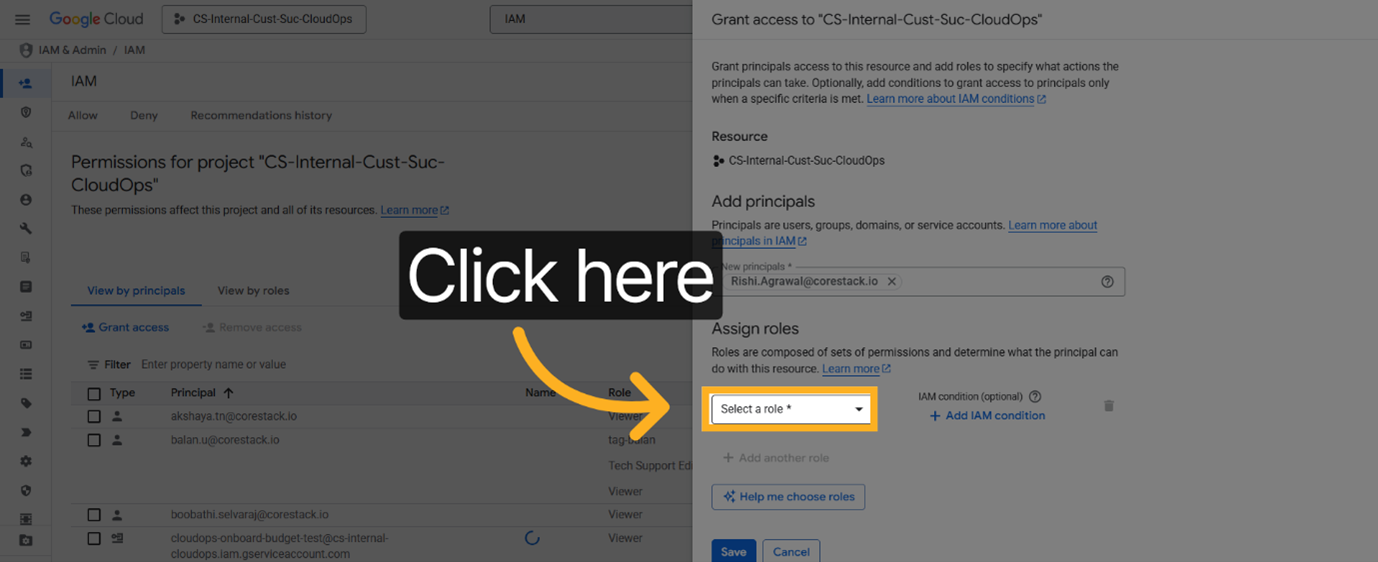
For assigning permissions, click the Select a role drop-down. You can enter the role name to filter and find the appropriate permissions to assign.
-
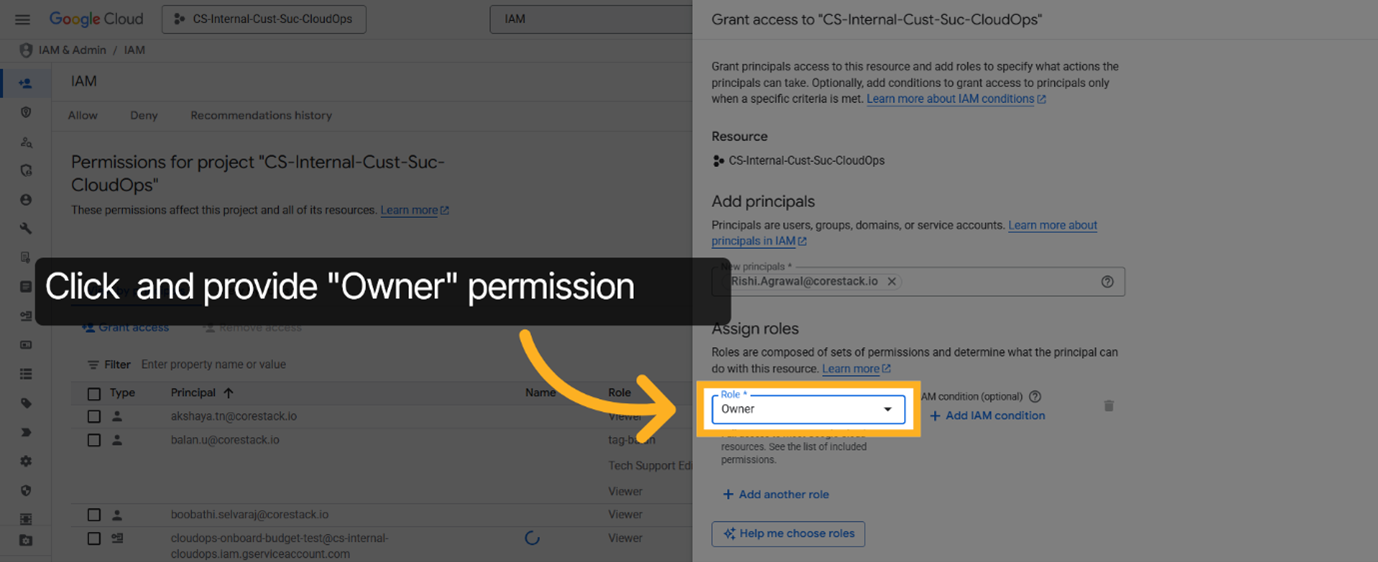
To grant full access to most of the Google Cloud resources, click to select the Owner role.
-
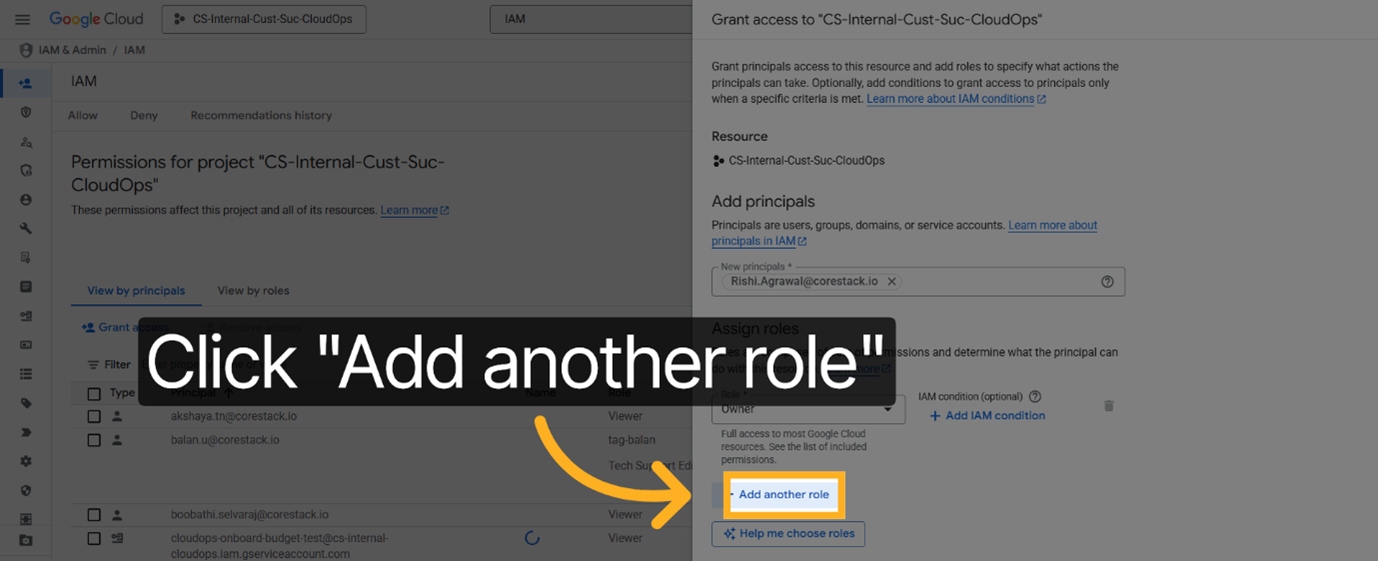
To assign multiple permissions to the principal, click Add another role.
-
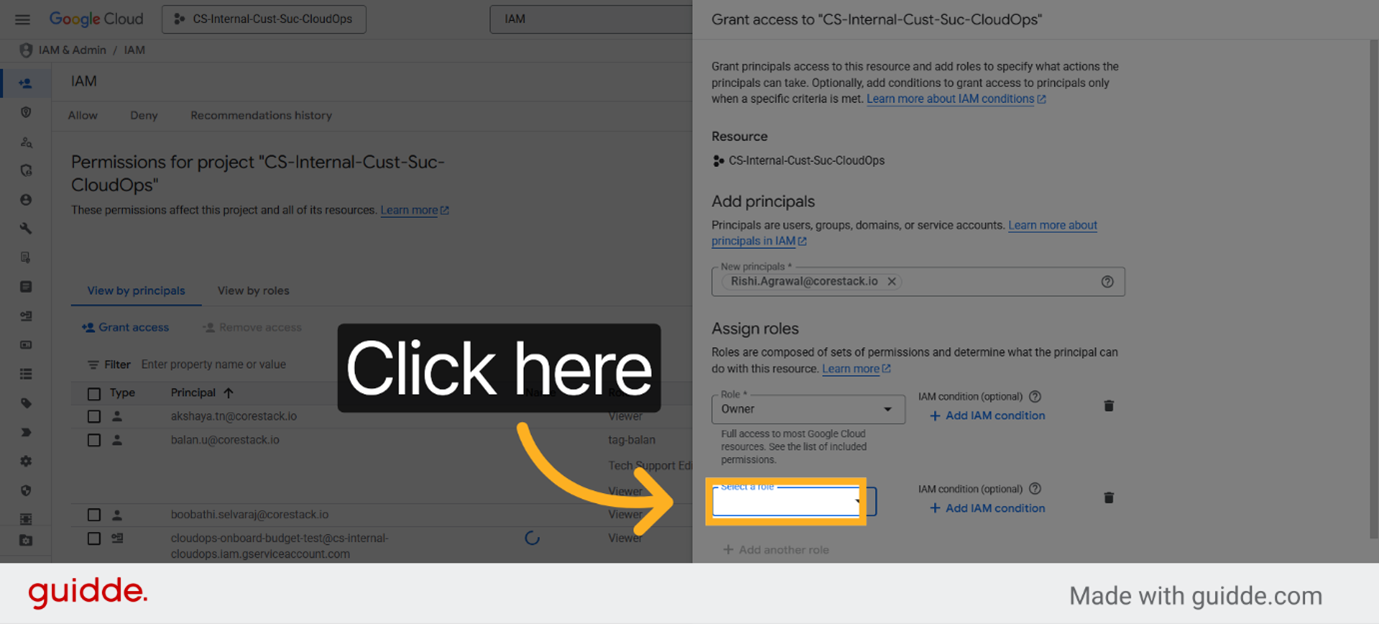
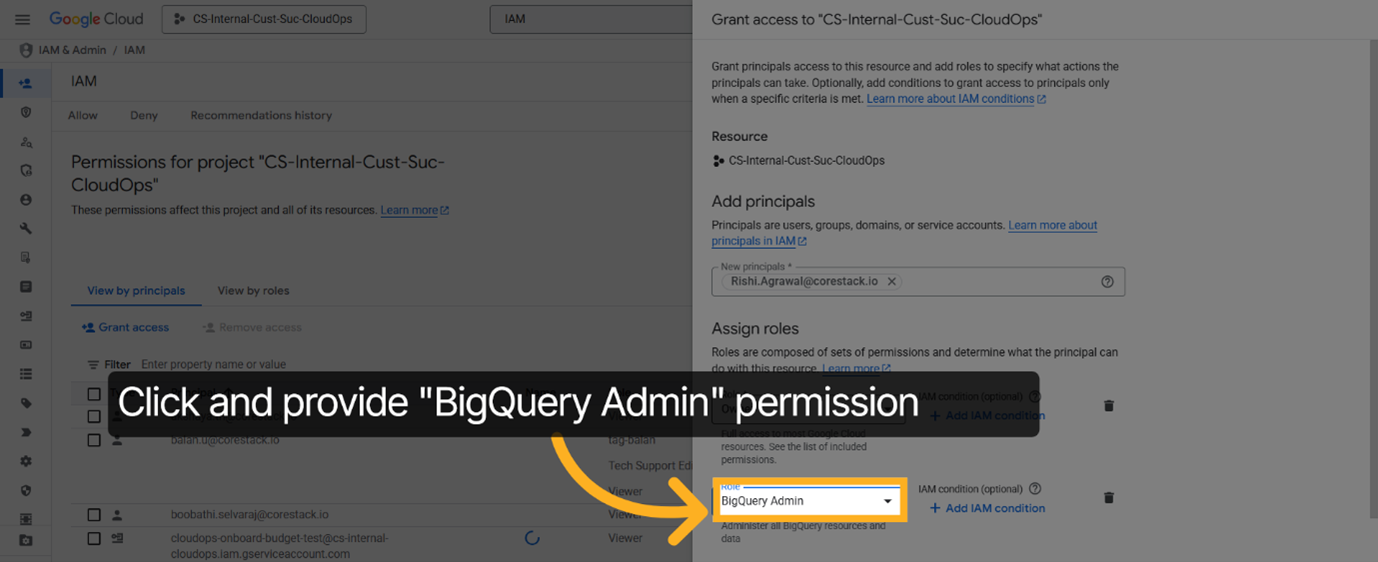
For selecting an additional role, click the Select a role drop-down list.
-
Enter "big" to filter roles and locate the BigQuery Admin role.
-
To grant administrative access to BigQuery resources, choose the BigQuery Admin role.
-
To apply the assigned roles and complete the IAM access submission process, click Save
Enable Secure Authentication
Perform the following steps to configure the necessary client settings to enable secure authentication:
-
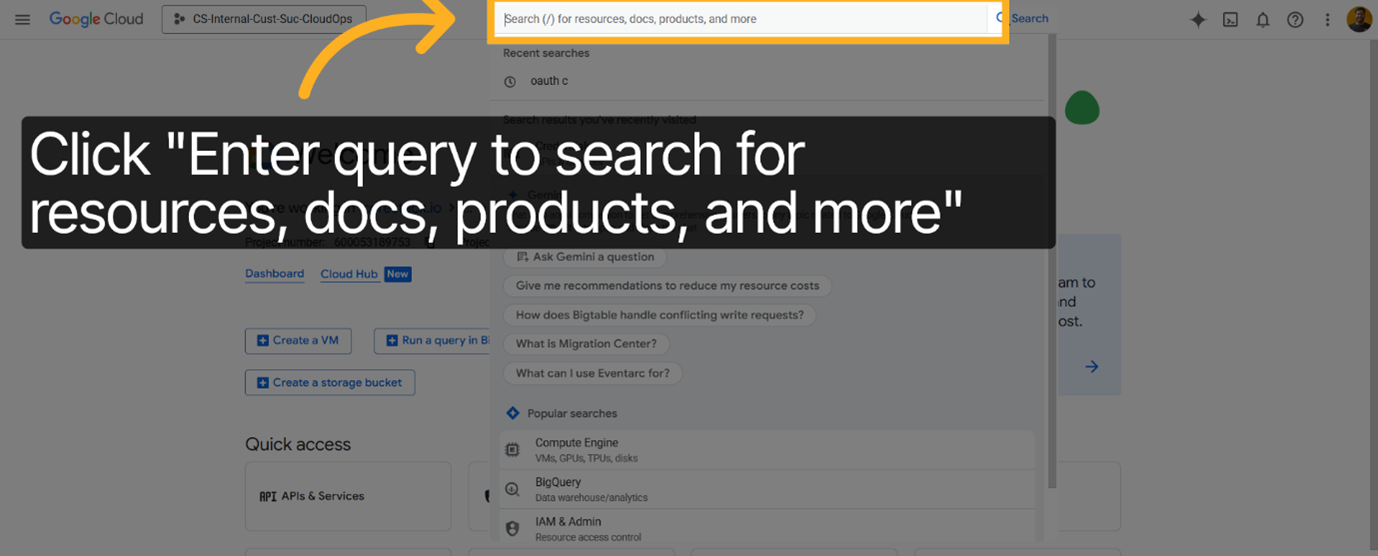
To begin navigating the GCP console, click the "Search for resources, docs, products, and more" search box.
-
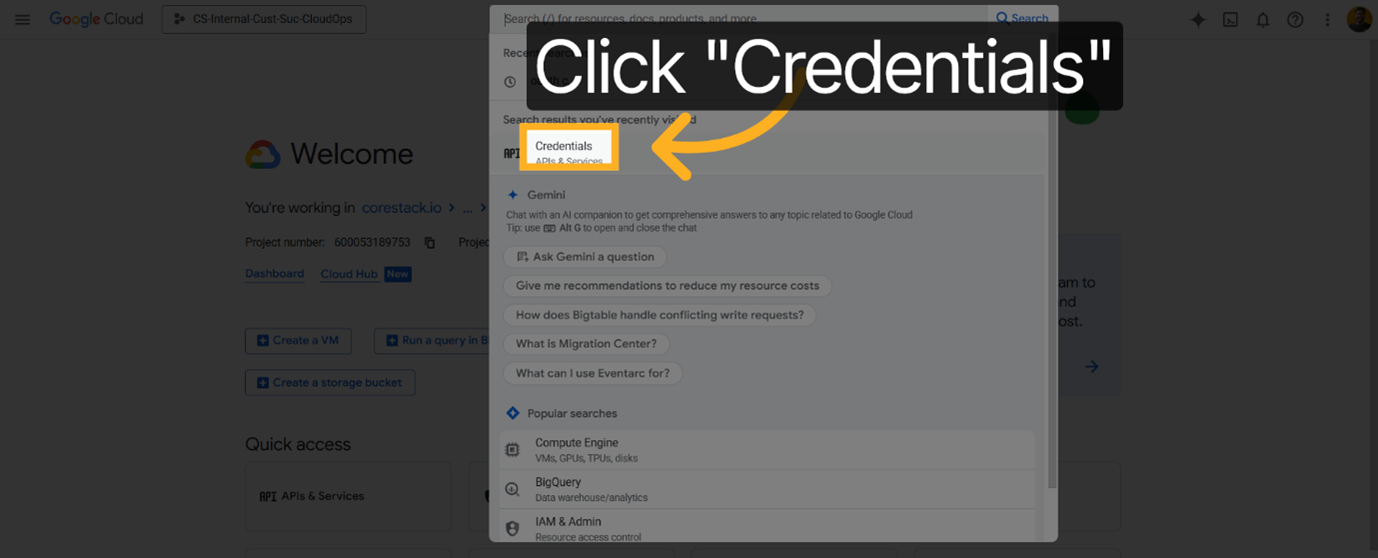
To access the area where you manage authentication credentials for your GCP projects, click Credentials.
-
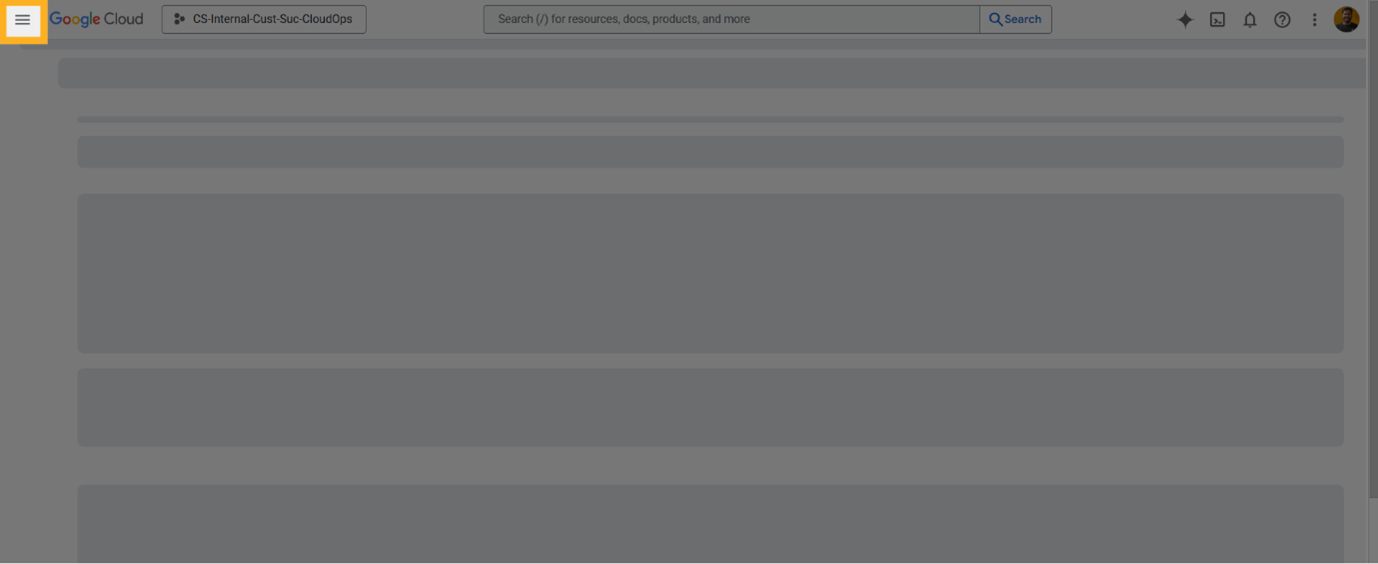
To start the process of creating new credentials within the GCP console, click the hamburger menu icon.
-
To configure the consent details that users will see during authentication, click OAuth consent screen.

-
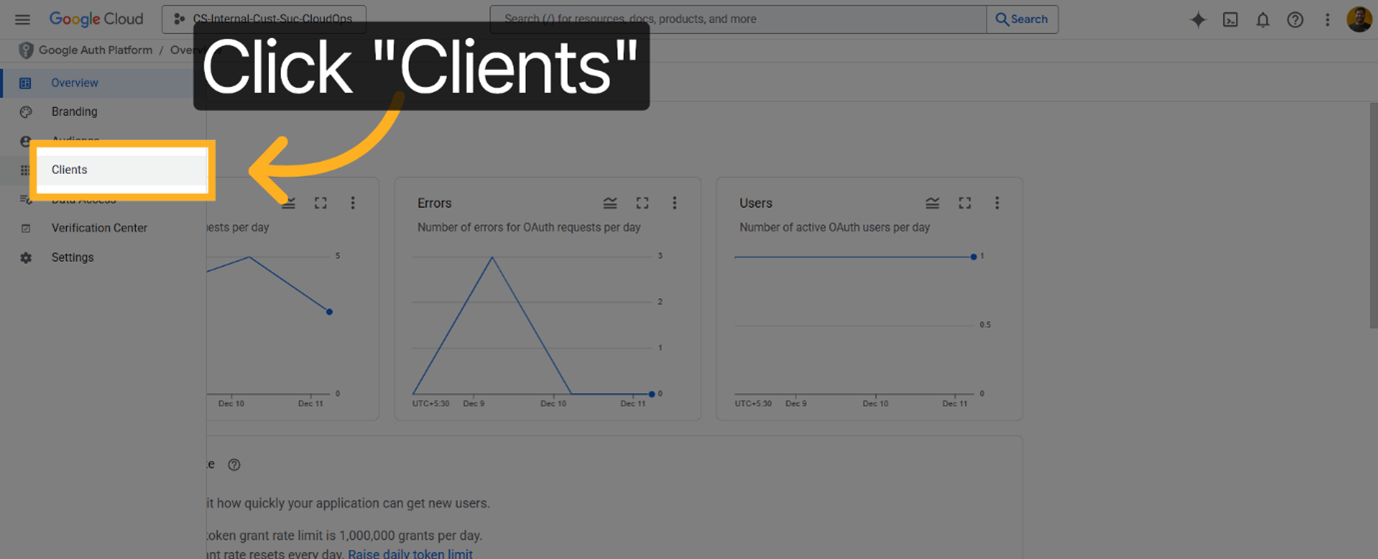
To view and manage OAuth client IDs associated with your project, click Clients.
-
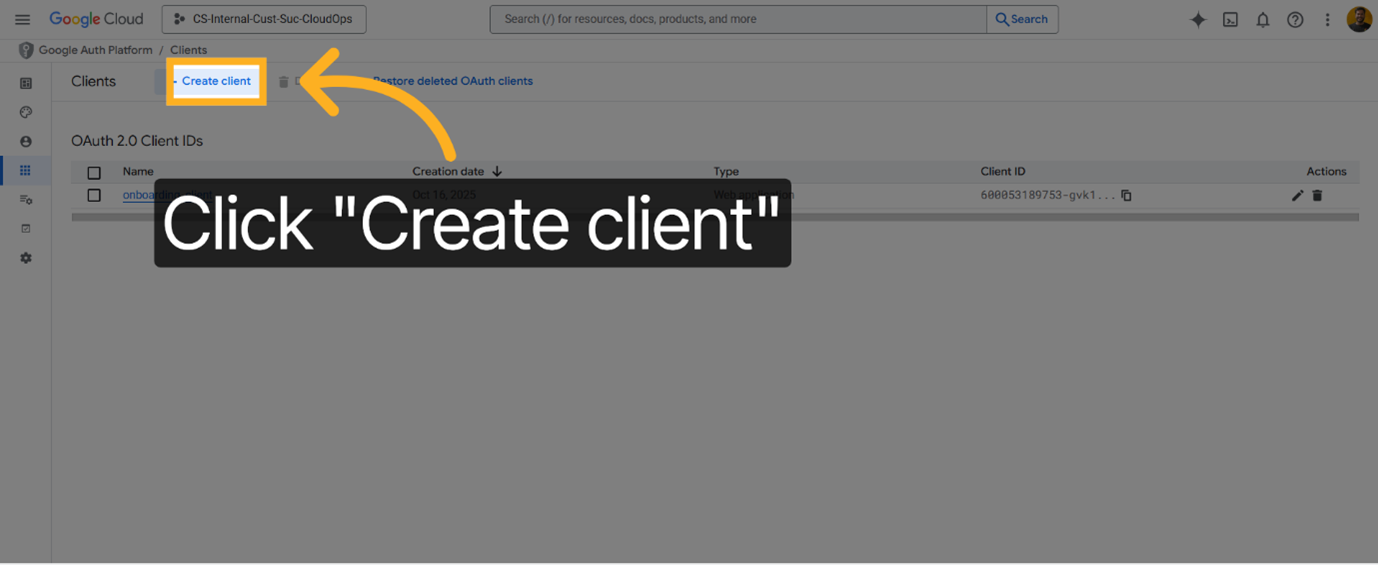
To begin setting up a new OAuth client for your application, click Create client.
-
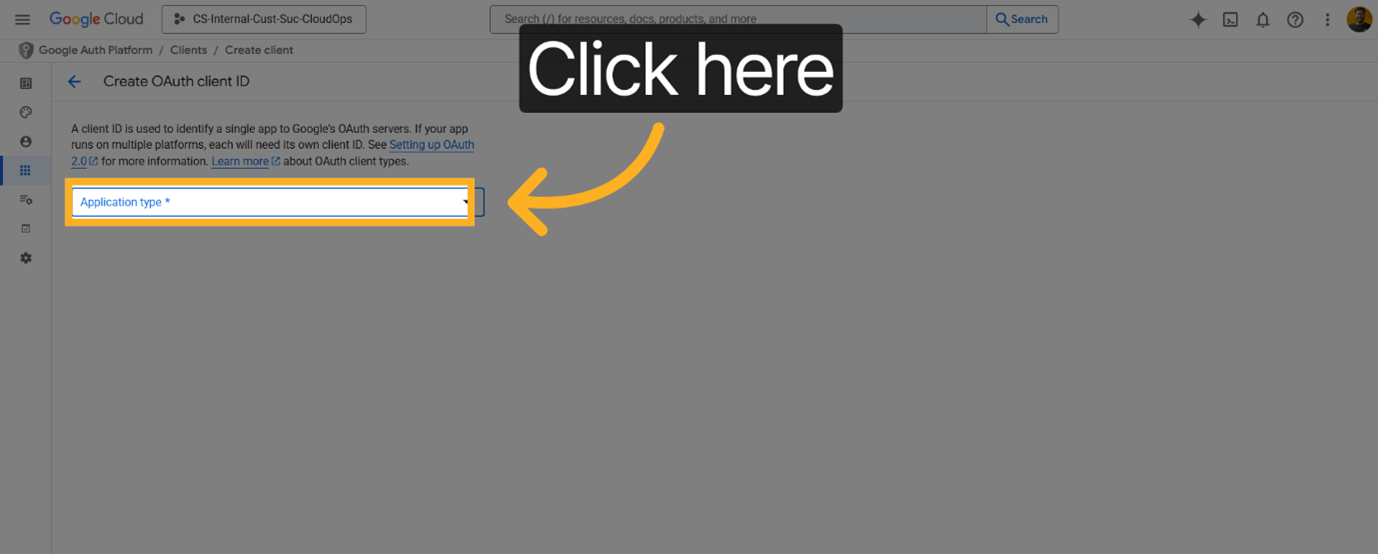
In the Application type drop-down list, click to select the type of OAuth client you want to create.
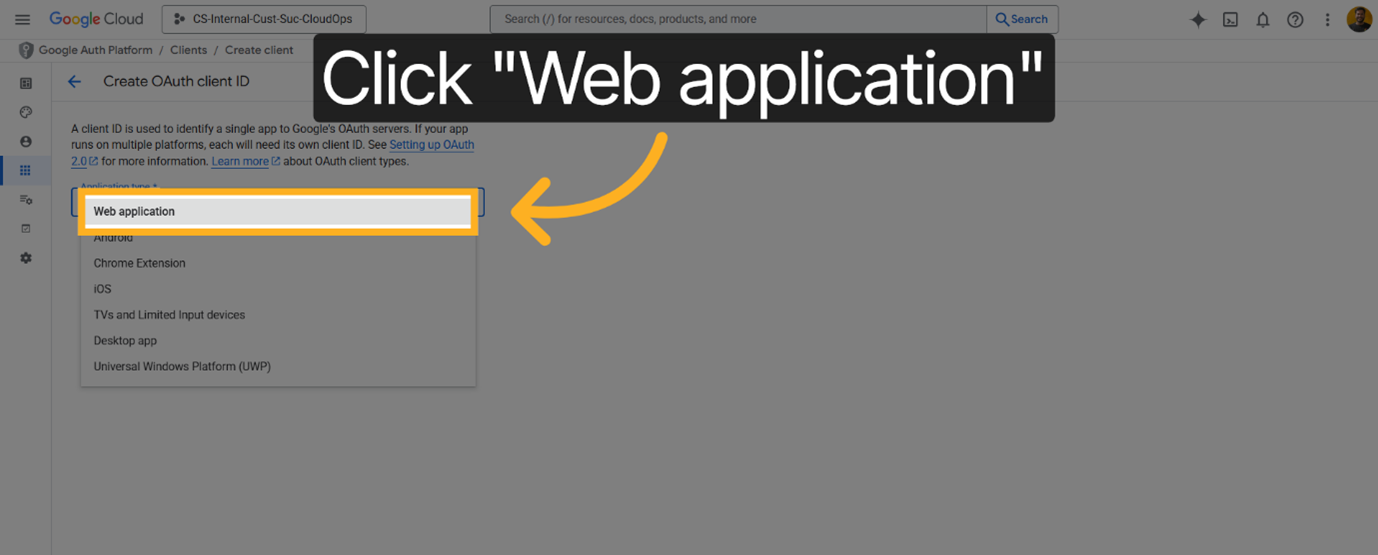
In this case, select Web application to specify that the OAuth client will be used by a web-based app.
-
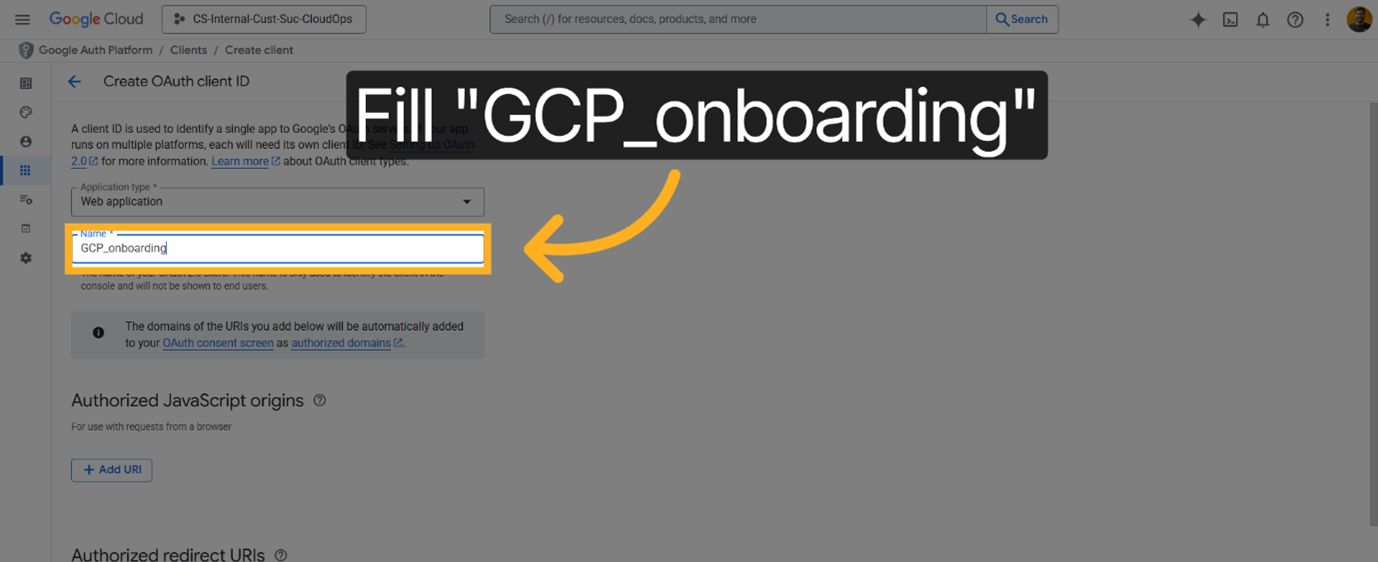
In the Name box, enter a descriptive identifier for your OAuth client. In this case, enter your client's name as GCP_onboarding to clearly label this credential for billing account onboarding.
-
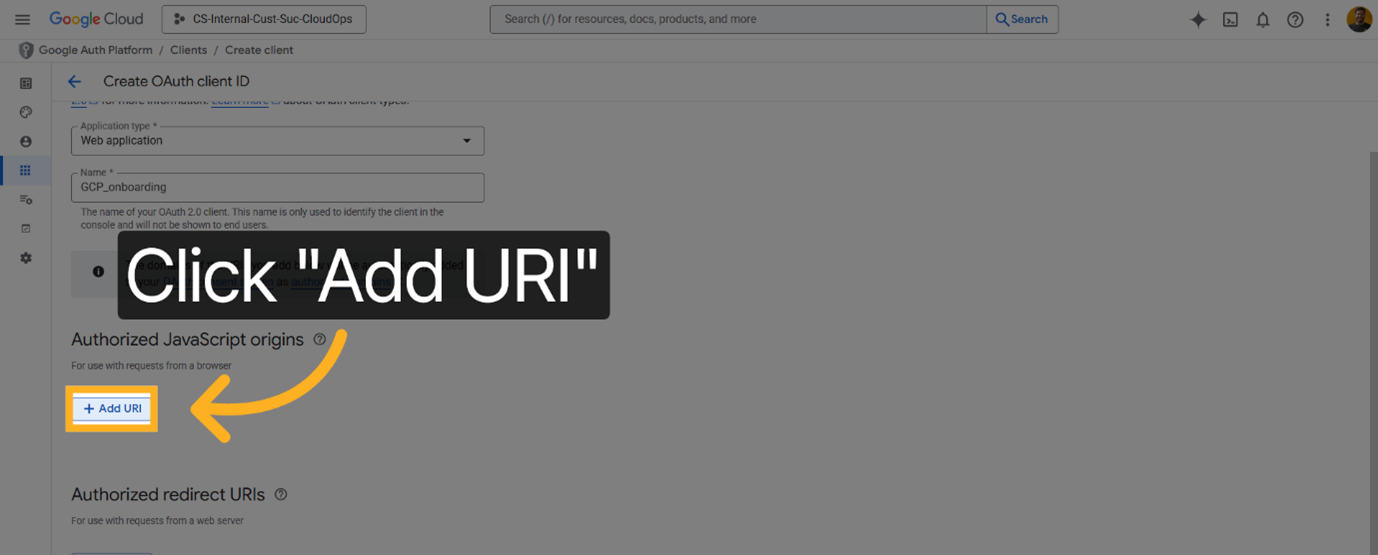
To specify authorized redirect URIs for your OAuth client, click Add URI.
-
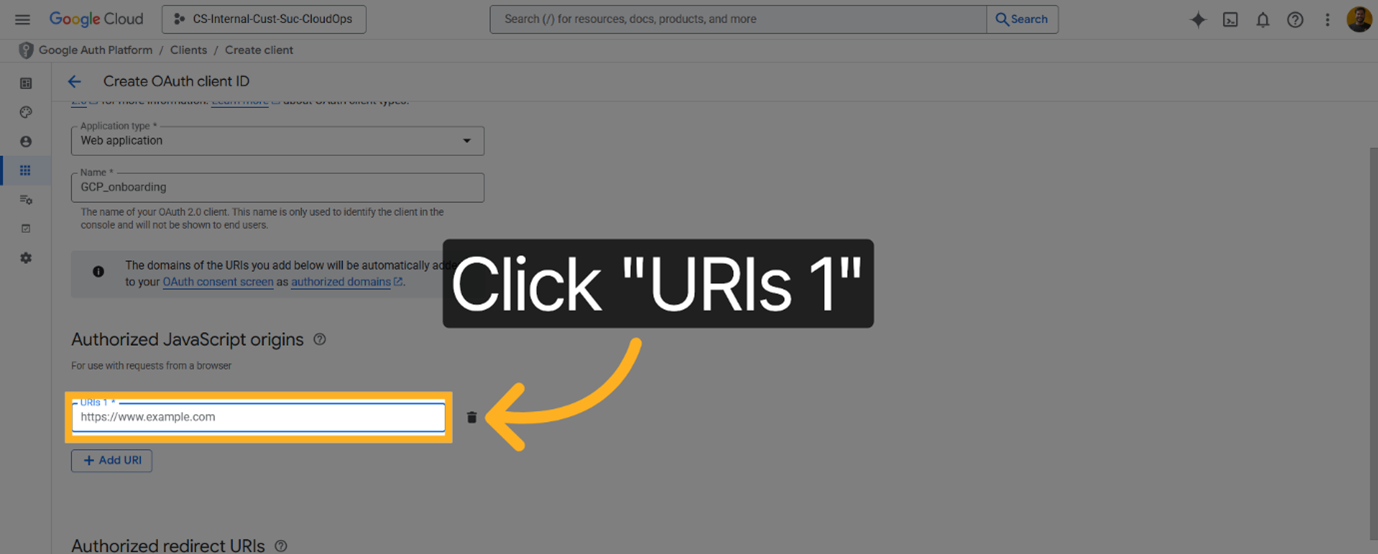
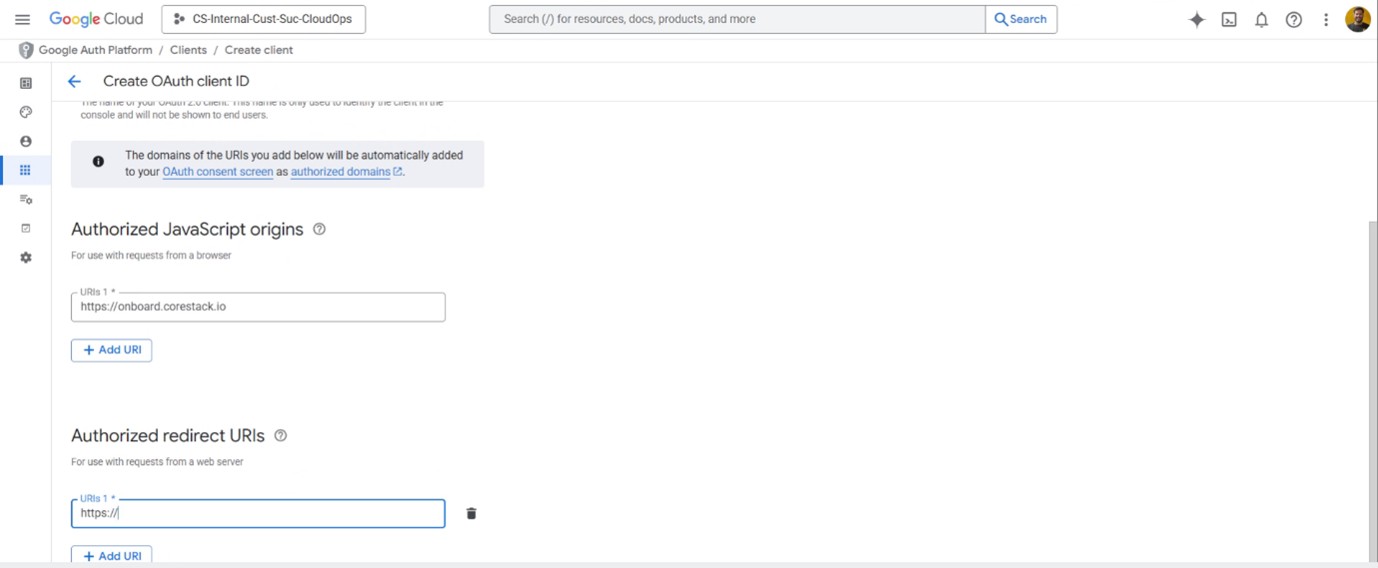
To input the first authorized redirect URI, click URIs 1 and enter the first redirect URI as "https://onboard" to define where authentication responses are sent.
-
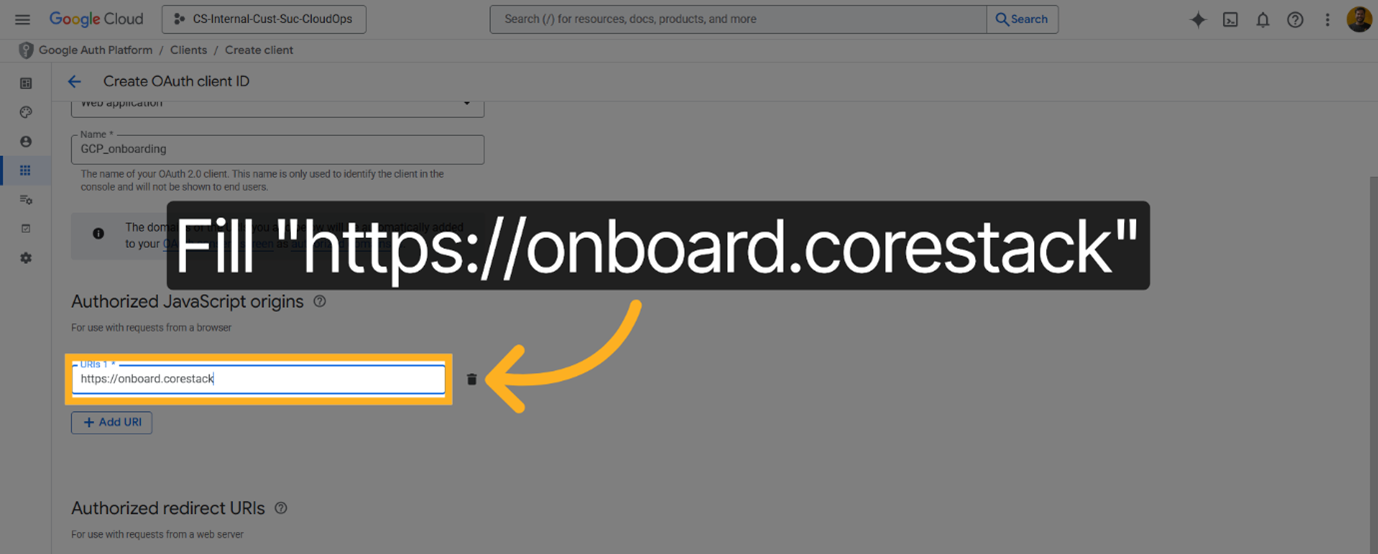
Click Add URI and enter the second redirect URI as "https://onboard.corestack" to include the additional authorized endpoints.
-
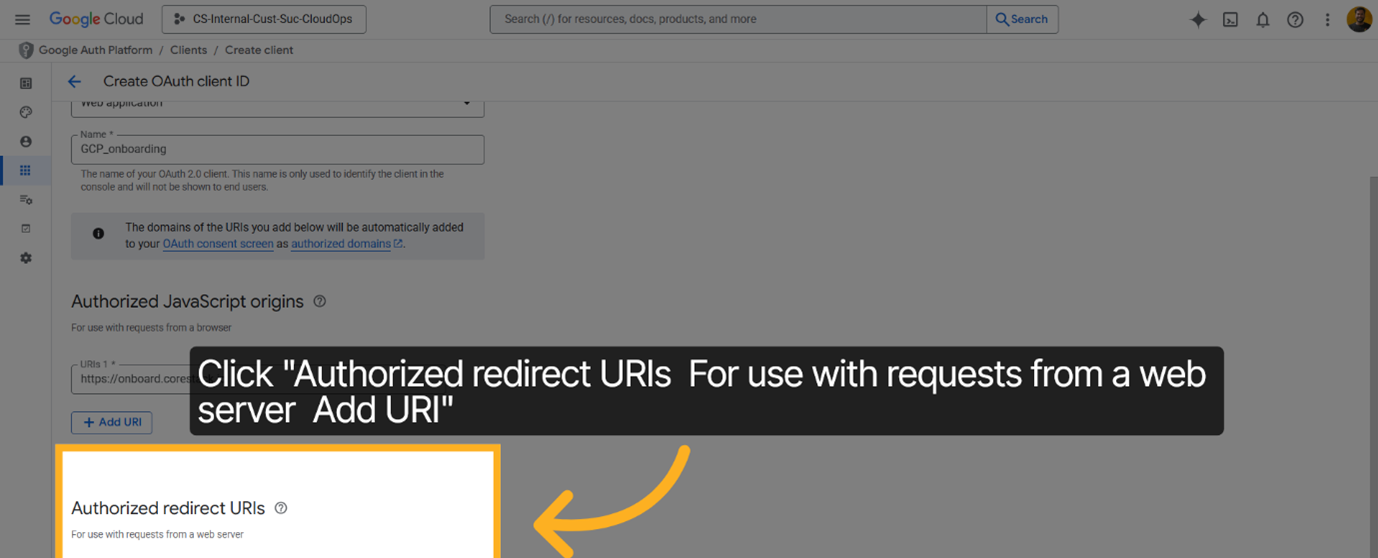
To manage your redirect URIs, click Authorized redirect URIs -- For use with requests from a web server.
-
To add more authorized redirect URIs for your OAuth client, click Add URI.
-
To specify an additional authorized endpoint, enter the fourth redirect URI as "https://www".
-
Click Add URI and enter the fifth redirect URI as "https://www.corestack" to expand your authorized URI list.
-
To generate the OAuth client with the specified settings and redirect URIs, click Create.
-
To save the OAuth client credentials file needed for authentication integration, click Download JSON.

-
Click OK to confirm the creation process and close the dialog box.
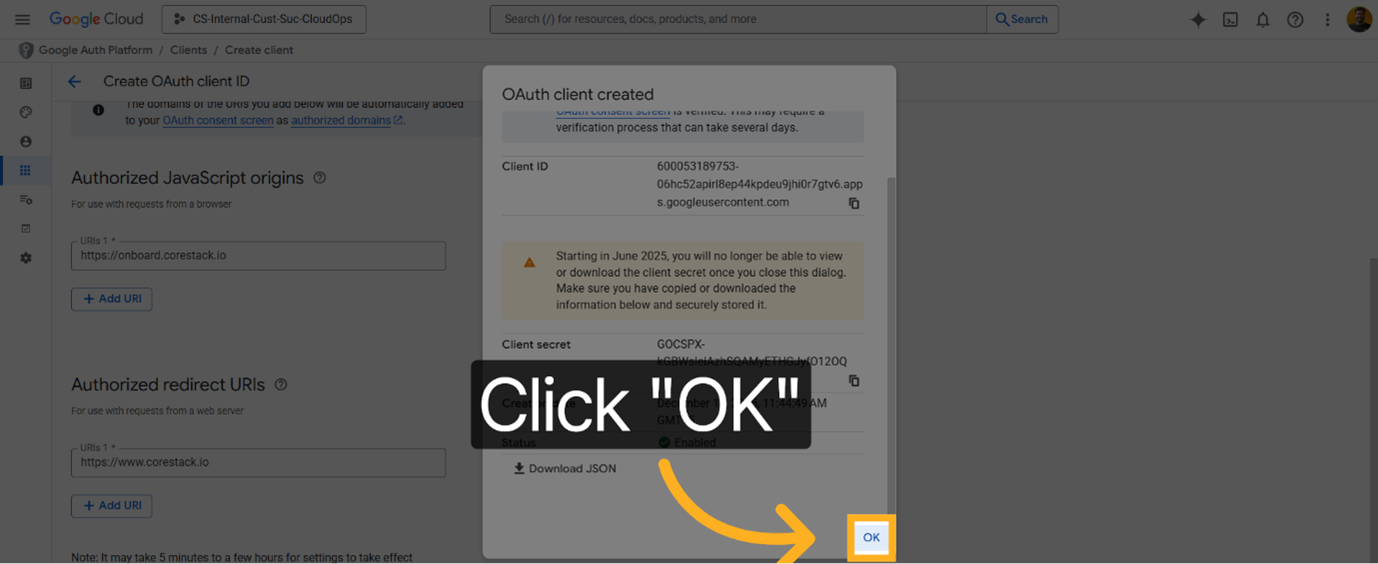
You have successfully created OAuth credentials for GCP billing account onboarding by configuring client details and authorized redirect URIs. Next, use the downloaded JSON file to integrate authentication into your application securely.
Updated 7 months ago