Authorization
Overview
In addition to accounts created in the platform, an admin with Azure AD access or an LDAP on-premises account can access the platform. Once the admin user is logged in, any user available under the corresponding admin account can login into CoreStack and the user will be assigned under the same admin account.
Users can access the CoreStack platform as per the authentication type assigned to them. Users must contact their administrator or a CSM to configure their authorization type for the domain, except for the authentication type Azure Active Directory.
New Authorization Configuration
Perform the following steps to add access configuration for users:
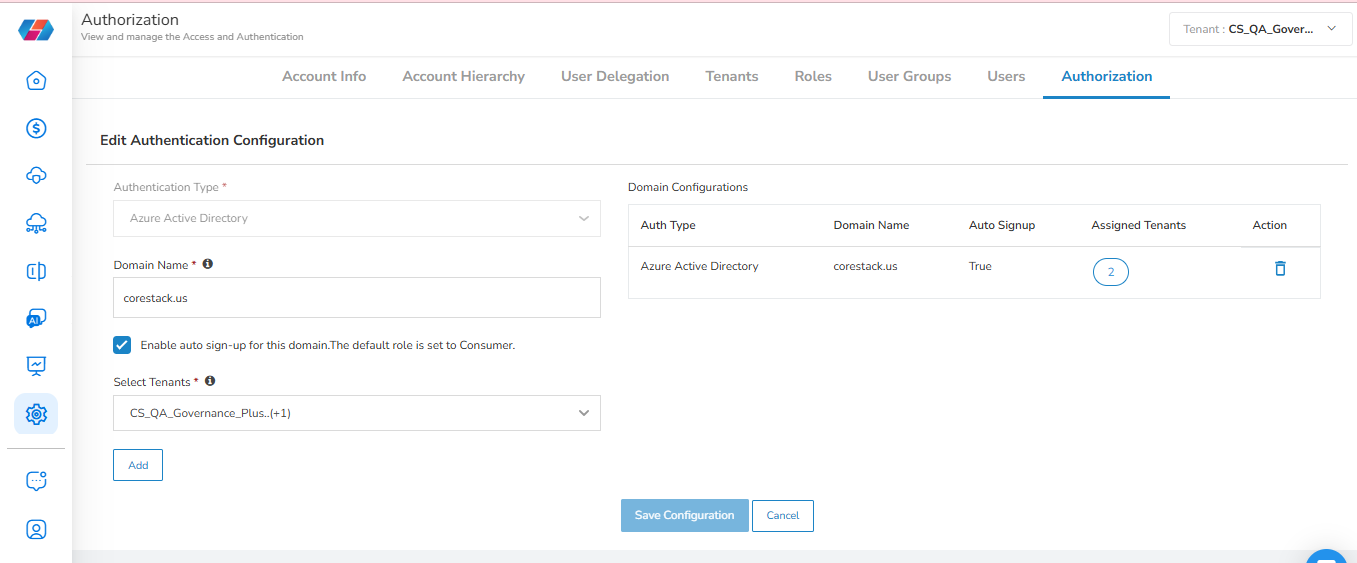
- In the platform, on the left navigation pane, go to Settings > Identity and Access Management > Authorization. The Authorization tab shows the list of authentication types that are configured for various users.
- To add a new access configuration for users, click Create New Configuration or click Add New (whichever option appears).
- In the Authentication Type list, select the type of authentication that users can use to access the platform and click Apply.
Note:
The authentication type Azure Active Directory is configured automatically, but to go ahead with other authentication types (CoreStack, ADFS, Okta, OneLogin, and OpenID Connect), users must contact the CSM or an administrator.
- In the Domain Name box, type the name of the domain.
- Select the checkbox to enable auto sign-in for the domain added above. If this option is enabled, then in the Select Tenants list, select the tenants who can access the domain name specified above and then click Apply.
- Click Add. The added configuration appears on the right side of the screen. You can click the bin icon to remove an existing domain configuration.
- Repeat steps 3 to 6 to add another domain configuration.
- Click Save Configuration.

Azure Account SSO Login
The authentication type Azure Active Directory is applicable for SSO access related to Azure accounts.
The following steps need to be performed to login using a Microsoft Azure account:
-
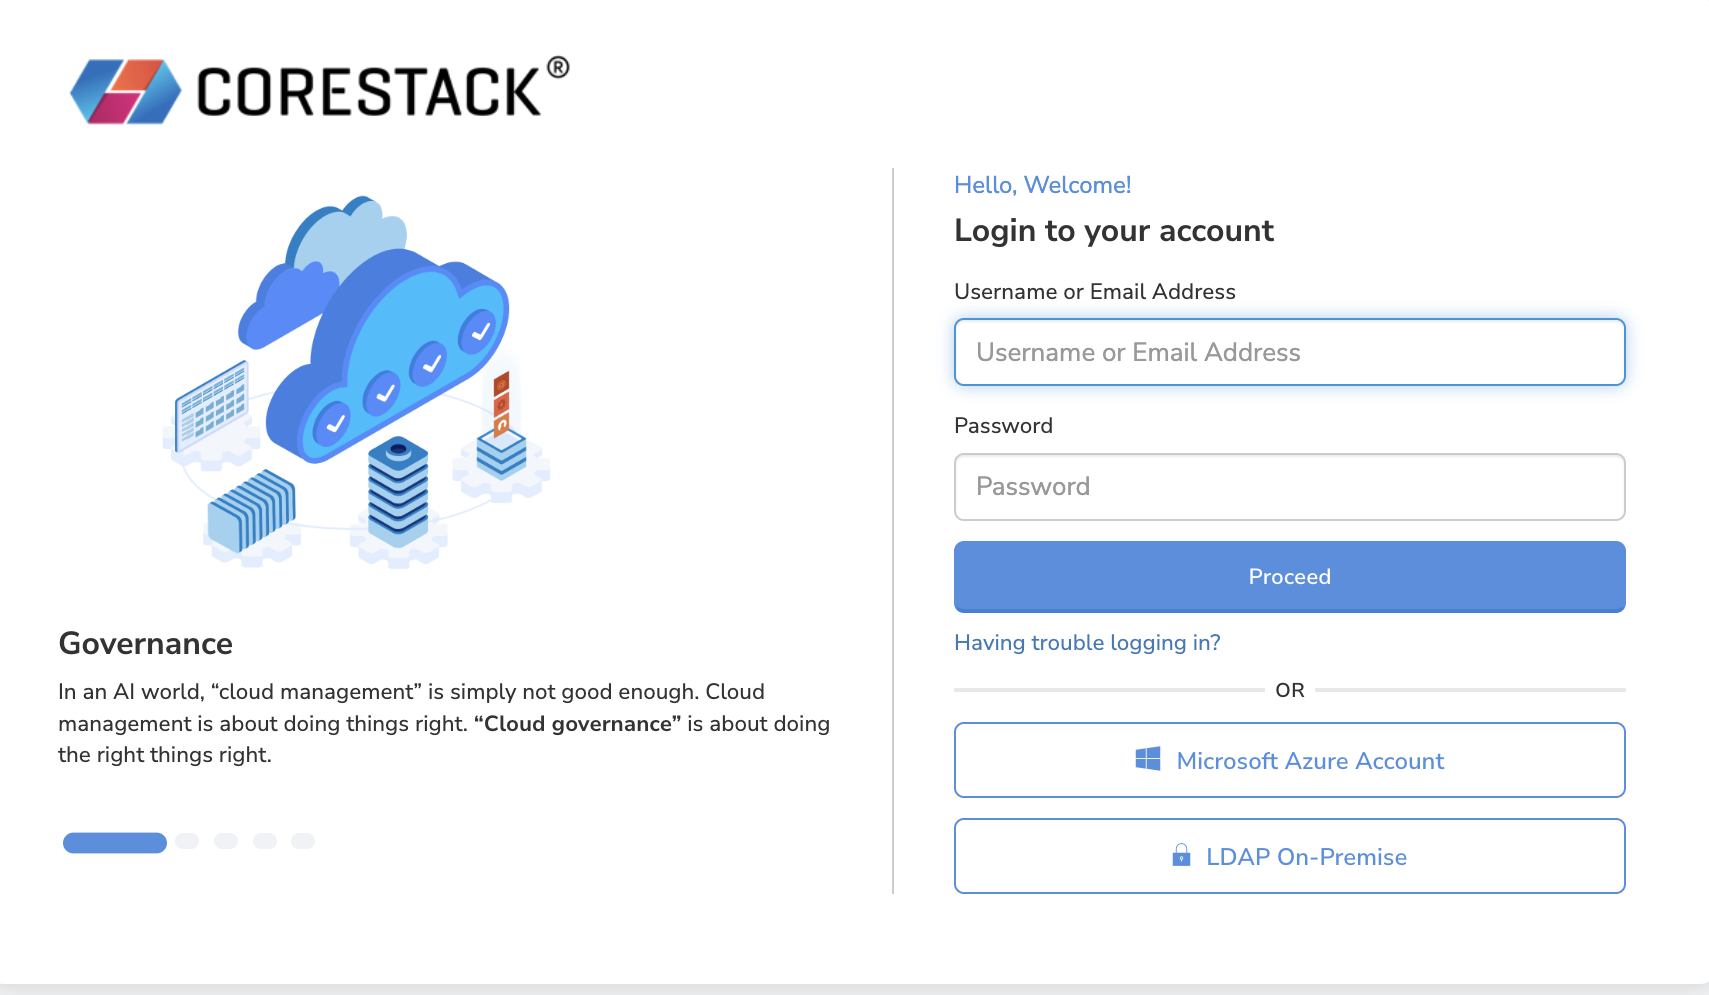
Click the Microsoft Azure Account button in the CoreStack login page.

-
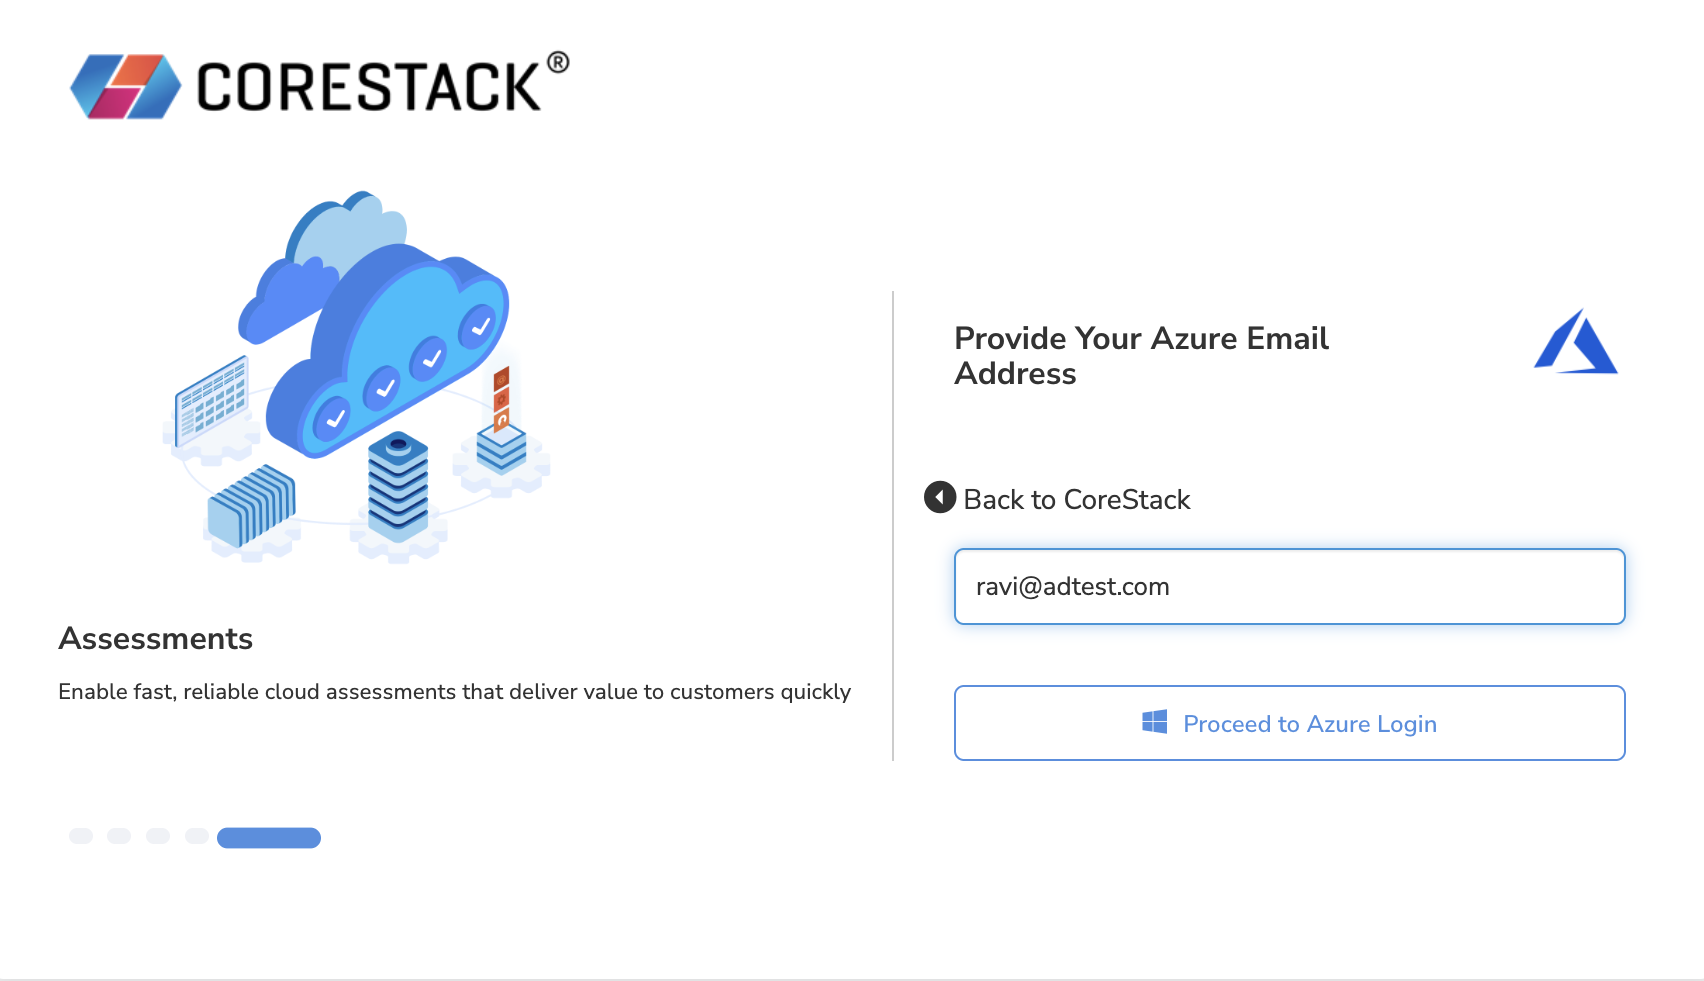
Provide the email address associated with your Microsoft Azure account.

-
Click Proceed to Azure Login button. You will be redirected to the Azure portal.
-
Provide your Azure portal password when prompted.
-
Click the Sign in button.
-
Upon successful authentication of the password, it displays the permissions requested by CoreStack from Azure AD (it will be available only for admin account). Click the Accept button.
The user will now be able to access the CoreStack account they are onboarded to. If the user is not registered, then they will get a message on the screen stating user not found and they must contact the CSM to proceed further.
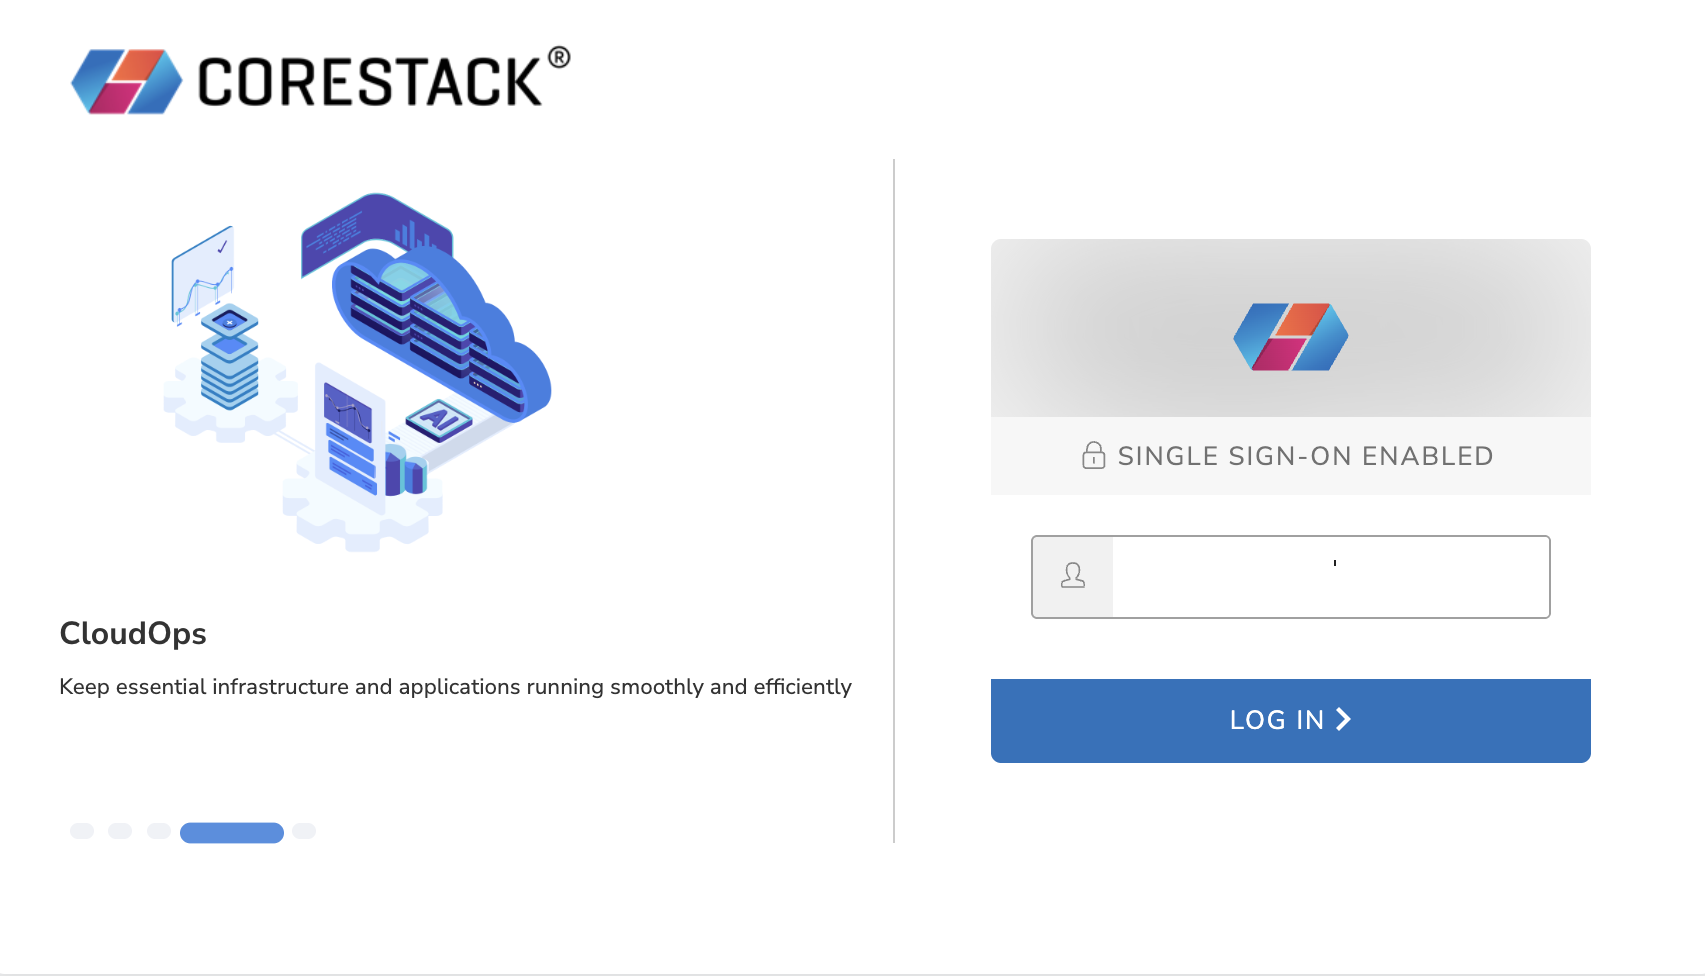
After the Azure AD is successfully set up, all the users available under this Azure AD admin account can login into the CoreStack platform using SSO.

LDAP On-Premises SSO Login
The following steps need to be performed to login using the LDAP on-premises credentials.
- Click on LDAP On-Premise option in the CoreStack login page.
- Provide the email address associated with your LDAP admin account in the Business Email field.
- Click on Proceed to LDAP Login button. You will be redirected to LDAP authentication.
- Provide your LDAP password when prompted.
- Click on Sign in button.
- Upon successful authentication of the password, it displays the permissions requested by CoreStack from LDAP admin account (It will be available only for admin account). Click on Accept button.
- Once logged into CoreStack, a new Project / Account will be created in CoreStack with your LDAP admin account's email address as username.
The LDAP SSO login mechanism works similar to the Azure AD. After the LDAP admin account AD is successfully set up, all the users available under this LDAP admin account can login into CoreStack. The user will be assigned under the same project / account that is created earlier for the LDAP admin account in CoreStack. These users will have restricted access to CoreStack and will be created with Ops Team member role.
Multi Factor Authentication
You can login using multi-factor authentication (MFA) for gaining access to the platform.
- Account administrator can enable/disable MFA at account level (tenants and users are part of the account).
- You cannot enable/disable MFA at tenant or user level.
We support multiple-factor authentication through:
- One time password with Google Auth
Enable/Disable MFA
To enable/disable MFA for a tenant or specific user, follow these steps:
-
Login to the platform using administrator credentials.
-
Click Settings > Account Management > Account Info.
-
Click ADVANCE SETTINGS.
-
In the Require MFA field, move the slider towards right to enable this field.
-
Click SAVE CONFIGURATION.
-
Login again to the platform. The MFA window appears.
-
Scan the QR code using preferred authenticator app.
-
Enter the one-time code.
-
Click Continue. The dashboard appears.
Updated 3 months ago