
How to Onboard GCP Linked Projects - Organization/Folder Scope (Assessment)
Overview
This section guides you through how to onboard a Google Cloud Platform (GCP) Linked Project with Organization/Folder scope into CoreStack.
Pre-onboarding
There are certain prerequisites that need to be set up in your GCP project before it can be onboarded into CoreStack.
- We need to onboard a GCP Billing account before proceeding to onboard the Linked project.
- All the costs will be fetched from the billing account and the metadata sync for all the projects linked to this billing account will take 24 hours to be completed.
Note:
- The sync of the cost data will take 24 hours to reflect in CoreStack.
- We will be able to onboard the linked project account only after the sync is completed.
Perform the following steps to onboard GCP Linked Projects at Organization Level - Assessment:
- Sign in to the GCP console: https://console.cloud.google.com.
- Sign in to your organization’s cloud account with a user ID and a password.
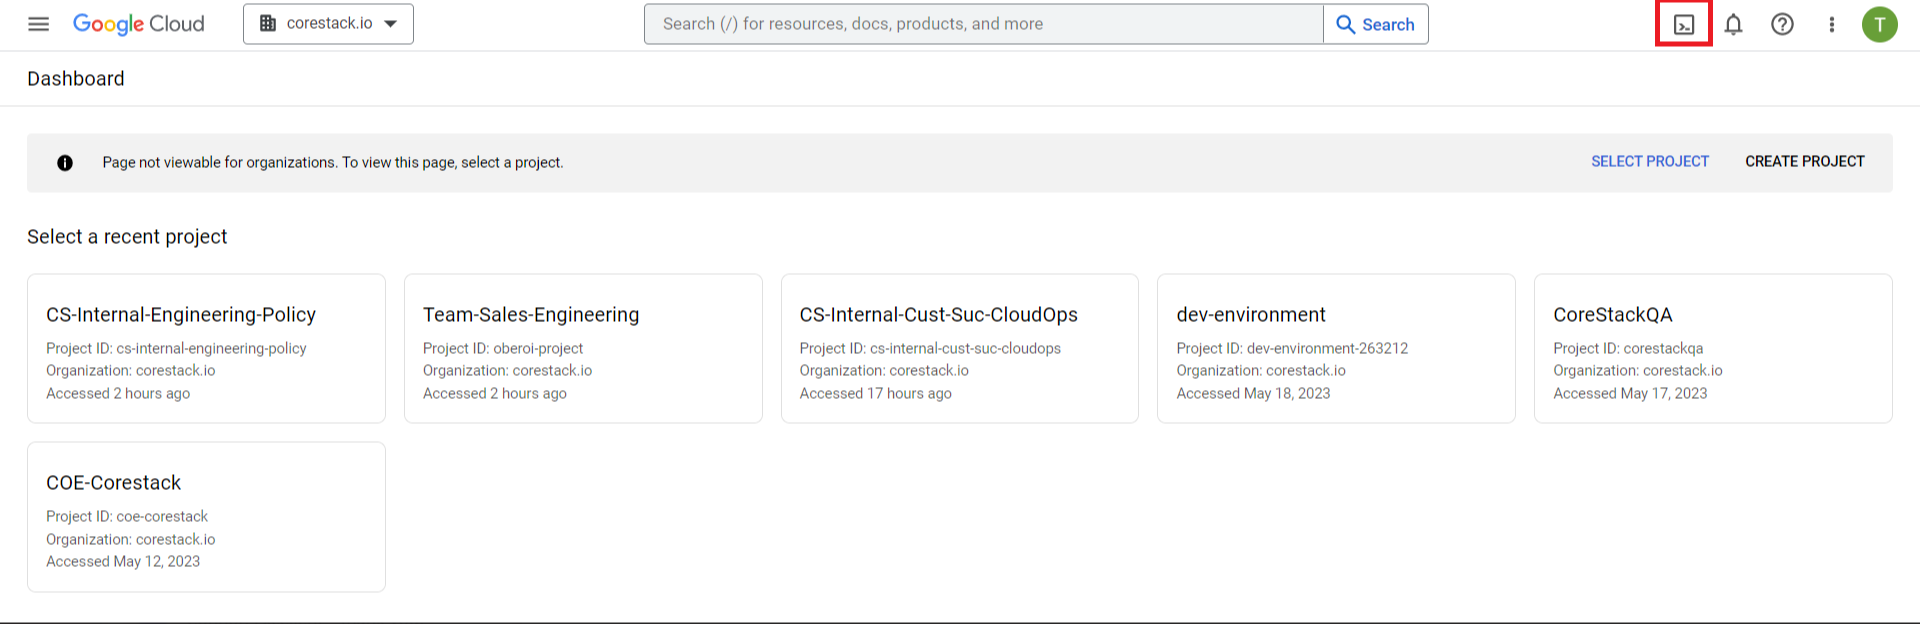
- Click the icon for Command Line Interface as shown in the image below.
- On the Cloud Shell Terminal screen, clone the GitHub repository by running the below command in a specific folder.
git clone https://github.com/corestacklabs/Onboarding_Templates.git

The repo is now downloaded.
- To switch to a particular directory, use the command provided below.
cd Onboarding_Templates/GCP/Assesment-module-org/core/

Before starting, be sure to collect the following values that will be needed when run.sh is executed:
- Organization ID
- The service account email that is created during the onboarding of a Billing account.
- Role-id (optional)
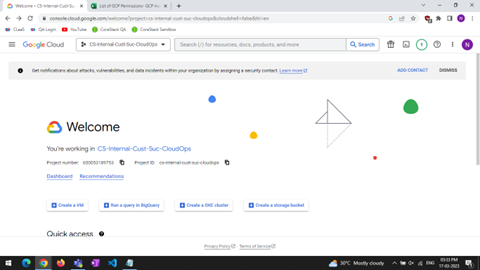
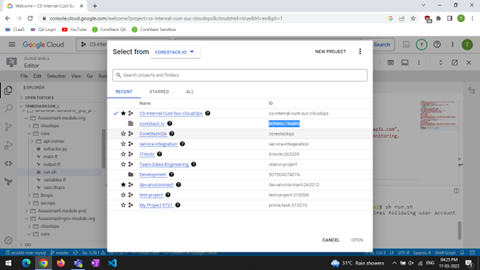
To get the Organization ID and Project ID, click on the drop-down menu before the search box.
You will see the Organization ID in the ID section. Select and copy it.
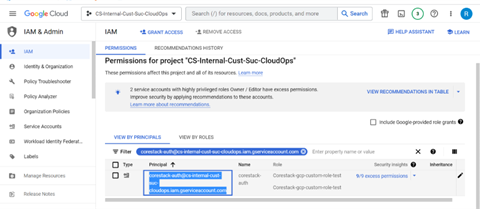
To get the email ID for the service account, navigate to the IAM section and search for the service account by name: for example, “$serviceaccount_abcd@$project_id.iam.gserviceaccount.com”, then copy the email ID.
The Role ID will only be requested if you enter ‘No’ for the “Assign predefined role” condition. Since it requires user input, make sure to follow the regular expression rules: "^[a-zA-Z0-9_\\.]{3,64}$"
Executing Terraform in the Cloud Shell console
Next, start the Cloud Shell console and navigate to the following directory:
cd Onboarding_Templates/GCP/Assesment-module-org/core

After this, run the following command in the directory:
sh run.sh

You will be asked whether you have the necessary permissions or not as part of the pre-check condition.
If you enter ‘No’, the script will terminate with exit code 0.

If you enter ‘Yes’, it will ask for further input: Organization ID and the service account email ID.

After this, users will be asked whether or not they want to provide GCP predefined roles or not:
If you enter ‘Yes’, Terraform will take all the pre-defined roles that can be seen in the screenshot below.

All the provisioning steps will be executed by Terraform, which you can see in the terminal.
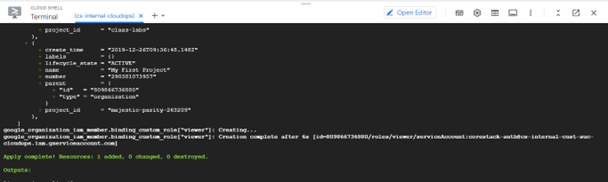
At this point, you can switch to the CoreStack web portal to continue the onboarding process.
If you enter ‘No’, you will be prompted to give the input for the Role ID, which should follow the regular expression pattern: "^[a-zA-Z0-9_\\.]{3,64}$"
This role is configured as part of the least permissions required by CoreStack to function.

The Terraform execution will start, and you can see the execution flow in the terminal.

Onboarding in the CoreStack portal
At this point, you can switch to CoreStack web portal to continue the onboarding process.
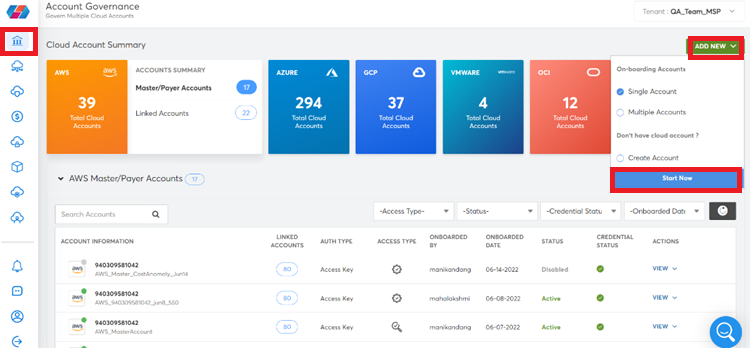
- In the CoreStack portal, click ADD NEW > Single Account > Start New.
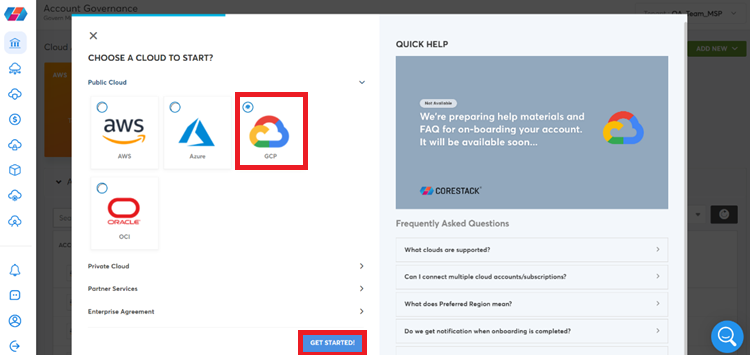
The CHOOSE A CLOUD TO START screen displays.
- In the Public Cloud setion, click to select GCP and click GET STARTED.
- In the Access Type section, click to select Assessment +Governance.
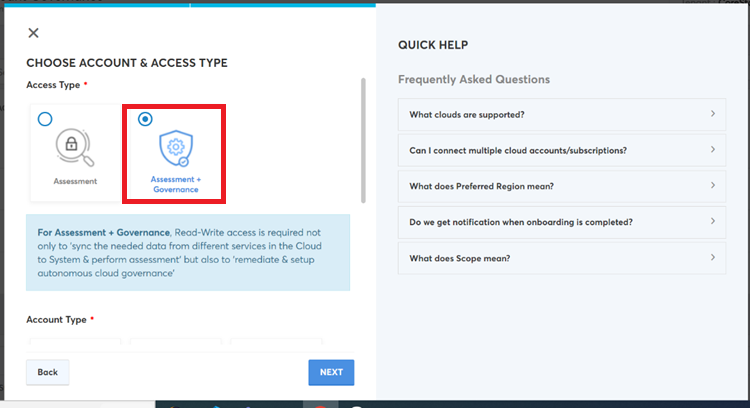
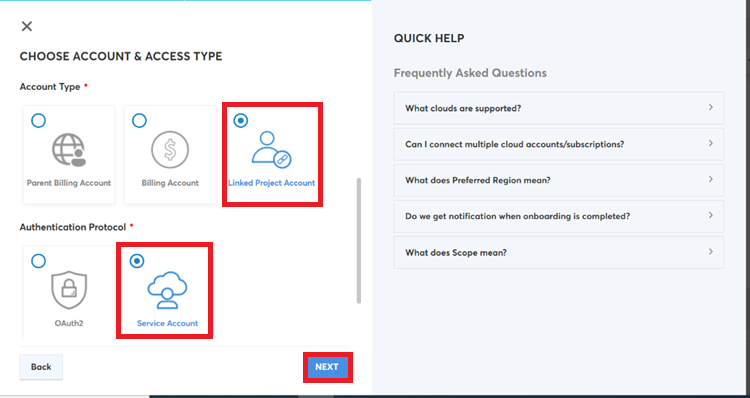
- Perform the following:
a. In the Account Type section, click to select Linked Project Account.
b. In the Authentication Protocol field, click to select Service Account, and then click NEXT.
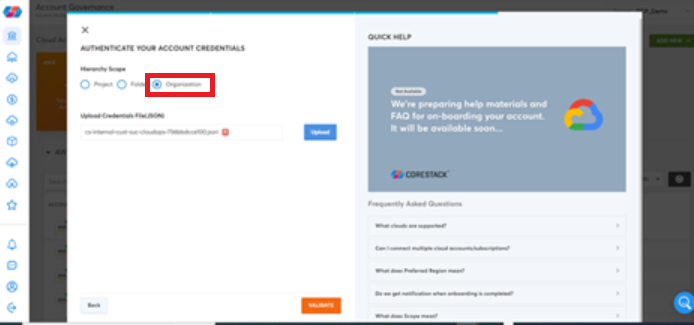
- Perform the following on the AUTHENTICATE YOUR ACCOUNT CREDENTIALS screen:
a. In the Hierarchy Scope field, click to select Organization.
b. In the Project ID box, type the project ID. Refer to step 2 for where to find the project ID.
c. Click Upload and select the JSON file to be uploaded.
d. Click VALIDATE.
This completes the onboarding of a GCP linked project account with Terraform.
Updated about 1 year ago