
Azure Account Expiry Notification
Introduction
If your Azure cloud account expires when you're not prepared for it, it can cause serious disruptions for your cloud services and business operations. It's crucial to be aware of when your account(s) will expire, and know what proactive actions you can take to ensure that the operations are not affected negatively due to an account expiry. CoreStack allows users to setup notifications for cloud account expiry to help protect against this.
This user guide will cover the configurations associated with managing account expiry notifications in CoreStack for your Azure cloud accounts.
In CoreStack, there are two options available for Azure account expiry alert notifications:
- Proactive Approach
- Reactive Approach
To enable account expiry monitoring and notifications in CoreStack, specific permissions need to be enabled in the Azure portal first.
Prerequisites
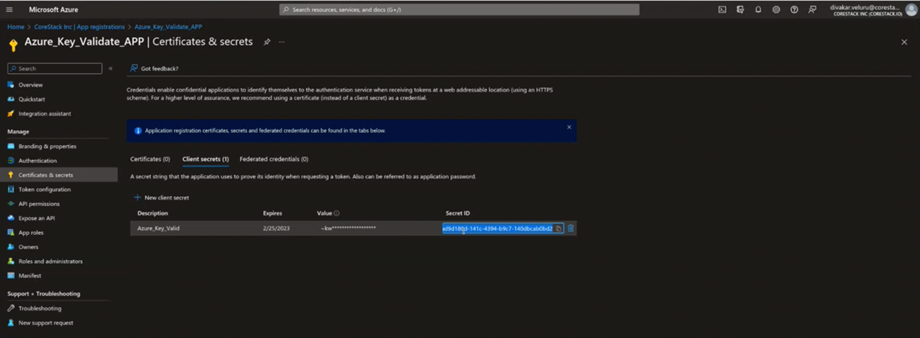
- Login to the Azure portal and enable the “Application.Read.All” permission, which should be listed under “Microsoft Graph” as shown in the below image.

- After the “Application.Read.All” permission is enabled. The graph API can then be used to fetch any account details related to the expiry, Secret ID, and Description.
Users will be notified that the account expiry is due both 14 and 7 days before, in order to give the user some time to take any necessary actions.
Create an Alert Email Notification
Follow the steps below to create an email alert notification for Azure account expiry in CoreStack:
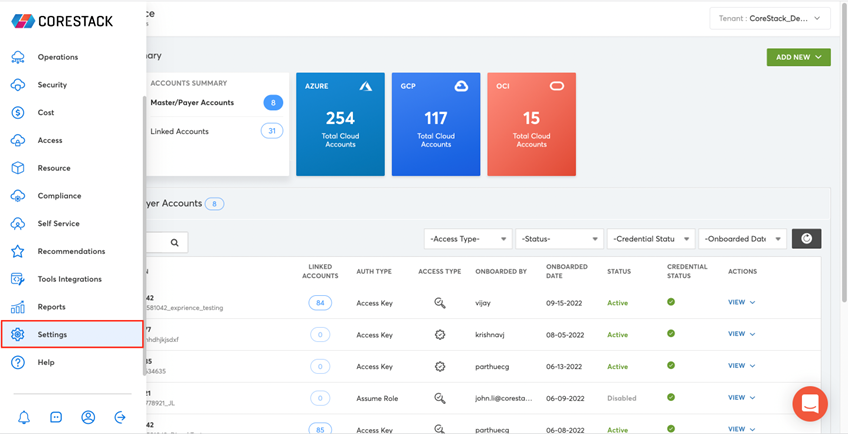
- Login to CoreStack and navigate to the Settings tab, which is present on the left side of the screen.
- Under the “Settings” option, click on the “Tenant“ option available in the drop-down menu.
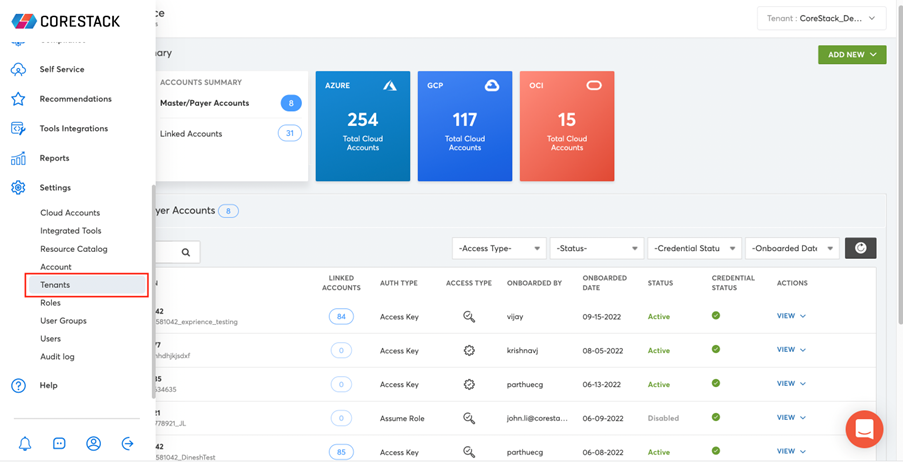
- Clicking on the “Tenant” option will lead you to a page that shows all the information related to your Tenants configured in CoreStack.
- Click on the + symbol to configure a new Tenant in CoreStack.
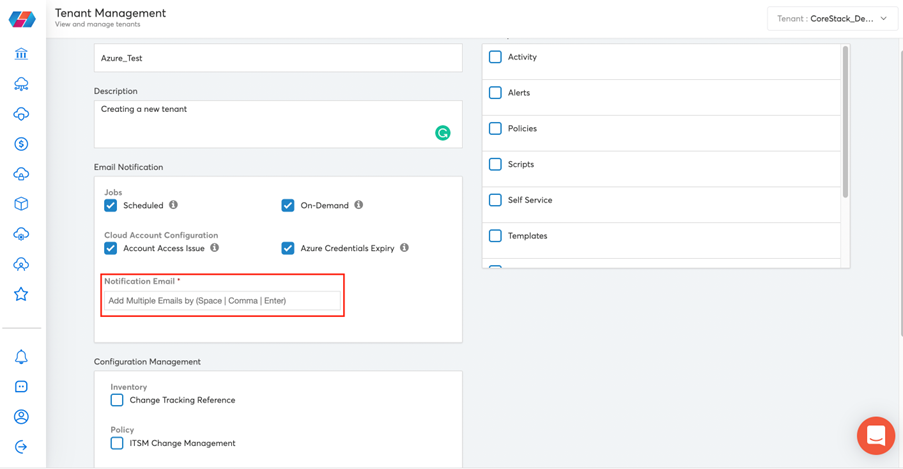
- A new page will appear and then prompt you to fill in the details for the new Tenant.
- The option for “Azure Credential Expiry” will be unchecked by default. You will need to check this option to enable this notification.
- Once the “Alert Credentials Expiry” notification has been enabled, a text box should appear that allows you to enter an email ID for a user to receive a notification message once it's been triggered.
Note:
Users can update as many as email IDs to be notified as they like, but must make sure to separate each email address with an empty space or a comma.
Updated about 1 year ago