
OCI Onboarding (old)
Introduction
The purpose of onboarding is to help you setup an CoreStack account with respect to an Oracle Cloud Infrastructure (OCI) account with governance policies. To begin monitoring your resources for OCI, you must complete some tasks on the OCI Tenant Console and some on CoreStack. After you add your OCI tenant to CoreStack, the API integration between OCI and CoreStack is established and you can monitor resource configuration issues.
Prerequisites
-
User ID.
-
Create an IAM user.
-
Create a group and add user to the group.
-
Create policy with following permission:
ALLOW GROUP <Group-name> to manage all-resources IN TENANCY
-
-
Tenancy ID - OCID of the tenancy.
-
Fingerprint ID.
- Generate an API key for the user.
- Download public and private (.PEM format) keys. Click Add to see the configuration file. The configuration file includes details such as Fingerprint ID, user OCID, tenancy OCID, and so on.
Onboard an OCI Account
To onboard an OCI account, follow the instructions.
- Click Add New in the CoreStack dashboard.
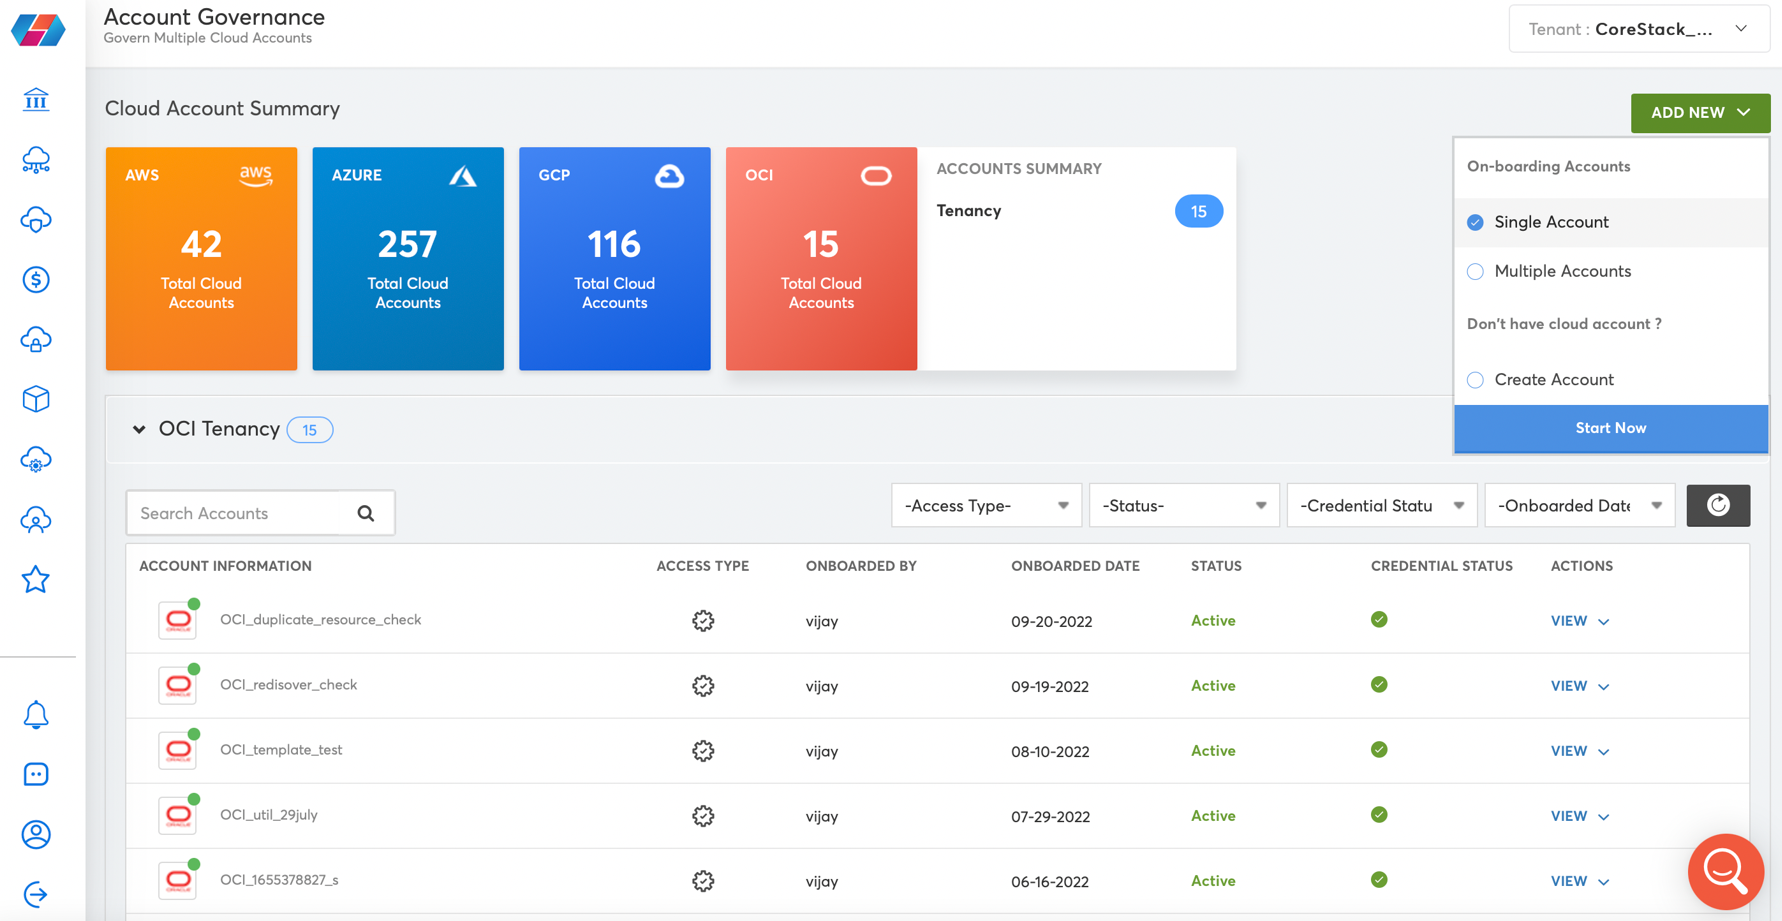
- Select single account.
- Click Start Now.
- Select OCI as a cloud service provider.
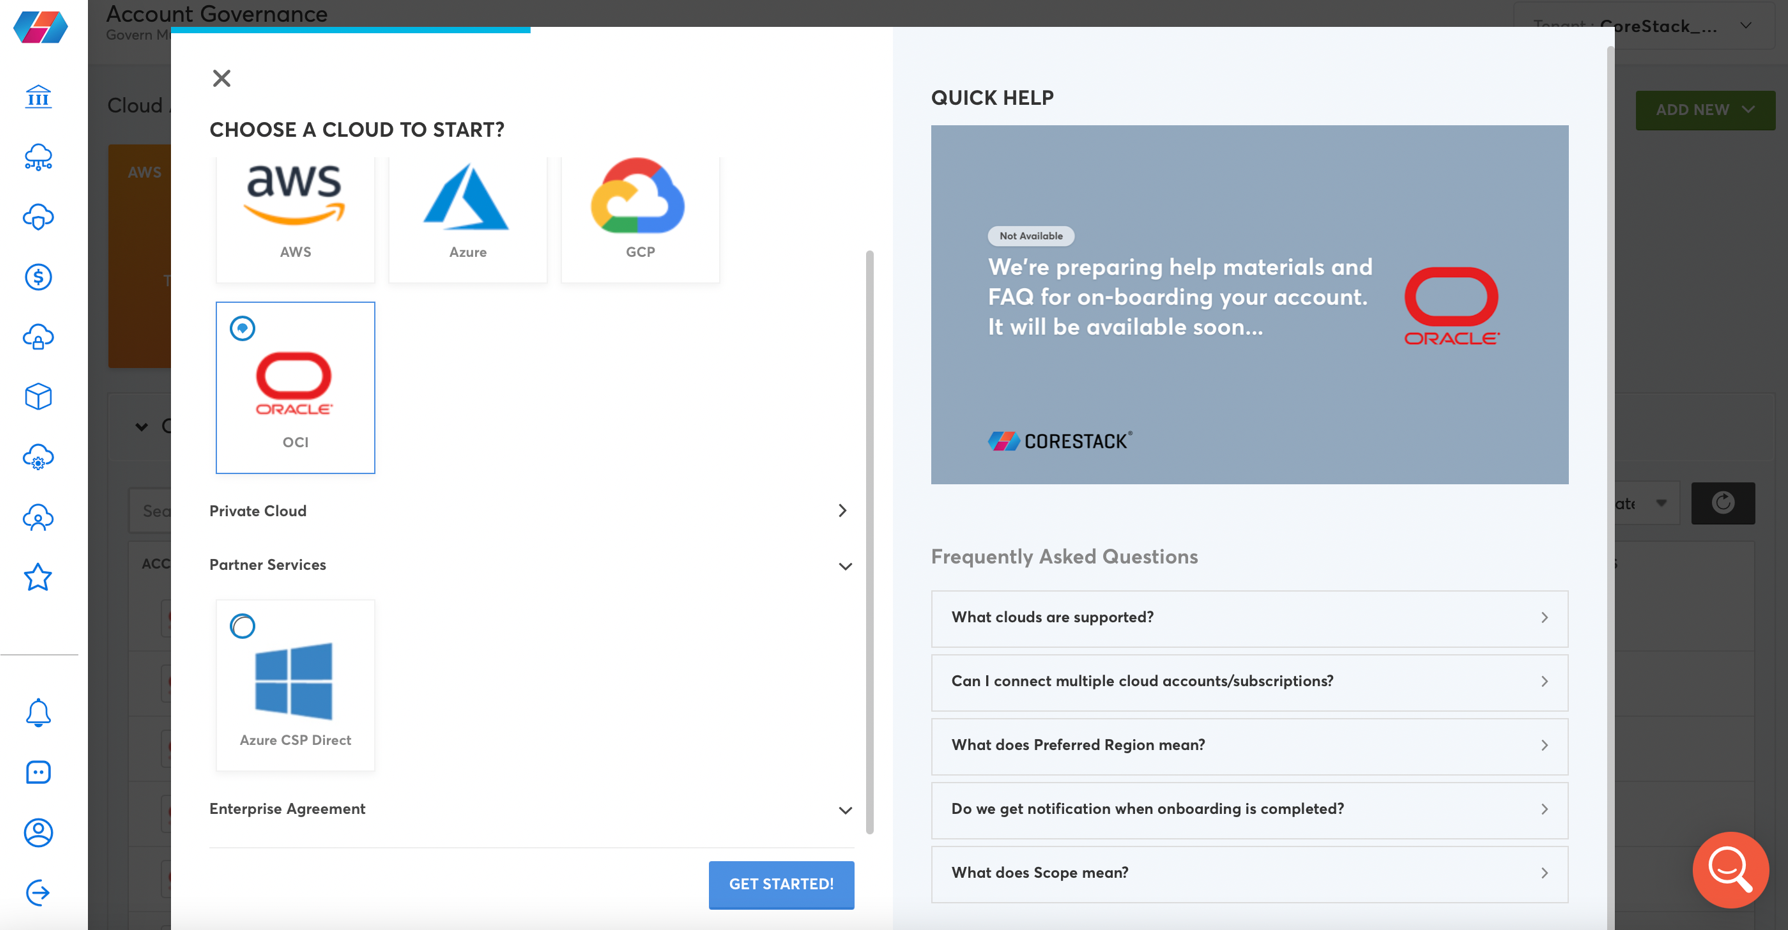
- Click Get Started.
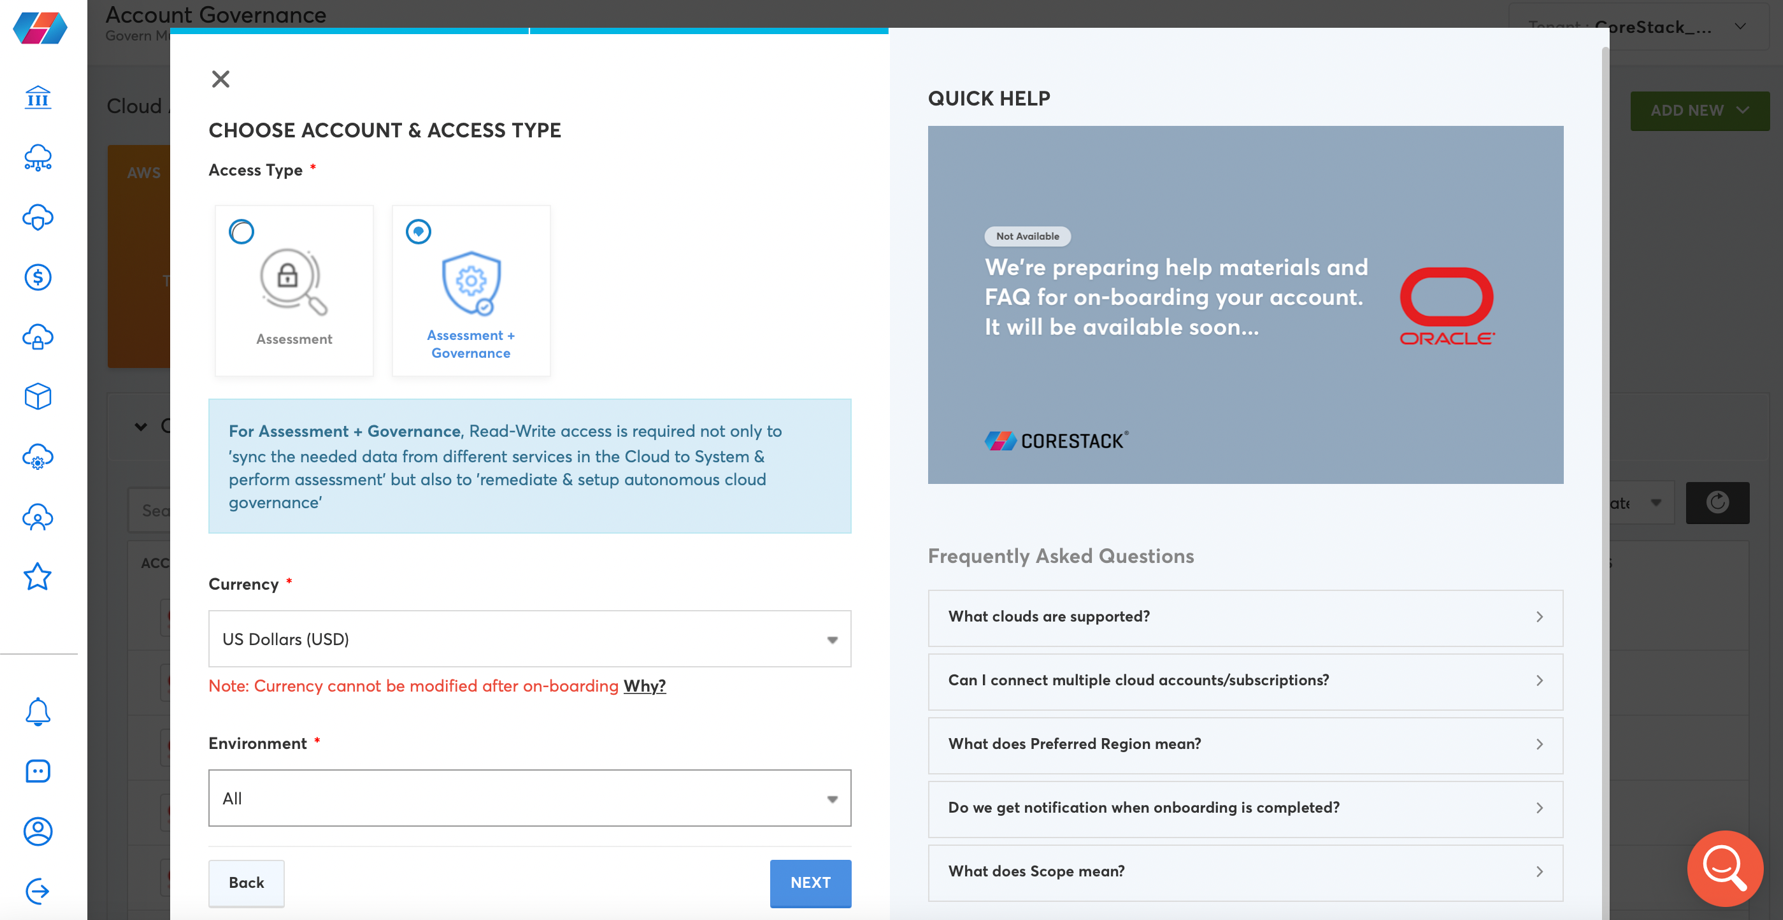
- Select an Access Type.
- Assessment
- Assessment + Governance
- Select Currency type.
- Select Environment type.
- Click Next.
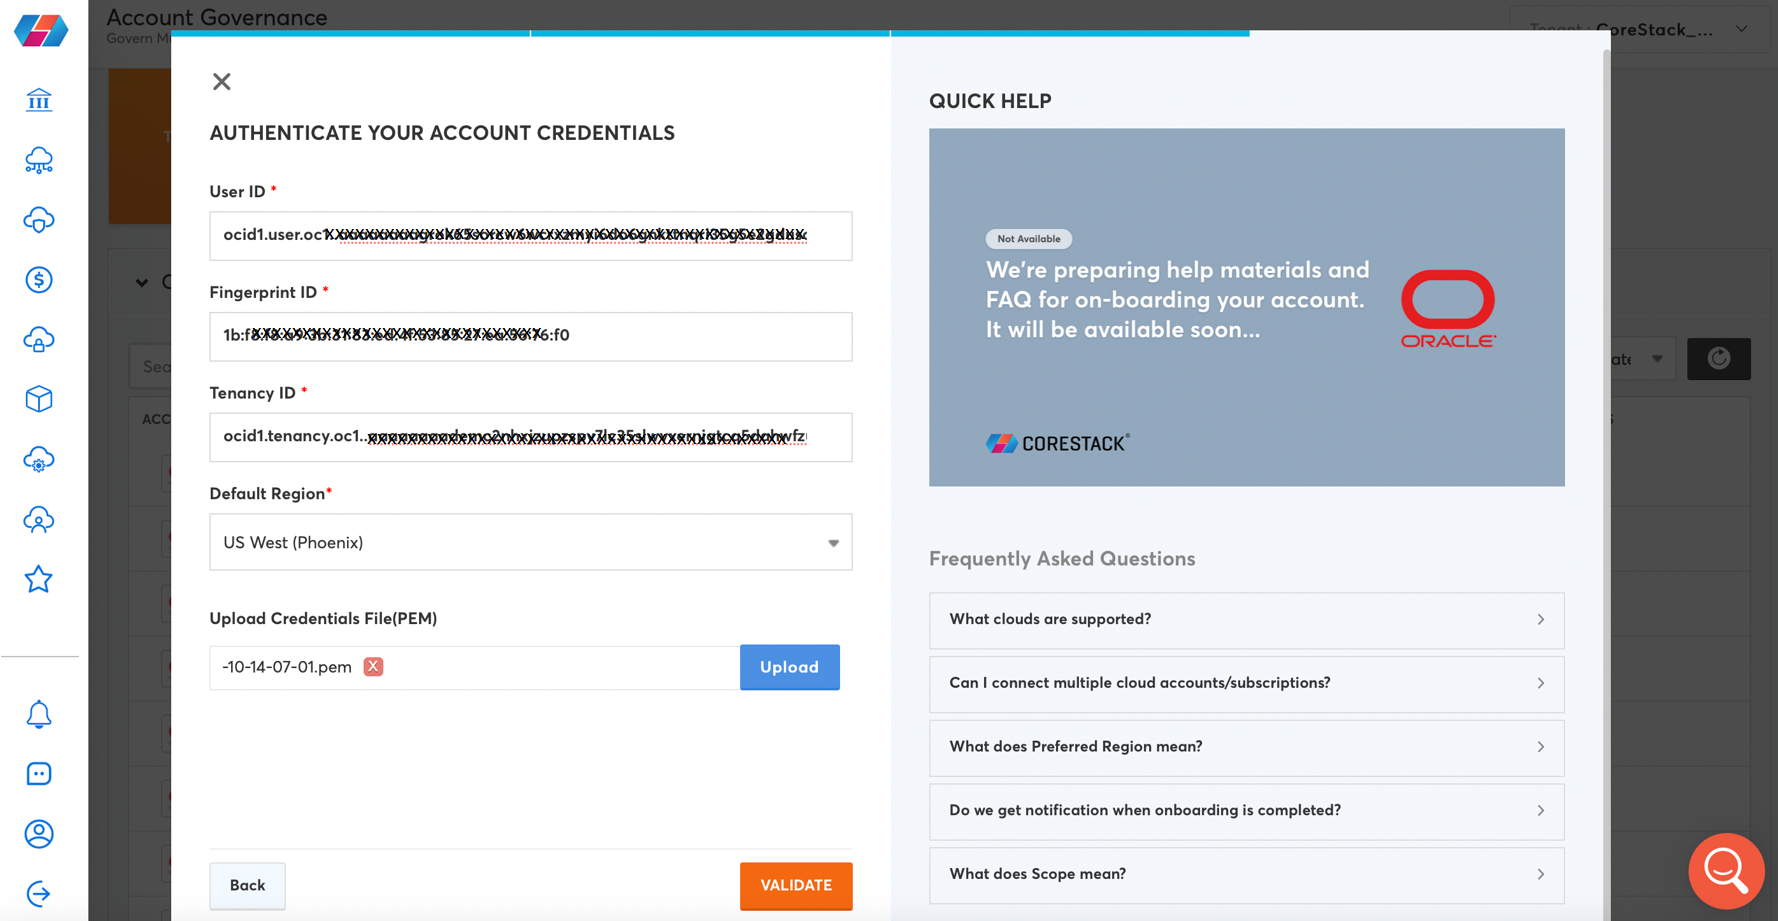
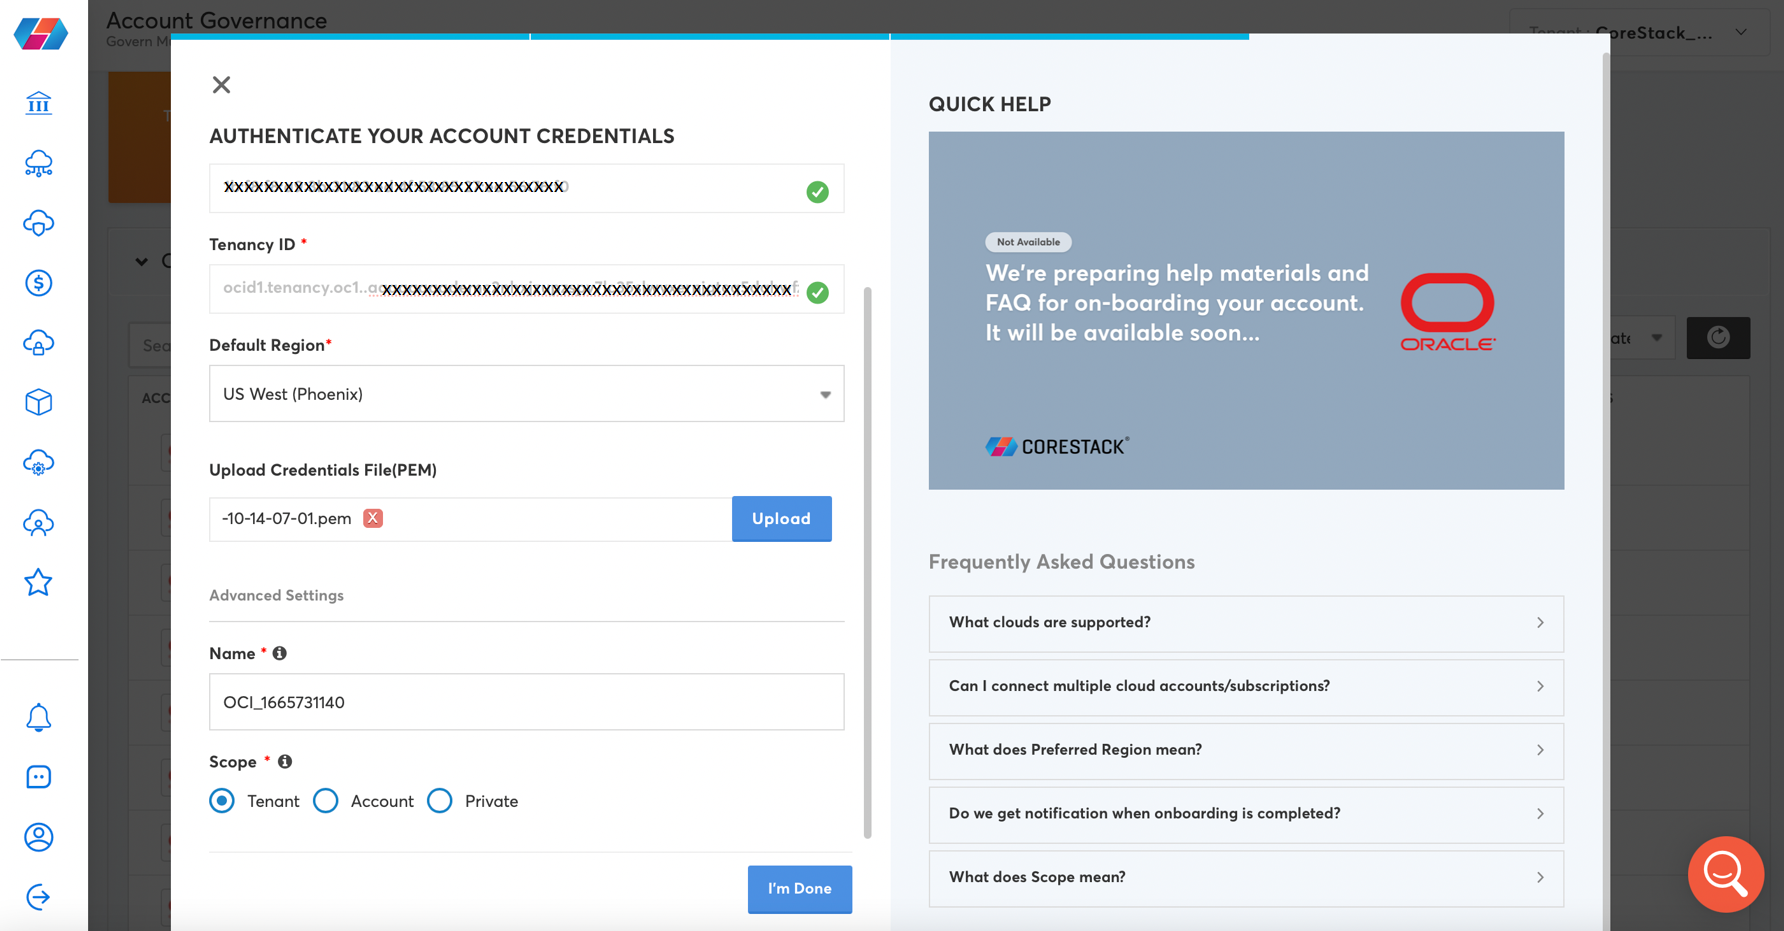
- Enter User ID, Fingerprint ID, Tenancy ID.
- Select Default Region same as your home region.
- In Upload Credentials File (PEM), upload the private key (.pem) generated for the user.
- Click Upload.
- Click Validate.
- In Scope, select an option:
- Tenant
- Account
- Private
- Click I'm Done.
Set Governance Configuration
You can set Activity Logs and Alerts configurations.
- Hover OCI Total Cloud Accounts and click Tenancy.

- Click View > View Settings.
- Click Governance Configuration.

- Click Configure. You can set Activity Logs configurations, Alerts configuration. Below policies are required for resource creation.
Allow group <group-name>  to manage alarms in tenancy
Allow group <group-name> to read metrics in tenancy
Allow group <group-name> to manage ons-topics in tenancy
Allow group <group-name> to manage ons-subscriptions in tenancy
Allow group <group-name> to read alarms in tenancy
Allow group <group-name> to manage serviceconnectors in tenancy
Allow group <group-name> to manage ons-topics in tenancy
Allow group <group-name> to manage ons-subscriptions in tenancy
Allow group <group-name> to read usage-reports in tenancy
- Click Create New > Next.

- In Regions, select regions based on account onboarding.
- To create a service connector, enter Service Connector Name.
- To create a topic, enter Topic Name.
- To apply this selection as default template, select Apply Default Template.

- Click Save.
- In Notification settings, enter notification email address.
- To access a public URL, enter URL in Webhook.
- To allow external applications to share content in Microsoft Teams channels, add URL in Microsoft Teams Webhook.

- Click Finish. The Activity log is created.
- Click Alerts > Configure.

- Click Create New > Next.

- In Regions, select regions based on account onboarding.
- To create a topic, enter Topic Name.
- To apply this selection as default template, select Apply Default Template.
- Click Save.

Updated 8 months ago