
Azure Resource Group Auto-Discovery & Alerts Configuration
Introduction
This user guide provides step-by-step instructions on configuring Azure Resource Group Auto-Discovery and Alerts within the governance configuration section of the platform.
It covers setting up alerts at the Subscription level and Resource Group level, managing default action groups, handling new resource groups dynamically, and receiving notifications for deleted default resource groups.
Accessing the Unified Configuration Interface
Access the Alerts Configuration Interface
First, you'll need to go to the governance configuration page for your Azure cloud account.
Navigate to one of your onboarded Azure cloud accounts on the Account Governance Dashboard page (Account Governance > Cloud Accounts), then select the three dots under the Actions column and select View.
You should see the Details tab for governance configuration for the cloud account. Select the CloudOps tab.
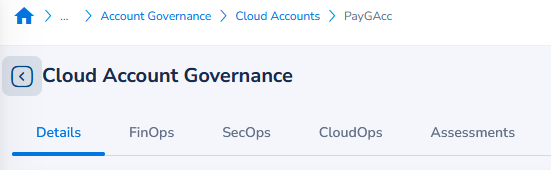
Note:
To access the CloudOps tab, the "CloudOps" product must be enabled for this cloud account during onboarding. If it is not enabled, the tab may not appear.
Scroll down to the Monitoring Alerts section, and select it to expand it.
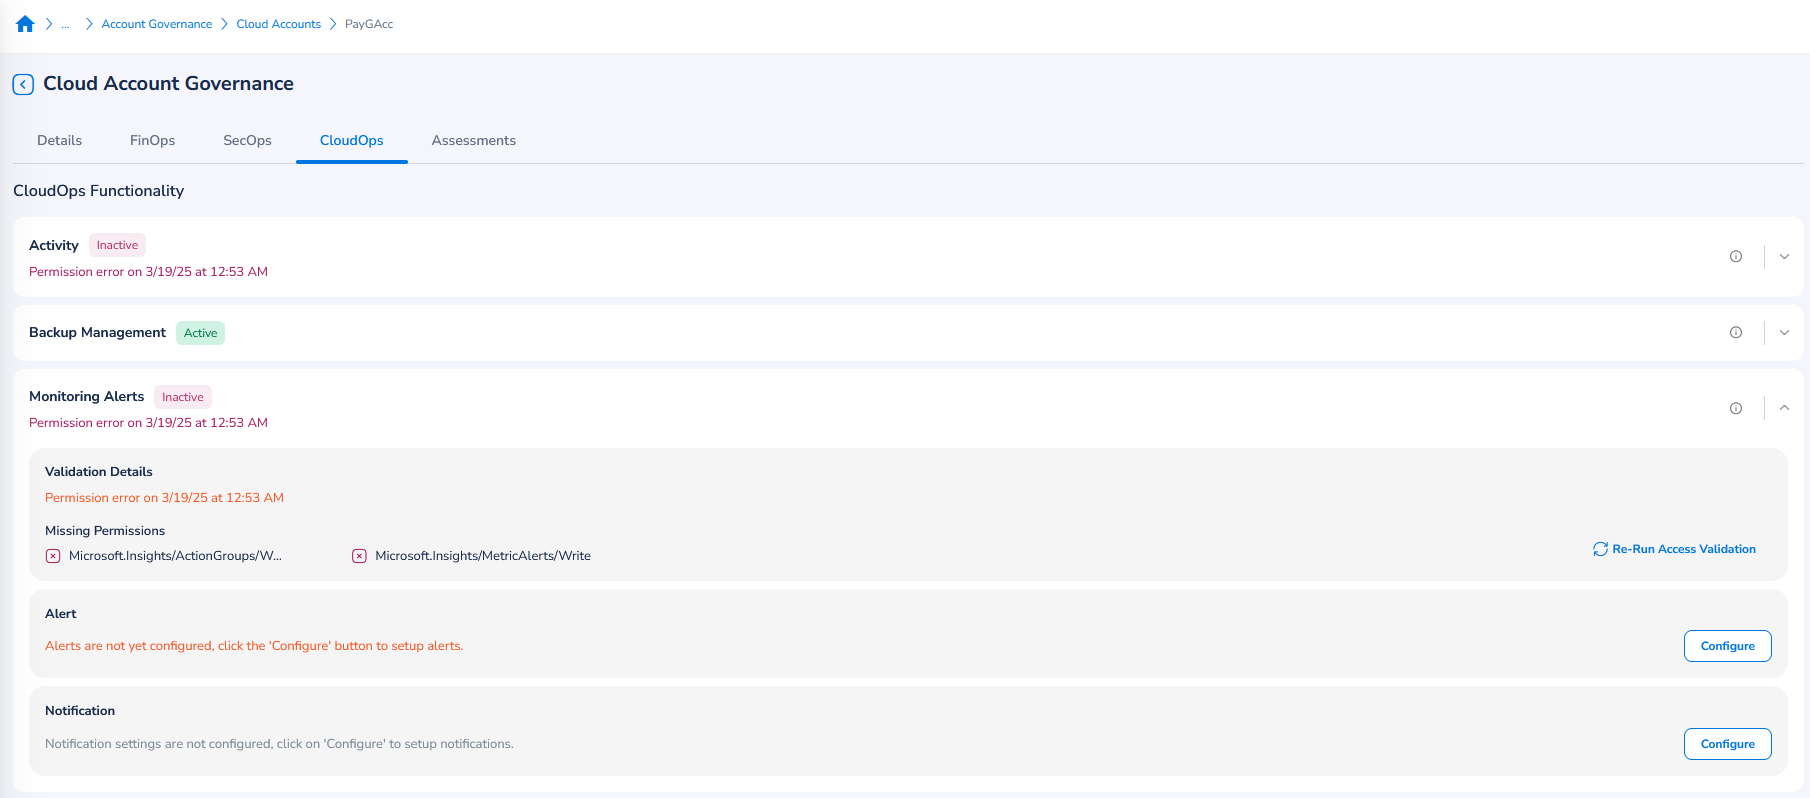
The Validation Details, Alert, and Notification sub-sections should now be visible.
For the Alert section, select the Configure button on the right. This will open the Alert Configuration menu, where you can select between Subscription and Resource-level alert options
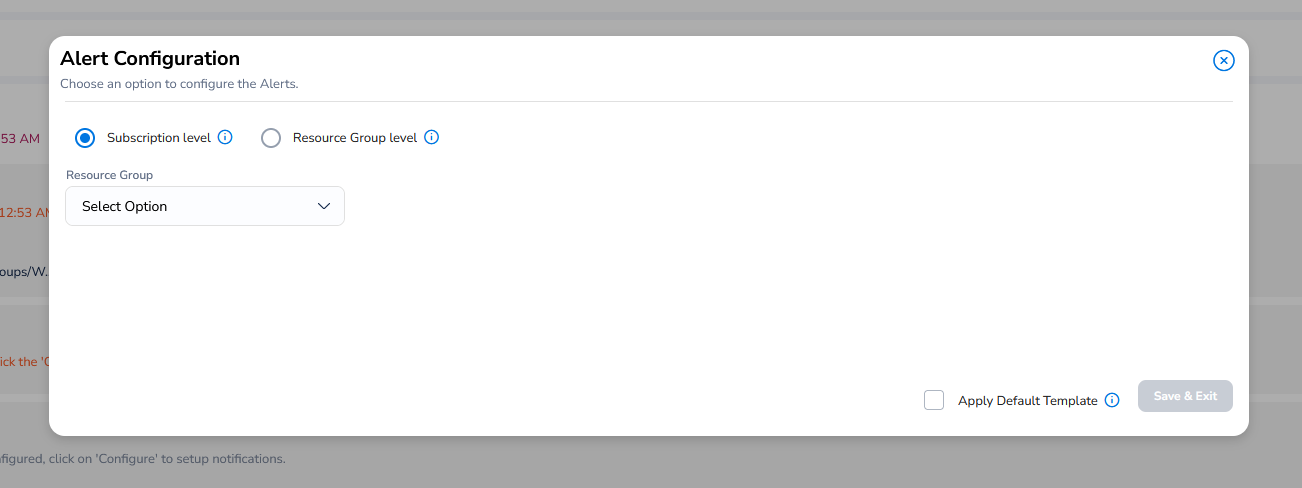
Toggle Between Subscription and Resource Group Levels
Once you've opened the Alert Configuration menu, you can select either the Subscription-Level or Resource Group-Level configuration option.
Choosing one option disables the other. The selected configuration will also be saved automatically for future sessions.
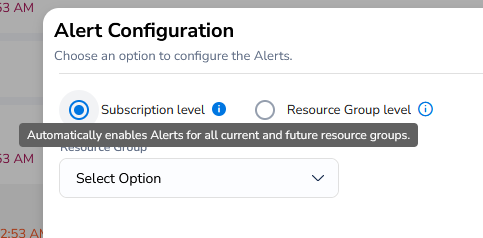
To better understand the impacts of each option, you can hover over the info tooltip icon beside each option to learn about what each option does.
Configuring Subscription-Level Alerts
Follow the steps outlined in this section to enable alerts for all existing and future resource groups at the Subscription level.
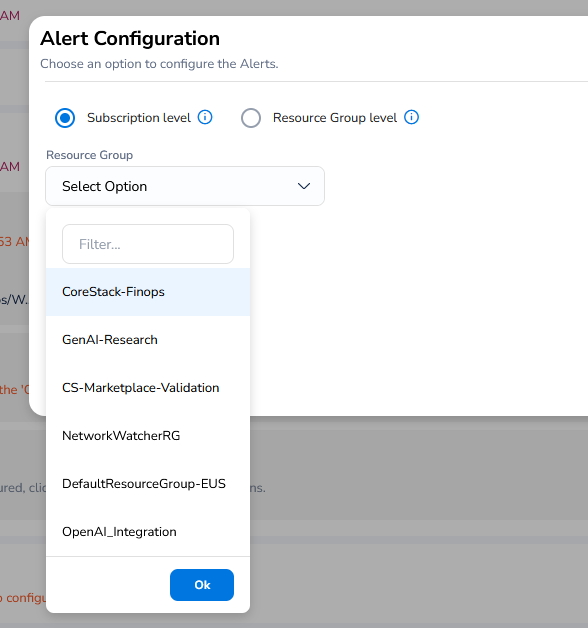
In the Alerts Configuration menu, select the Subscription-level configuration option.
Select the Resource Group drop-down menu to open and view/search a list of options. Choose a default Resource Group, then select the OK button.
Once you've selected your preferred Resource Group, click Save & Validate. This will initiate the process of creating the necessary action group(s) and validate the alert configuration for the selected Resource Group in your Azure account.
You should see a confirmation message and return to the CloudOps governance configuration page.
If validation is successful, then all existing and future Resource Groups will inherit the default action group(s) for alerting.
Users will receive an alert when new Resource Groups are auto-enabled, so please ensure email notifications are configured accordingly.
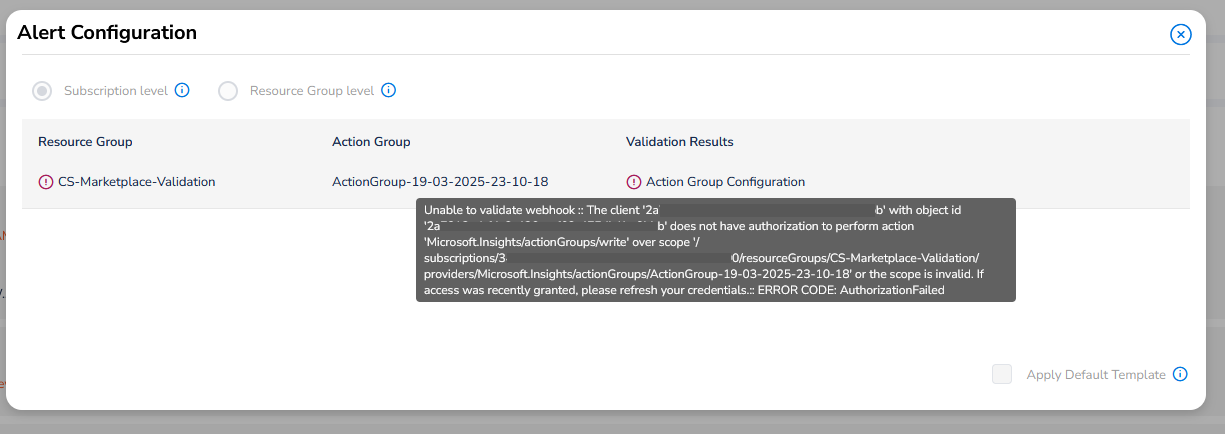
If validation fails, you can select View on the Alert sub-section to open the configuration menu again and see why it failed. To view the full error message, hover over the Validation Results.
Configuring Resource Group-Level Alerts
Follow the steps outlined in this section to manually enable alerts for specific Resource Groups.
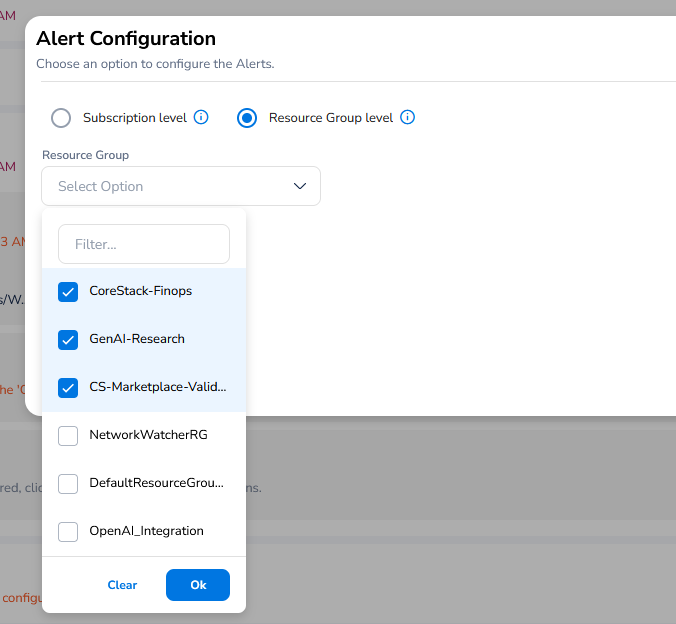
In the Alerts Configuration menu, select the Resource Group-level configuration option.
Select the Resource Group drop-down menu to open and view/search a list of options. Choose one or more Resource Groups you want to enable alerts for, then select the OK button.
The Resource Groups you selected should now appear in the configuration menu, but are not yet enabled. You'll first need to configure action groups for them -- by either creating new action groups or selecting existing ones within a Resource Group.
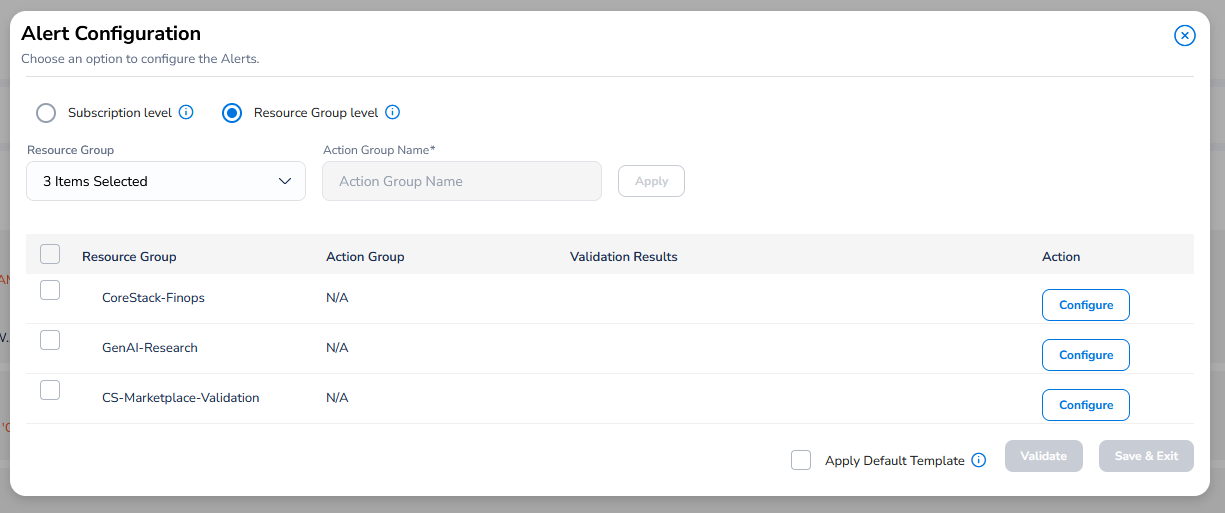
To configure action groups for your Resource Groups, select the Configure button under the Action column for any of the listed Resource Groups. This will open a new menu where you can select to create a new action group or choose an existing one.
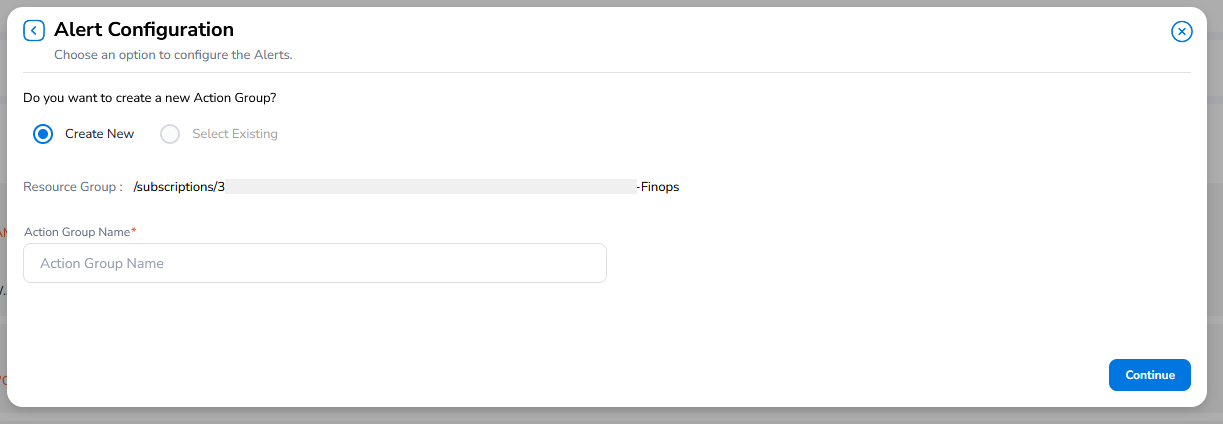
To create a new action group, select the Create New option, then enter a name for your action group in the Action Group Name text field.
Select Continue to proceed.
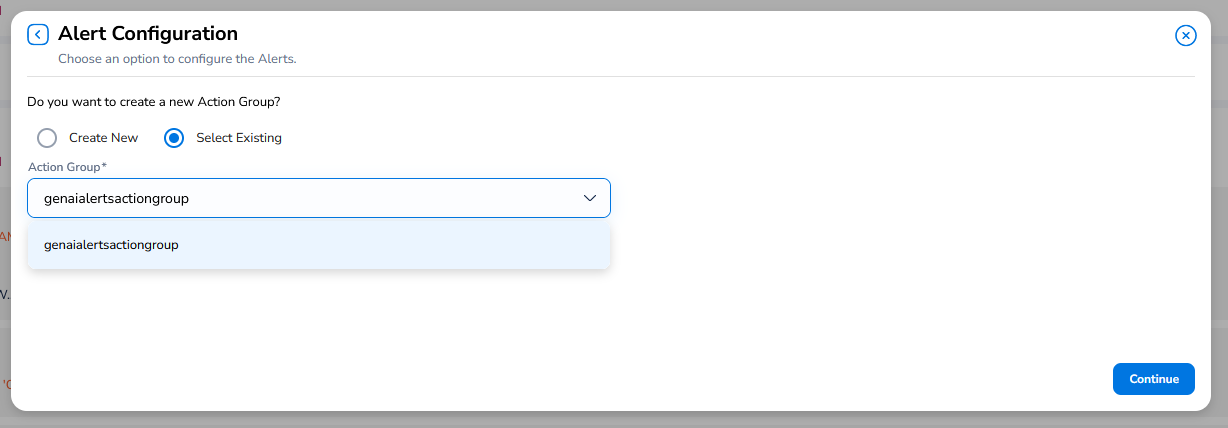
Alternatively, select the Select Existing option to view a list of existing action groups, if available. Select the Action Group drop-down menu to view a list of options, then select the one you wish to use for this Resource Group.
Select Continue to proceed.
Once you've selected or created the action groups, you can select the Validate button on the main Alert Configuration menu to verify your action group configurations.
If successful, you should see green check marks appear beside your Resource Groups, along with a message under the Validation Results column.
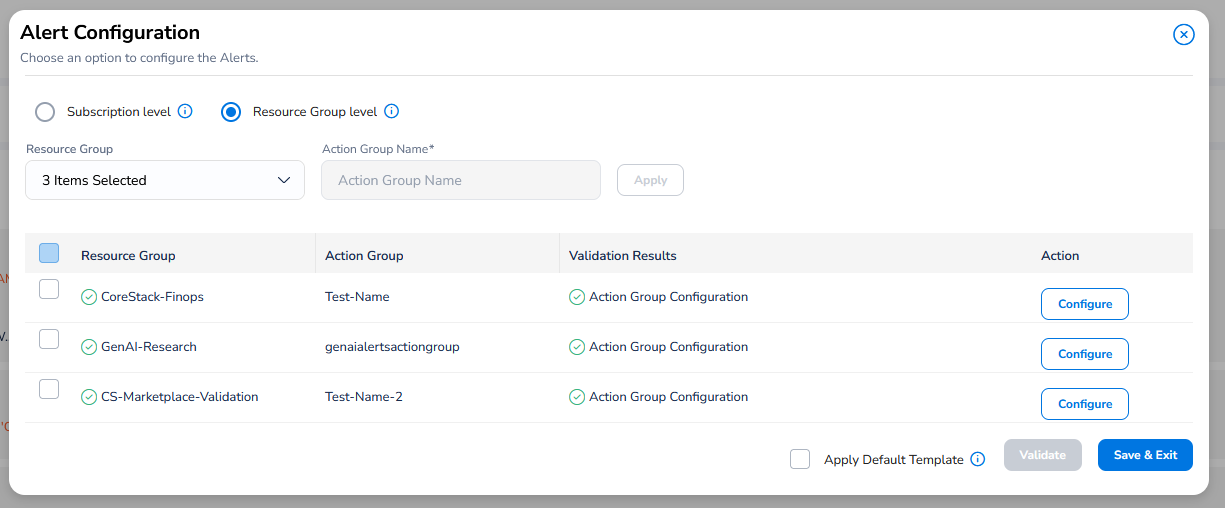
Now, you can select Save & Exit to apply the configurations.
You should see a confirmation message and return to the CloudOps governance configuration page.
If validation is successful, then you should see your new alert configuration is enabled.
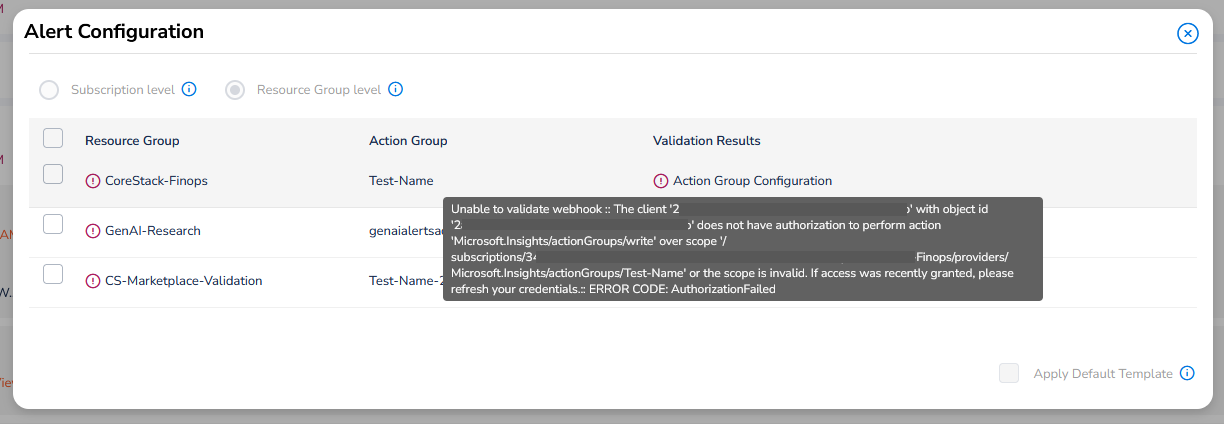
If validation fails, you can select View on the Alert sub-section to open the configuration menu again and see why it failed. To view the full error message, hover over the Validation Results.
Email Notifications for Default Resource Group Deletion
Users are automatically notified via email whenever the default Resource Group used for Subscription-level alerts is deleted.
If the default Resource Group is deleted in Azure, the system triggers an alert and the relevant users will receive an email with the following details.
Subject: Action Required: [Subscription Name] - [Resource Group Name] Deleted
Body:
- Subscription Name
- Resource Group Name
- Deletion Date/Time
- Impact: Alerts and Activity Logs will not function.
- Resolution Steps: Instructions to select a new default resource group.
Note:
To re-enable alerts at the Subscription-level after the default Resource Group is deleted, users must re-select a default Resource Group and set up alerts again -- using the same process outlined earlier in this user guide.
The system logs all default Resource Group deletions and notifications in the Audit Log, which users can view in the Settings section in the left-nav menu.
Updated about 1 month ago