My Standards
Introduction
You can create your own custom compliance standards that are tailored to your own business needs, standards, and organizational policies. These standards would be visible only for users within the tenant. You can also edit/delete existing standards based on your role and access policies.
Creating a new standard
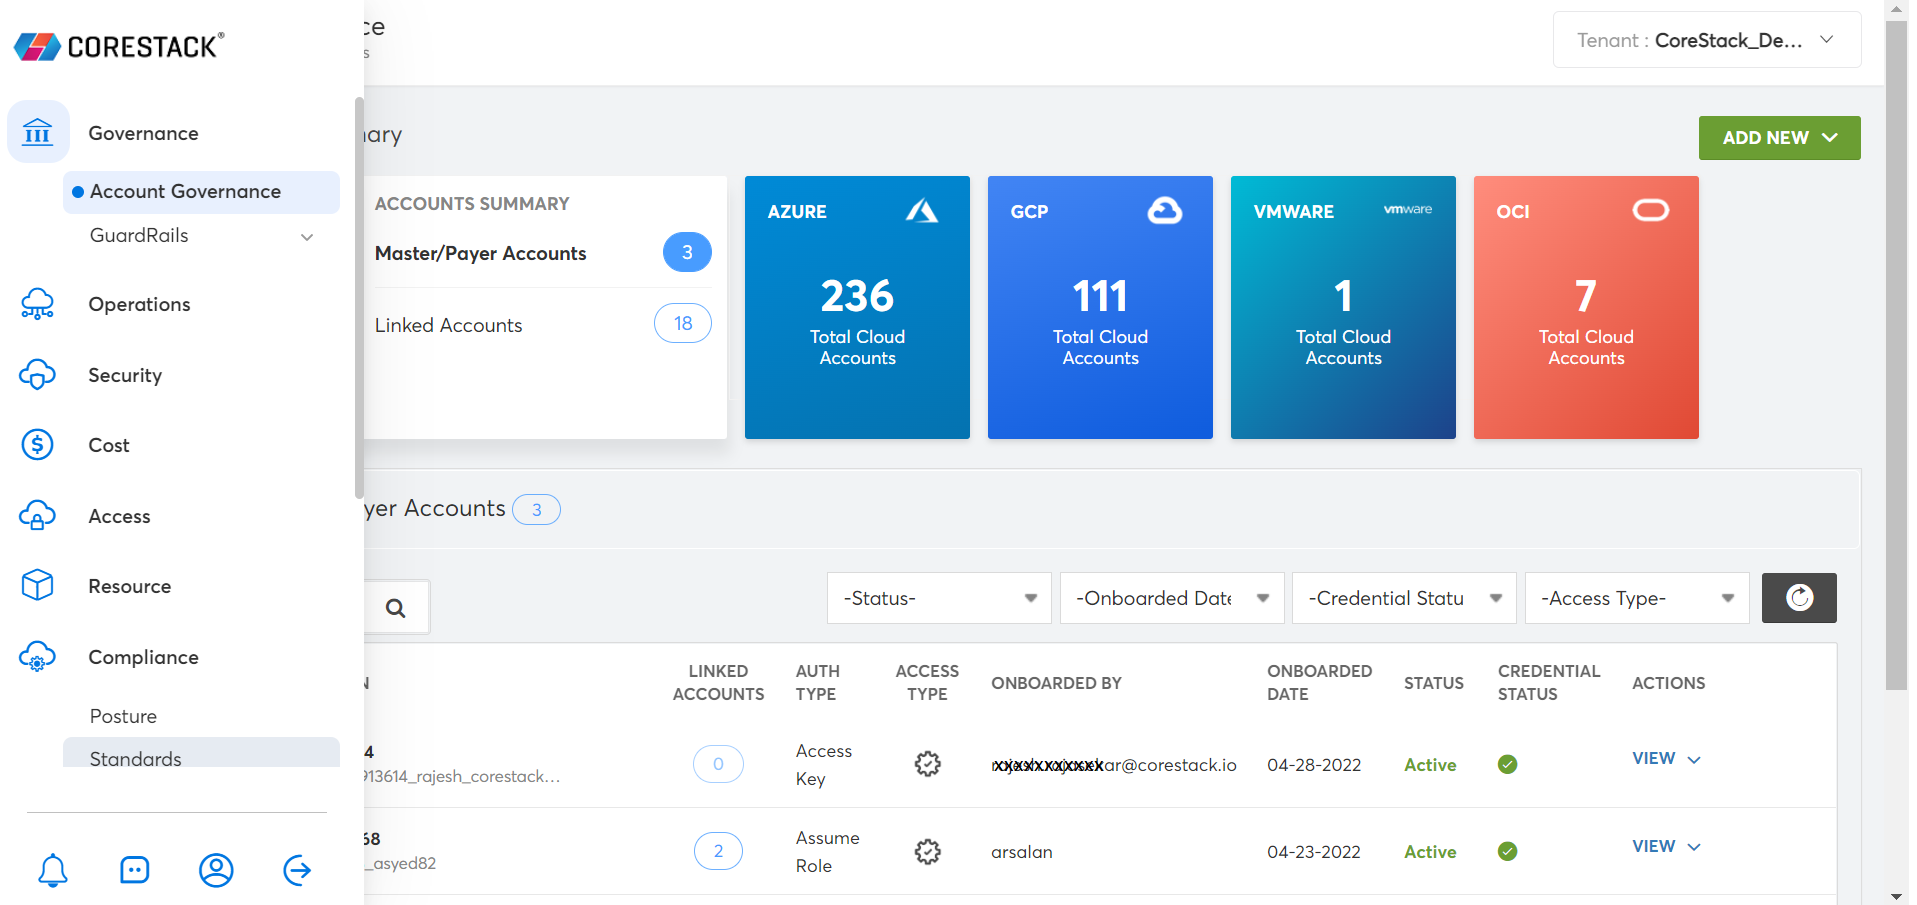
- Click Compliance > Standards.

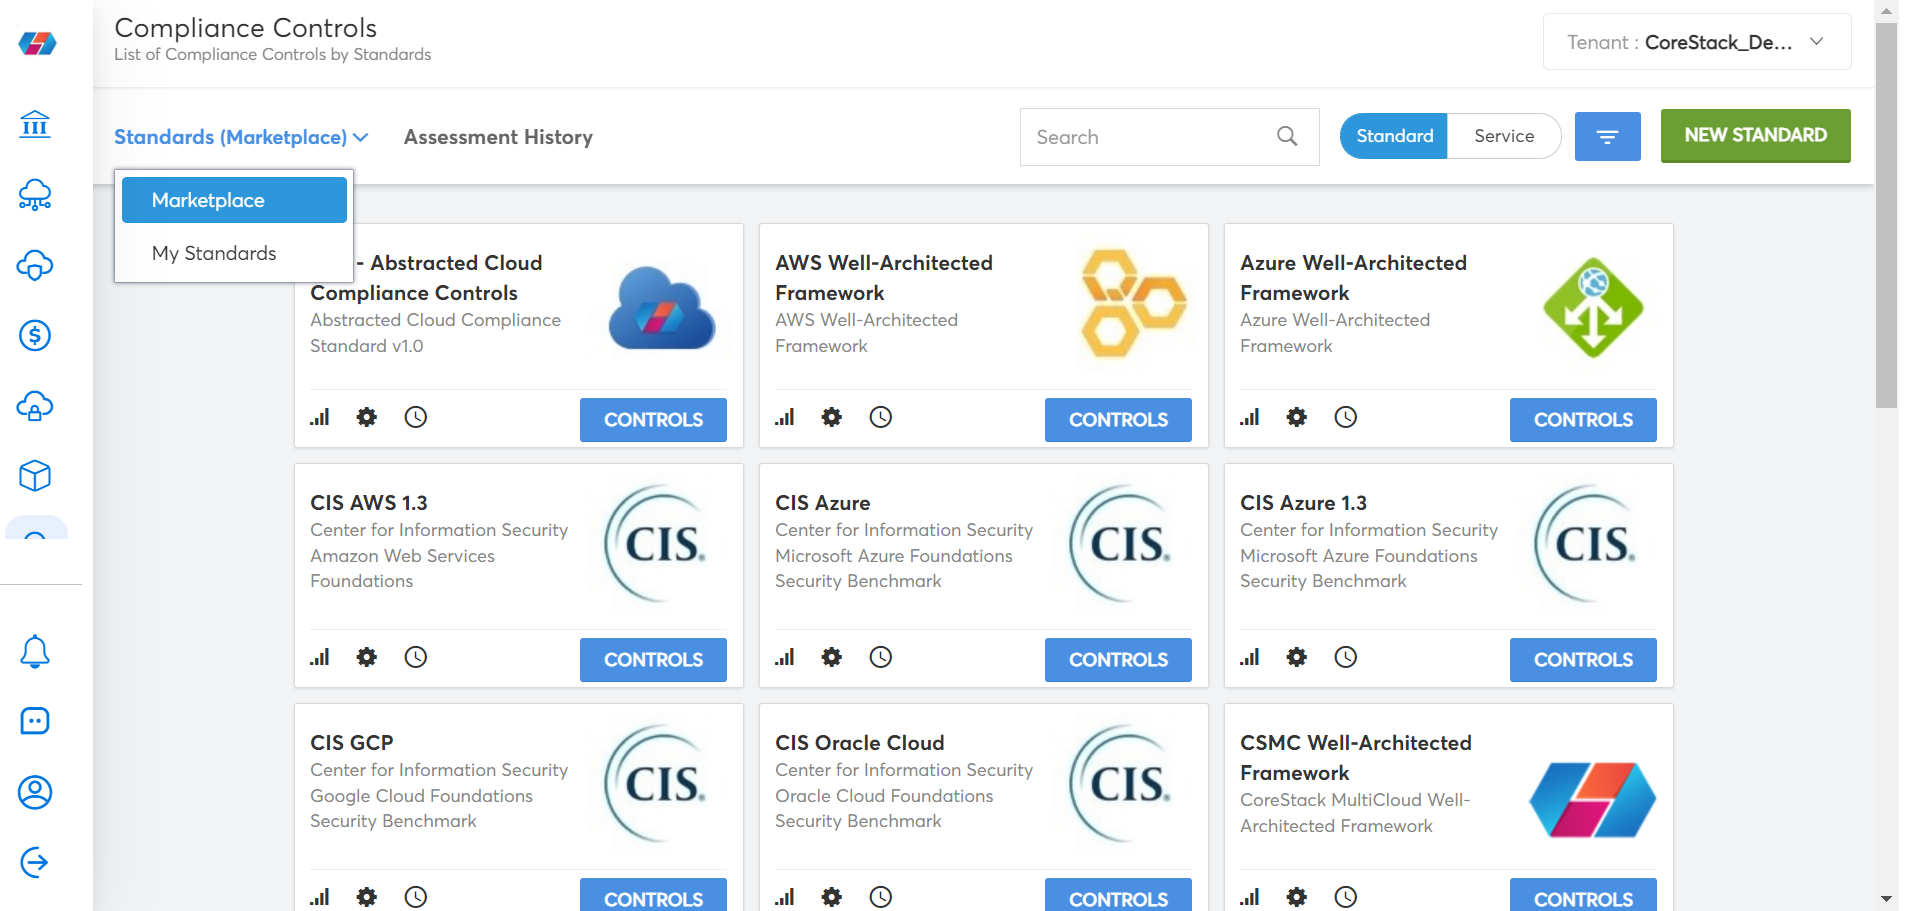
- Click Standards (Marketplace) drop-down > My Standards.

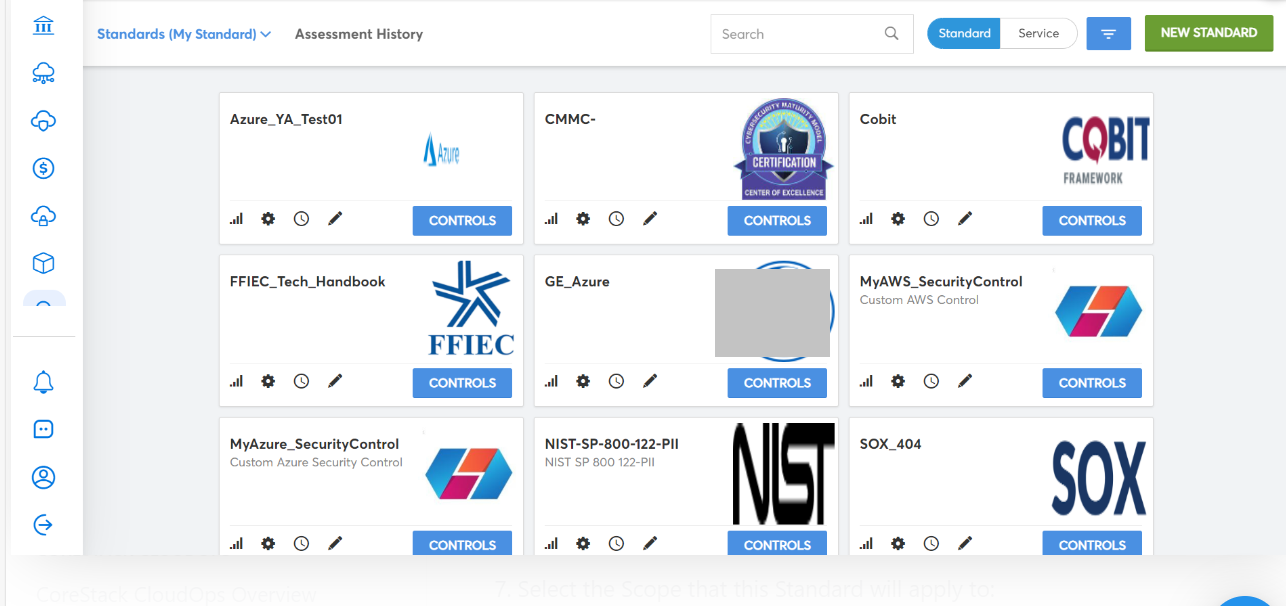
The My Standard window appears.

- Select the green New Standard button in the top-right corner.
- Input a Name and an optional Description.
- Select the Service this new Standard will apply to:
a. AWS, Azure, GCP, Oracle, or VMWare (Do not 'Select All') - Select Engine Type for the Policies you will be using.
a. (Details on Policy Engines found here)
- Select the Scope that this Standard will apply to:
a. The current Tenant, or all Tenants within the Account. - Select a logo:
a. Logo should be in PNG format and have dimensions of around 250 × 200 pixels. - Upload your JSON File:
a. JSON File will determine Control Objectives and must align with CSV/XSLX for Bulk Uploads.
Note:
When you upload an excel with respect to policies in our market place, the policy having default value will be configured by default. You can change the values any time.
Creating Control Objectives
You have the option to upload Control Objectives to your created Standard either individually or in bulk using a CSV/XSLX file.
Instructions for both processes follow below.
Create an Individual Control Objective
- Click Controls under the Logo of your selected Standard.
- Click on Add Control Objectives.
- These options will differ based on the JSON file uploaded during Standard Creation.
- Please fill out each of the Control Objectives and Control Objectives Actions.
- Click on Save Controls to finish creating the Control Objective.
- If you selected Manual for Control Action Nature, there are no further steps.
a. Non-Compliance with this standard will provide notifications only. - If You select Automated for Control Action Nature, then click on the new Control created.
- On the new screen, you will be able to see Control Information, click the + symbol top-right.
- The Add Policy button (+) will allow you to search for and select policies to add.
- Confirm that your Control has all of the Policies required for operation by clicking on it.
- Review Policy Mapping under Control Information.
To Bulk Upload Control Objectives
- Click Controls under the Logo of your selected Standard.
- Click on Add Control Objectives.
- Click Bulk in the top right corner to toggle from the Blue Single selection.
- Click Browse and upload the excel sheet in CSV or XSLX format.
a. The columns of the Spreadsheet should correlate with the JSON file instructions uploaded. - Click Save controls. The controls will be created for the selected tenants.
a. If any policies have been designated by their URIs within the spreadsheet, they will also be
mapped within 24 hours.
The following sample JSON is an example representing a My Standards model:
{
  "control_action_attributes": {
    "action_method": {
      "optional": false,
      "ui-text-element": "dropdown",
      "allowed_values": [
        "Report",
        "Policy",
        "Validation",
        "Monitoring",
        "checklist"
      ],
      "filter": false,
      "position": 5,
      "label": "Control action method",
      "type": "string"
    },
    "nature": {
      "optional": false,
      "ui-text-element": "dropdown",
      "allowed_values": [
        "Manual",
        "Automated"
      ],
      "filter": true,
      "position": 2,
      "label": "Control action nature",
      "type": "string"
    },
    "purpose": {
      "optional": false,
      "ui-text-element": "dropdown",
      "allowed_values": [
        "Preventive",
        "Detective"
      ],
      "filter": false,
      "position": 3,
      "label": "Control action purpose",
      "type": "string"
    },
    "classification": {
      "optional": false,
      "ui-text-element": "dropdown",
      "allowed_values": [
        "Process",
        "Technical"
      ],
      "filter": false,
      "position": 4,
      "label": "Control action classification",
      "type": "string"
    },
    "level": {
      "optional": false,
      "ui-text-element": "dropdown",
      "allowed_values": [
        "Cloud account",
        "Organization",
        "Resource",
        "OS"
      ],
      "filter": true,
      "position": 1,
      "label": "Control action level",
      "type": "string"
    }
  },
  "control_attributes": {
    "Security_Control_Clause": {
      "optional": false,
      "ui-text-element": "dropdown",
      "allowed_values": [
        "5. Security policy",
        "6. Organization of information security",
        "7. Human resources security",
        "8. Asset management",
        "9. Access control",
        "10. Cryptography",
        "12. Operations security",
        "13. Communications security",
        "14. System acquistion, development and maintenance",
        "15. Supplier relationships",
        "16. Information security incident management",
        "17. Information security aspects of business continuity management",
        "18. Compliance"
      ],
      "abstracted-name": "Category",
      "position": 1,
      "label": "Security Control Clause",
      "type": "string"
    },
    "Security_Category": {
      "type": "string",
      "ui-text-element": "dropdown",
      "label": "Security Category",
      "abstracted-name": "Subcategory",
      "filter": true,
      "position": 2,
      "allowed_values": [
        "5.1 Information Security Policy",
        "6.1 internal organization",
        "6.2 Mobile devices and teleworking",
        "7.1 Prior to employment",
        "7.2 During employment",
        "7.3 Termination and change of employment",
        "8.1 Responsibility for assets",
        "9.1 Business requirements of access control",
        "9.2 User access management",
        "9.3 User responsibilities",
        "9.4 System and application access control",
        "10.1 Cryptography controls",
        "12.1 Operational procedures and responsibiities",
        "12.2 Protection from malware",
        "12.3 Backup",
        "12.4 Logging and monitoring",
        "12.5 Control of operational software",
        "12.6 Technical vulnerability management",
        "12.7 Information system audit considerations",
        "13.1 Network security management",
        "13.2 Information transfer",
        "14.1 Security requirements of information systems",
        "14.2 Security in development and support processes",
        "14.3 Test Data",
        "15.1 Information security in supplier relationships",
        "15.2 Supplier service delivery management",
        "16.1 Management of information security incidents and improvements",
        "17.1 Information Security Continuity",
        "17.2 Redundancies",
        "18.1 Compliance with legal and contractual requirements",
        "18.2 Information security reviews"
      ],
      "optional": false
    },
    "Control_Objective": {
      "type": "string",
      "ui-text-element": "text-area",
      "label": "Control Objective",
      "filter": false,
      "position": 3,
      "abstracted-name": "Control Name",
      "purpose": "compliance_control_name",
      "optional": false
    },
    "description": {
      "type": "string",
      "ui-text-element": "text-area",
      "label": "Description",
      "filter": false,
      "position": 4,
      "optional": false
    }
  }
}
Scheduling My Standard
Refer to Compliance Schedules for information on scheduling.
Updated over 1 year ago