Account Governance - Integrated Tools
Introduction
The platform offers a comprehensive dashboard for Account Governance, facilitating easy management of cloud accounts and integrated tool across various cloud providers and account types. This user guide focuses primarily on the integrated tool accounts dashboard.
The Account Governance dashboard for integrated tools provides an overview of the integrated tool accounts onboarded to the platform, allowing users to access key details about their tool accounts, edit/update configuration options, and activate/deactivate accounts.
There are many external software tools that can be integrated and supported by the platform. This dashboard gives users a centralized view of all their integrated tools accounts across different categories and makes it easy to add and configure additional tools to enhance the functionality and governance options already available in the platform.
Navigating to Account Governance for Tools
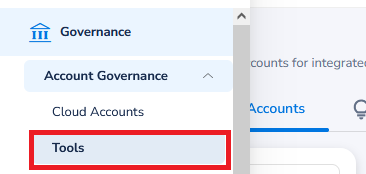
To access the Account Governance dashboard for integrated tools, on the left menu bar, click Governance > Account Governance > Tools.
Account Governance Dashboard Overview (Integrated Tools)
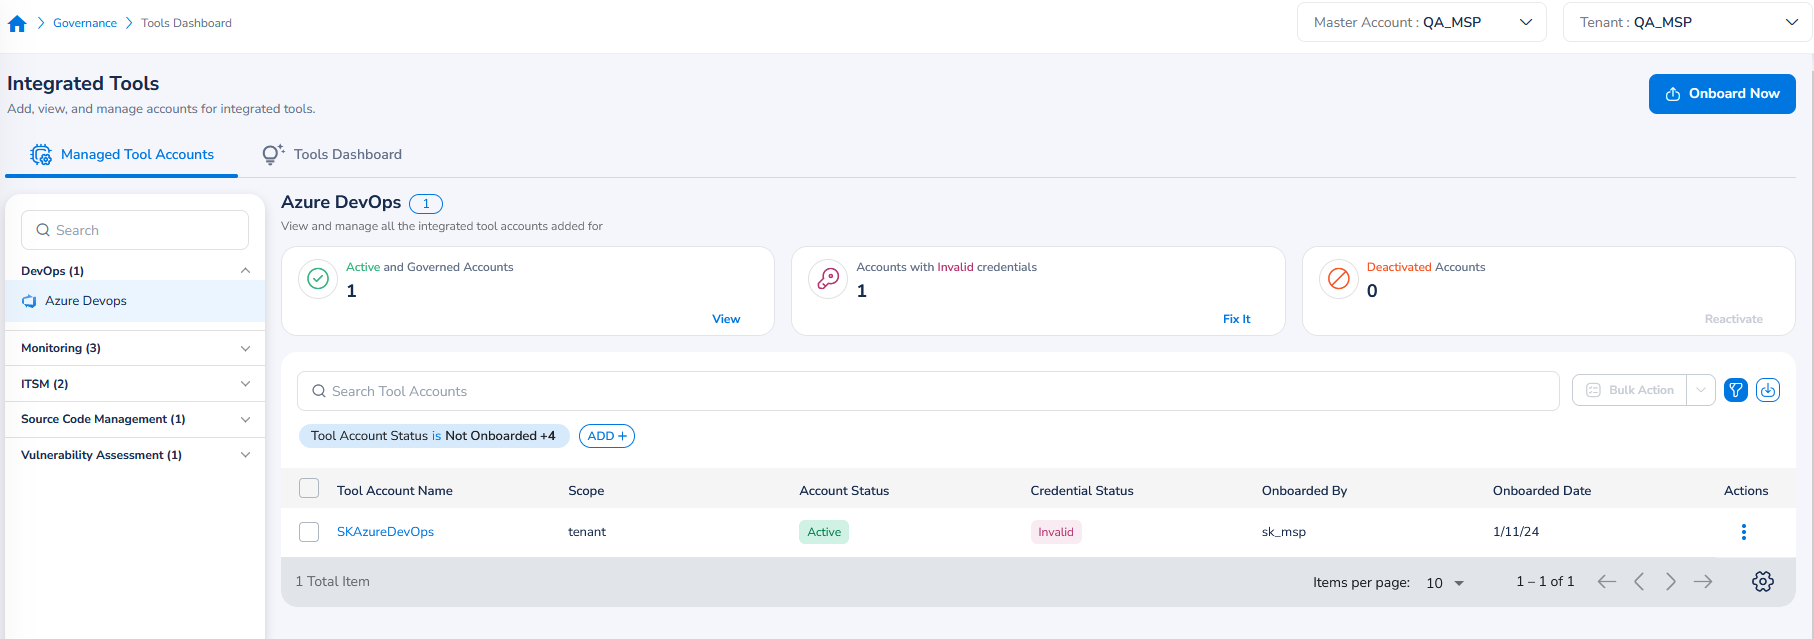
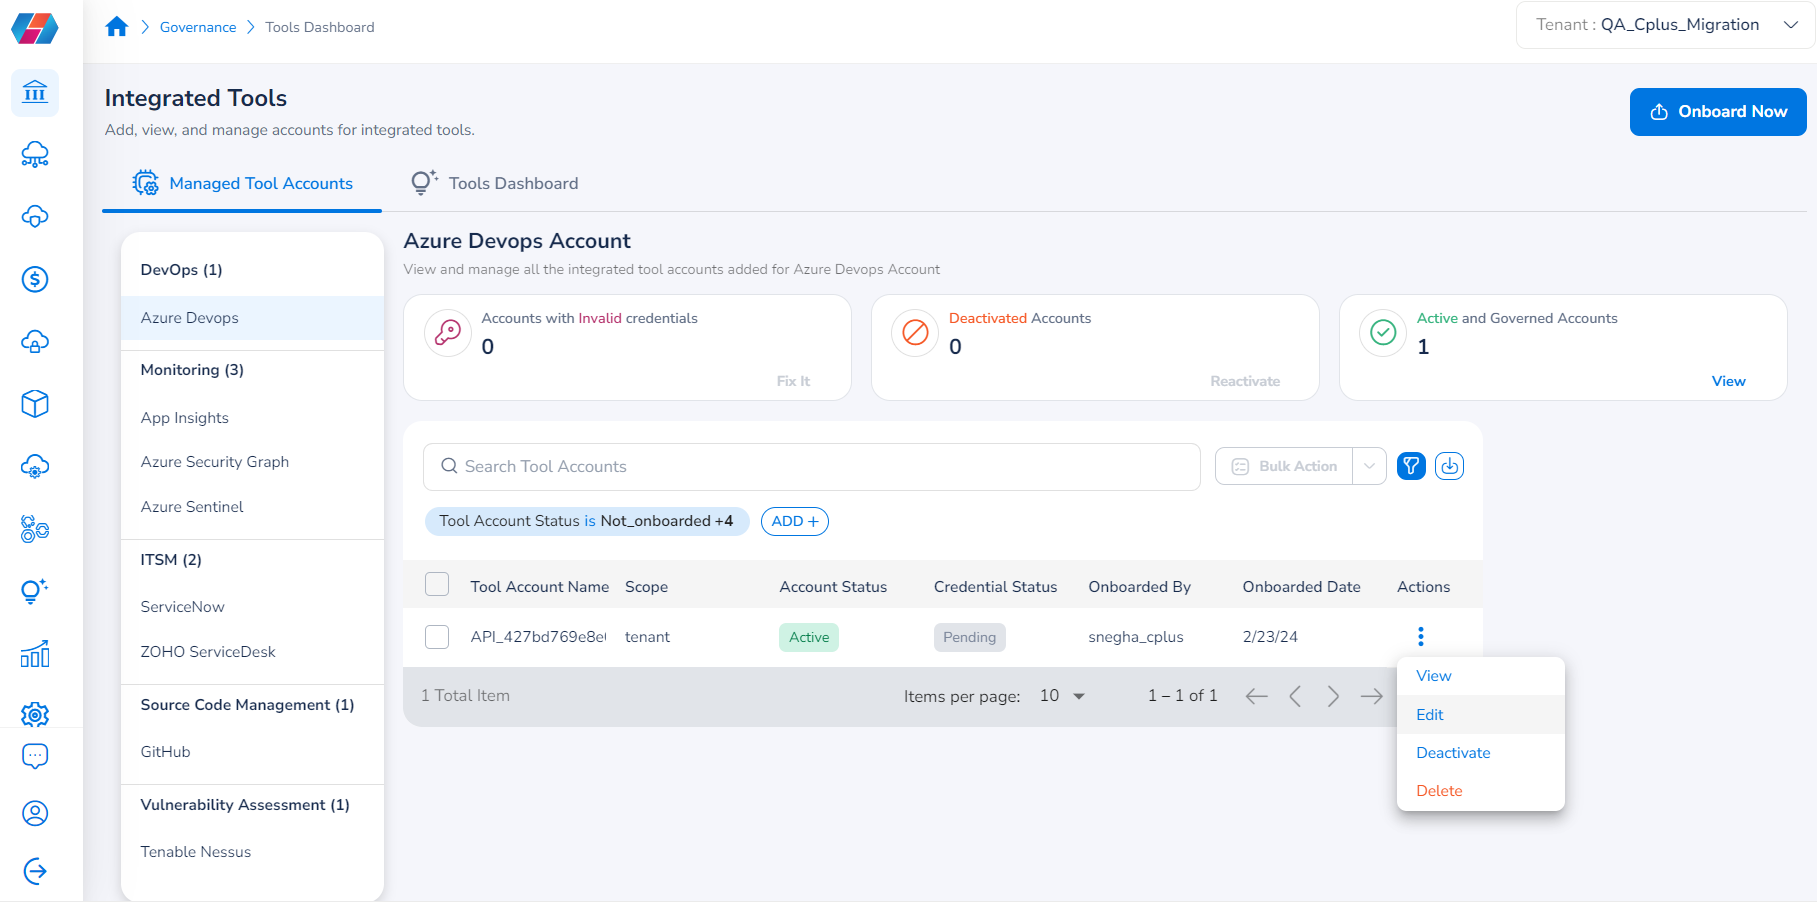
The Account Governance > Tools dashboard is used to view and manage onboarded accounts for any integrated tools. You can see the list of available tools and their categories, along with the number of accounts integrated for each tool on the left vertical pane of the dashboard.
You can see two tabs on the Integrated Tools dashboard – Manage Tools Accounts and Tools Dashboard.
Manage Tool Accounts
The Manage Tool Accounts tab provides account details related to tools, allows integration of accounts related to tools, take actions on integrated accounts, etc. This page shows the tools and their categories on the left side of the screen.
On the left panel of the dashboard, you can click a tool name to view all the accounts related to it. The left panel also shows the list of available tools within a category.

The top of the screen shows three blocks with the relevant count of tool accounts. The main blocks that you can see are – Active and Governed Accounts, Accounts with Invalid Credentials, and Deactivated Accounts. These boxes/blocks also have a link, and you can click on it to take any further action.

You can view the tool account details in tabular format. You can view columns such as – Tool Account Name, Scope, Onboarded By, Onboarded Date, Credential Status, Account Status, and Actions.
In the Actions column corresponding to a tool account, you can select any one of the required options from View, Edit, Deactivate, and Delete to take appropriate action on the tool account.
Note:
- You can use the Filter icon to apply filter and view selected accounts.
- You can click the Download icon to download the tool account information.
- You can use the Bulk Action button to take bulk action together on the selected accounts. The available options are: Activate, Deactivate, and Delete.
- You can use the Search box to search for a tool account.
Tools Dashboard
The Tools Dashboard tab shows the dashboard details for tools and provides detailed insights on integrated tools. Note that not all tools have dashboards. Whichever tools do have dashboards are displayed on this page.
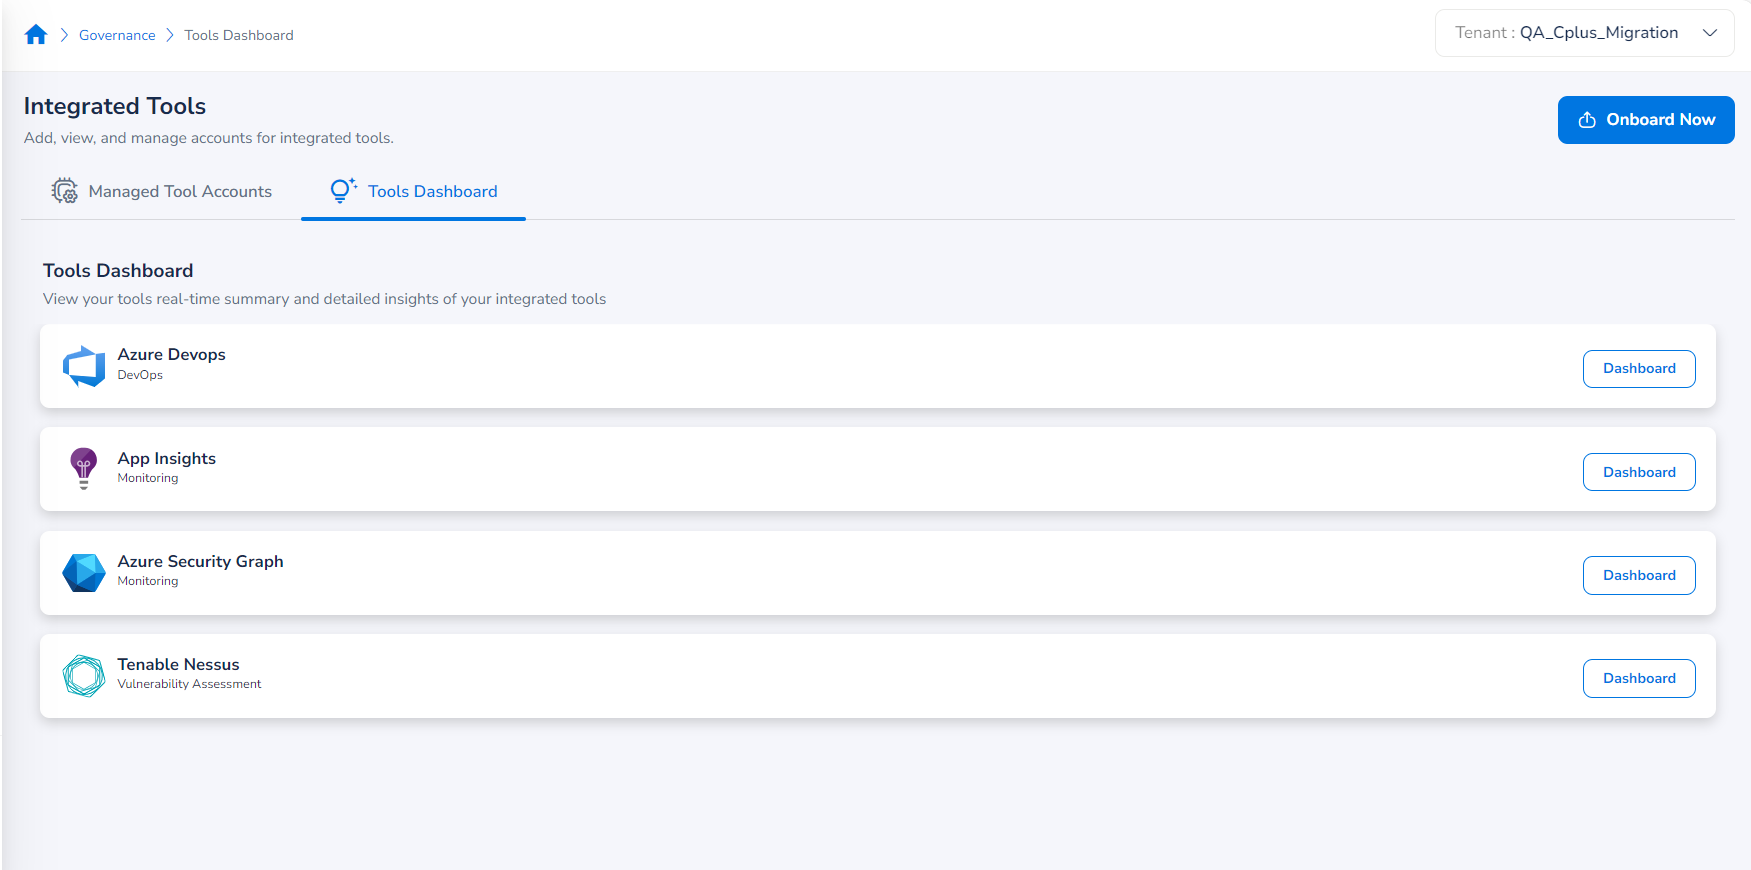
For a particular tool that you see on this dashboard, you can click Dashboard and view detailed information about that tool.

On the detailed dashboard page corresponding to a tool, you can apply filters, view build details (build logs and related work items), search for any information, etc., based on the available options.
Shortcut to Integrate Tool Accounts
Users can also integrate new tool accounts from the Account Governance > Tools dashboard by selecting the Onboard Now button available in the upper right corner of the page.
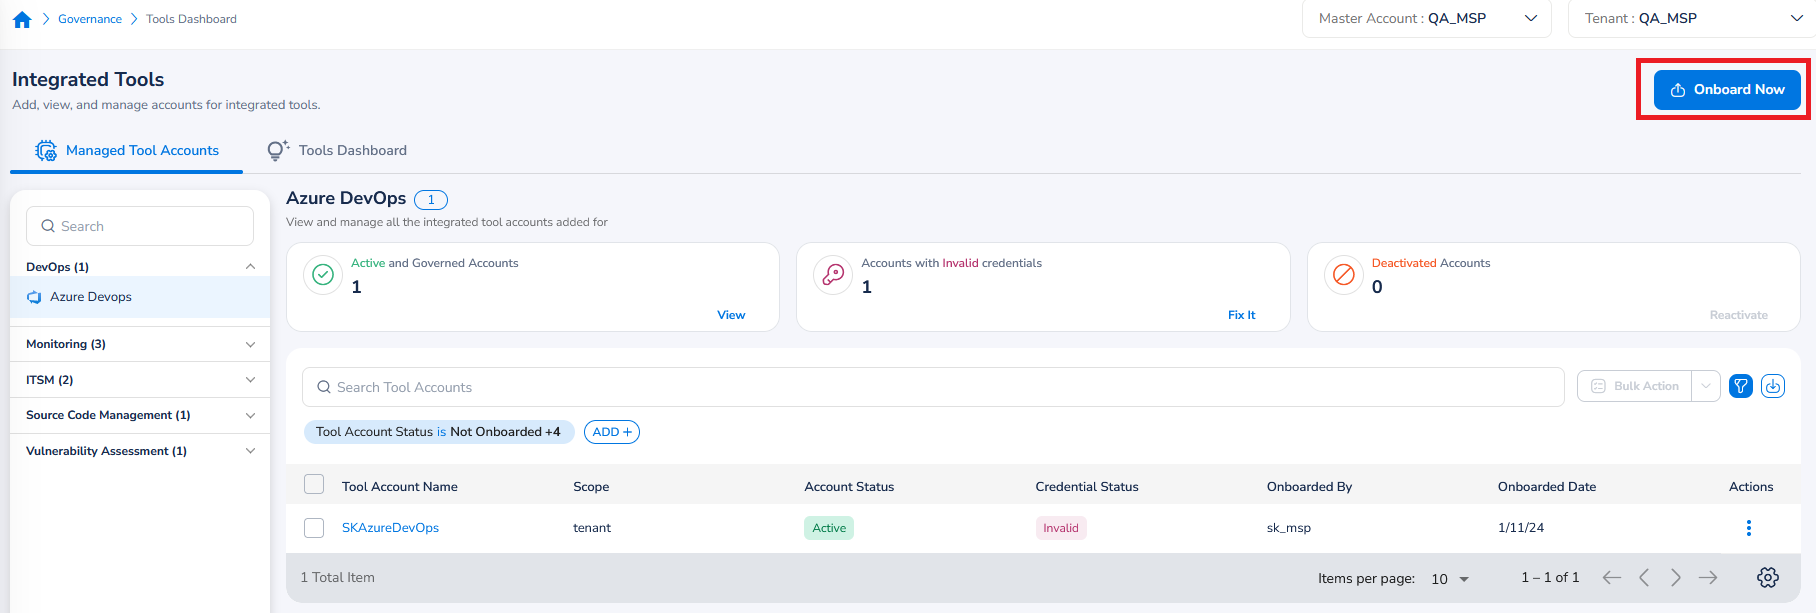
This acts as a shortcut and will take users directly to the Settings > Integrate Tools page where they can start the formal process for adding a new tool account to the platform.
For more information about those steps, please refer to the Integrate Tool Accounts user guide in the Onboarding section.
Additional Actions
You can take actions like view, edit, delete, and deactivate a tool account based on your access permissions.
View Tool Account
Perform the following steps to view a tool account:
-
Go to Governance > Account Governance > Integrated Tools.
-
Under the Action column, click the three vertical dots corresponding to a tool account you would like to view, and then click View.
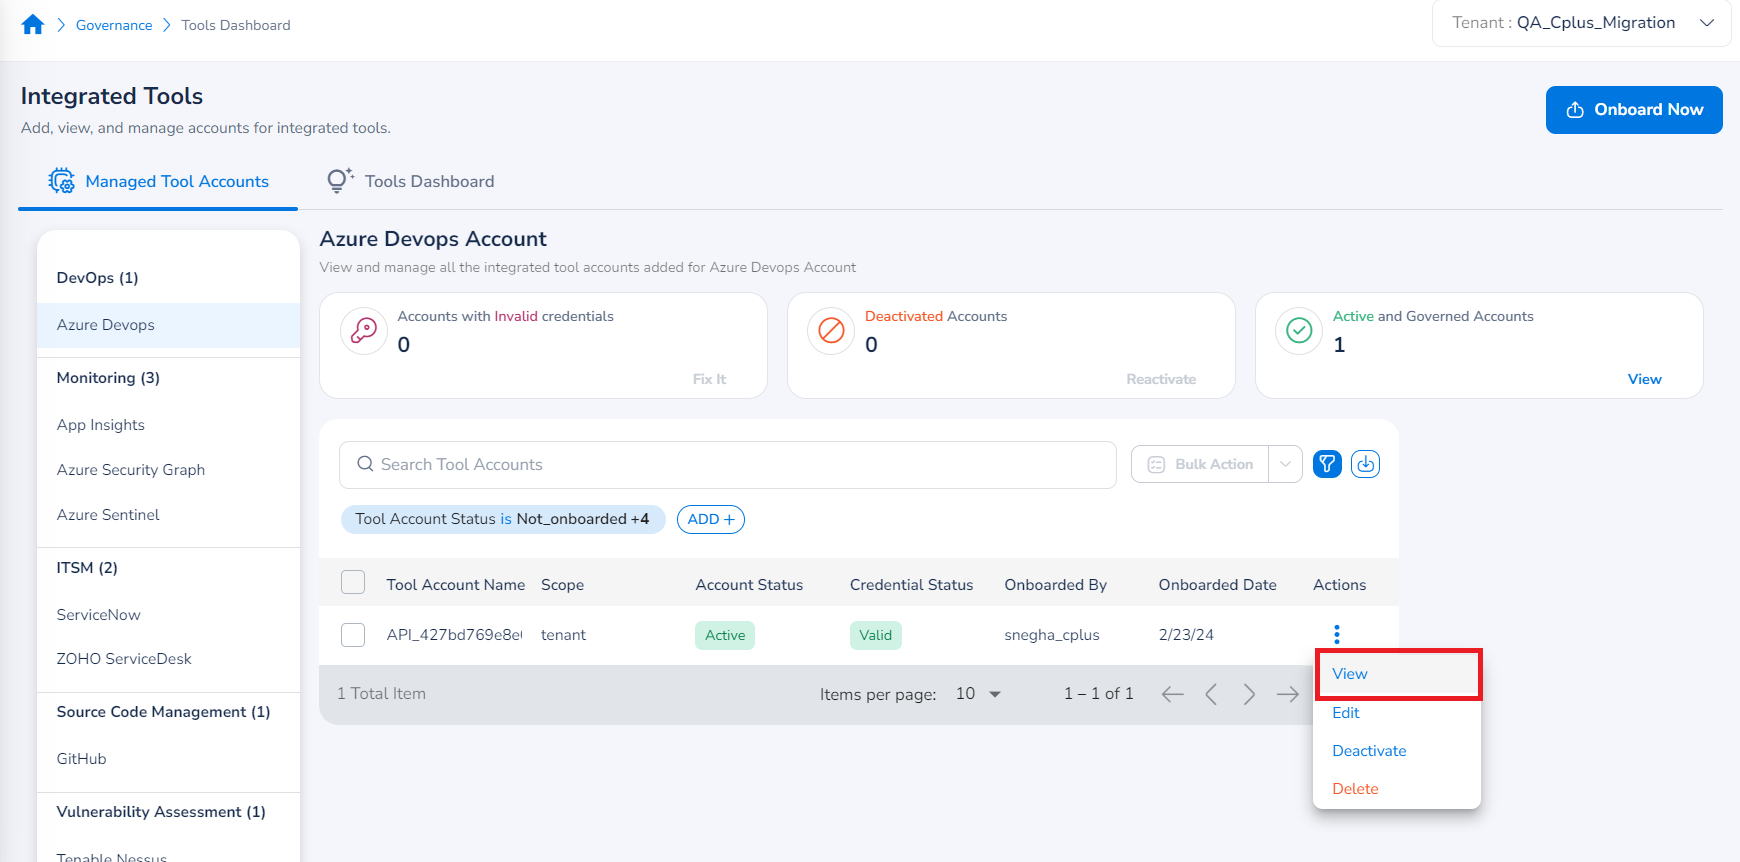
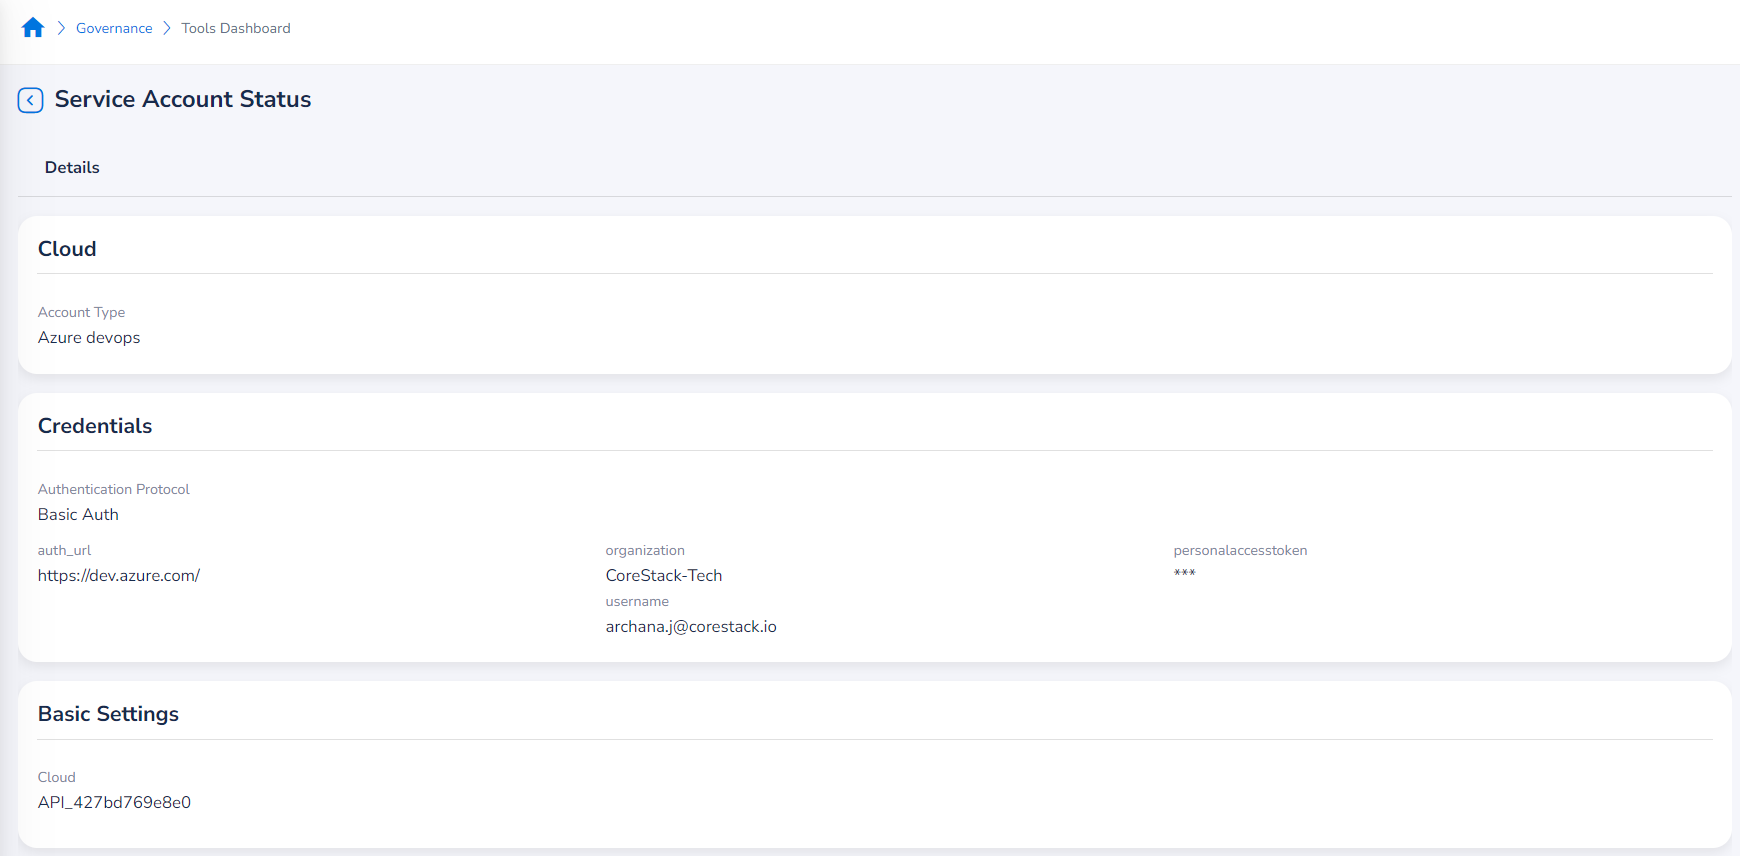
The Service Account Status page displays where you can see all the account details.
-
To view the tool account details, navigate to any of these sections – Cloud, Credentials, and Basic Settings.
Edit Tool Account
Perform the following steps to edit a tool account:
-
Go to Governance > Account Governance > Integrated Tools.
-
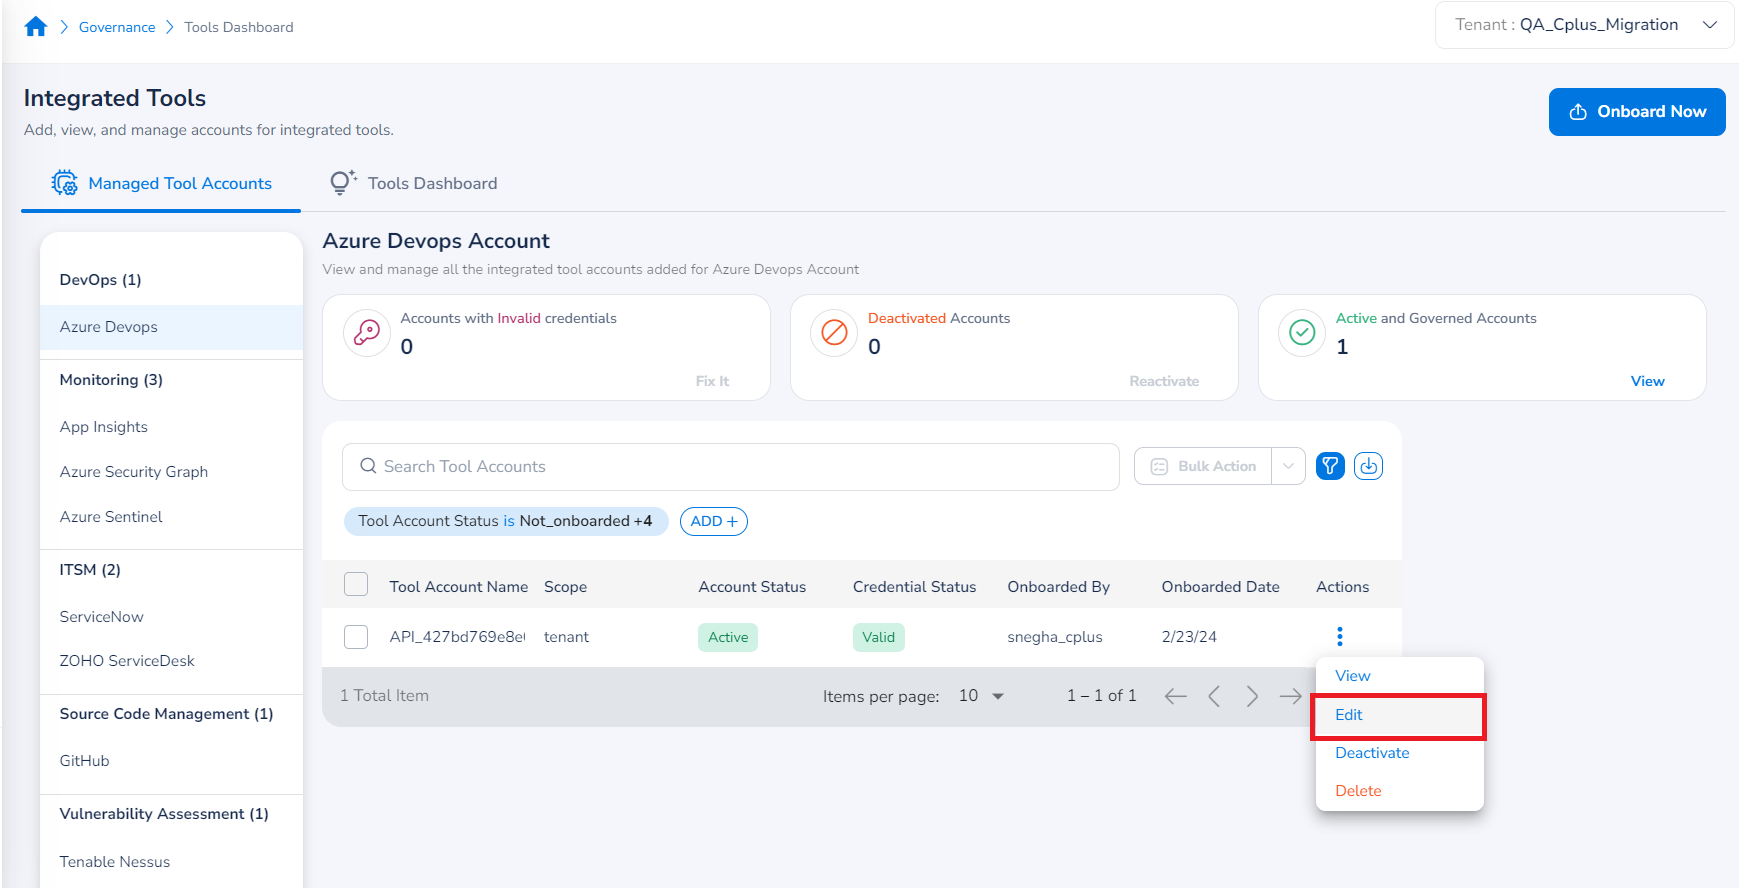
Under the Action column, click the three vertical dots corresponding to a tool account you would like to edit, and then click Edit.
-
You can now see the tools account page with editable fields. You can navigate to the step/field(s) that needs to be updated. Refer to Onboard Tools Account to know about the steps to update the details.
Deactivate Tool Account
Perform the following steps to deactivate a tool account:
-
Go to Governance > Account Governance > Integrated Tools.
-
Under the Action column, click the three vertical dots corresponding to a tool account you would like to deactivate, and then click Deactivate.
-
A dialog box appears with the options Yes and No. If you select Yes, then you can deactivate the selected tool account.
Delete Tool Account
Users can use the Delete option to remove a tool account from the platform.
Note:
Nothing will be deleted from the third-party tool side outside of the platform.
Perform the following steps to delete a tool account:
-
Go to Governance > Account Governance > Integrated Tools.
-
Under the Action column, click the three vertical dots corresponding to a tool account you would like to delete, and then click Delete.
-
A dialog box appears with the options Yes and No. If you select Yes, then you can delete the selected tool account.
Updated 6 months ago