

Billing Inventory
Comprehensive Cost Visibility & Analysis
Introduction
The Billing Inventory feature provides detailed cost visibility across AWS, Azure, GCP, and OCI, enabling users to analyze resource-level costs, discounts, reservations, marketplace charges, and support fees. It offers multi-dimensional filtering and analysis, helping organizations track and optimize cloud expenses efficiently.
It can also be used by Finance users for billing reconciliation, which enables a truly powerful capability to a central view that support multiple cloud providers and cloud account types.
Billing Inventory is designed to provide advanced cloud cost management for FinOps practitioners, offering granular visibility and intelligent optimization. Through this, the platform offers a deep dive into cost structures, covering resource-level expenses and extending to discounts, reservations, third-party service charges, and support fees.
Billing Inventory – Inventory Summary
The Inventory Summary sub-feature provides aggregated cost insights, allowing users to group, filter, and analyse cloud costs at a high level before diving into granular details. Key capabilities
- Flexible Grouping & Aggregation by provider, region, charge type, and custom tags.
- Advanced Filtering by time range, service type, and resource
- Cost Trend & Change Analysis with percentage and absolute cost
- Exporting & Custom Views for seamless reporting and analysis.
Billing Inventory – Inventory Details
For power users and finance teams, the Detailed View provides:
- Line-item cost breakdowns across individual resources, credits, discounts, and other charge
- Multi-dimensional filtering to get to the details that is required
- Charge type and discount analysis, helping businesses understand true cloud
- Cross-cloud reconciliation tools, ensuring consistency across different billing models.
Using Billing Inventory
Follow the below steps to learn how to use the Billing Inventory feature.
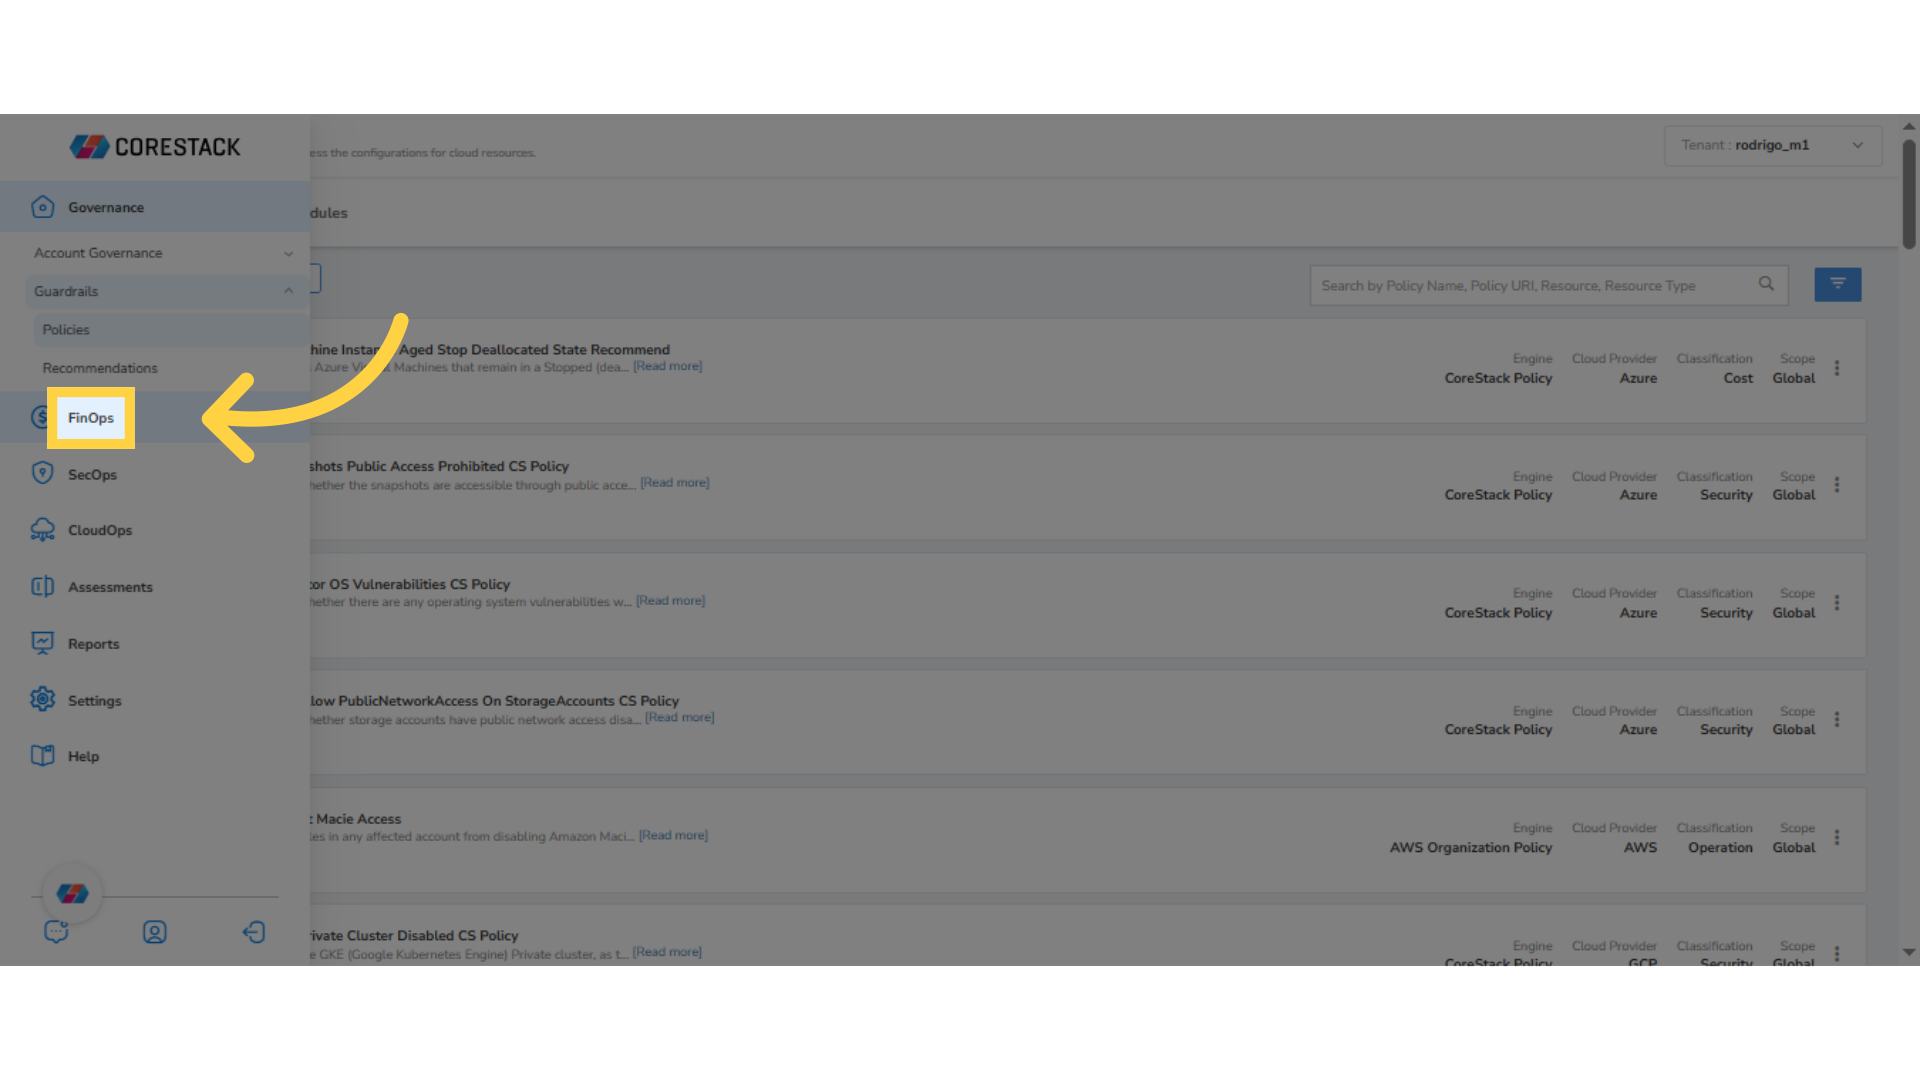
1. Click "FinOps"
On the left navigation pane, click FinOps.
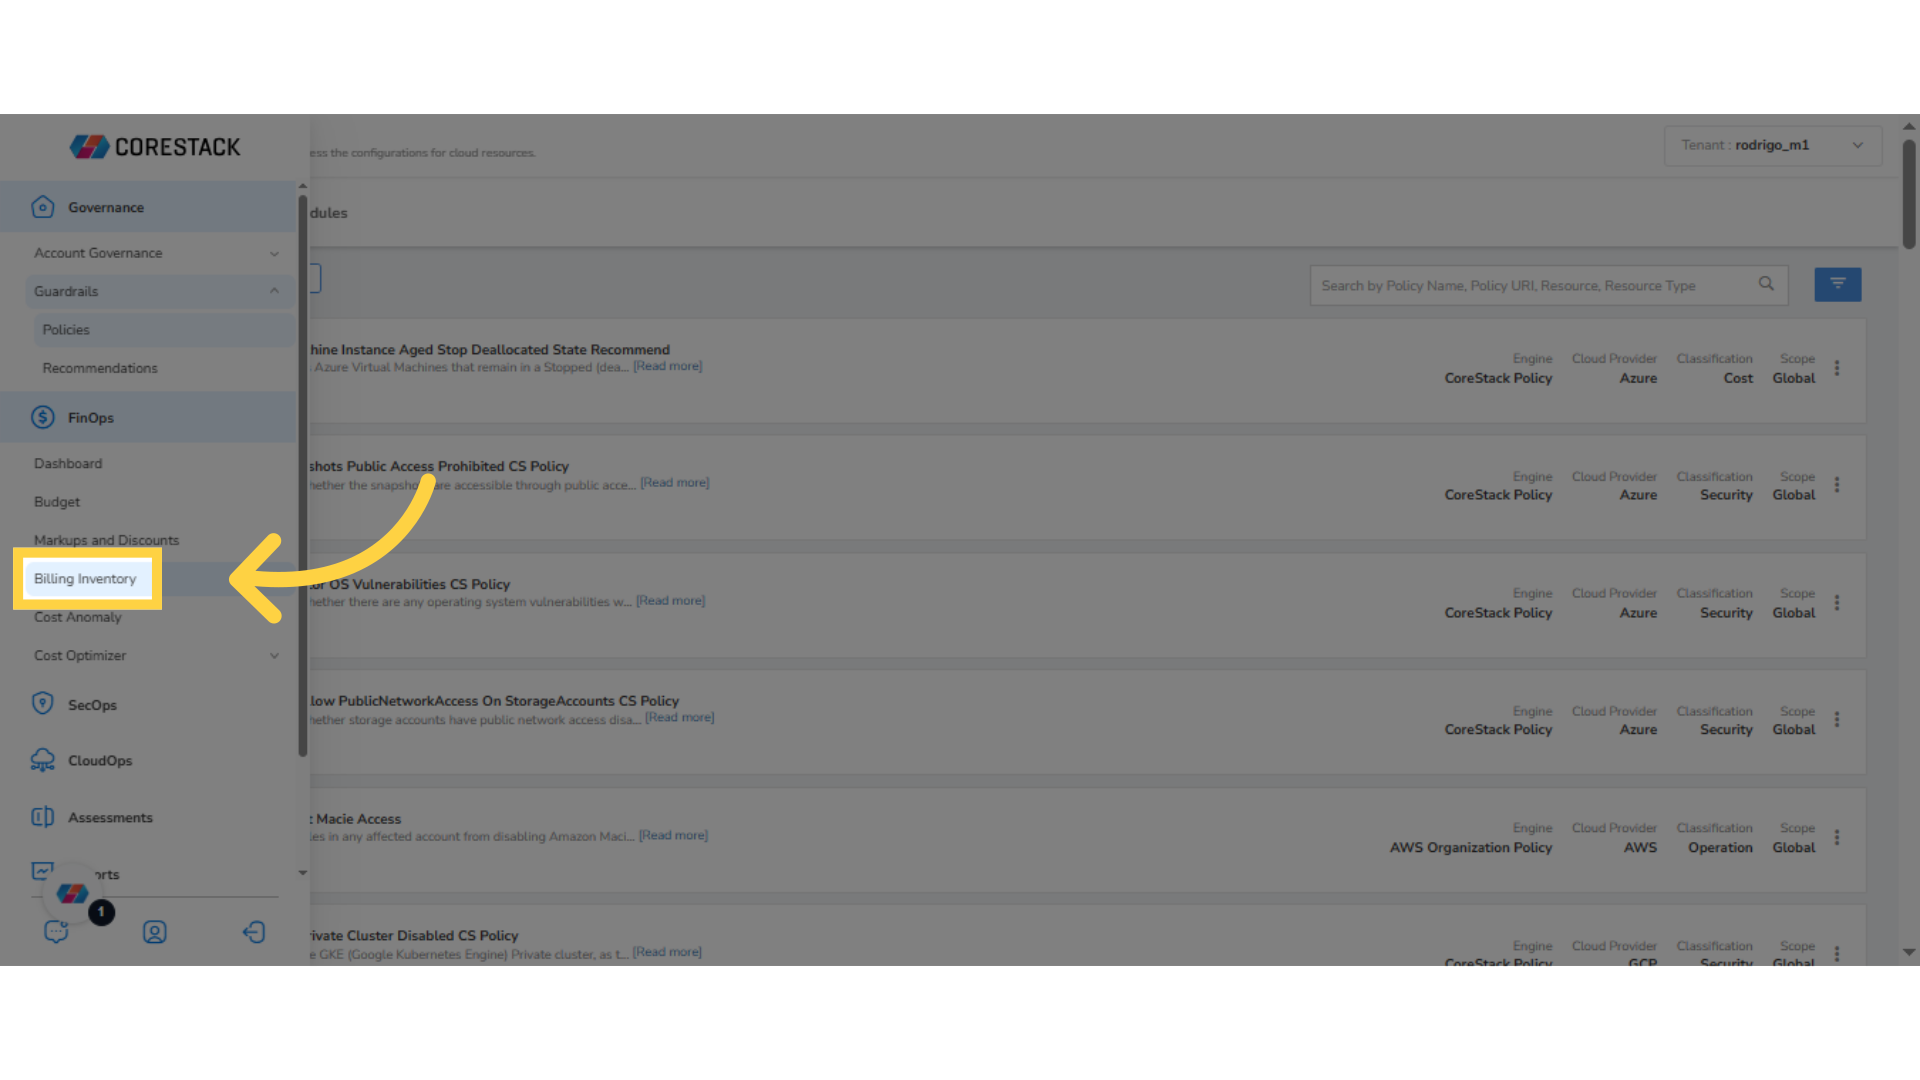
2. Click "Billing Inventory"
Click Billing Inventory.
3. Select Another Value for Cloud Account Filter
In the Filter section, for the Cloud Account filter, click the drop-down list and select another value.
4. Click Ok
After selecting another value for the filter, click Ok. Cost details will appear on the page as per the selected values.
5. Select Another Value for Charge Type Filter
For the Charge Type filter, click the drop-down list and select other applicable value(s).
6. Click Ok
After selecting relevant options, click Ok to confirm. Cost details will appear on the page as per the selected values.
7. Click Add
To add a custom filter, click 'Add' and select a filter. For example, in this case, select Billing Entity.
8. Select Values for Billing Entity Filter
For the Billing Entity filter, click the drop-down list and select relevant values. For example, in this case, the Select All option is selected.
9. Click Ok
Click Ok to confirm the selection. Details will appear on the page as per the selected values.
10. Expand/Collapse Filters
Click the filter icon on the top-right side of the screen to expand or collapse the filter sections. The filters are grouped in Time, Filter, and Group By sections.
11. Click "Add" to Add a Group By Filter
To add a custom group by filter, in the Group By section, click Add.
12. Select an Option for the Group By Filter
Select an option for Group By filter. In this case, the option Product Family is selected. The cost details will be grouped as per the selected option and will be displayed.
13. Add Upto Five Group By Filters
Users can click ADD+ and add upto five group by filters. Details will be filtered and grouped as per the selected groups.
14. Inventory Summary Tab
The Billing Inventory page shows two tabs – Inventory Summary and Inventory Details. The Inventory Summary tab shows by default.
The Inventory Summary page shows the cost and charge details for a particular usage period as per various product codes. The columns that users can view on the Inventory Summary page are – Product Code (the options selected in Group By filter section displays), Change, Cost, and Total Cost. To view detailed billing information, click a cost value (from the Cost column) for a day for which you would like to see the details. You can also click a Product Code for which you would like to see detailed information. The detailed information can be viewed in the Inventory Details tab.
15. Click on a Cost
For example, if you click the cost value $1.35 on the last column, then you will be redirected to the Inventory Details tab where you can view detailed cost information.
15. View Inventory Details
The Inventory Details page shows the detailed cost information as per resource IDs. The main columns that users can view on this page are Resource ID, Resource Name, Cloud Account, Cost, Change, and Total Cost.
Let us now understand what happens when a user clicks on various options available within the Inventory Details grid.
-
When a user clicks a resource ID, the Resource Details pop-up screen appears on the right side of the screen and all the resource related information can be viewed here.
-
When a user clicks on a particular cost for a resource, they will be able to view the Cost Breakdown Drilldown pop-up screen on the right side of the screen. This shows the cost drilldown details. On the drilldown screen, you have the option to add custom filter and subscribe to a drilldown.
For example, if you click on the cost $0.01, then the Cost Breakdown Drilldown screen displays.
16. View Cost Breakdown Drilldown
The Cost Breakdown Drilldown screen appears and shows detailed drilldown information for the selected cost.
17. Click a DataPpoint to Drilldown Further
In the bar chart, click on a designated area to get further drilldown details.
18. Click "Subscribe"
Click Subscribe to subscribe to drilldown details.
19. Fill Subscription Details
Perform the following steps to subscribe to a drilldown:
- In the Cost Breakdown Drilldown screen, click Subscribe. The Subscribe Drilldown pop-up screen appears.
- In the Subscription Name box, type the name of the subscription.
- In the Email Address box, type the email address of the recipient.
- In the Tenant list, select a tenant.
- In the Report Export Format field, PDF is selected by default.
- In the Start Date field, click the calendar and select the date from when the subscription needs to be started.
- In the Start Time field, select the time from when the subscription needs to be started.
- In the Recurrence list, select one option from: Once, Daily, Weekly, and Monthly.
23. Select Recurrence - "Once"
If you select the option Once, then you will be able to subscribe to the cost drilldown for just one time.
24. Select Recurrence - "Daily"
If you select the option Daily, then in the End Date field, add an end date till when you would need to receive the cost drilldown details.
25. Select Recurrence - "Weekly"
If you select the option Weekly, then you can select the days of the week when you would like to receive the cost drilldown details (select the days between Monday and Sunday). After that, select the End Date till when you would like to subscribe.
26. Select Recurrence - "Monthly"
If you select the option Monthly, then you need to select either On Week of the Month or On Days of the Month.
- If you select On Week of the Month, then choose an appropriate option corresponding to the week number when the cost details need to be sent, and then select the days of the week.
- If you select On Days of the Month, then select the dates in a month when the cost details will be sent.
- You can also enable Do you want to exclude any months? field and then select the month(s) that needs to be excluded.
- After selecting all the relevant details, in the End Date field, select the end date.
27. Click Create
Click Create to subscribe to the cost drilldown details.
Updated 8 months ago