

Assessment Reports
Introduction
The Assessments Reports are comprised of the Workload Assessment Detailed Report, Workload Assessment Summary Report, and Workload Assessment Issue Report.
- Workload Assessment Detailed Report: This report provides comprehensive details about all the best practices, violations, and recommendations based on the current state of assessment.
- Workload Assessment Summary Report: This report provides a high-level overview and perspective based on the current state of an assessment.
- Workload Assessment Issue Report: This report provides a high-level overview and perspective about all the violation resources based on the current state of an assessment.
Viewing Assessment Reports
Perform the following steps to generate and view the Workload Assessment Report:
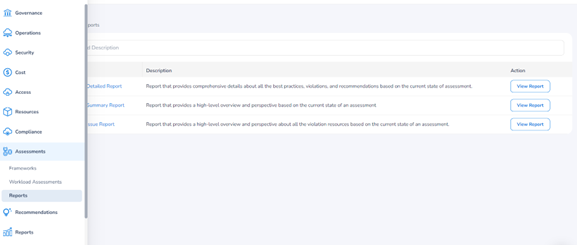
In the platform, navigate to Assessments > Reports.
Users can view three tabs – Global, Schedules, and Generated Reports. The Global tab appears by default.
Viewing Global Tab
To view a report, in the Global tab, click on any of the following report names. Alternatively, you can click View Report corresponding to the report you would like to generate.
- Workload Assessment Detailed Report
- Workload Assessment Summary Report
- Workload Assessment Issue Report
Next, you need to apply filters.
Applying Filters
To apply filters for the following fields, click the downward arrow and select an option. Selecting filters is required to view Assessment reports.
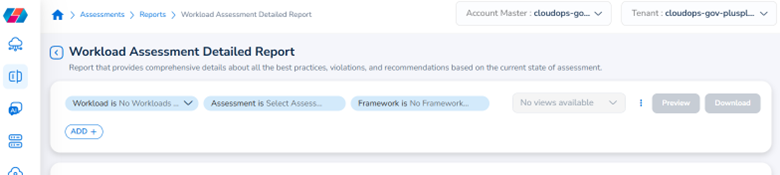
The filters include:
- Workload
- Assessment
- Framework
Note:The options in the Workload filter appear based on the scenarios explained below.
Scenario 1:
Users must first select an option in the Workload drop-down, based on which options are displayed in the Assessment drop-down list.
If a workload has at least one active account associated with it, then it will appear in the Workload drop-down list. And if a workload does not have any active accounts associated with it, then it will not appear in the drop-down list.
However, since workloads are versioned, if the latest version of the workload has disabled accounts, but an earlier version had valid accounts, then the older workload version will not be displayed in the Workload drop-down since only the release version of the workload is validated.
Note that the earlier version of the workload may also have active assessments.
Scenario 2:
For the selected workload, the Assessment filter shows the list of all assessments. Some Assessment filter options might be associated with an earlier version of the workload, and therefore might have all accounts disabled, but would still be displayed in the filter drop-down.
However, on selecting such an Assessment option and going ahead with report generation, the report would not have any data since the accounts are disabled.
You can also apply optional filters for the Workload Assessment Detailed Report, which are only available for this report.
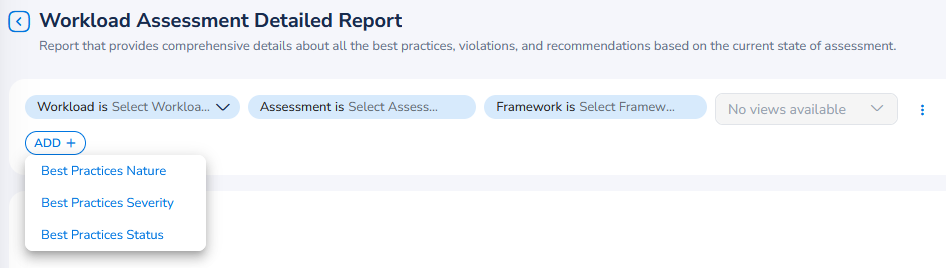
To apply optional filters, click ADD+ and select one of the following fields:
- Best Practices Nature
- Best Practices Severity
- Best Practices Status
- Pillars
In the selected fields, click the downward arrow and select the relevant options, then click OK.
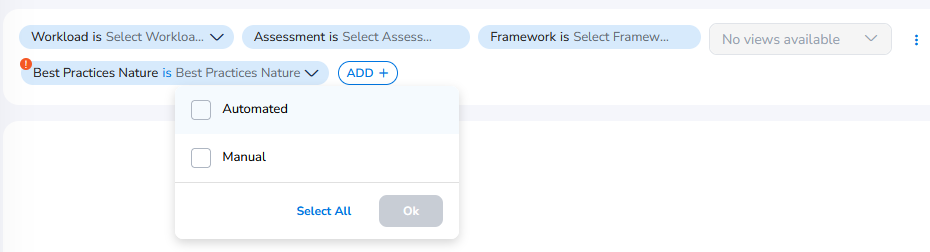
Note:
- Click Select All to select all the available options.
- You can click the condition is to change it to is not .
Repeat the previous steps to add more conditional filters, if desired. Then click Apply.

Once completed, the platform will start generating the report (this may take a few seconds).
Navigating the Report
Once generated, users will be able to view the full details of the report.
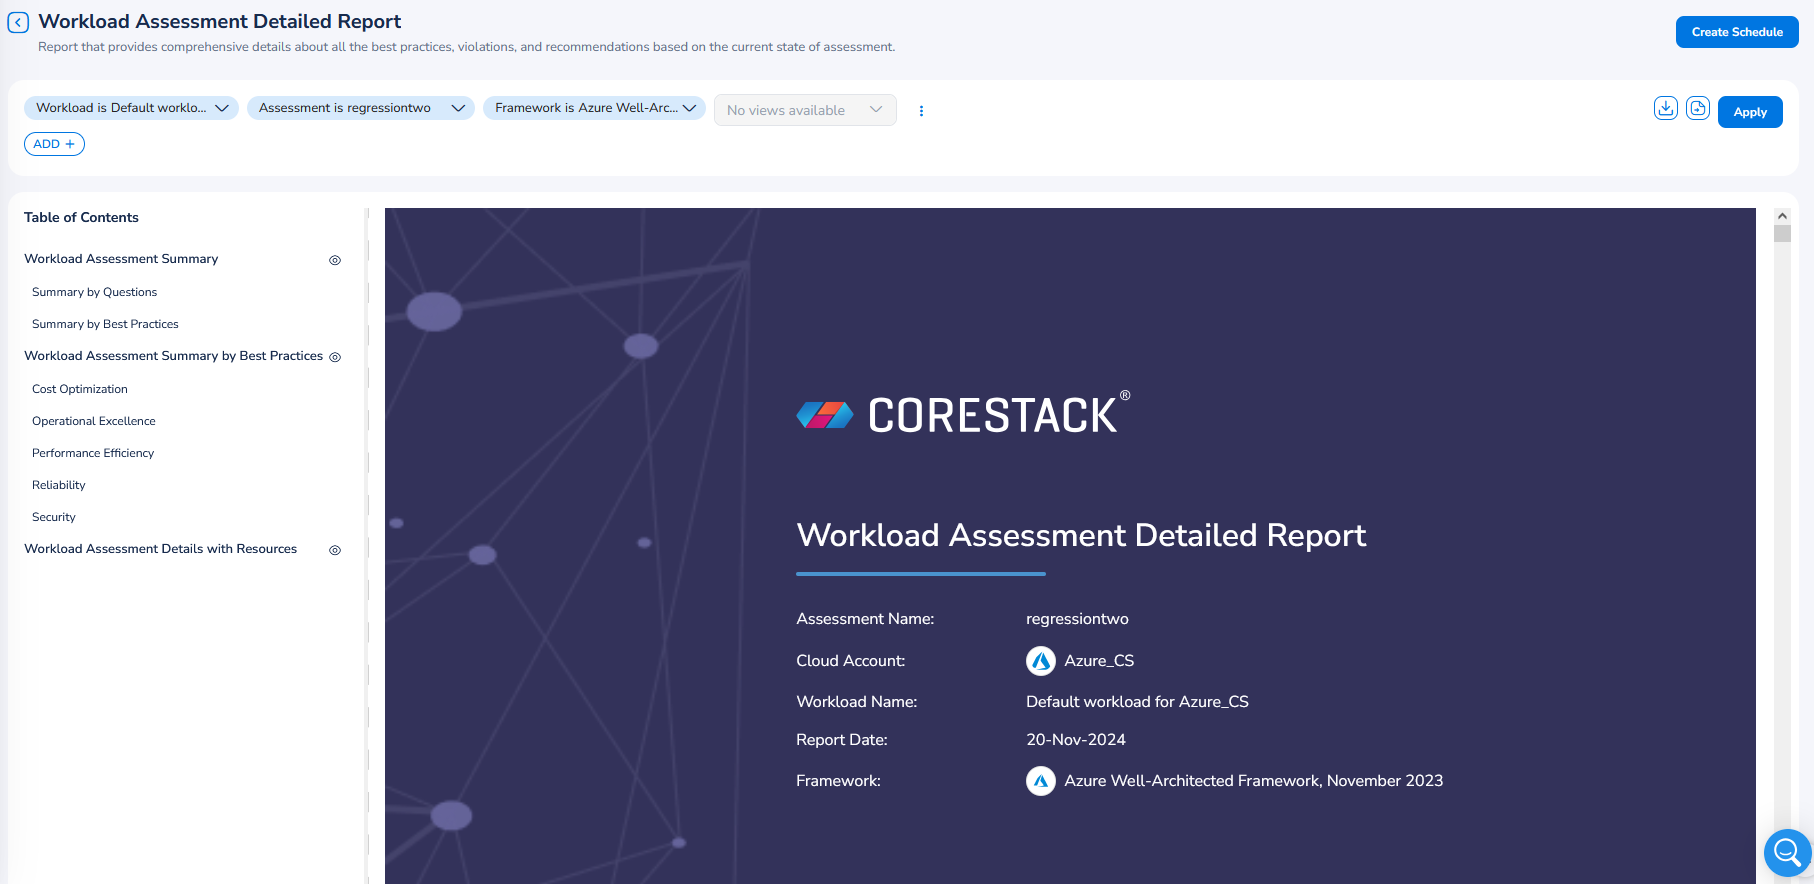
The Table of Contents appears on the left side of the report and users can click a topic to directly go to the page related to it. Users can click the eye symbol to hide/unhide a particular section of the report.
Here are some other notable actions users can take within a Workload Assessment Report:
- Click the Download icon to download the report in PDF format.
- Click the Preview icon to get a preview of the report.
- Apply the white labeling feature to the report pages to view their specific logo.
- Click the ellipses and select any of these actions related to page views – Reset to View, Update View, and Create New View. After selecting any of these actions, fill in appropriate details and proceed ahead.
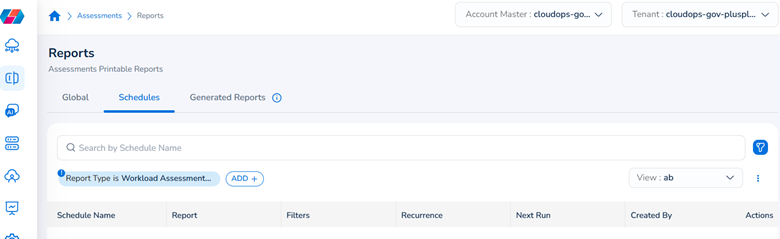
Viewing Schedules Tab
The Schedules tab displays the report schedule. Users can view the report schedules in these columns – Schedule Name, Report, Filters, Recurrence, Next Run, Created By, and Actions. Under the Actions column, users can click the ellipses and select an appropriate action.
Some key activities that users can perform on this tab are:
- Users can use the Search by Schedule Name search box to search for schedules.
- Users also have the option to add custom filters to refine the schedules they would like to view. To add a custom filter, click ADD+ and select an option. In the drop-down list that appears, select all relevant values and click Ok. Details will be displayed as per the selected filter values.
- Users can add custom page view that helps them to customize a page and save it as a view. Every time they visit the page, they don’t have to add personal settings/filters, instead they can just utilize the page view to view their page.
- To add a page view, click the ellipses on the right side of the screen, and select Create New View. A dialog box appears where users can enter the view name in the Name box and then click Save.
- To delete a view, click the View drop-down list and then click the bin icon next to the view that needs to be deleted. A dialog box appears where the users must select Yes to delete the view, else they can select No.
- Users can click the ellipses and then click Reset to View to get back to the original page view. This option is helpful in cases where additional filters are applied on a page view and the user wants to get back to their original page view.
- Under the Actions column, users can select an option and take necessary action.
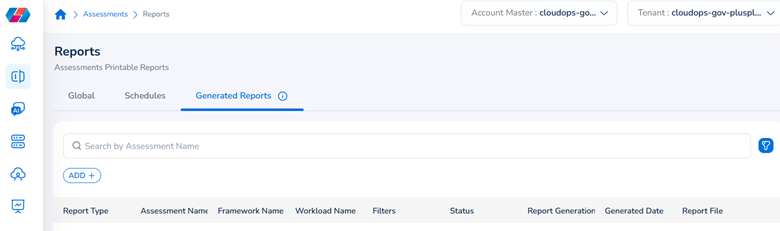
Viewing Generated Reports Tab
The Generated Reports tab shows the history of reports that have been generated in the past 30 days. The report history can be viewed in these columns – Report Type, Assessment Name, Framework Name, Workload Name, Filters, Status, Report Generation Type, Generated Date, and Report File.
Some of the actions that can be performed on this tab are:
- Users can use the Search by Assessment Name box to search for assessments.
- Users can click ADD+ and apply custom filters. To add custom filter, click ADD+, and select an option. After that, in the drop-down down list that appears, select relevant values, and click Ok.
Report Details
After the report is generated, the details that can be viewed in each report are explained in the topics below.
Workload Assessment Detailed Report
Details that can be viewed in the report are:
- Workload Assessment Summary
- Summary of Questions
- Summary by Best Practices
- Workload Assessment Summary by Best Practices
- System Design
- Operational Excellence
- Security, Privacy, and Compliance
- Reliability
- Cost Optimization
- Performance Optimization
- Workload Assessment Details with Resources
- System Design
Workload Assessment Summary Report
Details that can be viewed in the report are:
- Question Status by Pillar
- Best Practice Status by Pillar
- Number of Questions
- Number of Best Practices
- Summary of Resource Violations
Workload Assessment Issue Report
Details that can be viewed in the report are:
- Workload Assessment Issue Report
Updated 8 months ago