

Assessment Agent V2
This guide directs you through utilizing the Assessment Agent feature in CoreStack.
Introduction
The integration of AI Agents within the CoreStack platform offers significant benefits to users seeking support across security, financial, and cloud operations. The newly introduced Assessment Agent enables more sophisticated and context-aware interactions. This feature is specifically tailored to deliver detailed insights into active assessments and the frameworks currently in use.
Chat History Pane
Perform the following steps to see details in the Chat History pane:
1. Navigate to "AI Agents" in the Menu
On the left navigation pane, click AI Agents.
2. Select "Assessments Agent" in the Menu
Click to select Assessments Agent in the menu.
3. View the Assessments Agent Page
The Assessments Agent page appears. This page is divided into three sections or panes:
- Chat History: This pane shows the previous chat history. Users can select an existing chat and ask question based on what was addressed earlier. This pane also provides an option to start a new chat, search for an existing chat, clear all existing chats, rename a chat, and delete a chat.
- Chat: Users can start a new chat in this pane either by typing their question or by selecting any existing prompt. The Assessment Agent will provide answers accordingly. If the user has selected any existing chat from the Chat History section, then they can view all the previous chat details for the selected chat (questions and answers) and they can even continue asking questions in this existing chat instance.
- Assessment Overview: This pane provides detailed information about assessments/workload in graphical or tabular format. Users can view all the key details about their assessments/workload in this pane. Users can click the arrow provided on top of each section to expand or collapse the section.
4. Select a Chat from Chat History
Expand the Chat History pane using the arrow provided on the top of this pane and select a chat to view the chat details.
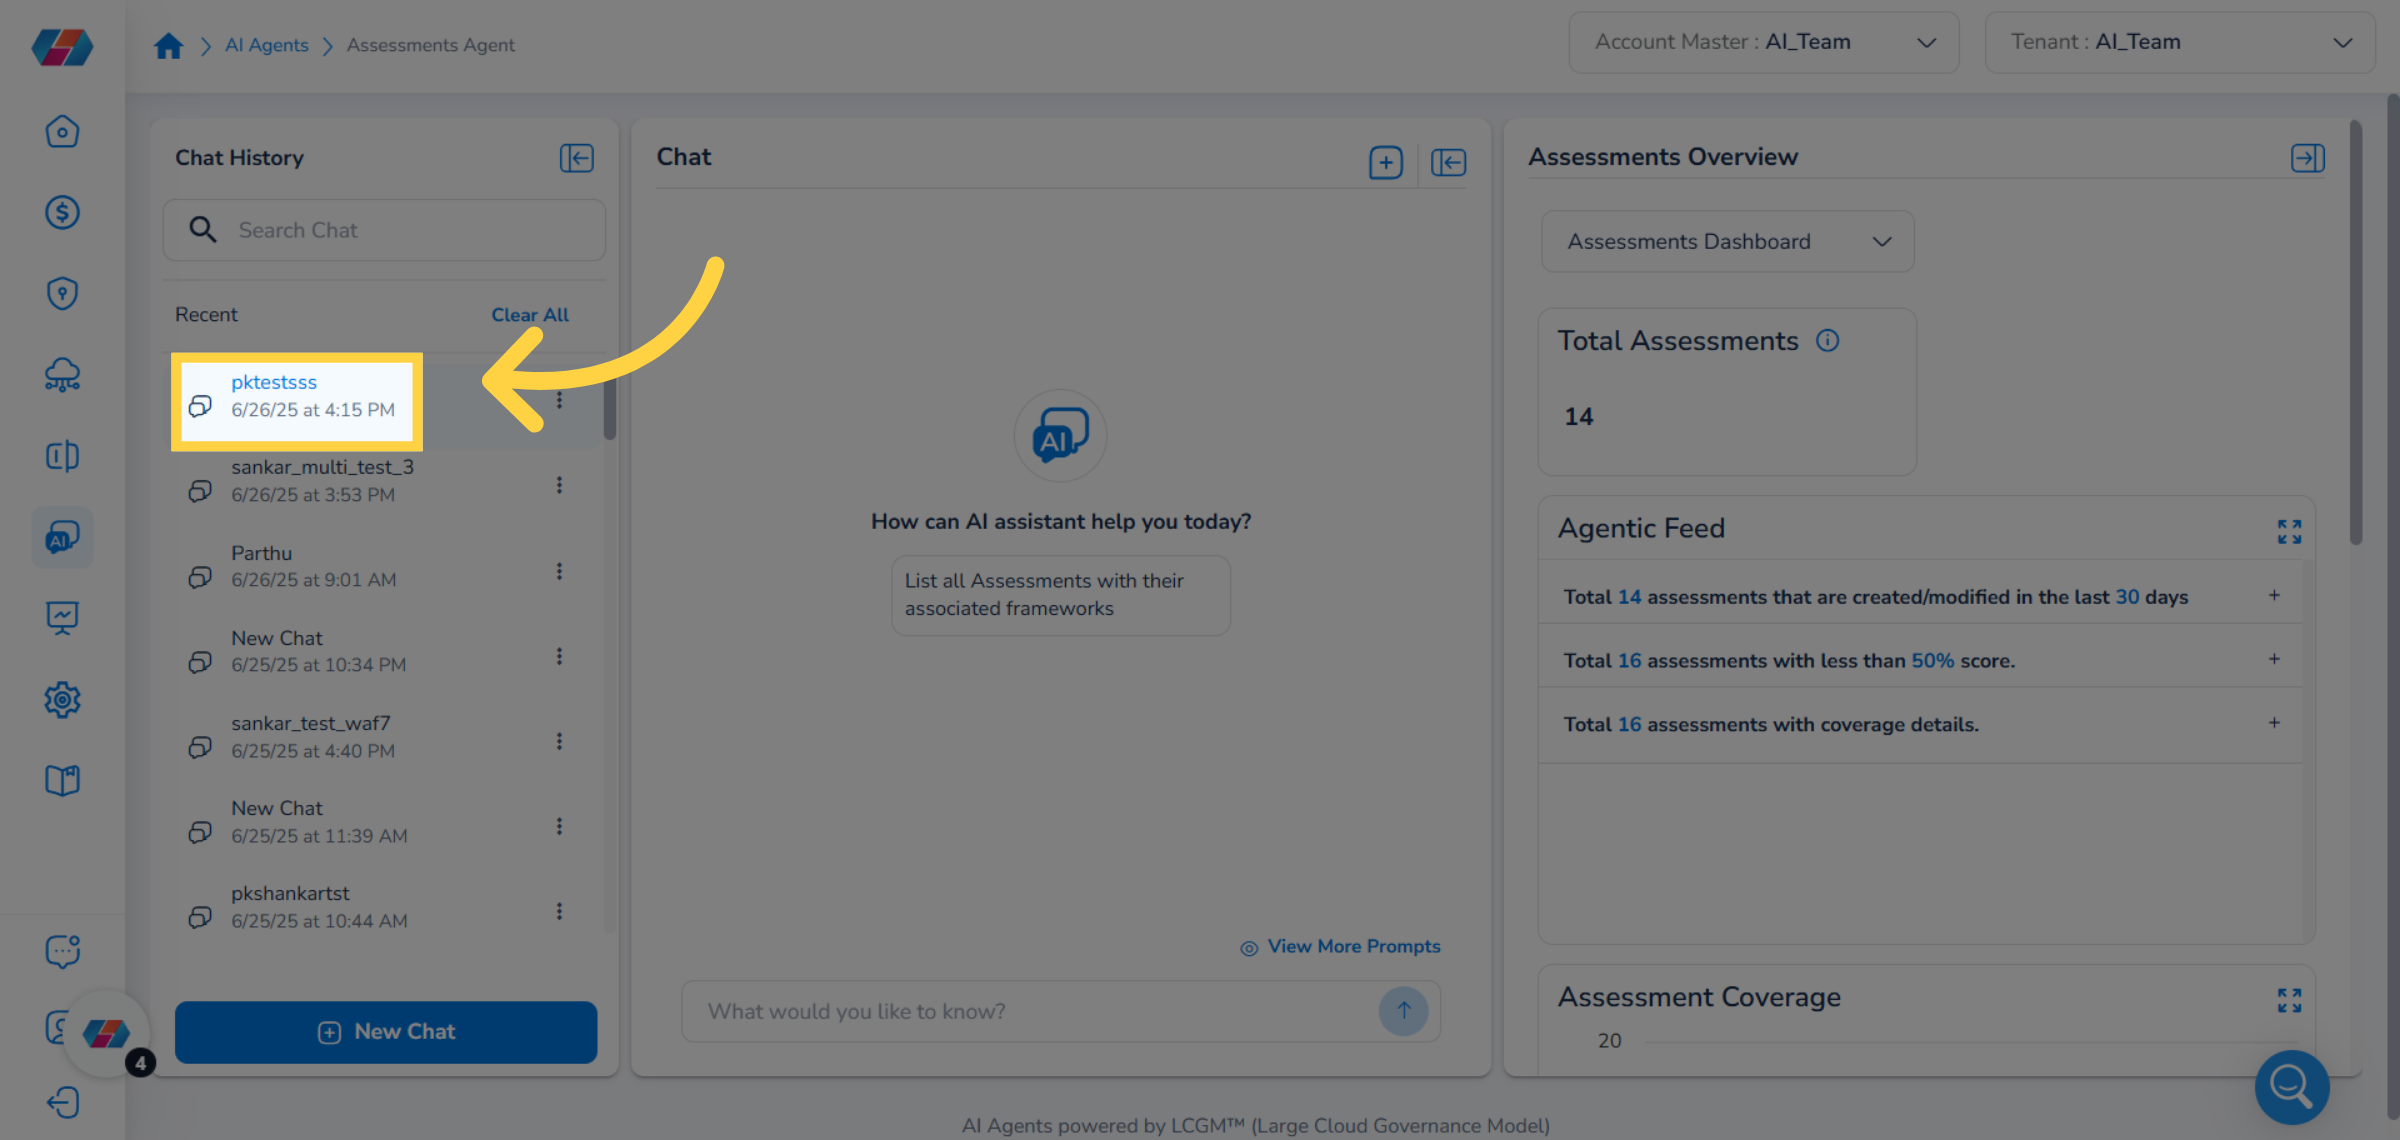
5. View Chat Details
After you select a chat, the chat details will appear in the Chat pane.
6. Collapse Chat History
Click the arrow on the Chat History pane to collapse the pane.

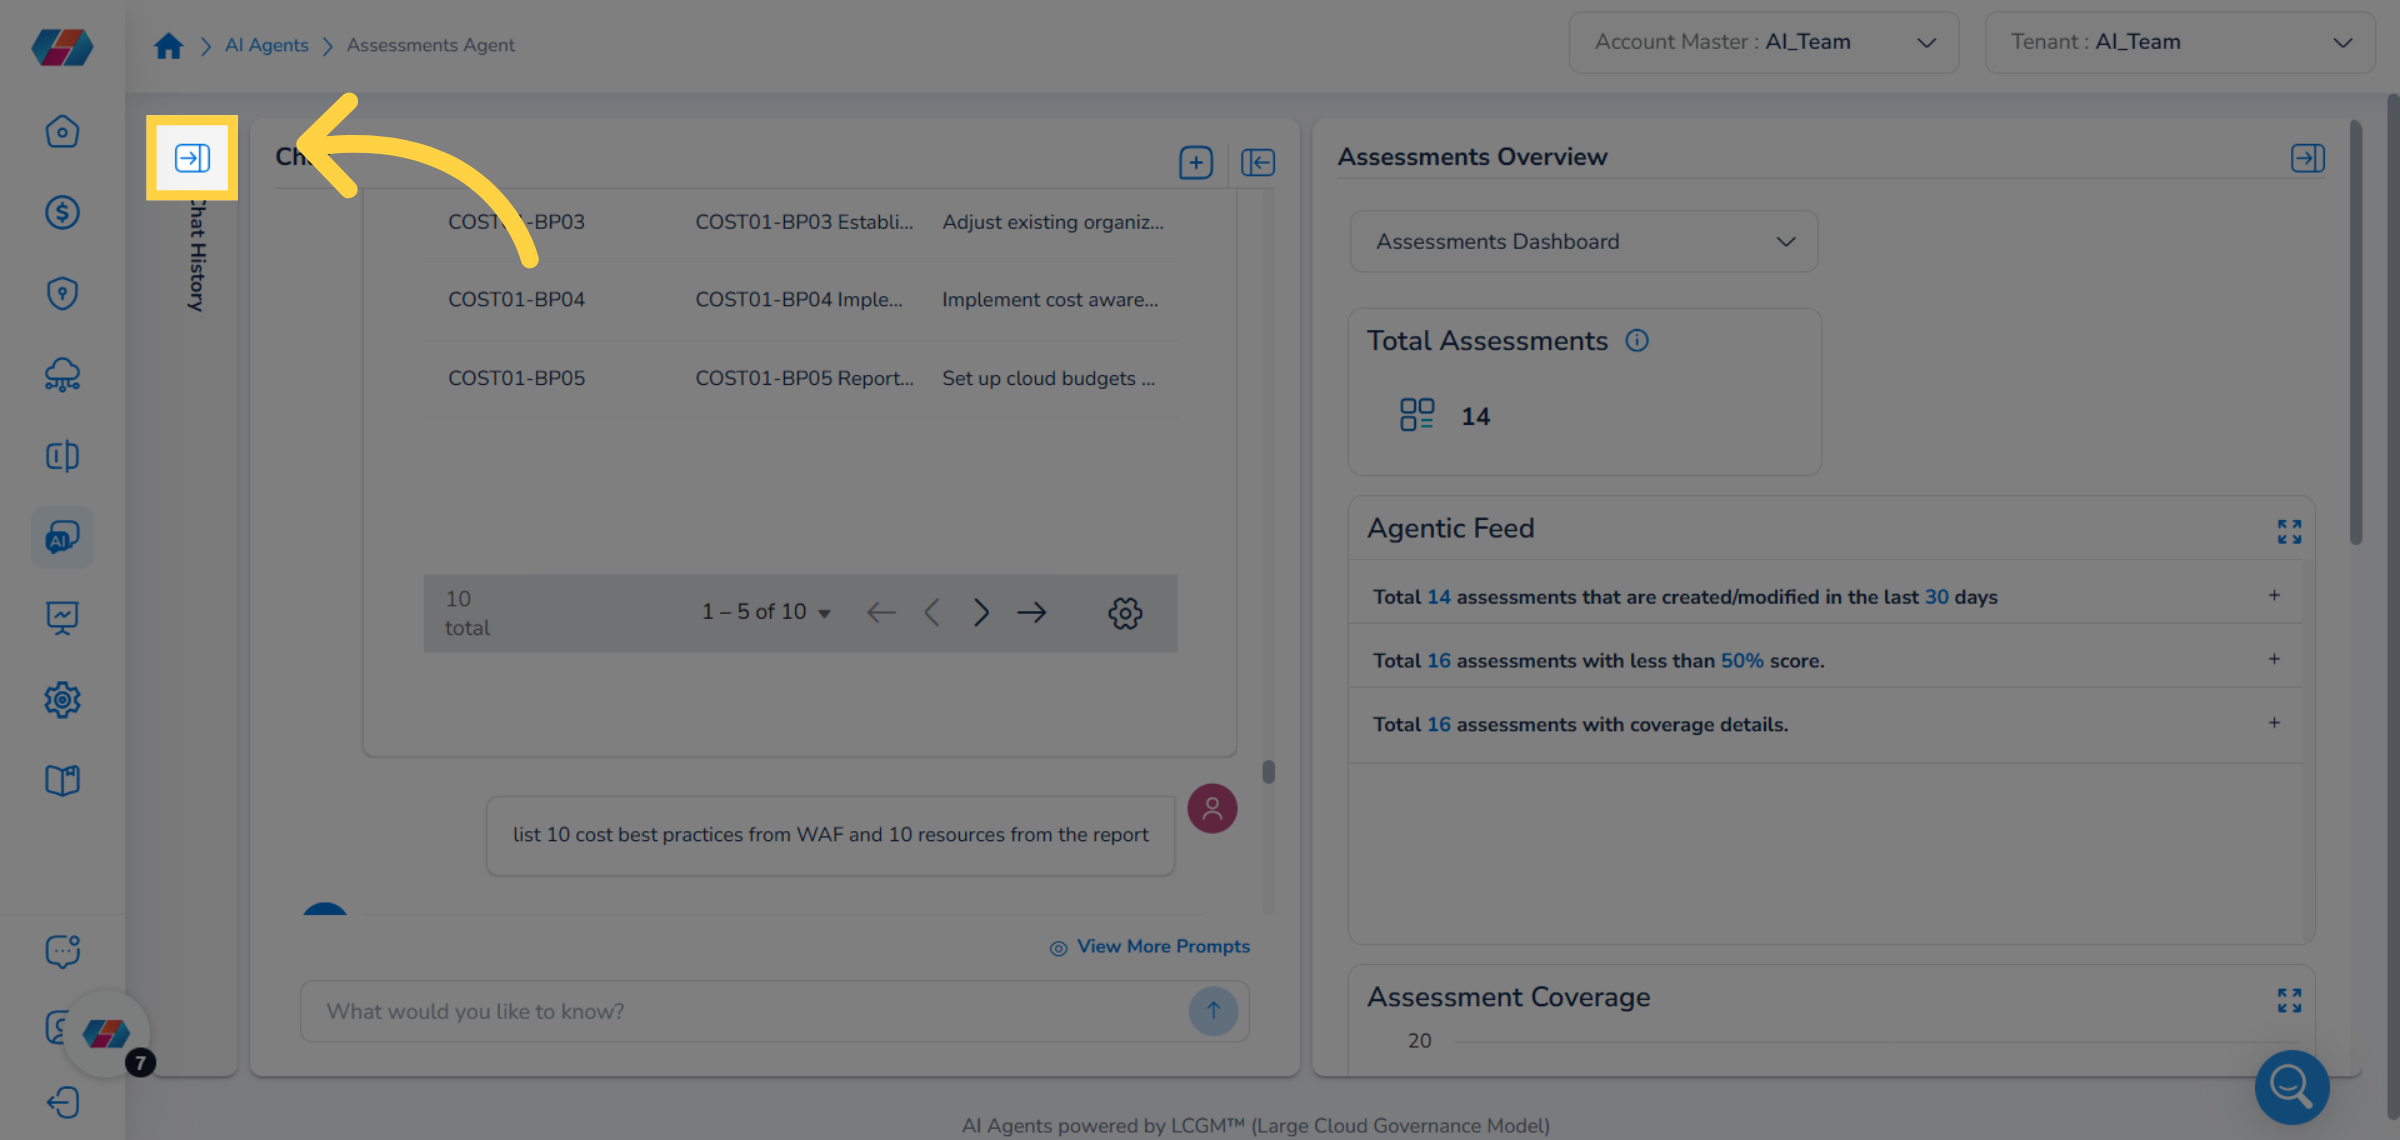
7. Expand Chat History
Click the arrow on the Chat History pane to expand the section and view chat history.
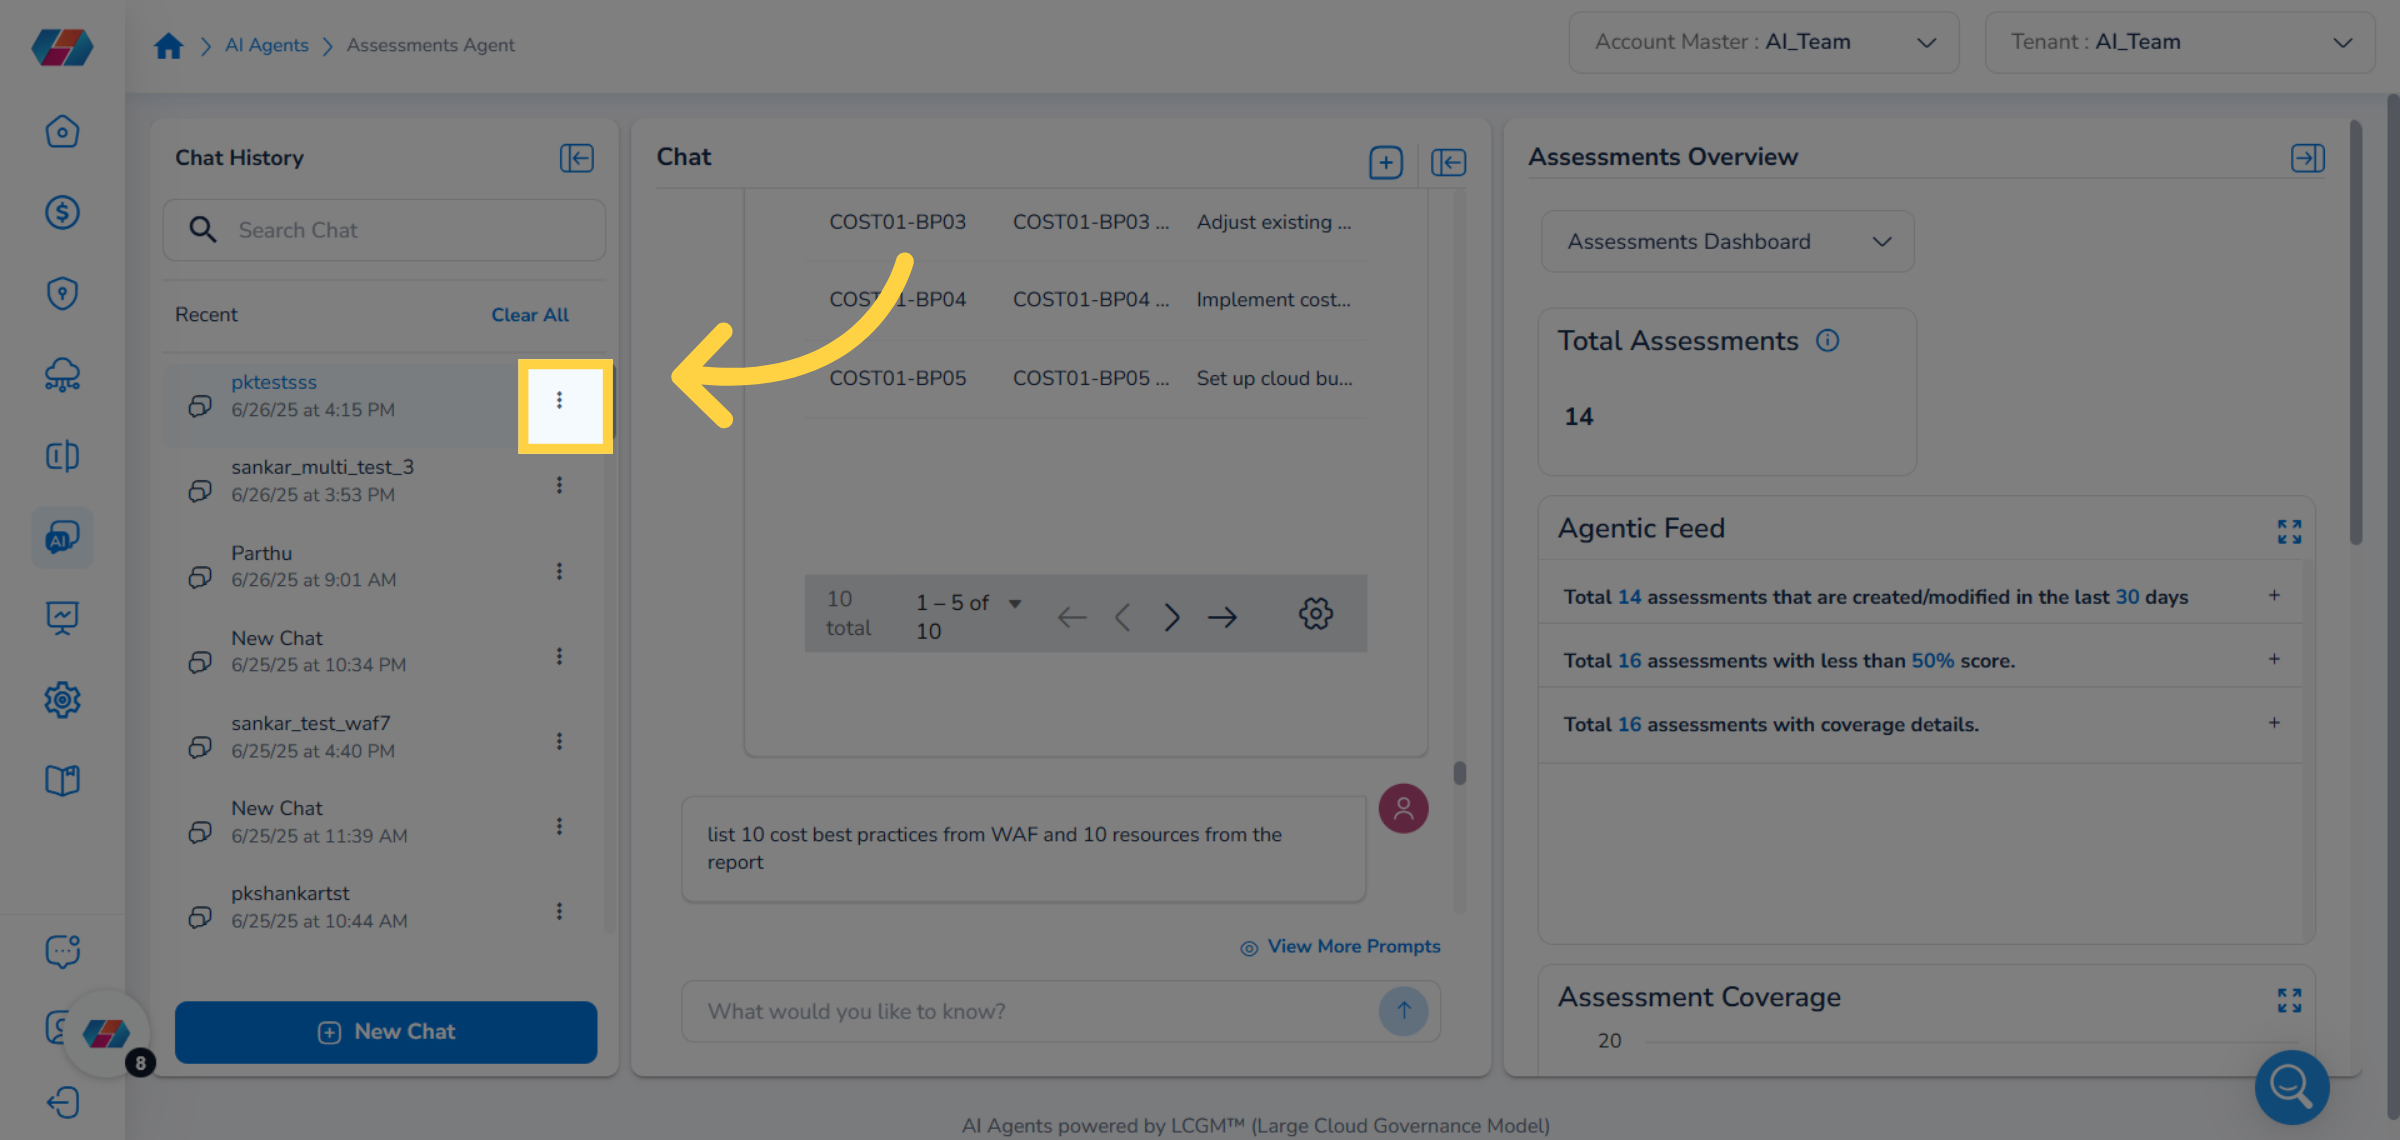
8. Click Ellipses
Click the ellipses corresponding to a chat to take an action such as rename or delete an existing chat.
9. Rename a Chat
Select the option Rename Chat to change the name of an existing chat.
10. Rename the Chat and Save
In the "Enter a new name for this chat" box, enter the updated chat name and then click Save.
11. Click Ellipses
To delete a chat, click the ellipses corresponding to an existing chat that needs to be deleted.
12. Delete Chat
Select the option Delete Chat. A dialog box appears where you must click Yes to confirm the deletion, else click No.
13. Search Chat
Use the Search Chat box to search for an existing chat.
14. Clear All Chats
Click Clear All to remove all existing chats from the Chat History section.
15. Start New Chat
Click New Chat to start a new chat.
16. View Date and Time
Users can view the date and time below a chat name to know about when it was created.
Chat Pane
Perform the following steps to start a chat or view chat details:
1. Start New Chat
In the Chat pane, click the plus (+) icon to start a new chat.
Note:If the Chat pane is not expanded, then click the arrow that appears on top in the Chat pane to expand it.
2. Type Your Question
In the text box provided at the bottom of the screen, type or enter your question related to assessment/workload and then click Enter.
3. View Answers for Your Question
You can view the answers for your assessment related queries. After viewing the answer, you can continue asking questions to the Assessments Agent based on if your query is resolved or not.
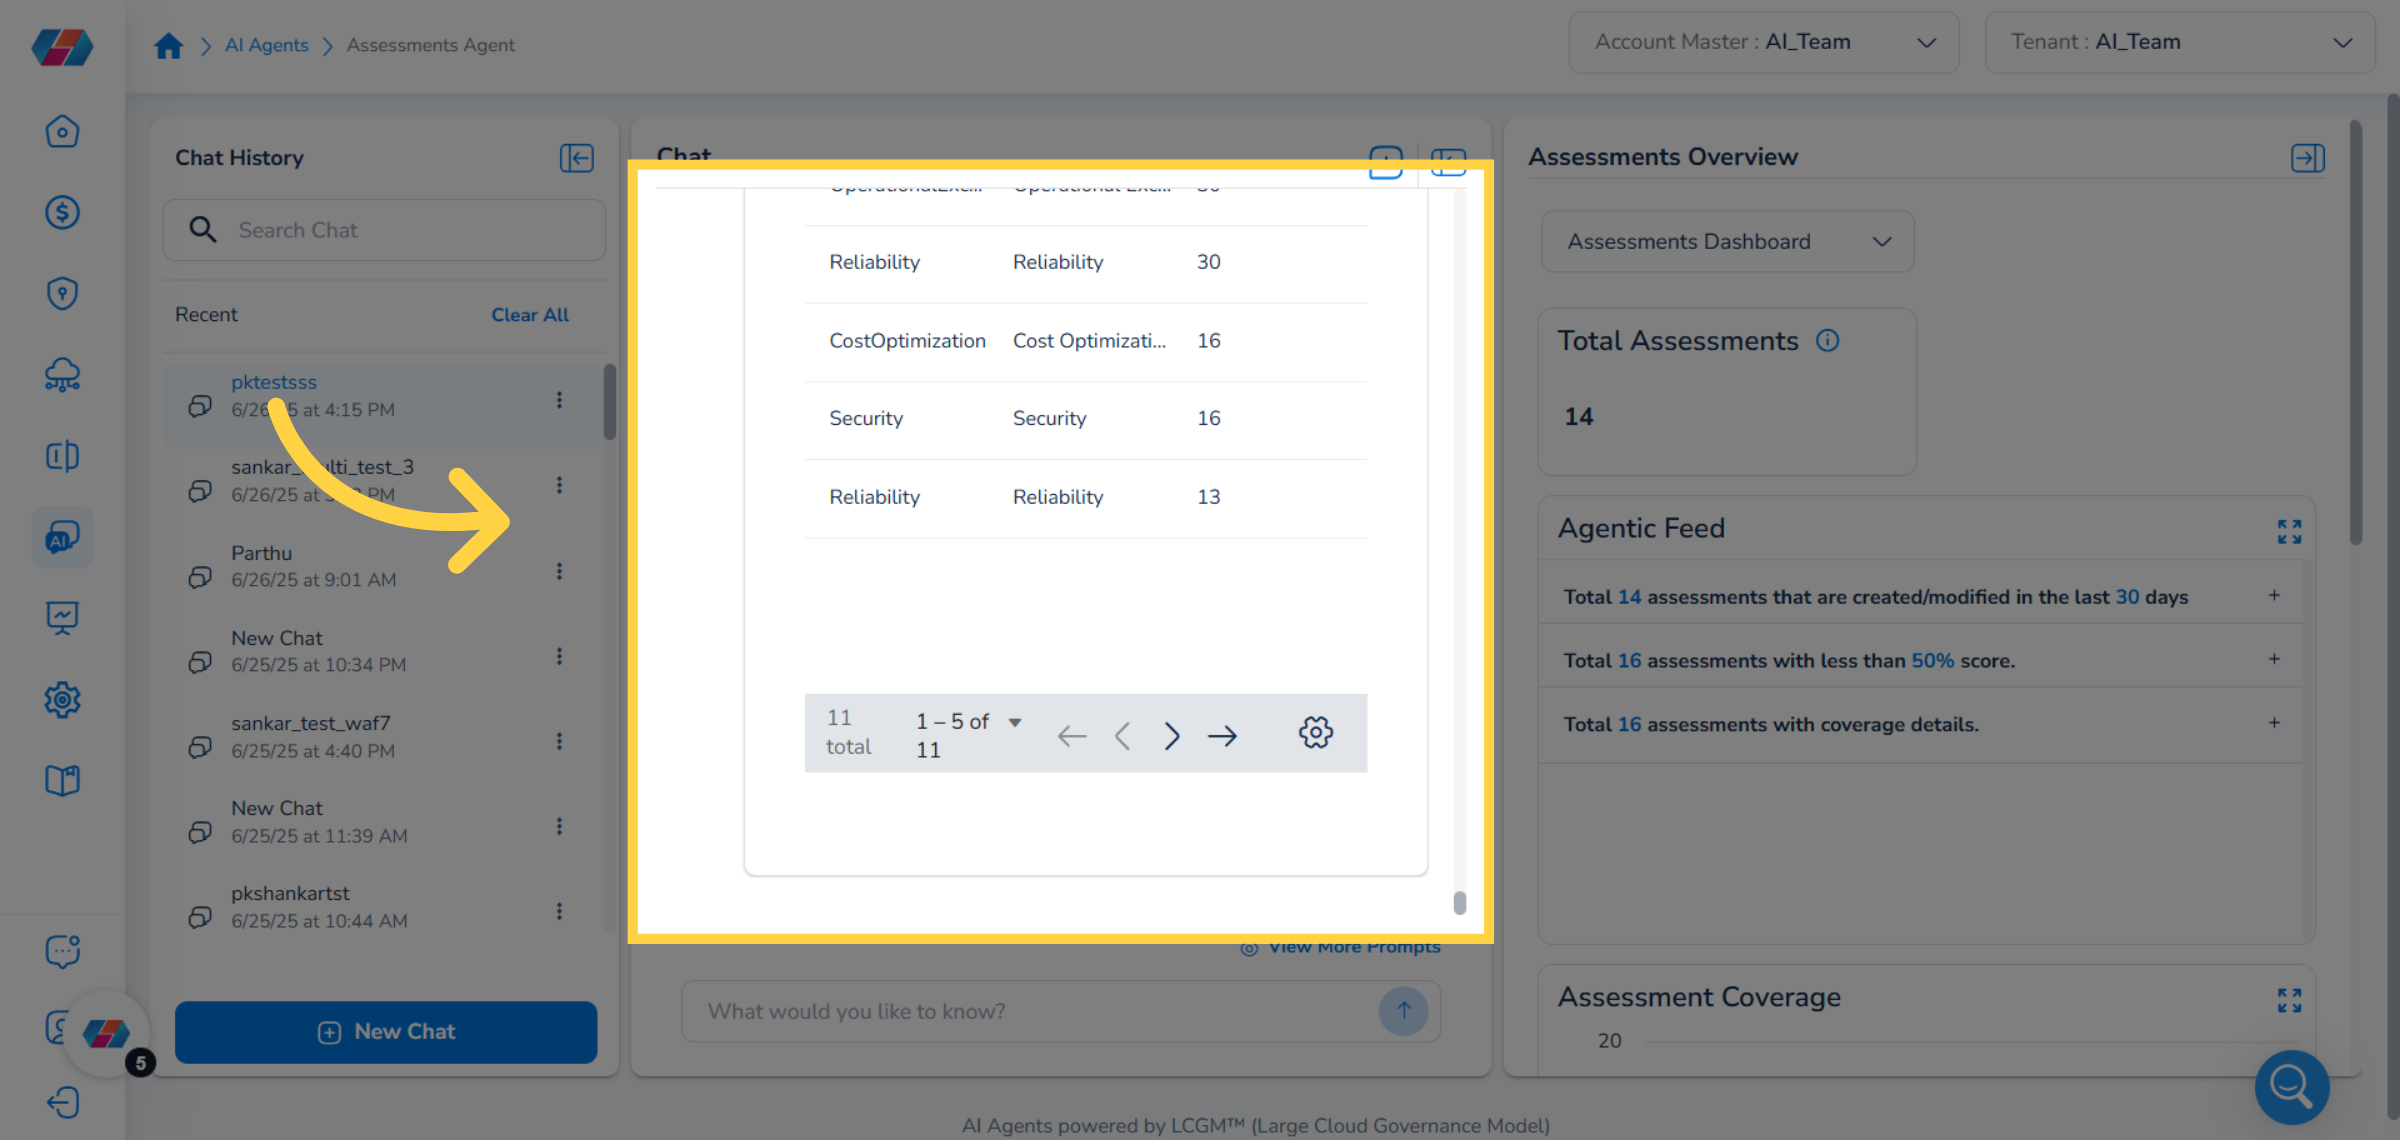
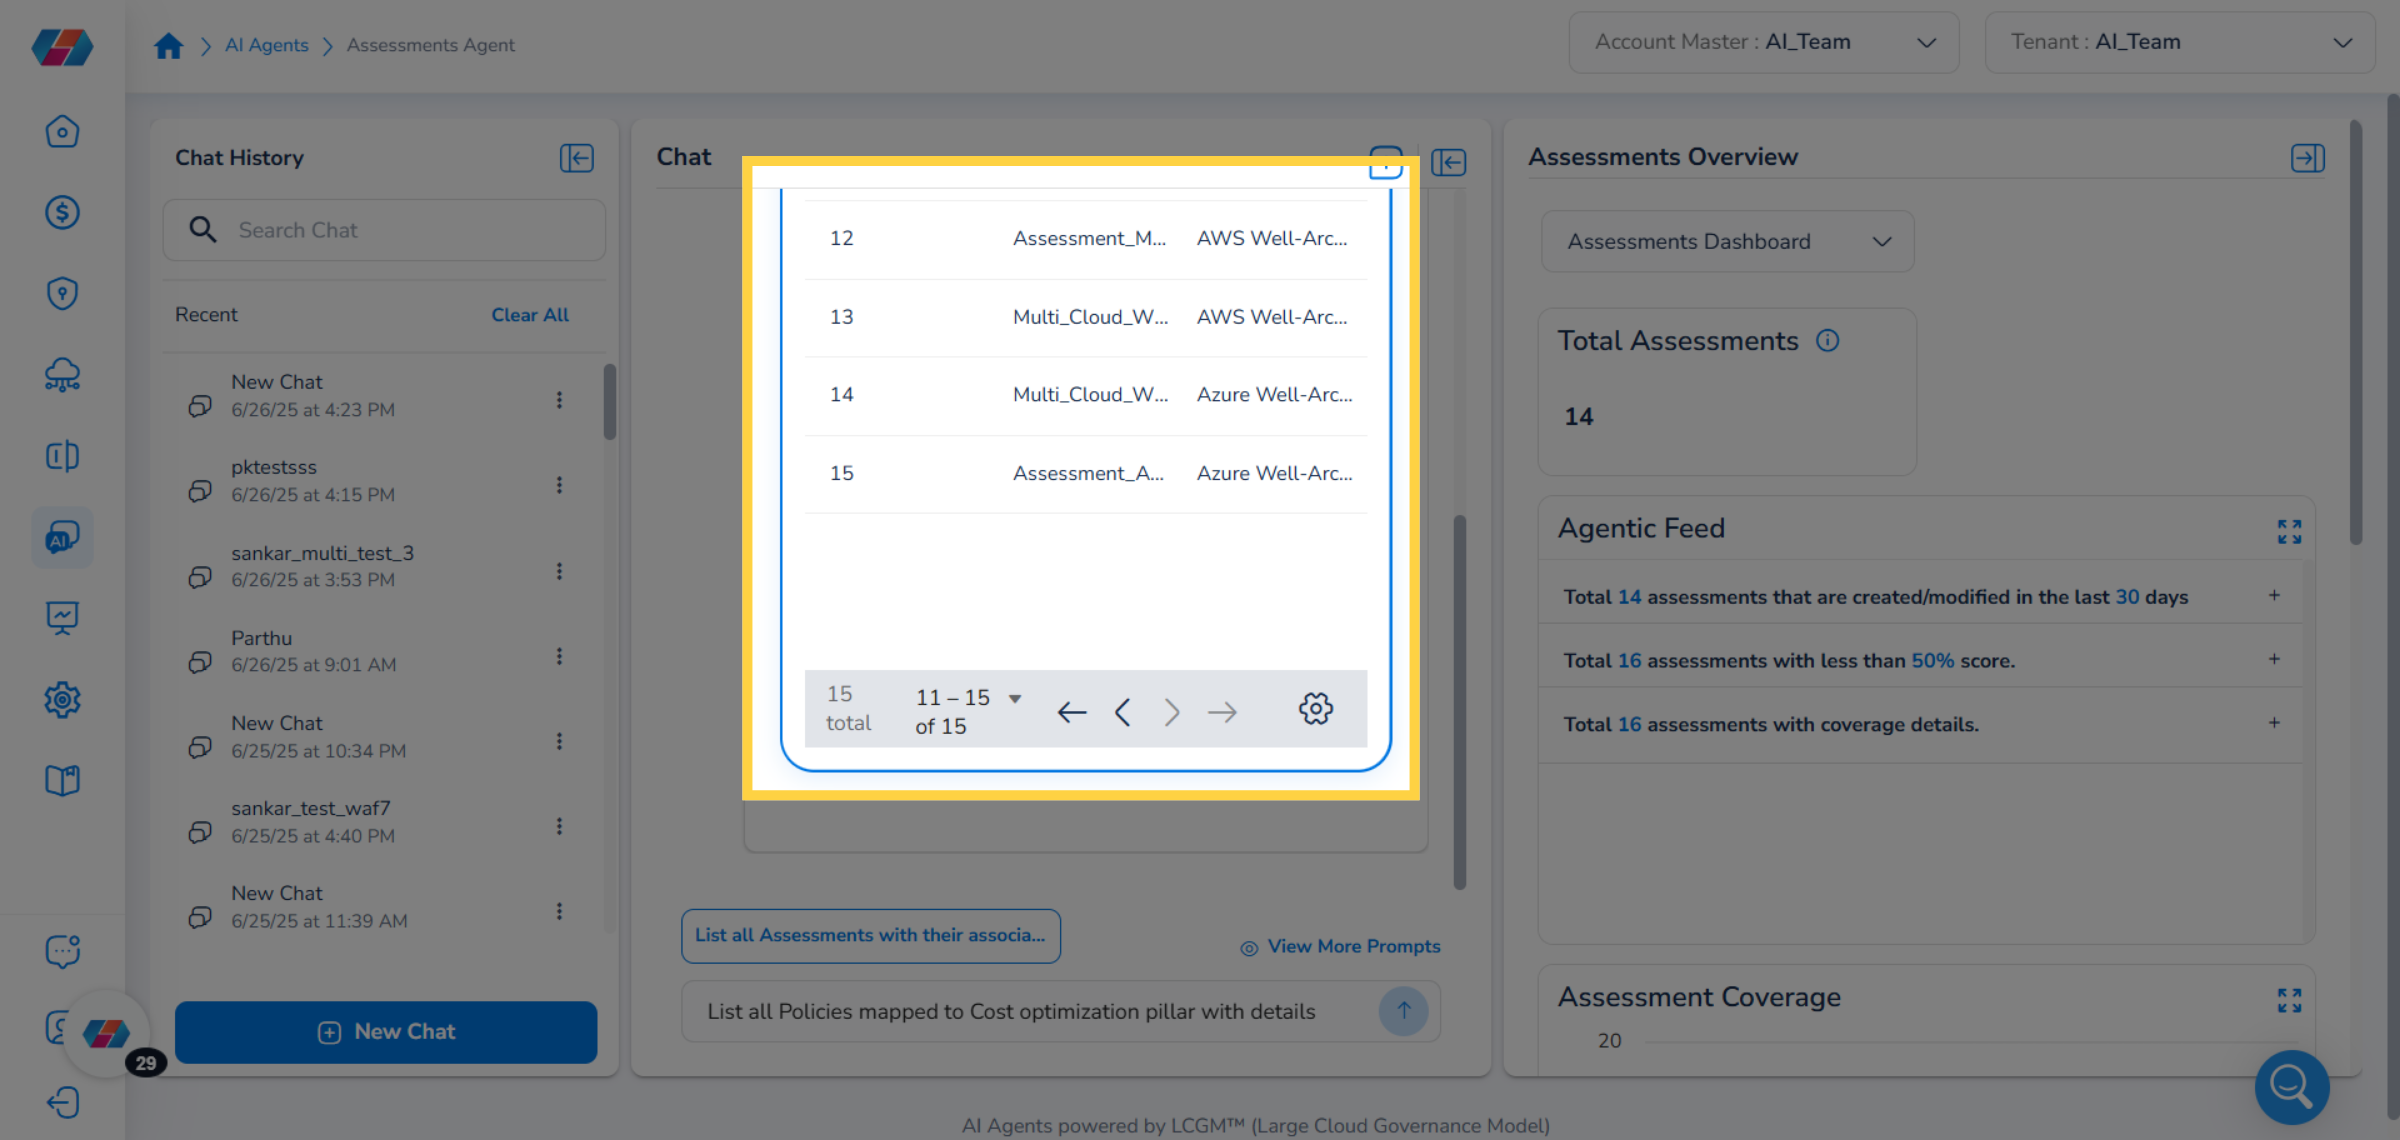
4. Navigate Through Pages
For cases where the assessment details are shown in multiple pages, you can use the various arrow icons to navigate through different pages and view the results.
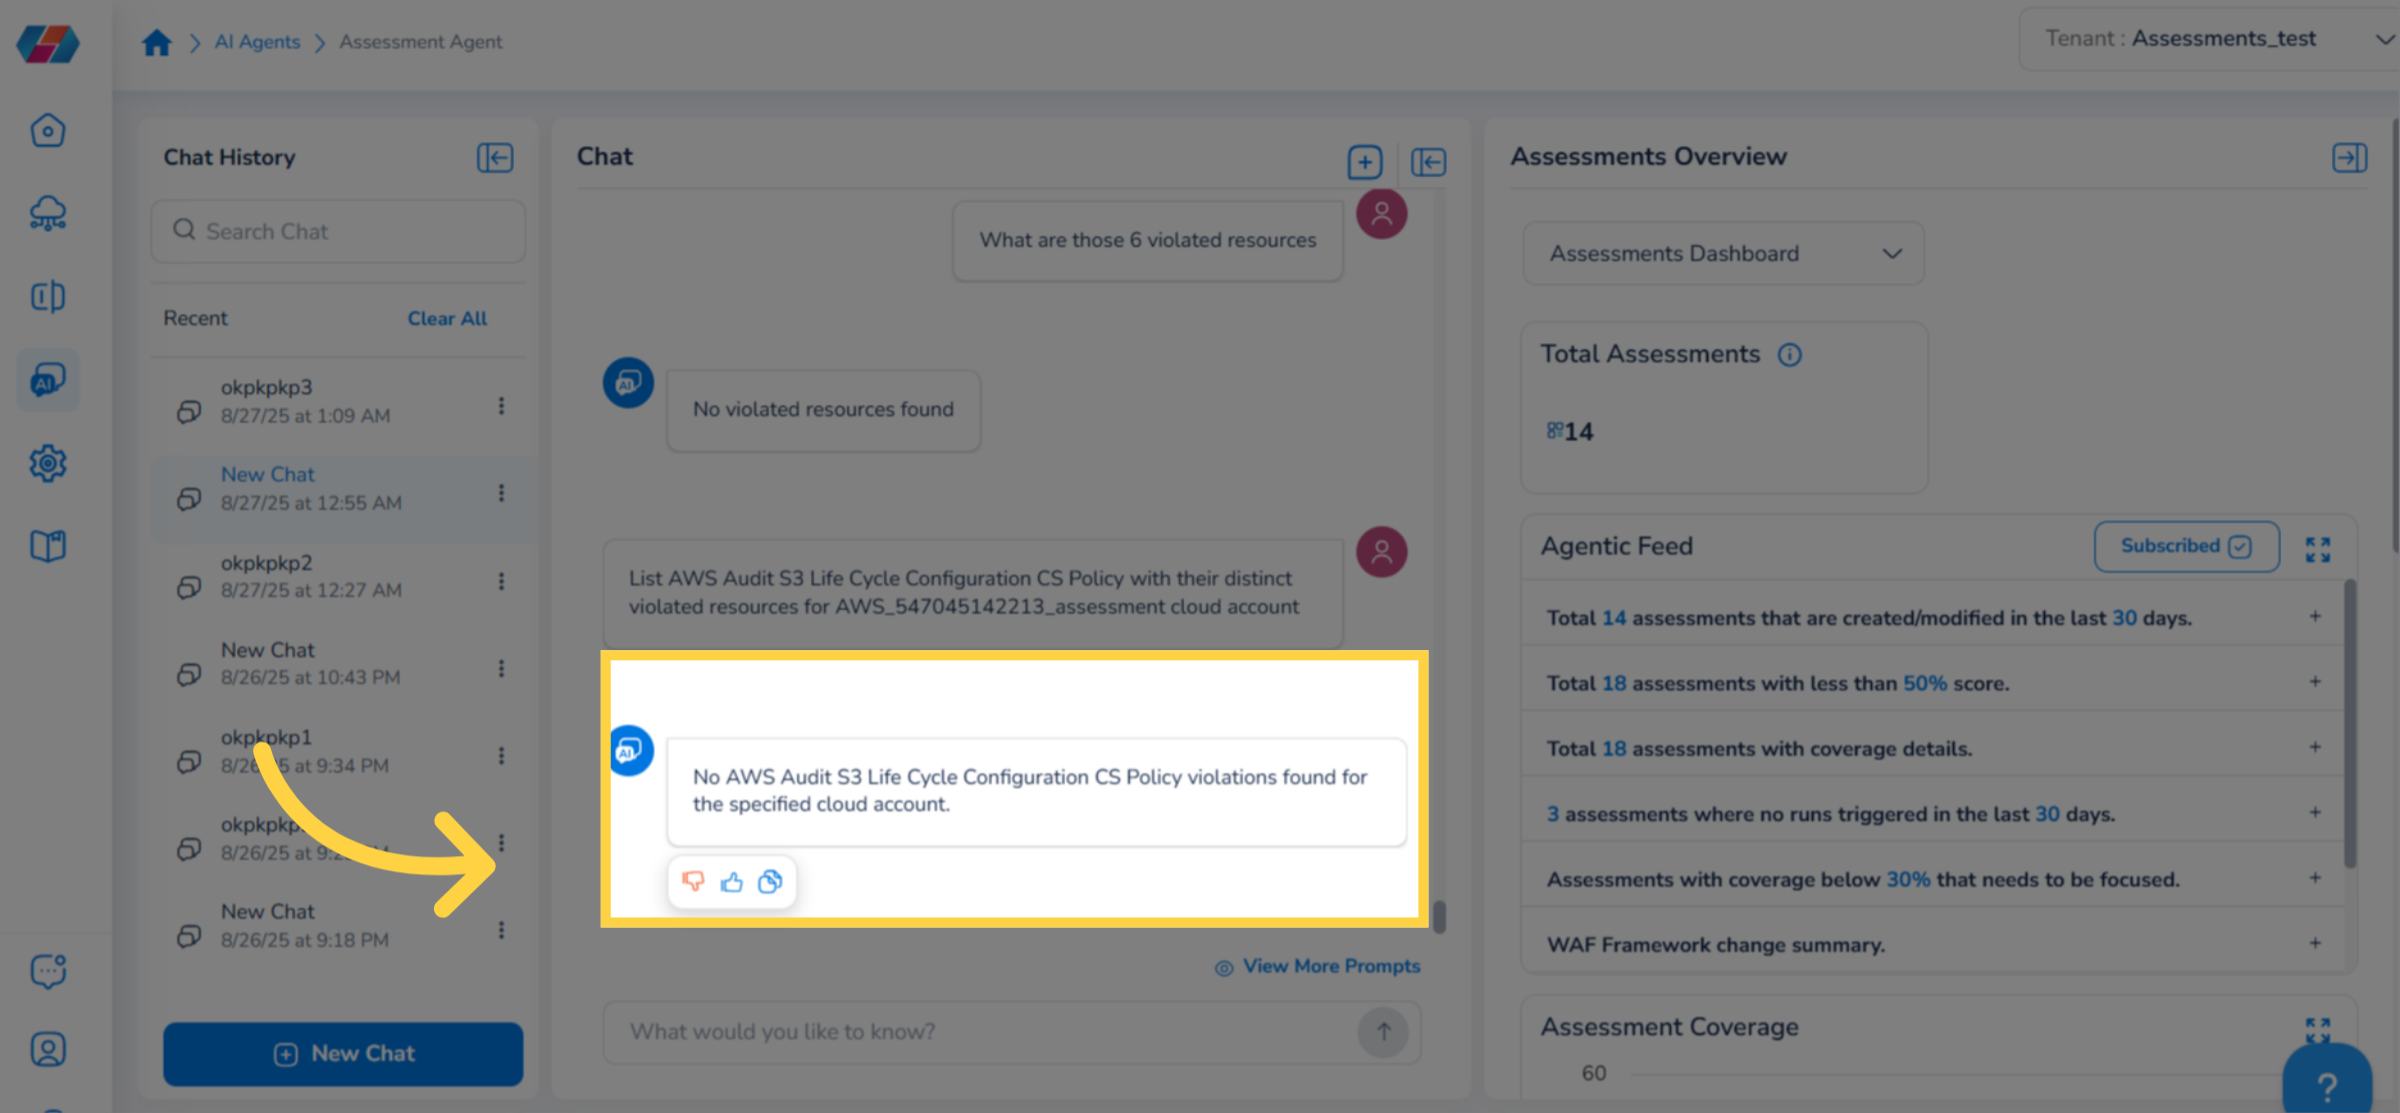
5. Like or Dislike Answers
While viewing the answers, users have the option to like or dislike an answer. To like/dislike an answer, hover the mouse pointed over an answer so that the "like" (thumbs up) and "dislike" (thumbs down) symbols appear. After you are able to view the symbols, click either like or dislike. The answer will be marked as per your choice.
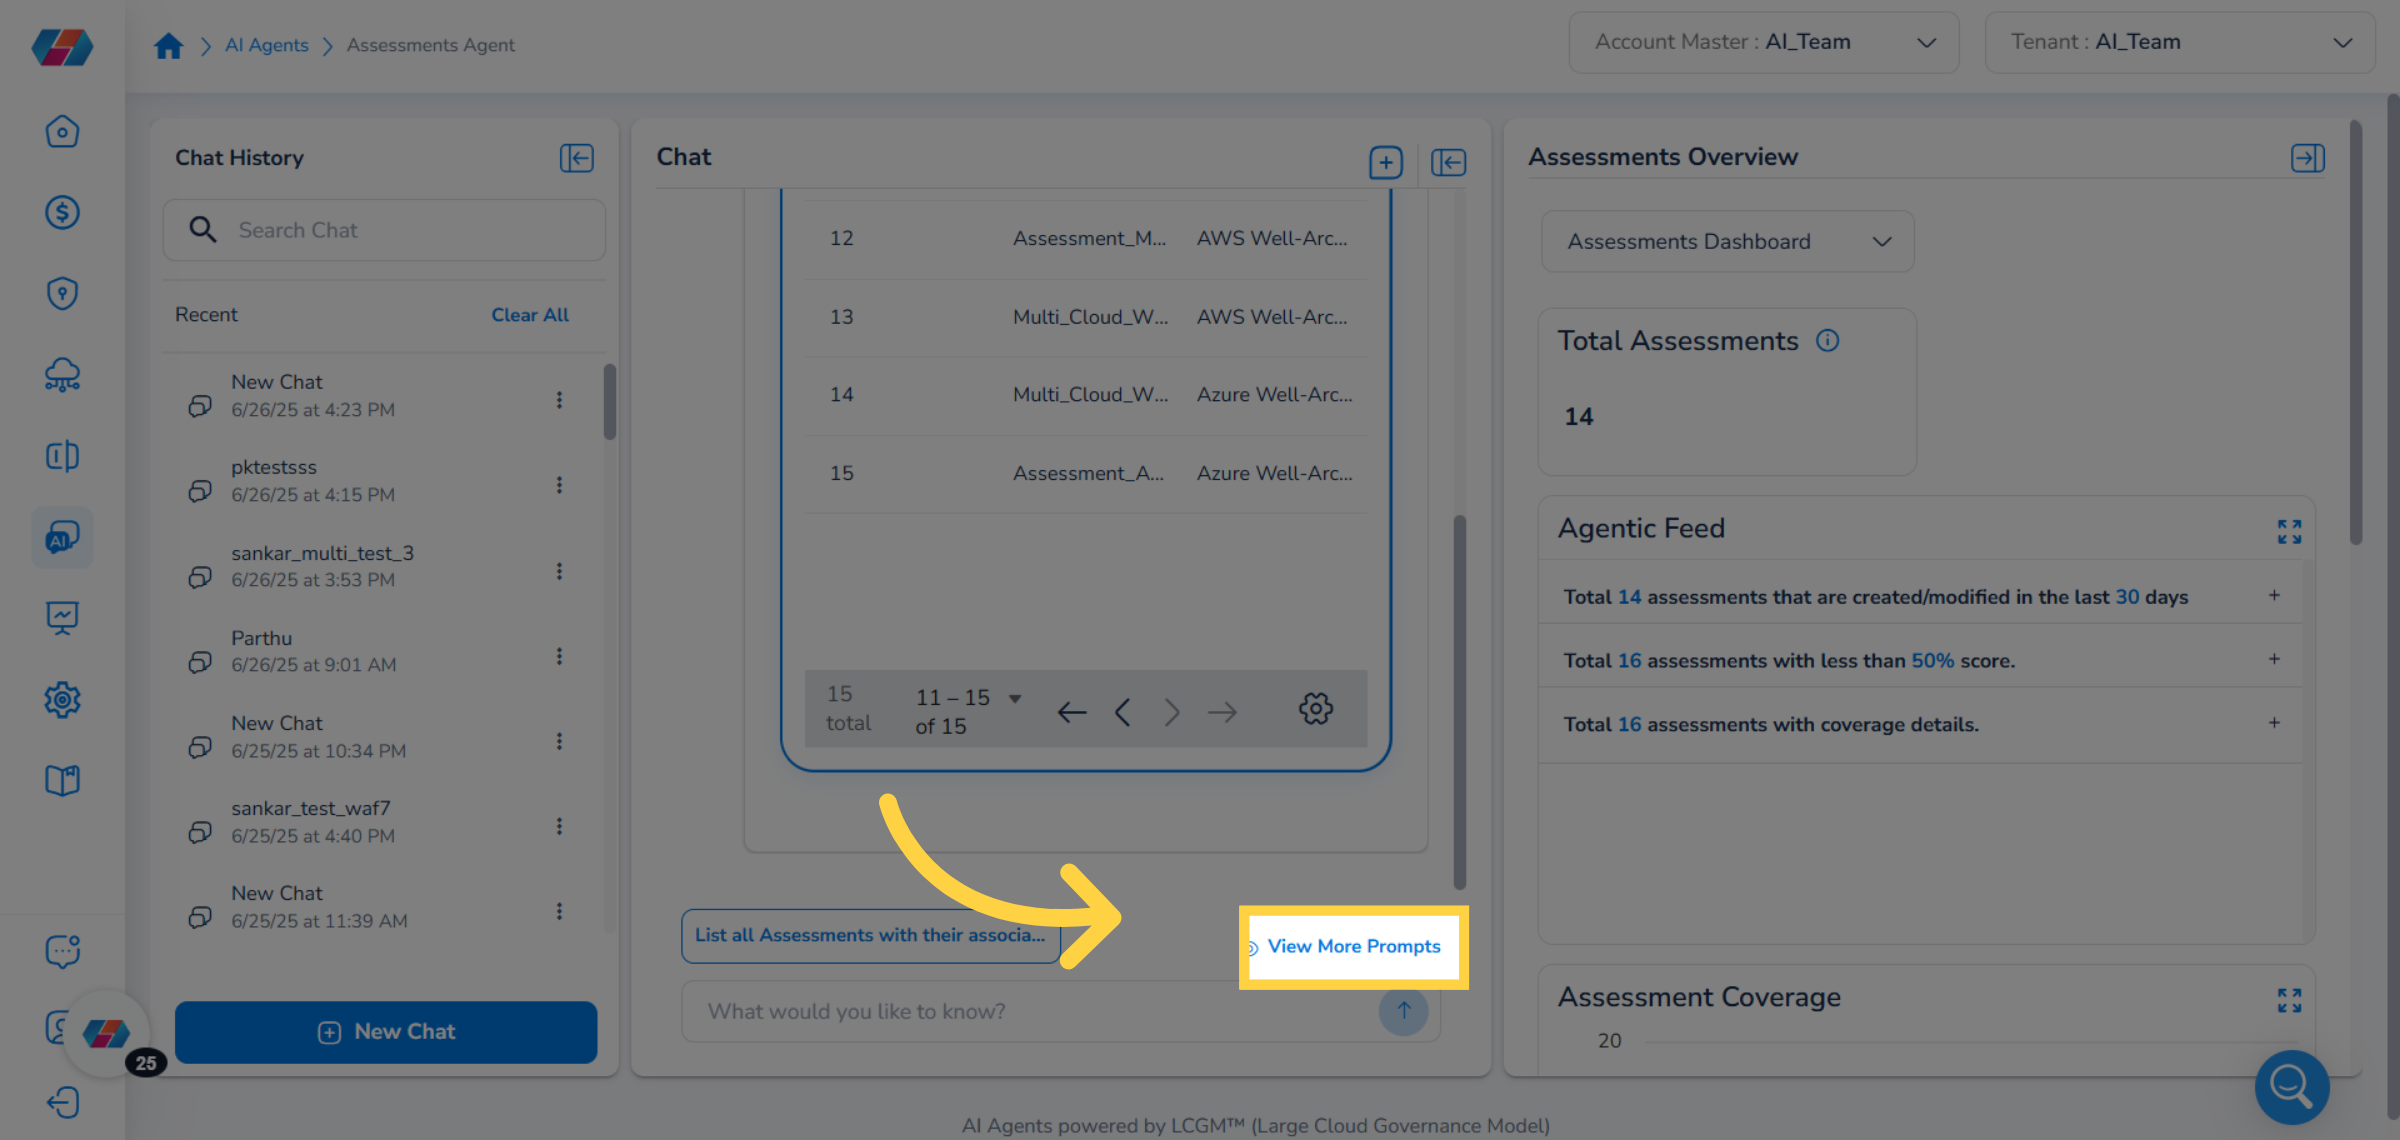
6. View More Prompts
Instead of typing your assessment related query, you can select an existing prompt and get answers. To use an existing prompt, click View More Prompts.
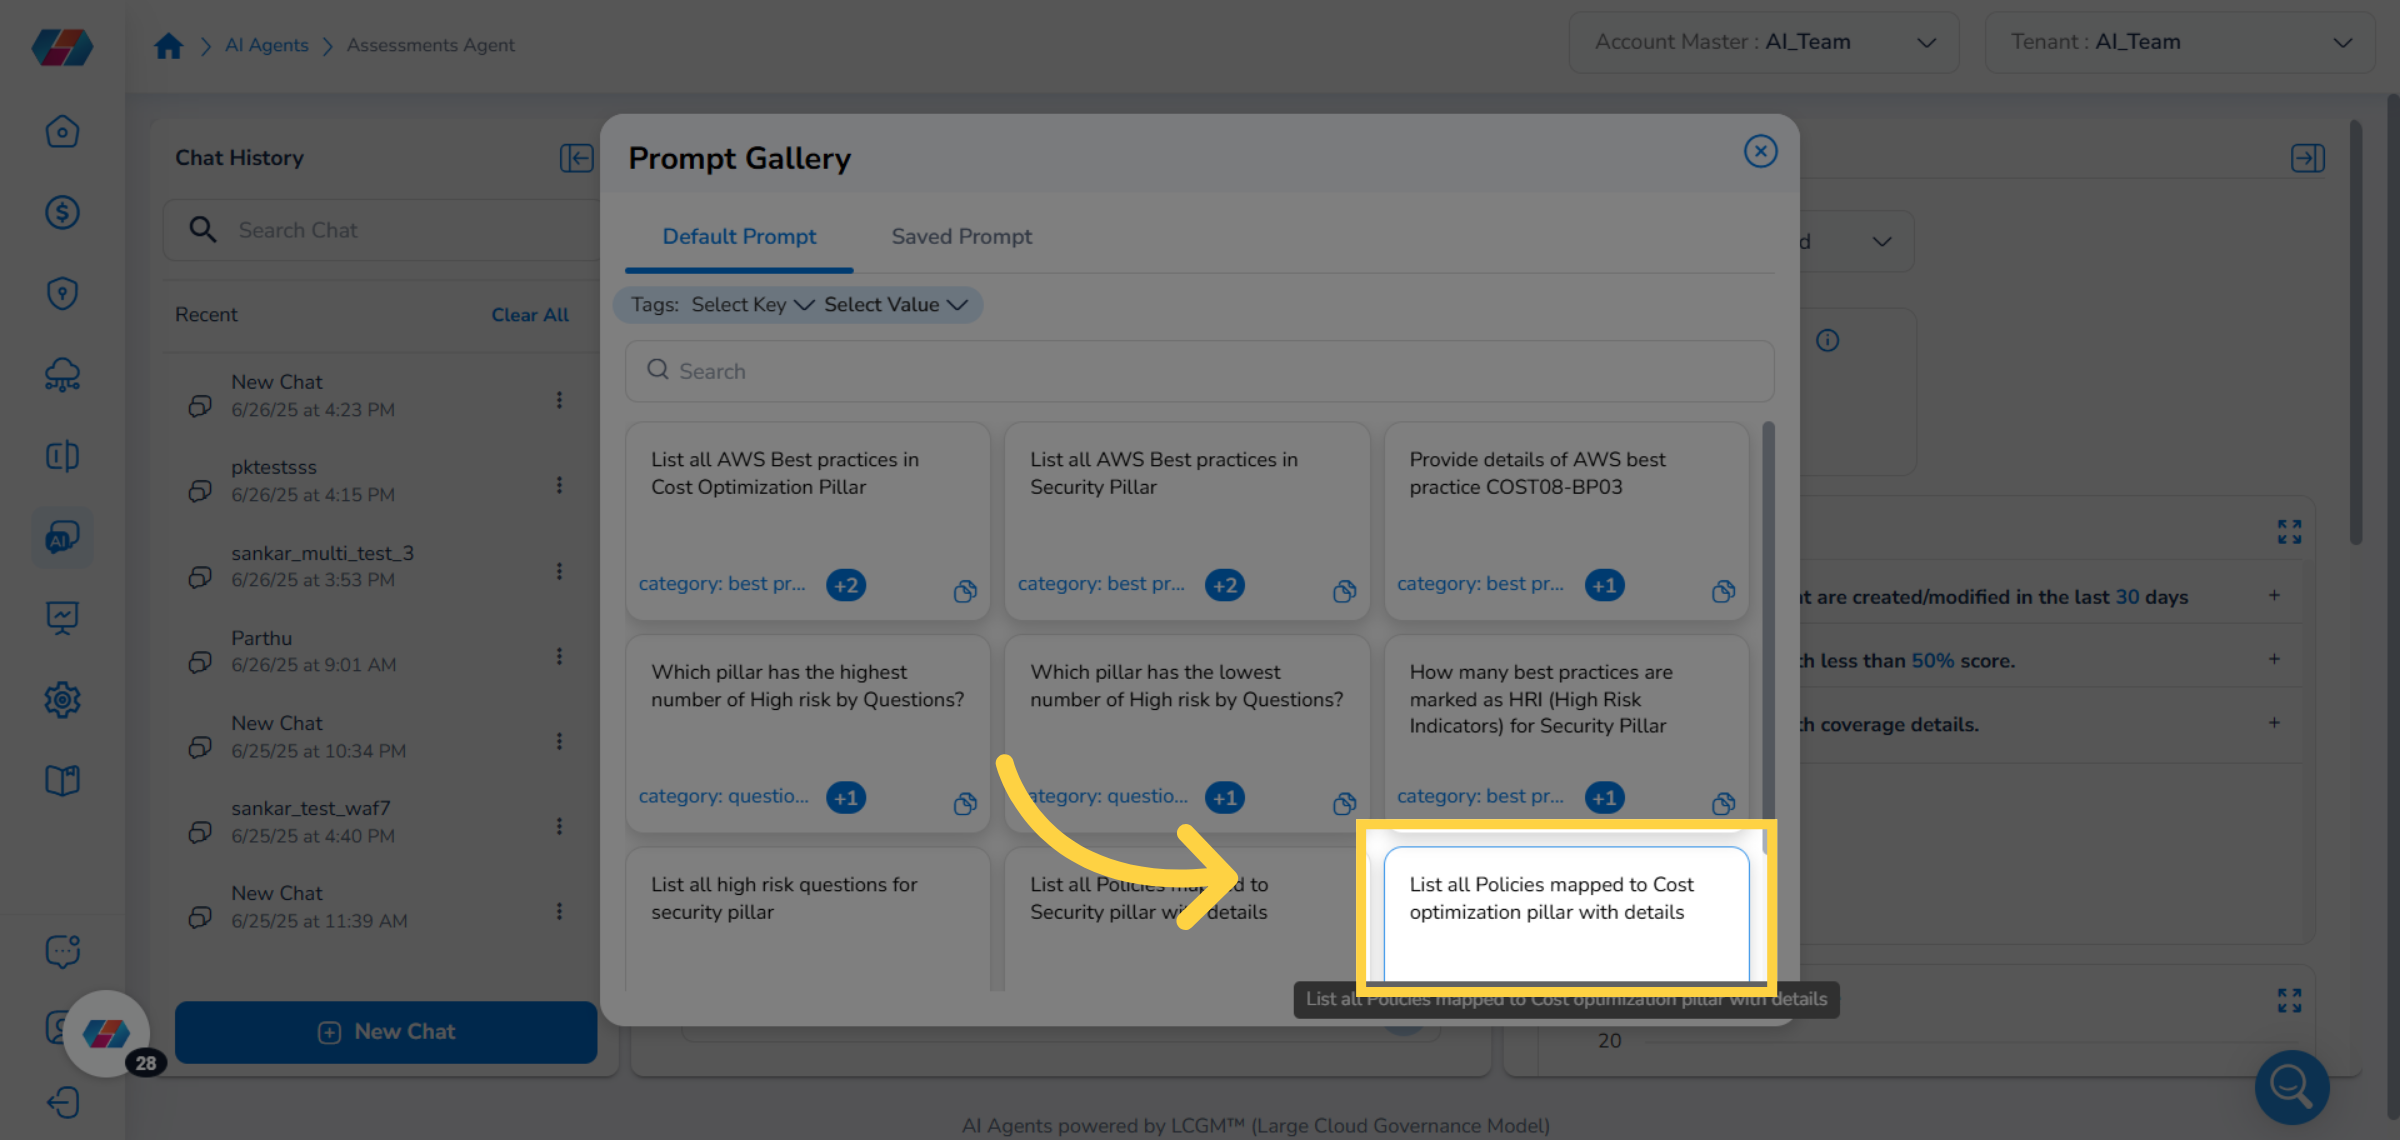
7. View Default Prompt
After clicking View More Prompts, the Default Prompt tab appears by default. It shows all the system-defined prompts that users can select from to get answers.
Note:In the Prompt Gallery dialog box, click the Copy to Clipboard (square) icon to copy a prompt to the clipboard.
8. View Saved Prompt
The Saved Prompt tab shows the list of prompts saved by users. Users can select any of the saved prompt and get relevant answers.
Note:In this dialog box, click the Copy to Clipboard (square) icon to copy a prompt to the clipboard and you can use the Delete icon to remove a saved prompt.
9. Select a Prompt
To use an existing prompt, just select the prompt you want to use and press the Enter key.
10. View Results
View the results for the selected prompt.
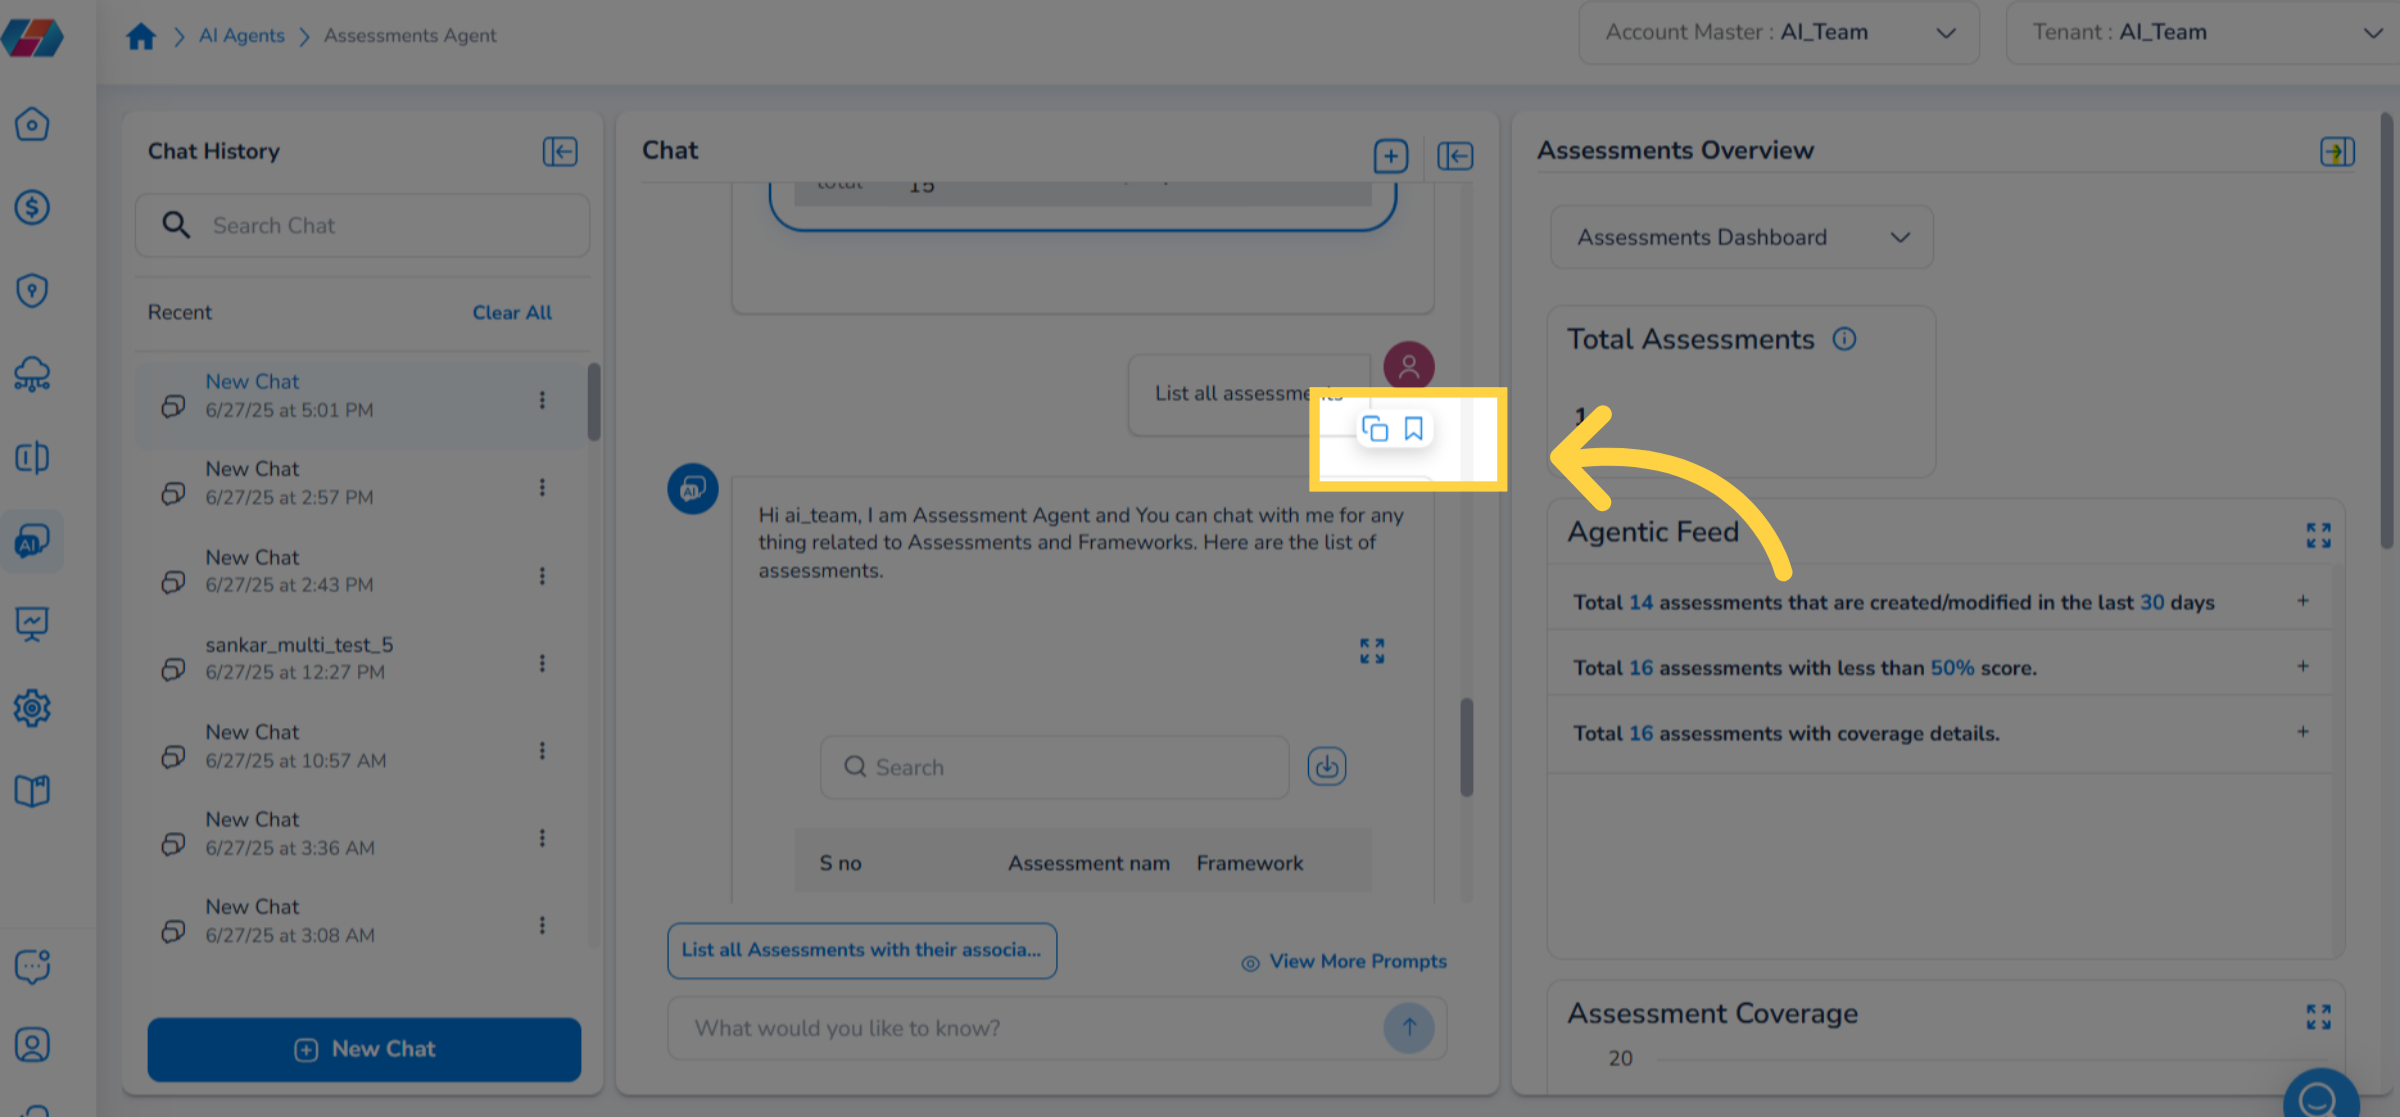
11. Save a User Defined Prompt
When you ask a custom query to the Assessments Agent, you will get an option to save that query as a prompt that will appear in the Saved Prompt tab of the Prompt Gallery dialog box. To save a user defined prompt, first type your query in the text box provided at the end of the Chat pane and press the Enter key. After the answer is displayed, scroll up and hover your mouse pointer over the query you had asked. You can see two icons and you can click the second icon to save user-defined prompt.
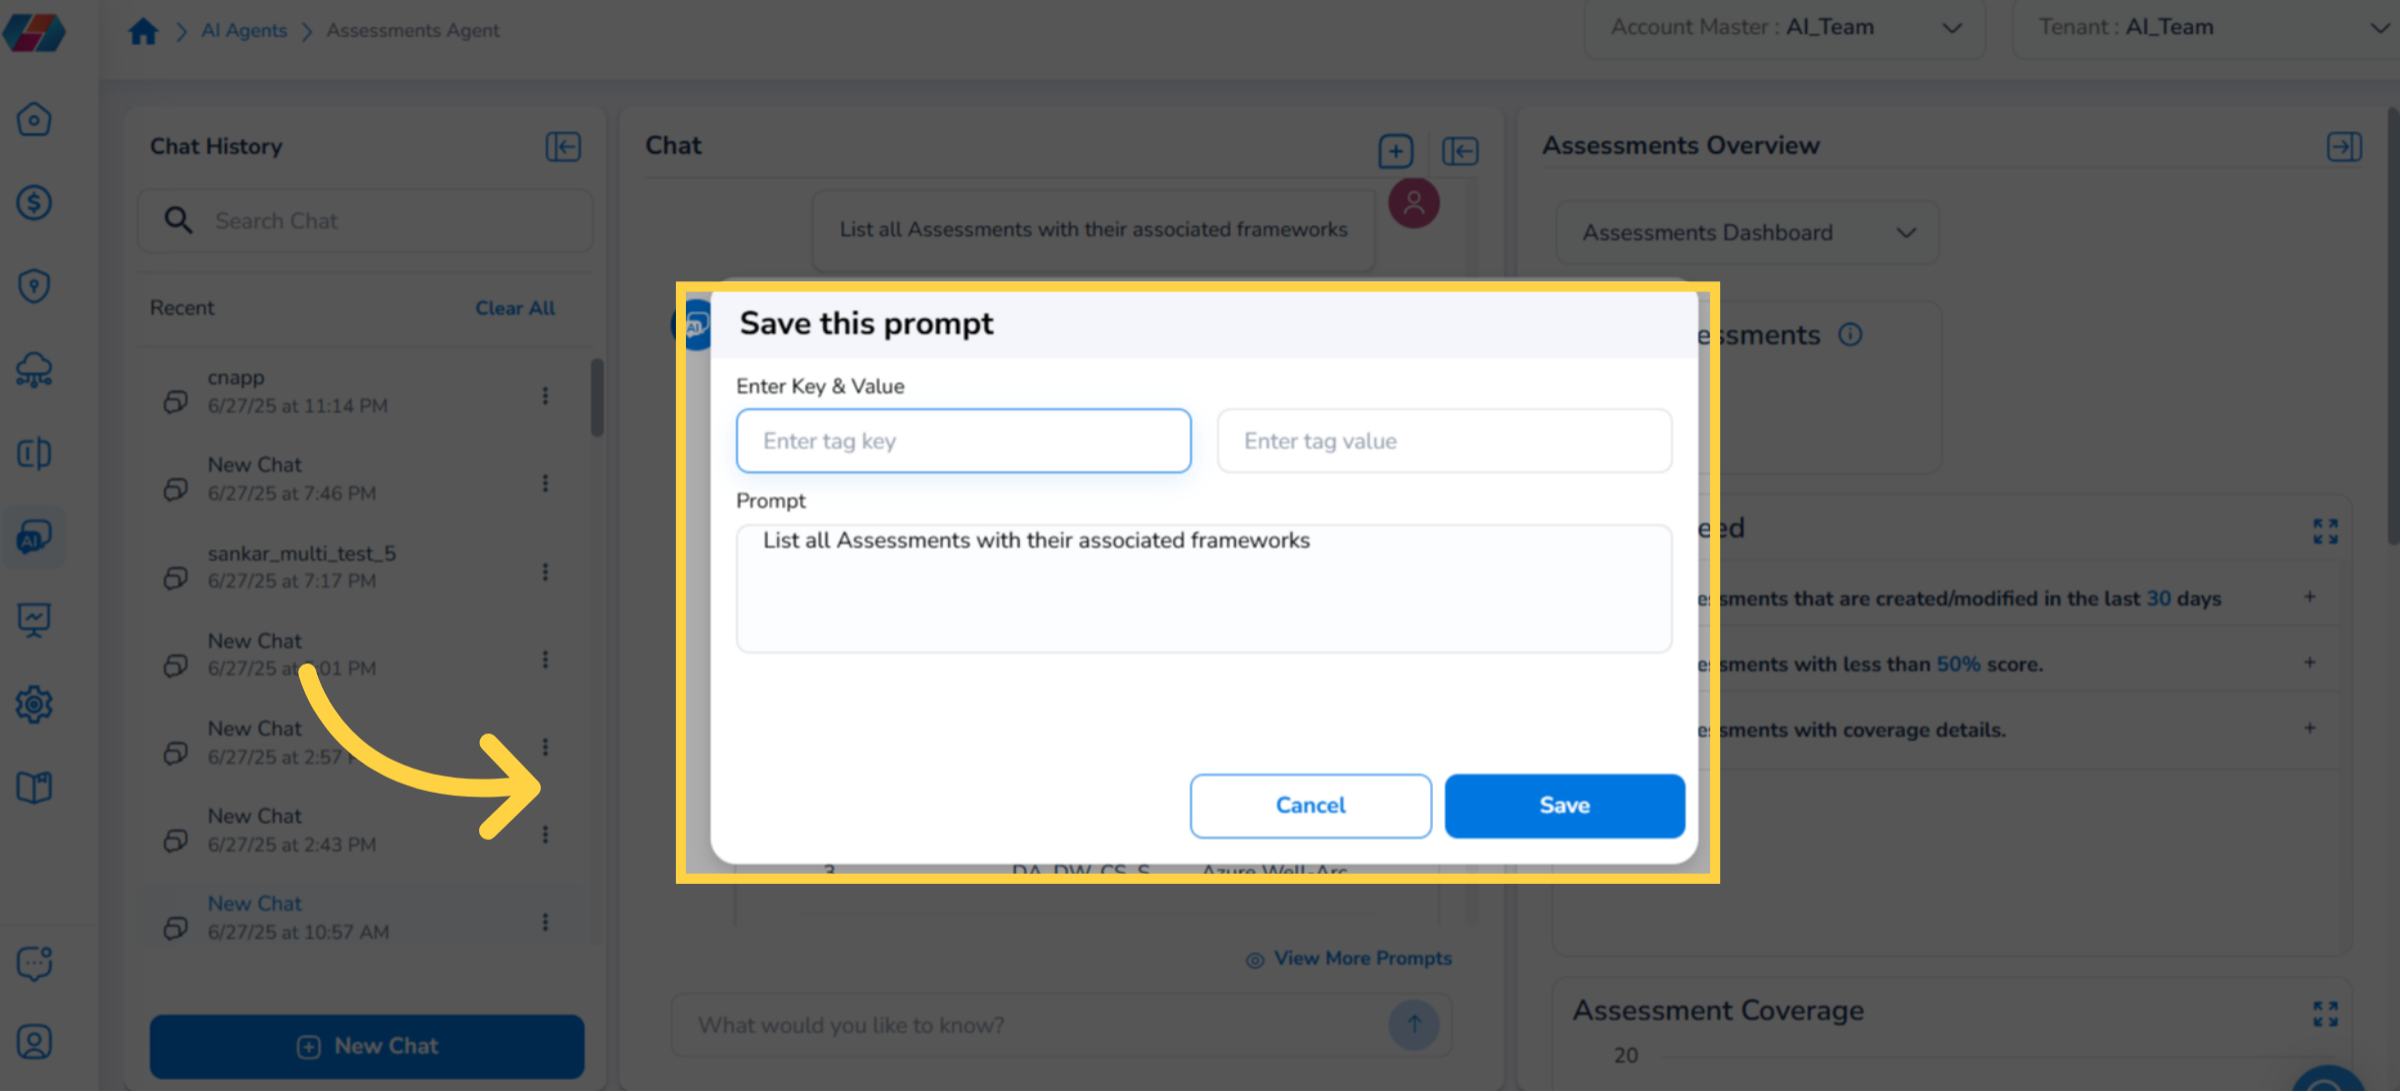
12. Save User Defined Prompt
The Save this prompt dialog box appears wherein you must fill the following fields and then click Save.
- Enter tag key: Enter a tag key.
- Enter tag value: Enter a tag value.
- Prompt: This field shows the query you had asked to the agent, but the text can be modified here.
13. Click ADD+
In the Prompt Gallery dialog box, you can filter the prompts using the tag key and tag value. To apply the filter, click View More Prompts to open the Prompt Gallery dialog box. Now, click ADD+ and select Tags.
14. Filter Prompts Using Tag Key & Value
In the Select Key drop-down list, select a key and in the Value drop-down list, select a value. The prompts will be filtered as per the selected options and displayed.
You can add additional tags. To remove a tag filter, click the cross symbol that appears above the Tags filtering block. Users can also use the Search box to search for a specific prompt.
15. Expand/Collapse Chat View
Use the arrow that appears on the top of the Chat pane to expand or collapse the pane.
16. Rearrange Column Names
To rearrange the column names in the table, drag and drop the column names to arrange them in a desired order. The order of columns selected in the Table Column Selector will display in the table.
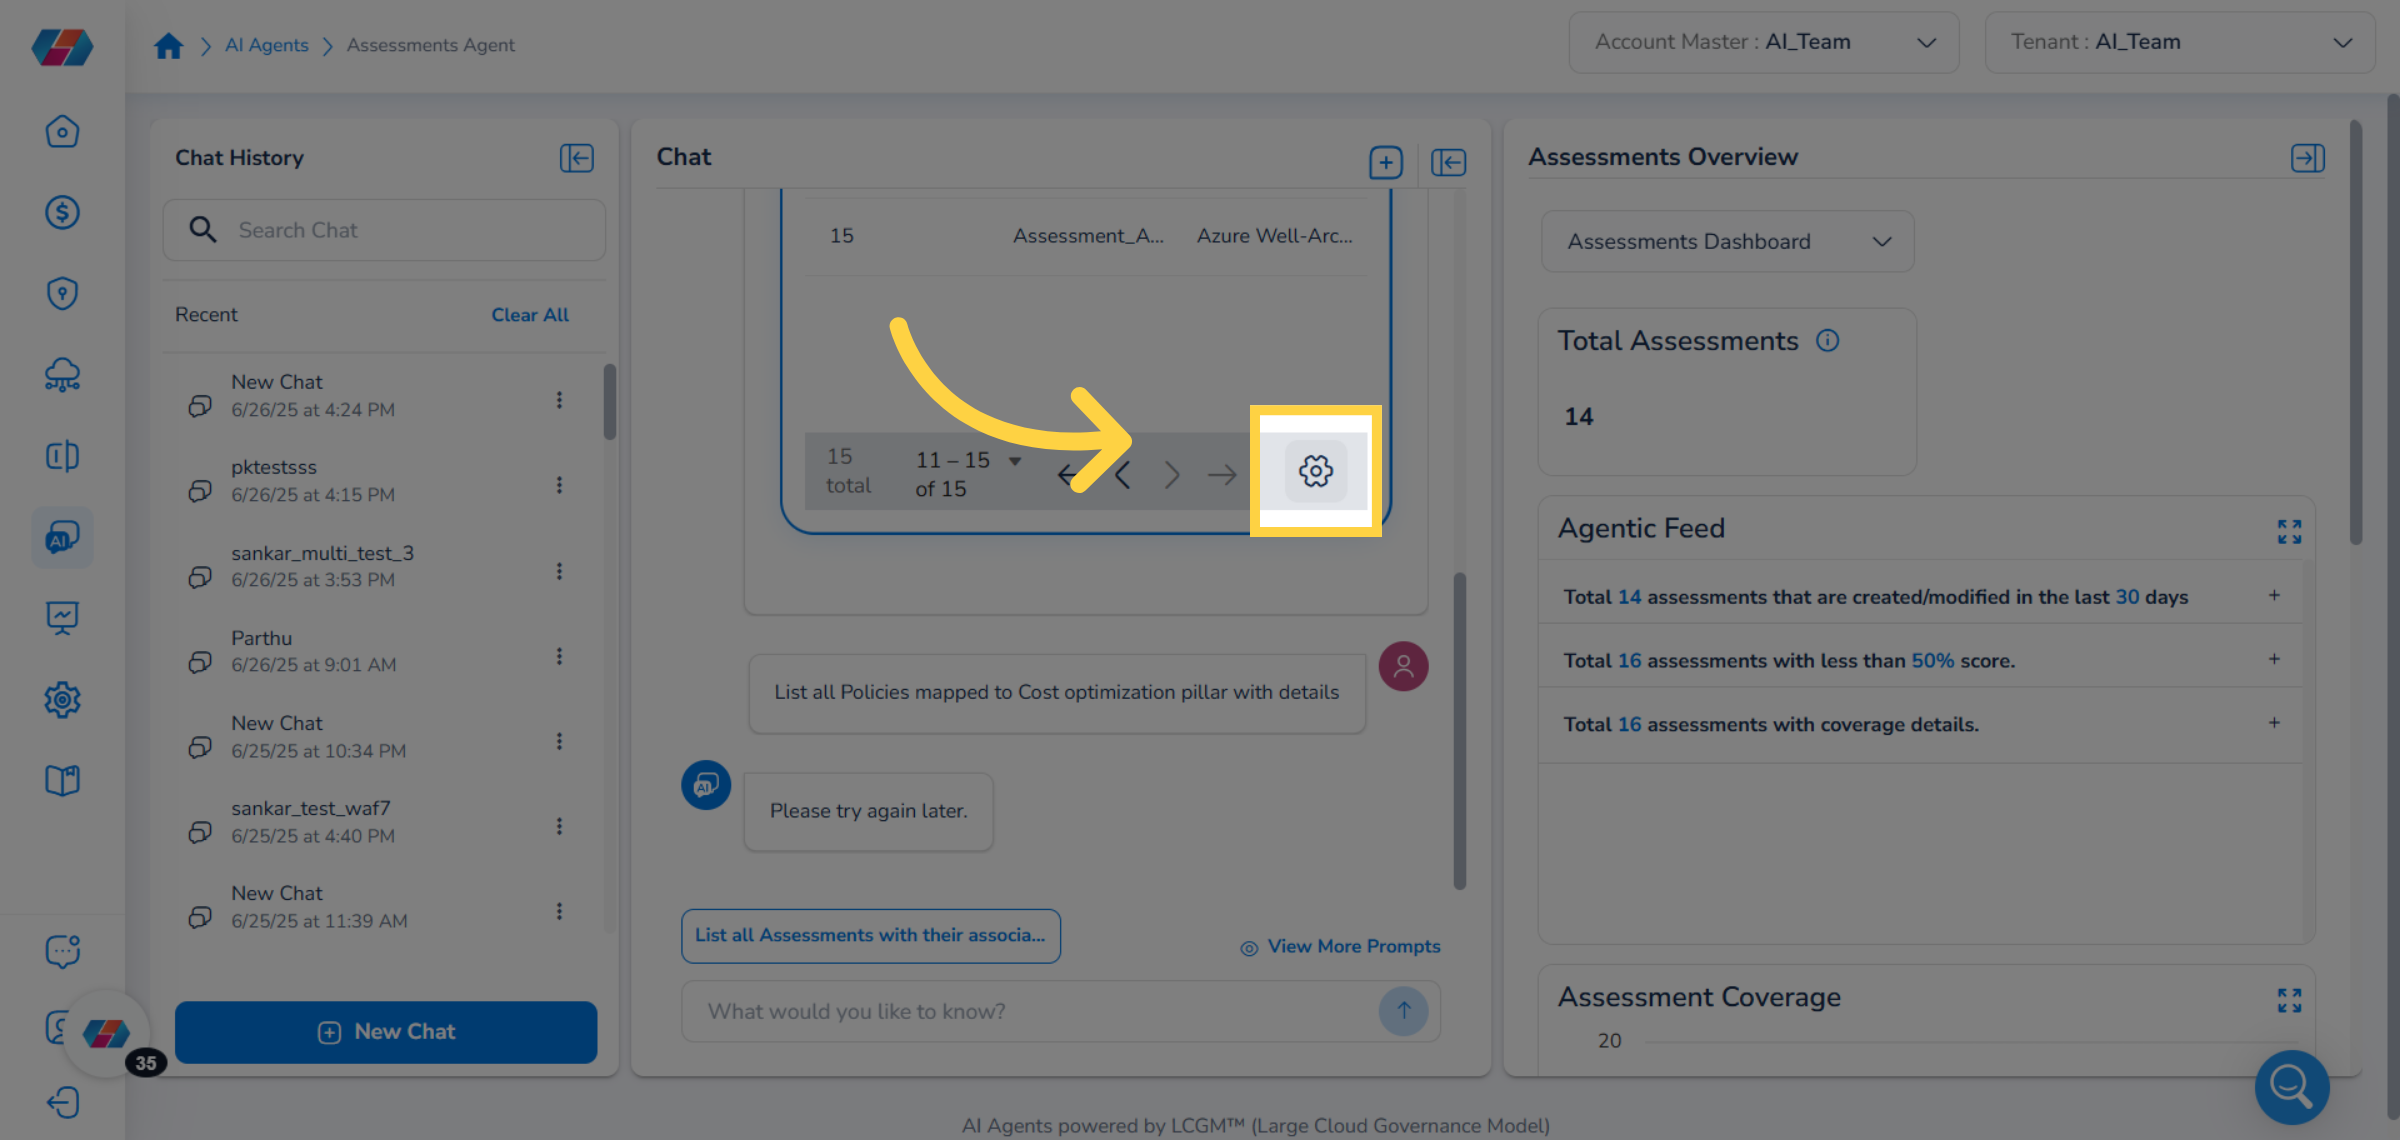
17. Open Table Column Selector
Based on the assessment question that you ask, users may get answers in tabular format. You can use the Table Column Selector feature to display/hide the desired columns in the table and rearrange the order of the columns. To open the Table Column Selector, click the wheel icon that appears at the end of the table.
18. Select or Unselect Column Name
Select or unselect a checkbox corresponding to a column name to show/hide a column from the table.
19. Save Table Column Selector Settings
After making the relevant changes, click Save to save the changes.
Assessment Overview Pane
Perform the following steps to view details in Assessment Overview pane:
1. Expand/Collapse Assessment Overview
Use the arrow that appears on the top of the Assessment Overview pane to expand or collapse the pane.
2. Collapse Assessments Overview
In the Assessments Overview pane, you can click the arrow that appears on top of the pane to collapse the pane.
3. Expand Assessment Agent Overview
Click the arrow provided on top of the Assessment Agent Overview section to expand this section and view details.
4. Assessments Overview Section
The Assessments Overview section shows a drop-down on top. By default, the option Assessments Dashboard is selected. When the option Assessments Dashboard is selected, users can view details about the following:
- Total Assessments: Shows the count of total assessments.
- Agentic Feed: Users can expand the available sub-sections to view assessment related details.
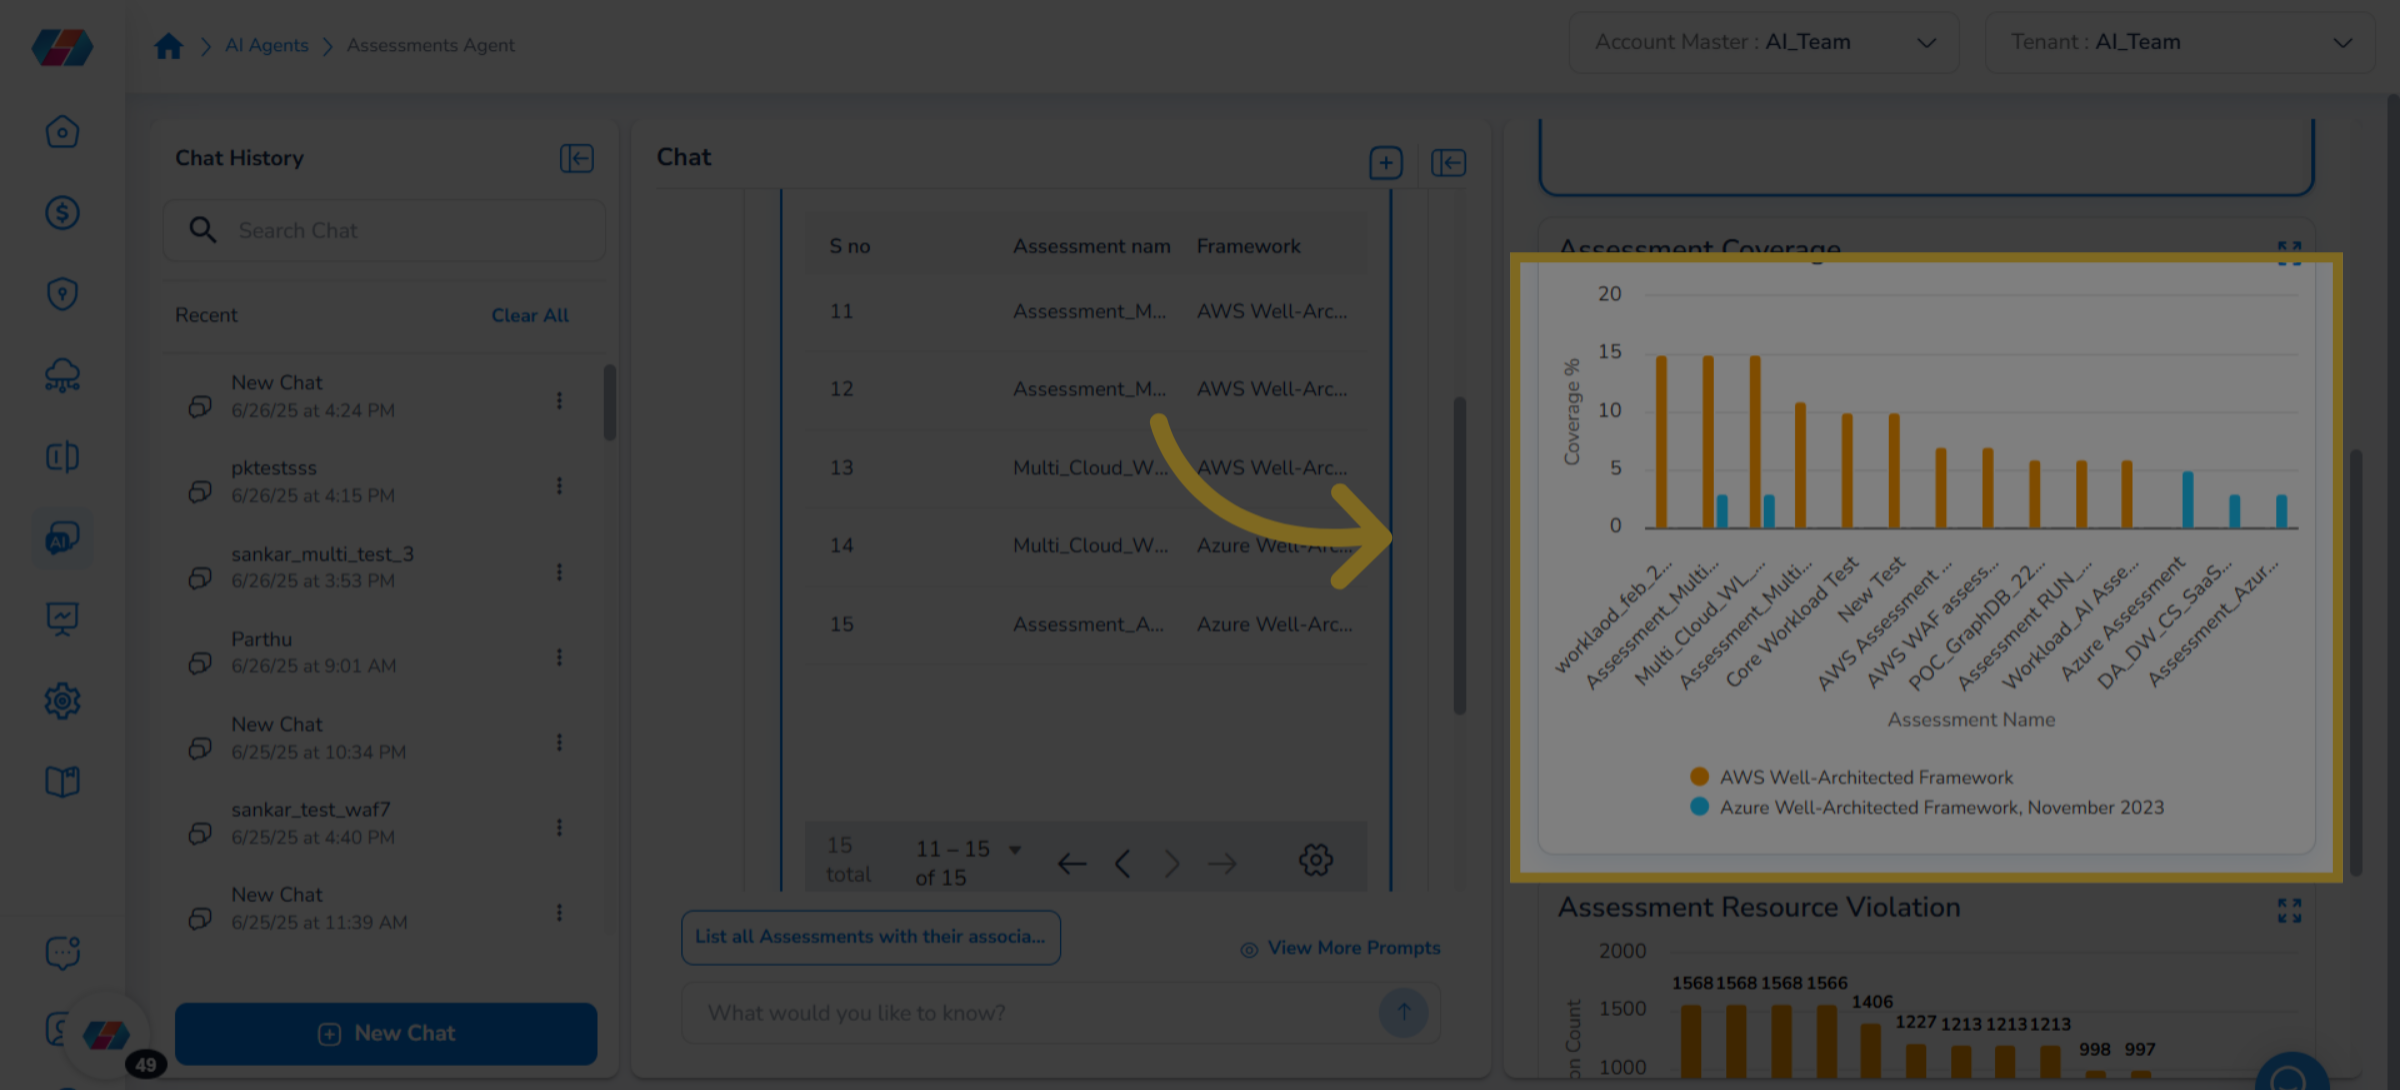
- Assessment Coverage: Users can view this graph that shows the coverage percentage. They can hover the mouse pointer over any data point in the graph to view specific details.
- Assessment Resource Violation: Users can view this graph that shows the violation count. They can hover the mouse pointer over any data point in the graph to view specific details.
5. Minimize or Maximize View
Users can minimize or maximize a graph/table view at anytime and view details.
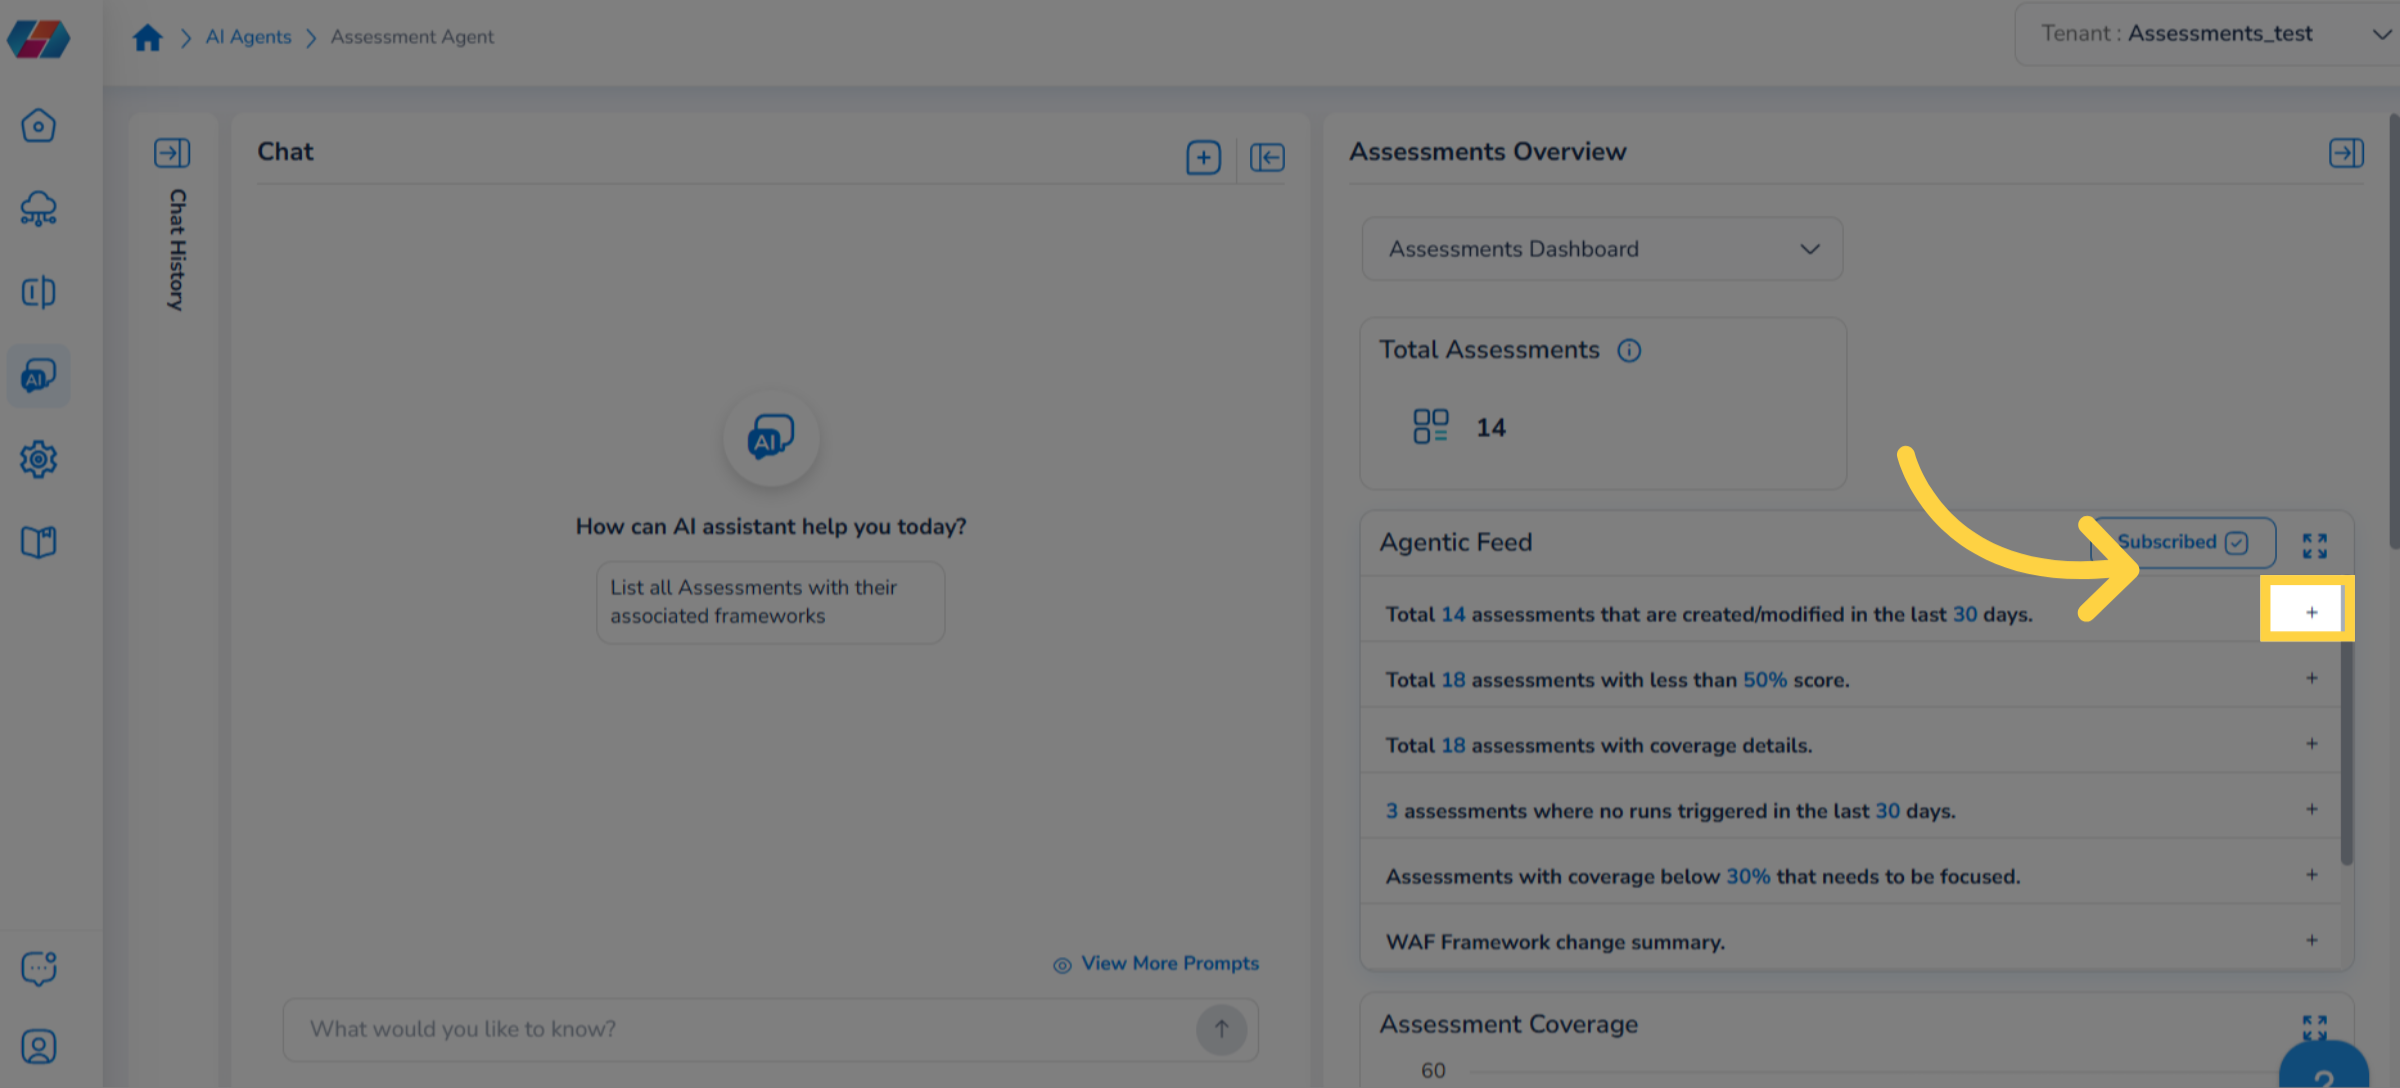
6. Expand Agentic Feed
Under Agentic Feed, click the plus symbol to expand a sub-section and view details.
Note:Alternatively, users can click on the numbers that show on a sub-section heading to view more details.
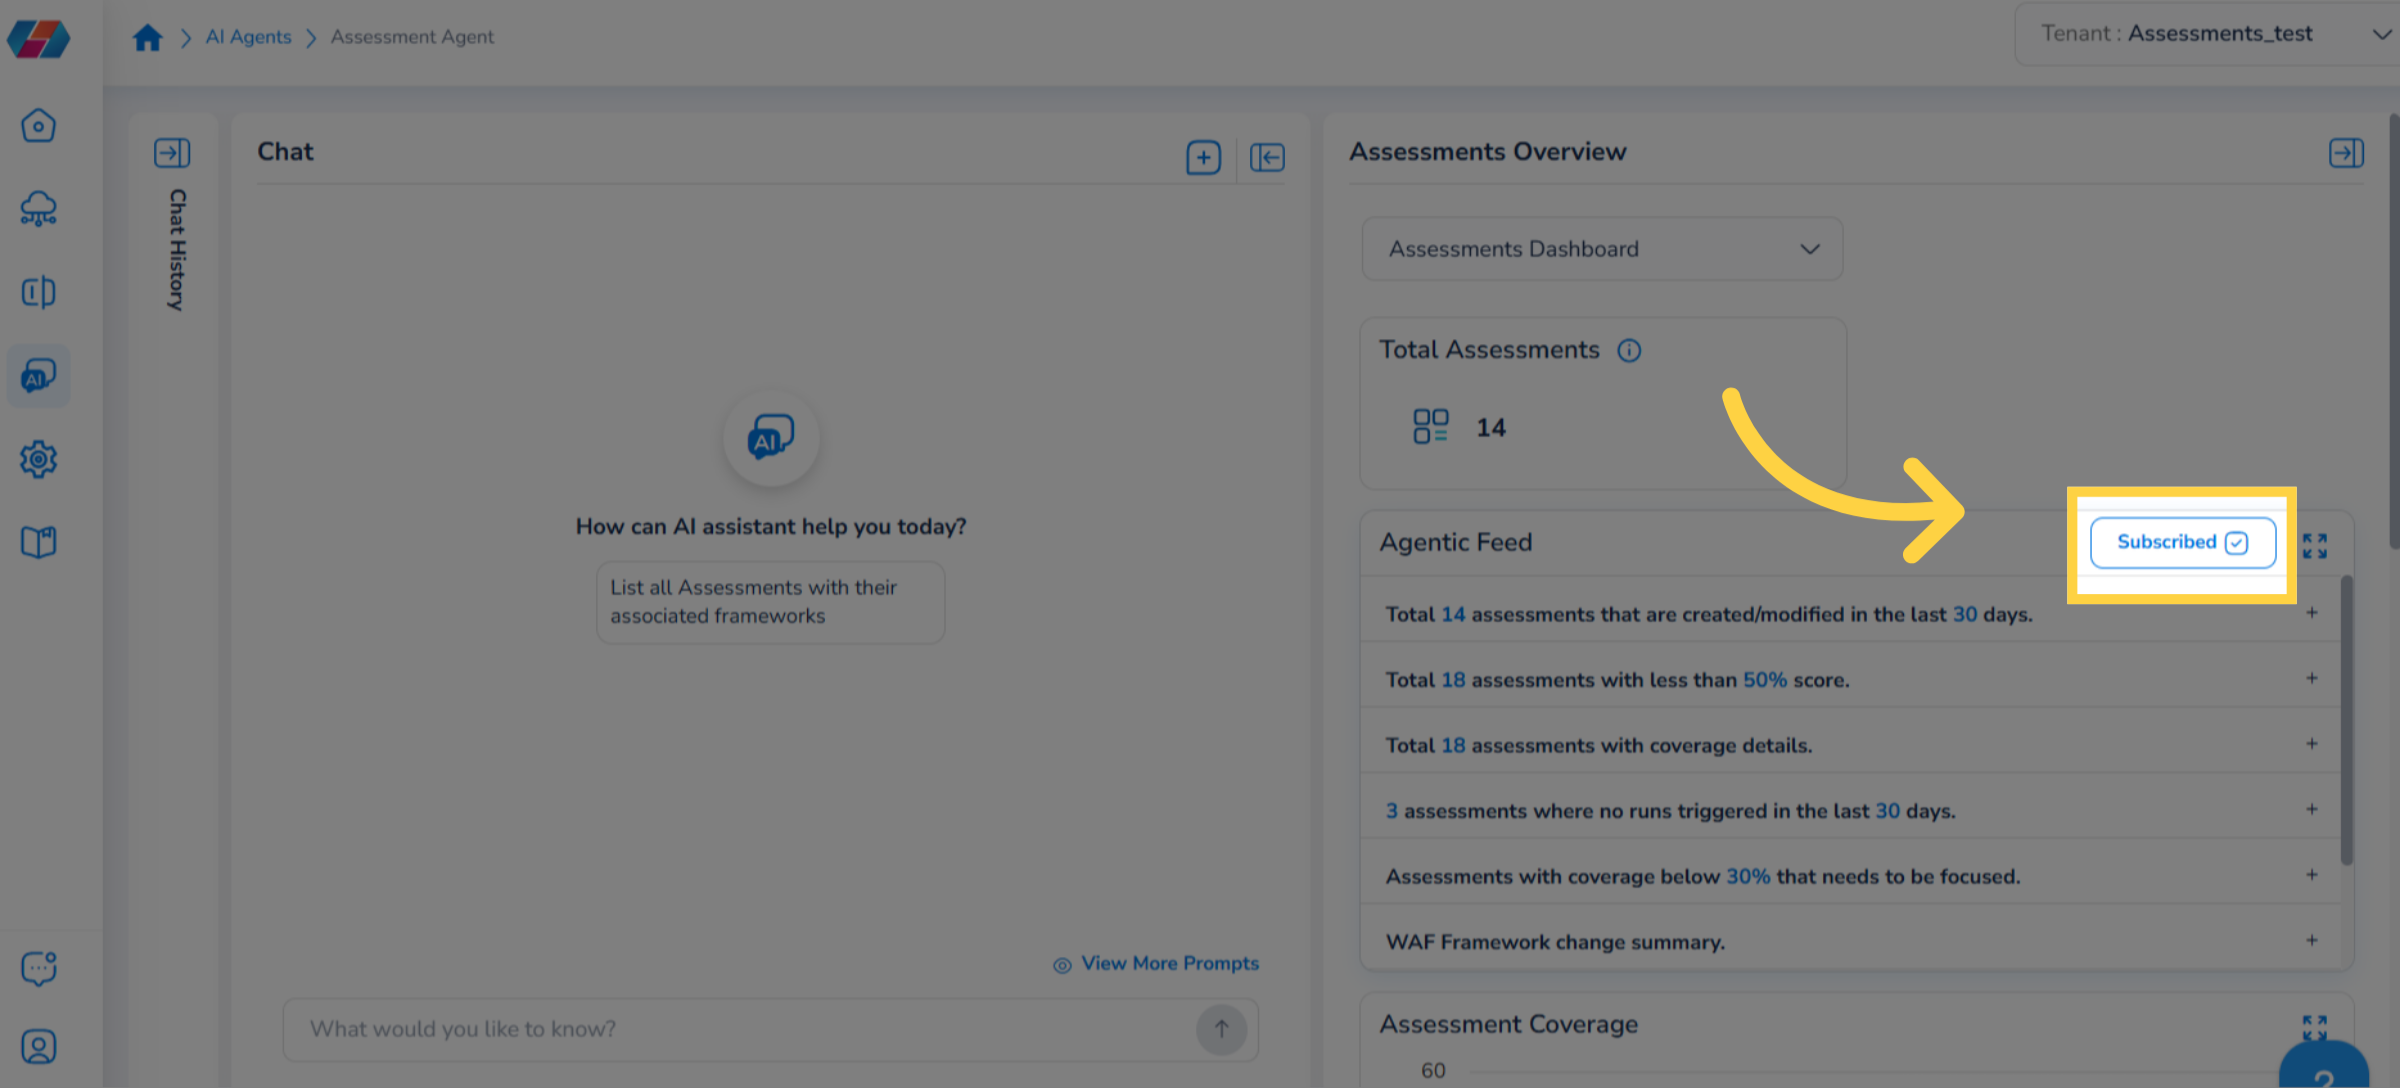
7. Subscribe to Agentic Feed
Users can subscribe to Agentic Feed to get timely details about assessments or workload. To subscribe to Agentic Feed, click Subscribe. The Subscribe Widget screen appears.
8. Enter Subscription Name & Email Address
- In the Subscription Name box, enter the subscription name.
- In the Email Address box, type the email address of the recipient and click Add.
The name of the recipient added by you appears below. In case the name of the recipient needs to be removed, click the cross symbol next to the recipient's name.
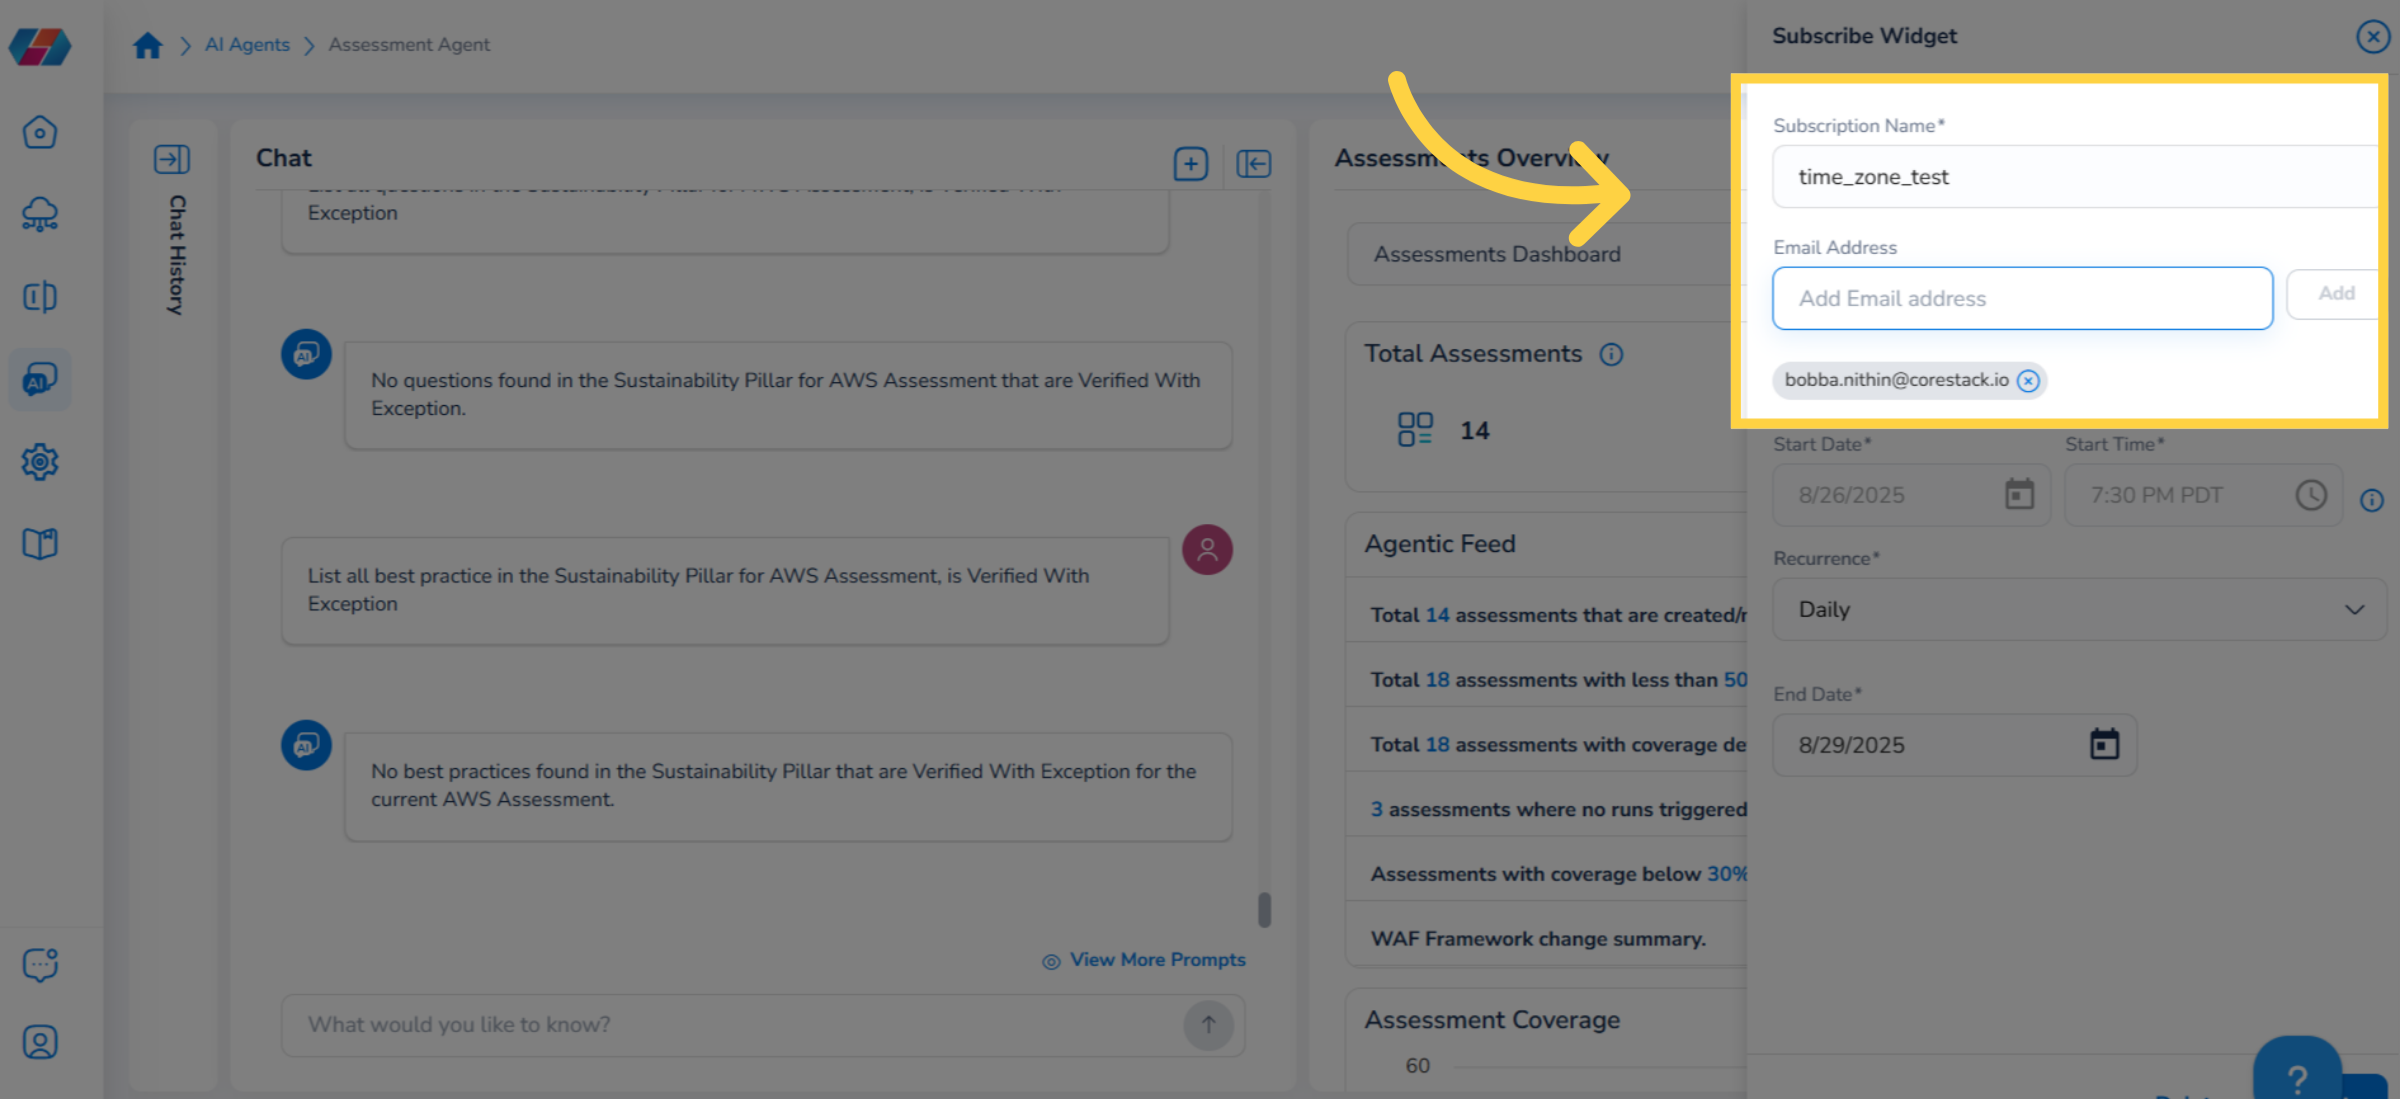
9. Enter Start Date & Time
In the Start Date field, click the calendar and set the start date for subscription. In the Start Time field, set the start time for subscription.
10. Select Recurrence as Once
In the Recurrence drop-down list, select the option for recurrence. If the option selected for Recurrence is Once, then the recipients receive the details related to the Agentic Feed just once.
11. Select Recurrence as Daily
If the option selected for Recurrence is Daily, then the recipients will receive the details related to the Agentic Feed daily. For this case, in the End Date field, click the calendar and select the end date for the subscription.
12. Select Recurrence as Weekly
If the option selected for Recurrence is Weekly, then the recipients will receive the details related to the Agentic Feed weekly based on the selected days of the week. For this case, fill the following:
- Select the checkboxes corresponding to the days of the week when you would like to receive the assessments or workload details.
- In the End Datefield, click the calendar and select the end date for the subscription.
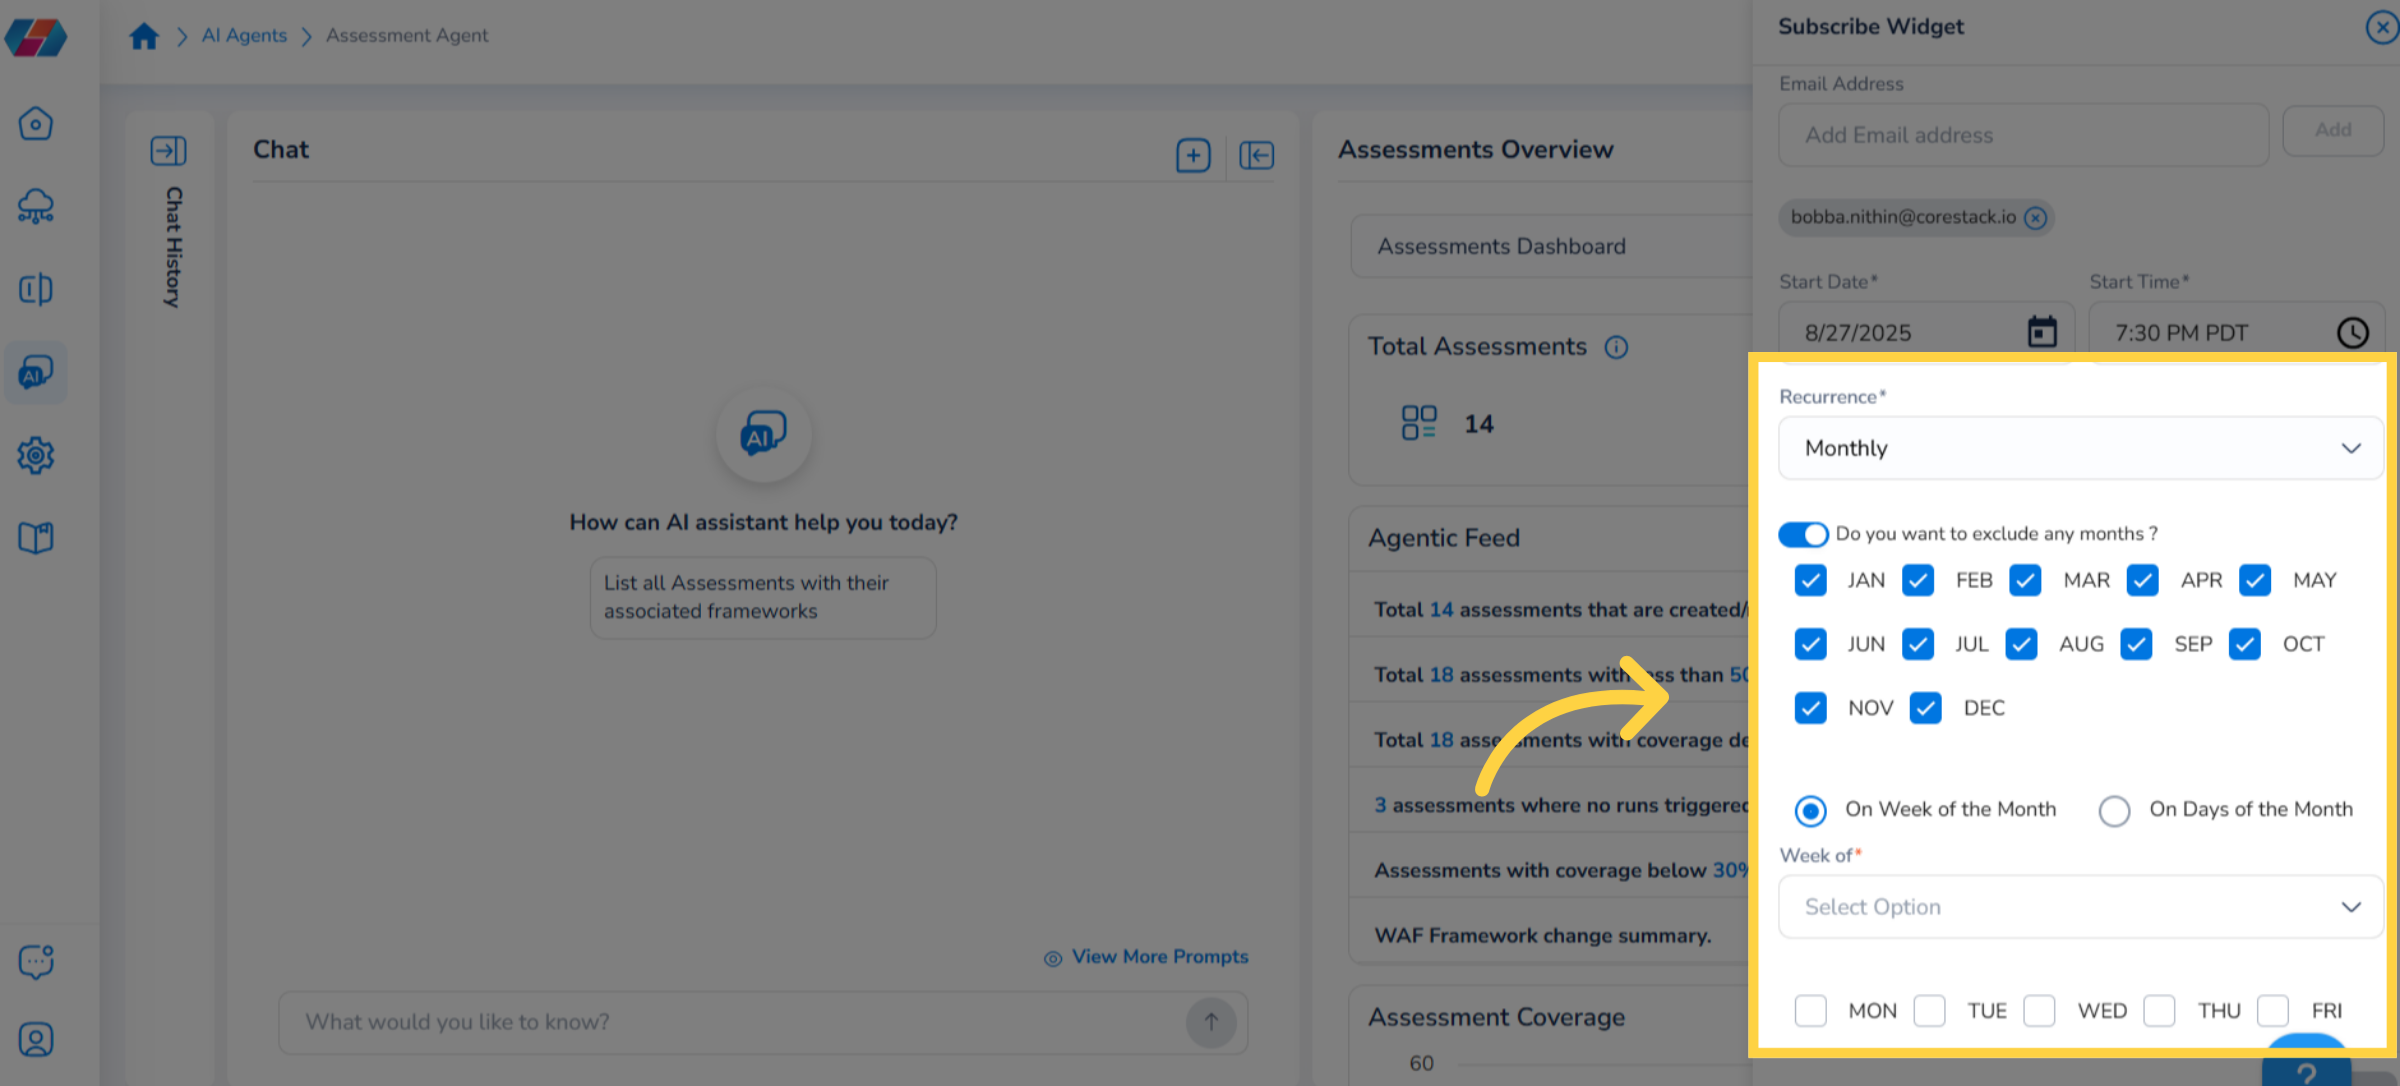
13. Select Recurrence as Monthly - On Week of the Month
If the option selected for Recurrence is Monthly, then the recipients will receive the details related to the Agentic Feed monthly based on the selected options.
For this case, fill the following:
- In the "Do you want to exclude any months ?" field, you can move the slider towards right to enable this field. You can now view all the 12 months of a year.
- Select the checkboxes to exclude the selected month from subscription.
- Next, select either "On Week of the Month" or "On Days of the Month".
- If you select the option "On Week of the Month", then in the "Week of" drop-down list, click to select an option and then select the checkboxes corresponding to the days of week when you would like to receive the workload or assessment details.
- In the End Date field, click the calendar and select the end date for the subscription.
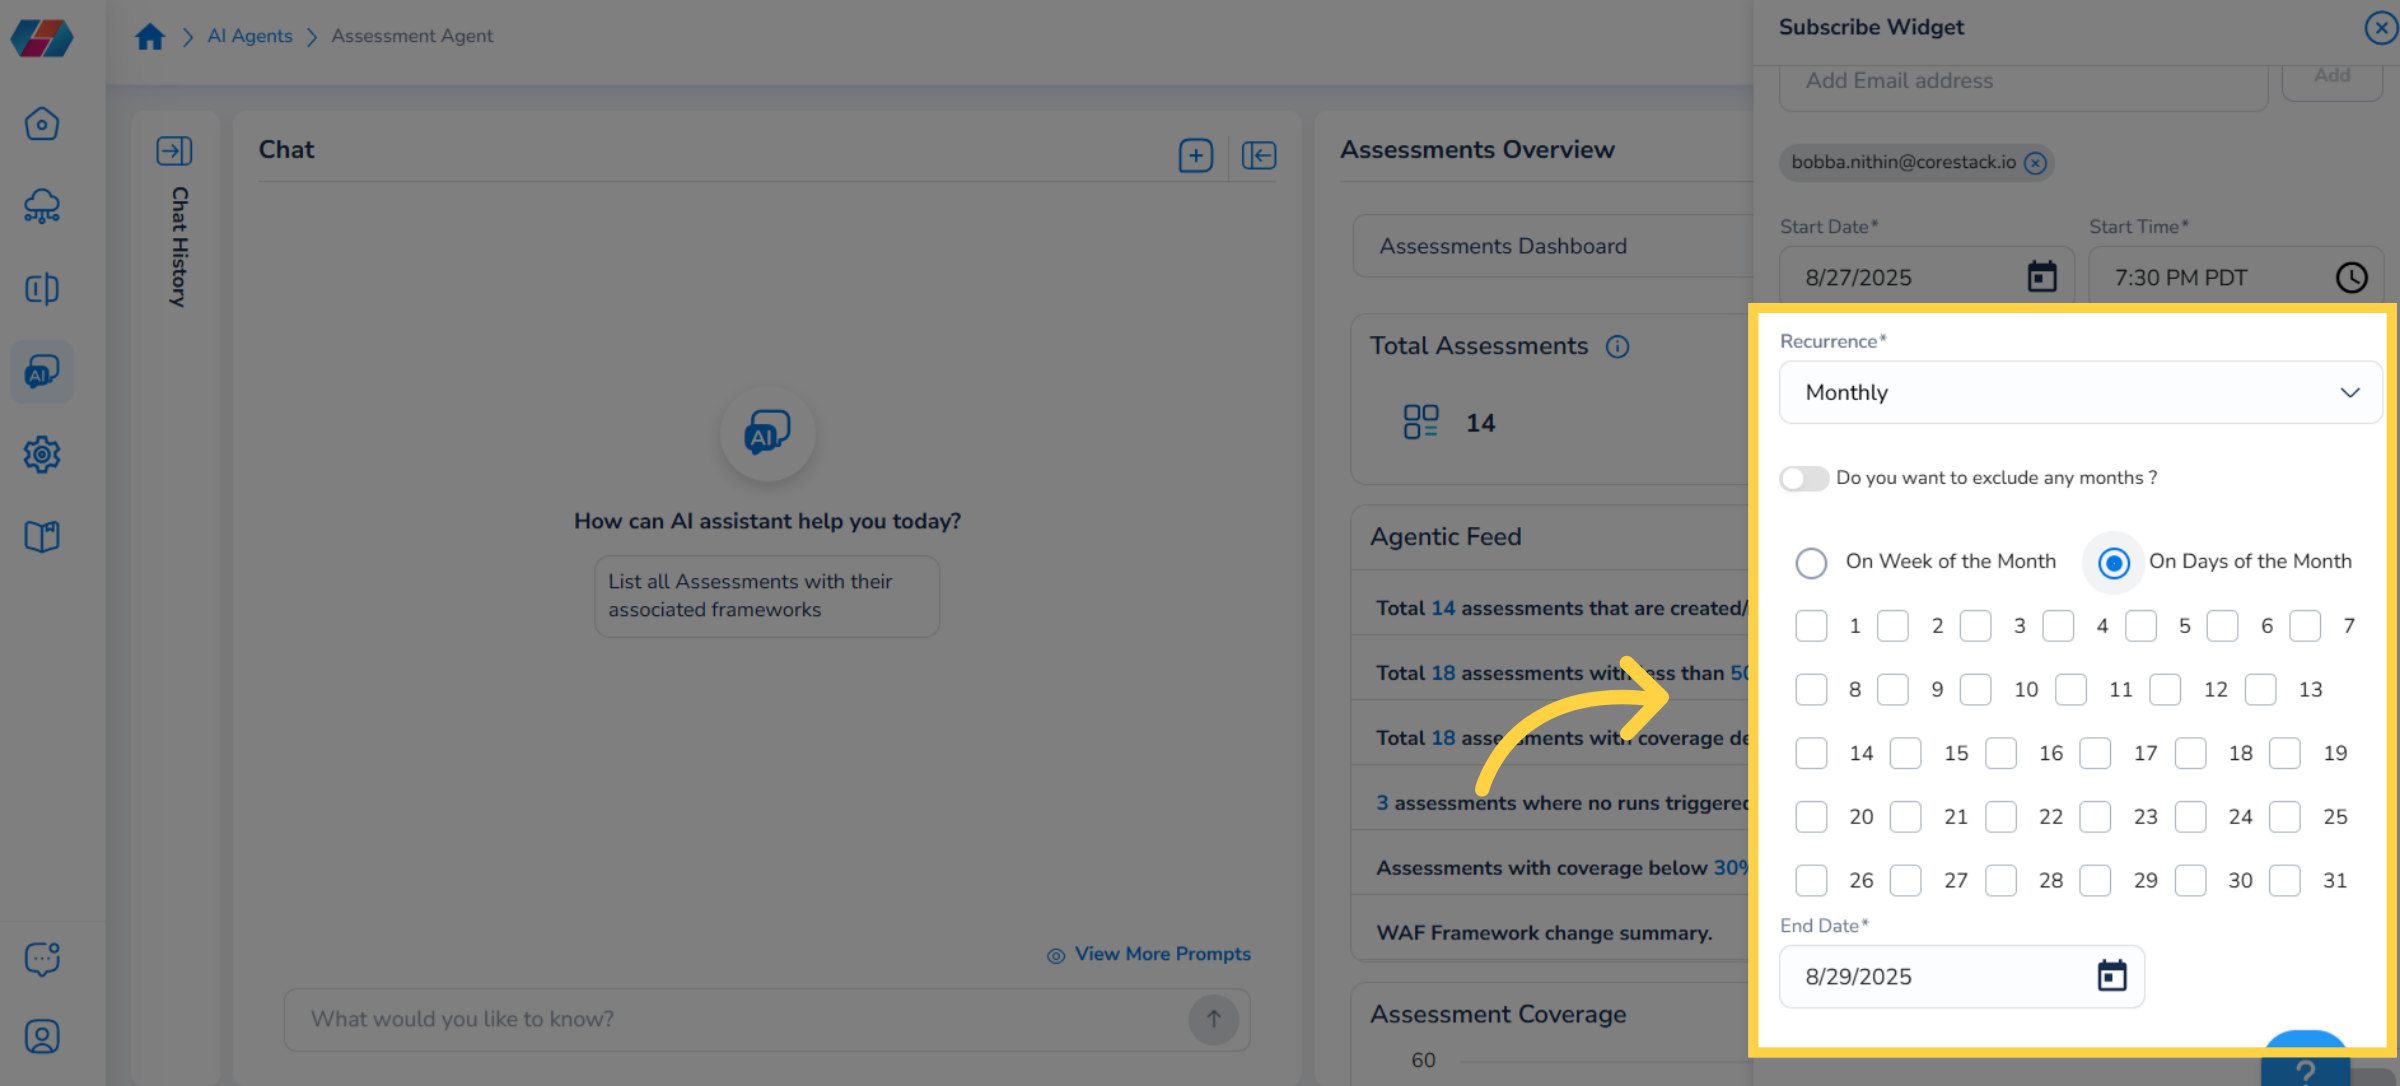
14. Select Recurrence as Monthly - On Days of the Month
If the option selected for Recurrence is Monthly, then the recipients will receive the details related to the Agentic Feed monthly based on the selected options. For this case, fill the following:
- In the "Do you want to exclude any months ?" field, you can move the slider towards right to enable this field. You can now view all the 12 months of a year.
- Select the checkboxes to exclude the selected month from subscription.
- Next, select either "On Week of the Month" or "On Days of the Month".
- If you select the option "On Days of the Month", then select the checkboxes corresponding to the days of the month when you would like to receive the assessments or workload details.
- In the End Datefield, click the calendar and select the end date for the subscription.
15. View Graph Details
View the details in Assessment Coverage and Assessment Resource Coverage graphs. Additionally, hover the mouse pointer over any data point in the graph and view details.
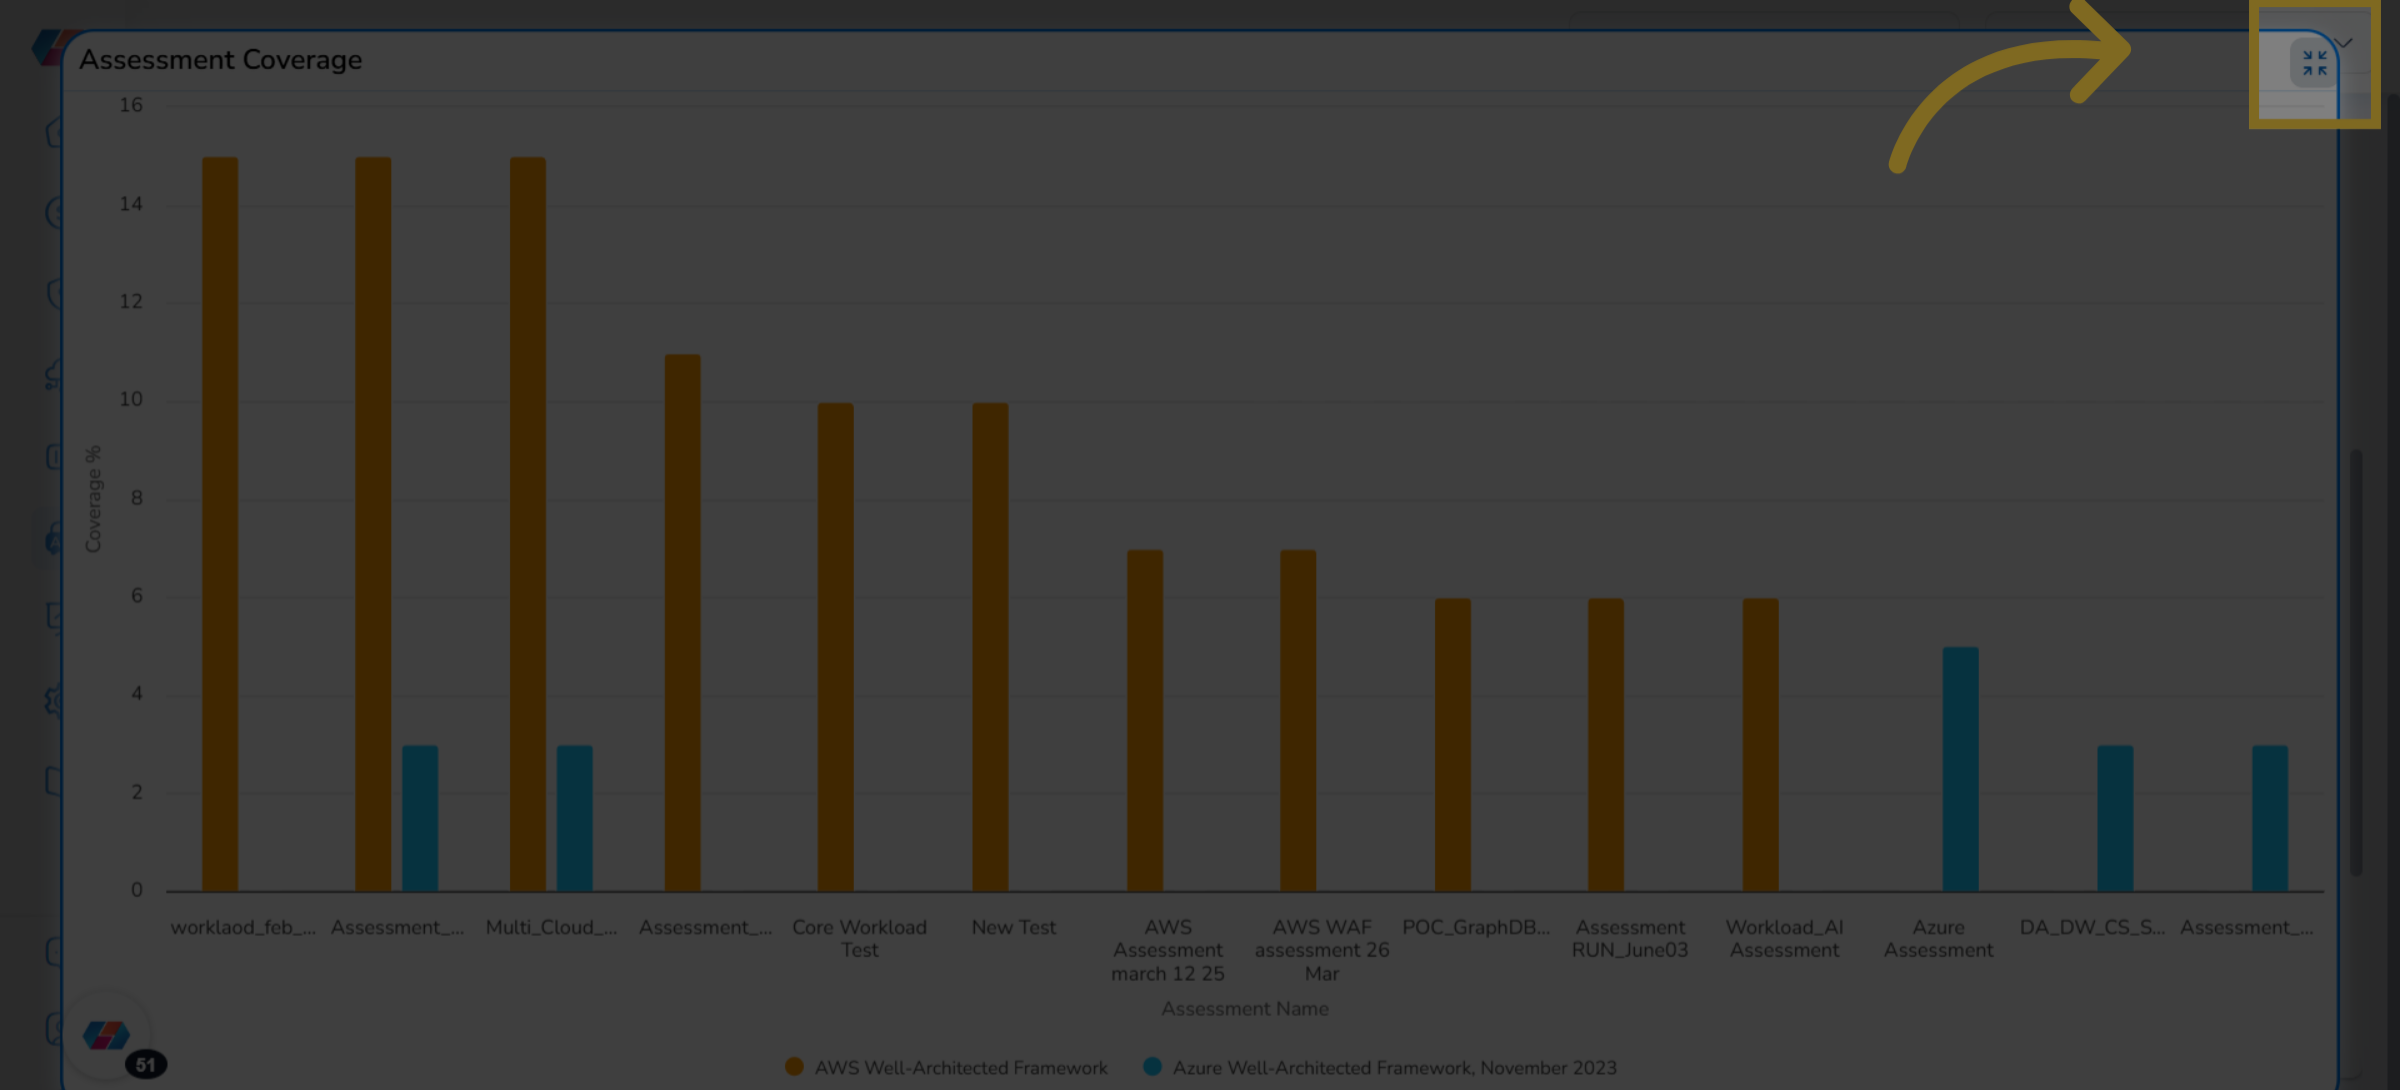
16. Maximize Graph View
Users can maximize a graph to get an enlarged view of the graph.
17. Select "Workload Dashboard"
In the Assessments Overview section, select the "Workload Dashboard" option from the drop down. You can view details related to the following:
- Total Workload: This shows the total count of workload.
- Agentic Feed: Users can expand each of the available sub-sections to view detailed information.
- Workload: Users can view workload details in tabular format and can even download the details.
18. View Total Workload
View the count of total workload.
19. Expand Agentic Feed
In the Agentic Feed sub-section, click the plus icon to expand and view details.
20. View Workload Details
View the Workload table with detailed information. Users can use the Subscribe button and fill/select appropriate details to subscribe to Agentic Feed details.
21. Navigate Through Pages in the Workload Table
In the Workload table, users can use the arrow icons at the bottom of table to navigate through various pages. Users can also use Table Column Selector to rearrange columns.
22. Download Workload Details
Users have the option to download workload details.
23. Search for Details
The Workload table shows a Search box where users can search for the required details.
By utilizing the Assessment Agent feature, users can ask their assessment related queries and get details about it.
Updated 8 months ago