CSP Customer To Tenant Access
Setting up Customer To Tenant Access
To setup a CSP Customer To Tenant access in CoreStack, follow the below steps.
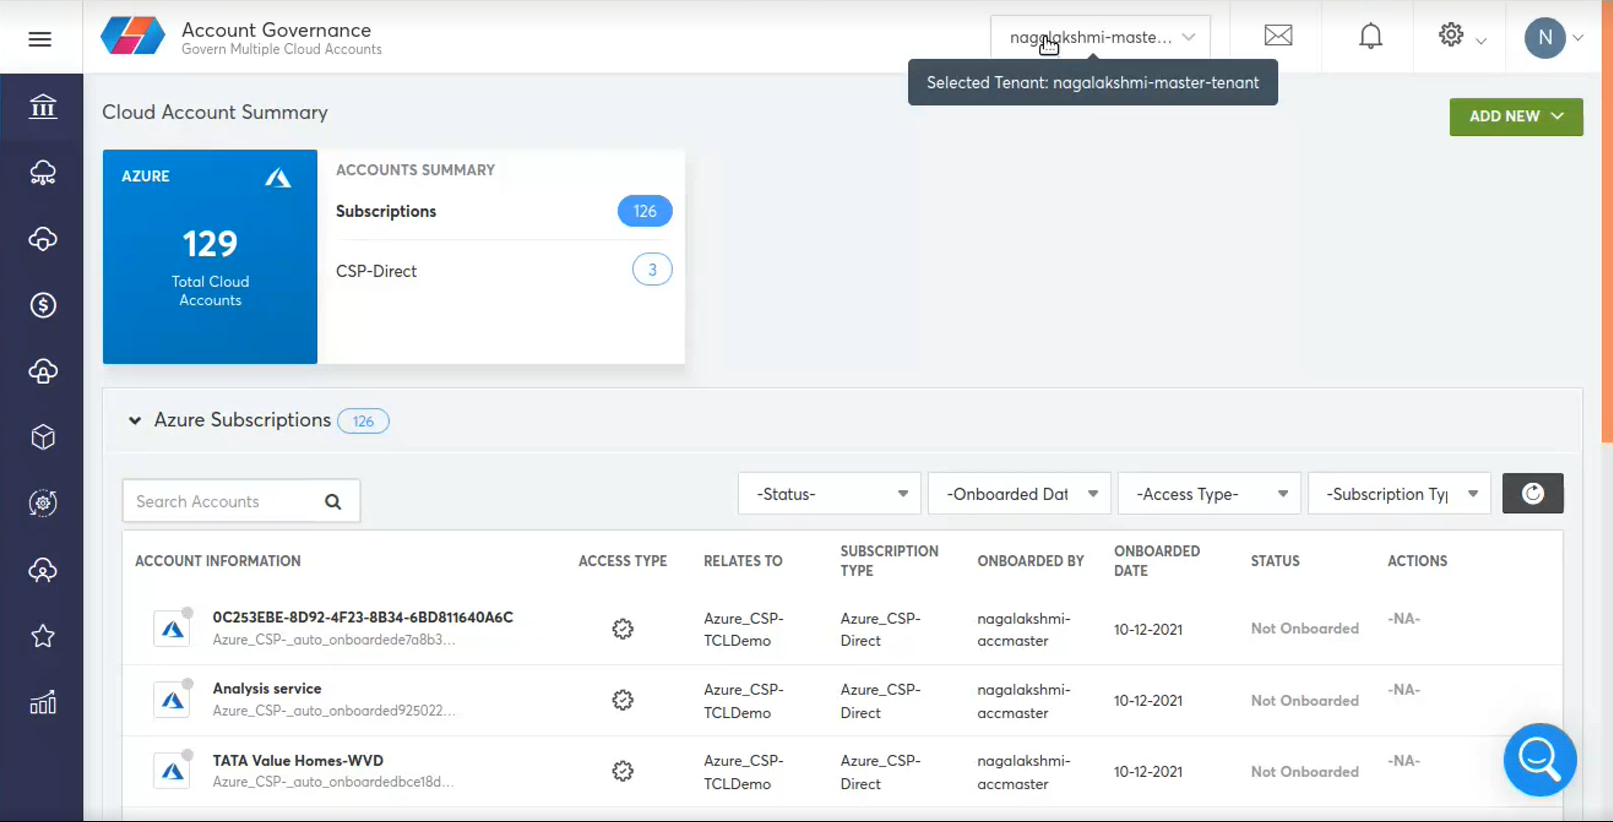
- Login as an Account Admin. The default tenant for the respective account appears. For example, the below snapshot shows three Azure CSP- Direct accounts.
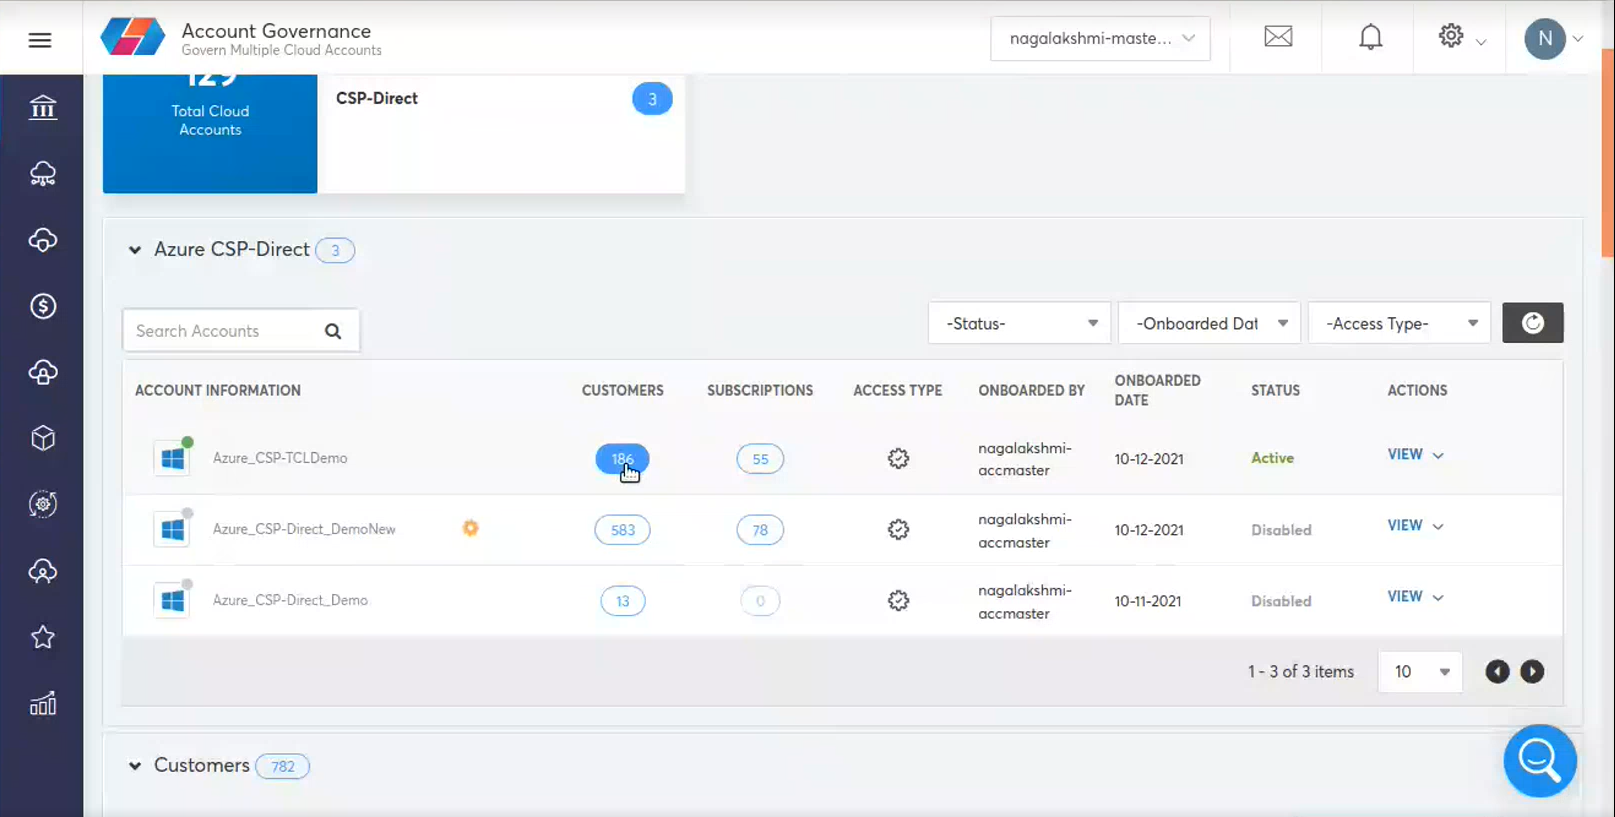
- After onboarding a CSP account, we will discover the customers and the associated subscriptions for the CSP Direct accounts. For example, as shown below, this CSP direct has 186 customers and 55 subscriptions.
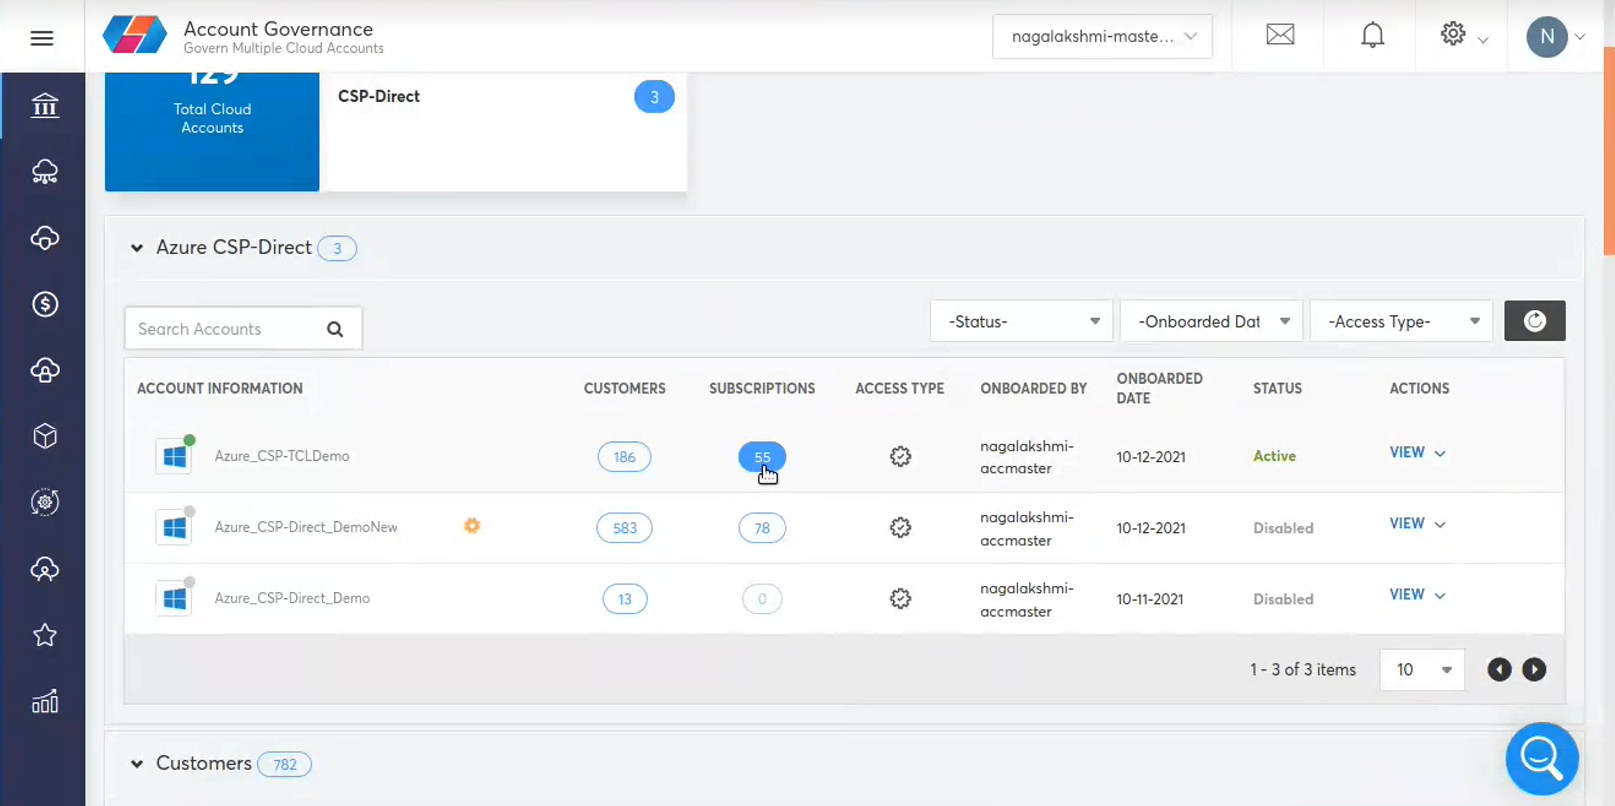
The customer table of subscriptions shows a view of all CSP accounts, Customers and Subscriptions.
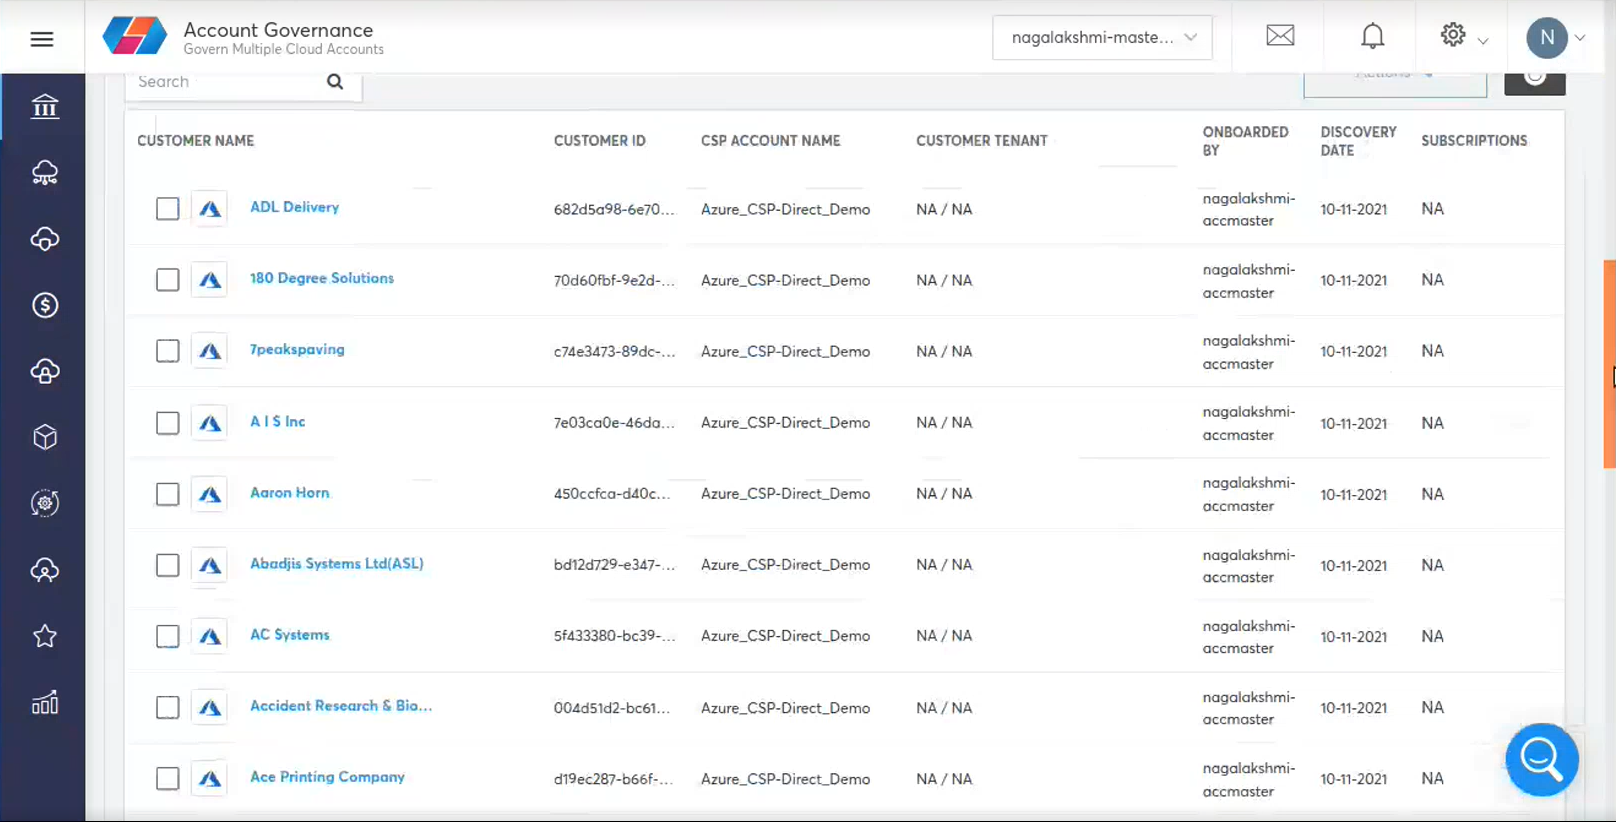
- Click specific CSP account you will get the details of the respective CSP account Customers and Subscription account.
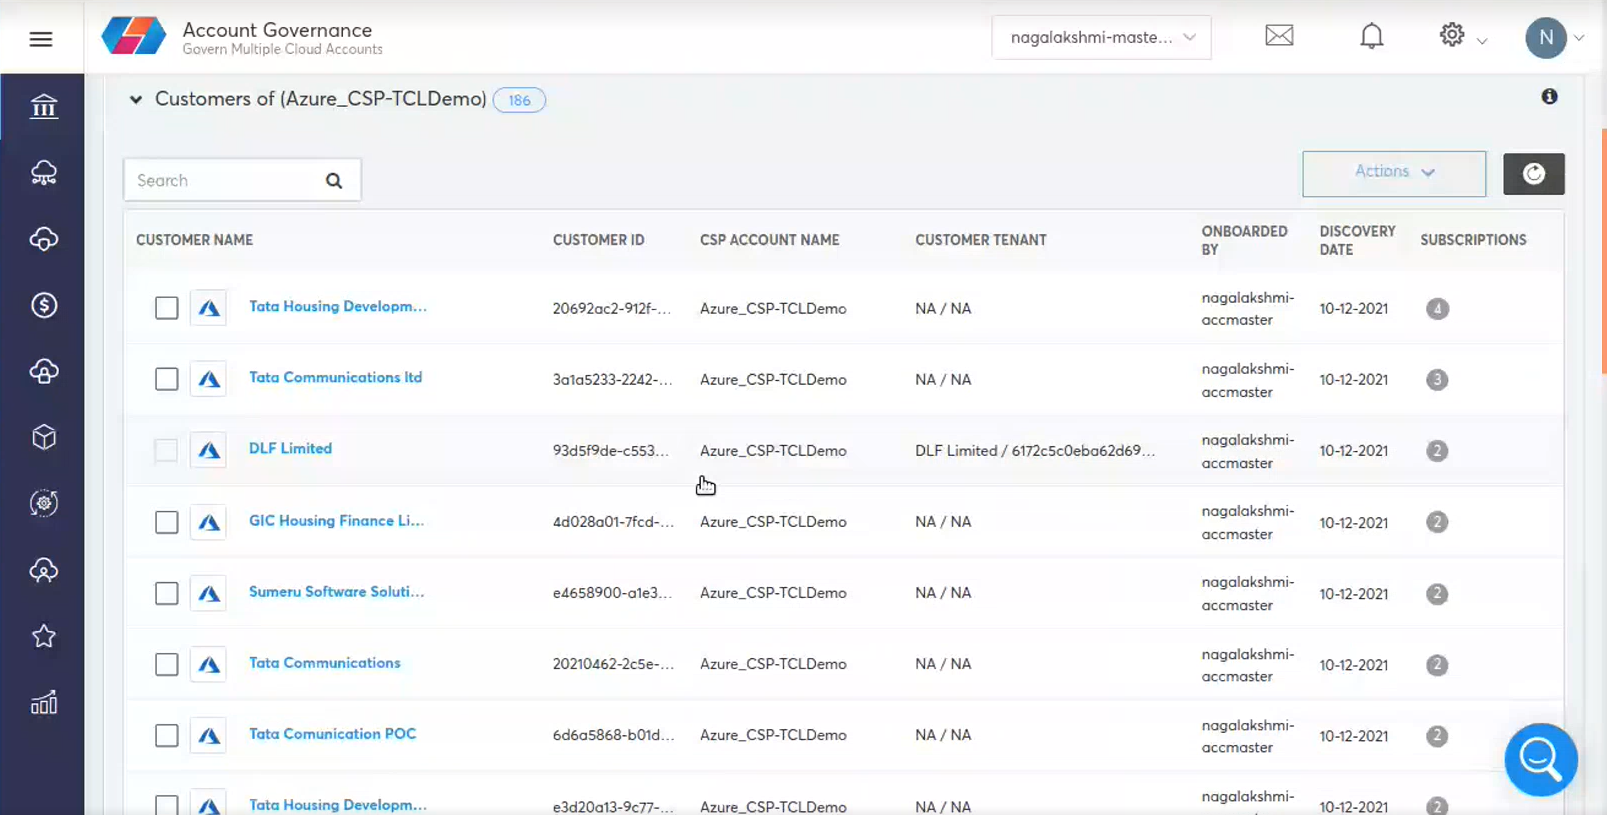
- Select customers you want to convert to CoreStack tenants.
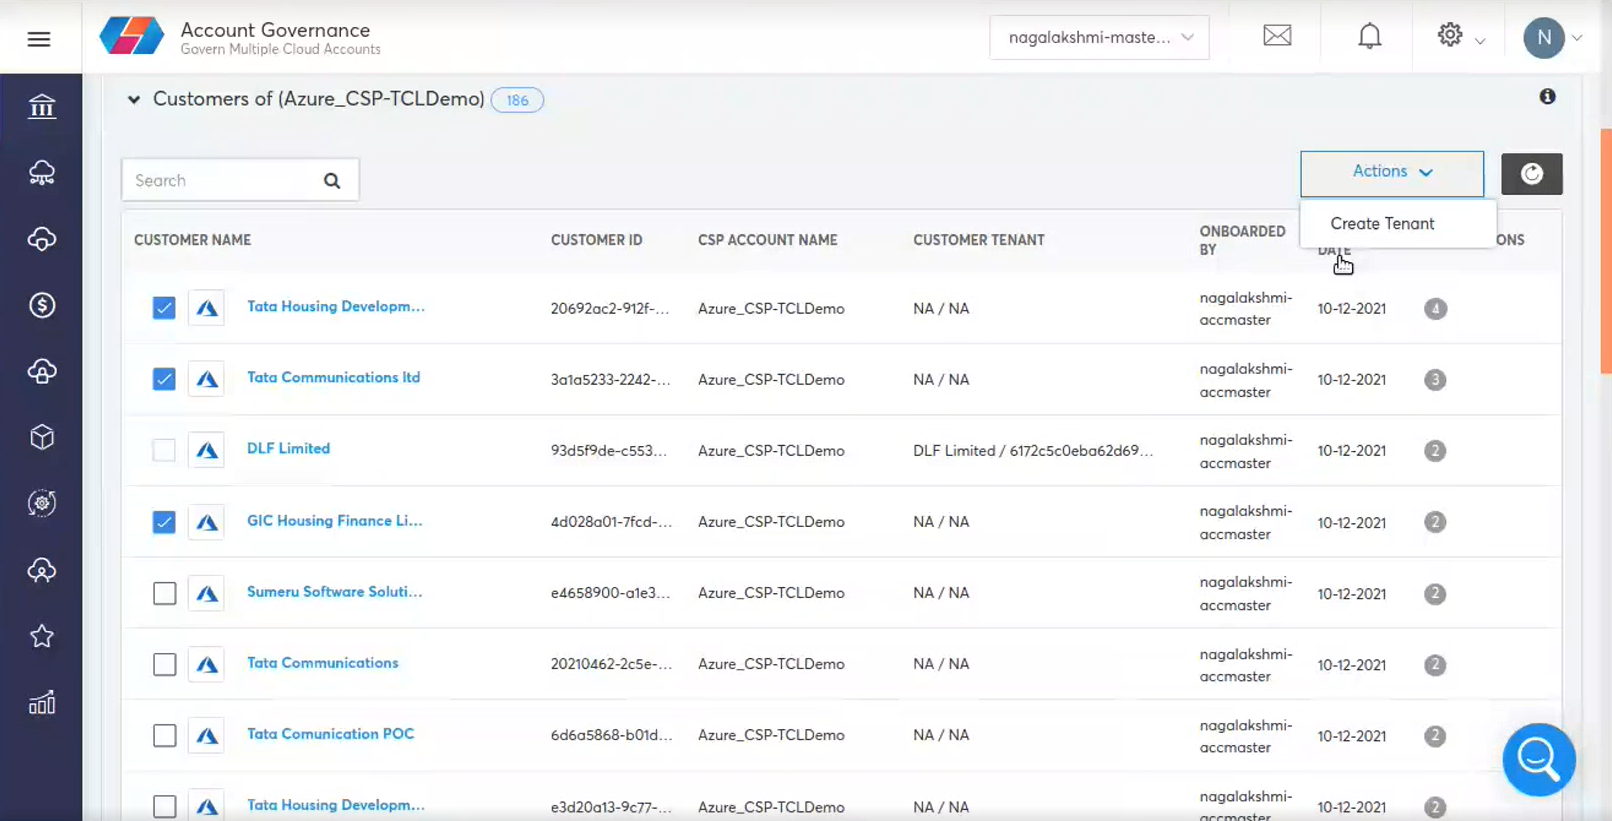
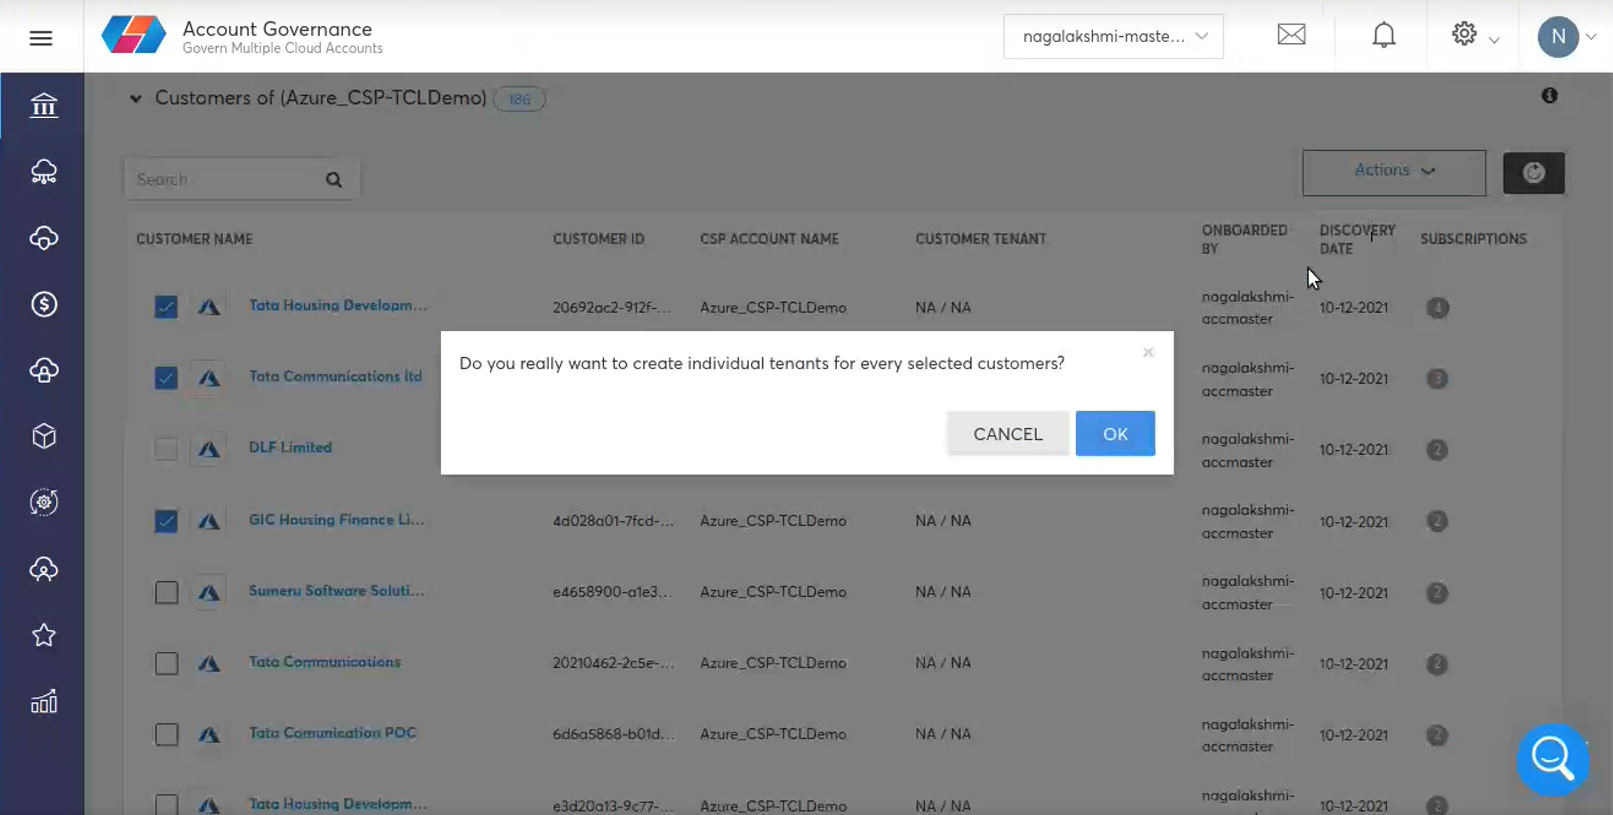
- Click Create tenant. A message box appears. Click Ok .
- After few minutes the corresponding customers will get created as a CoreStack Tenant.
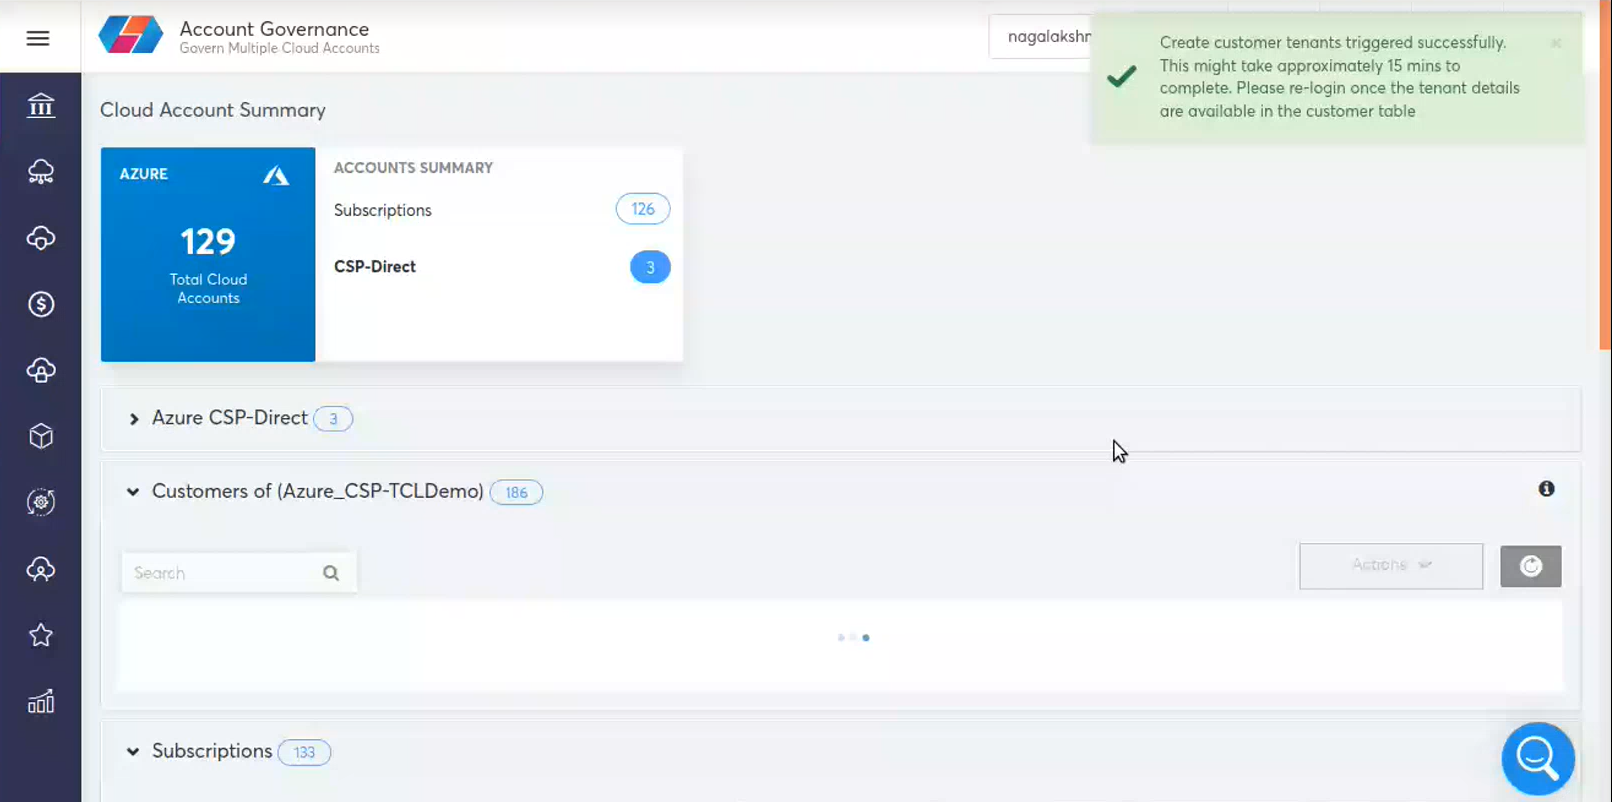
Once it is created, the new record appears in the customer tenant table column.
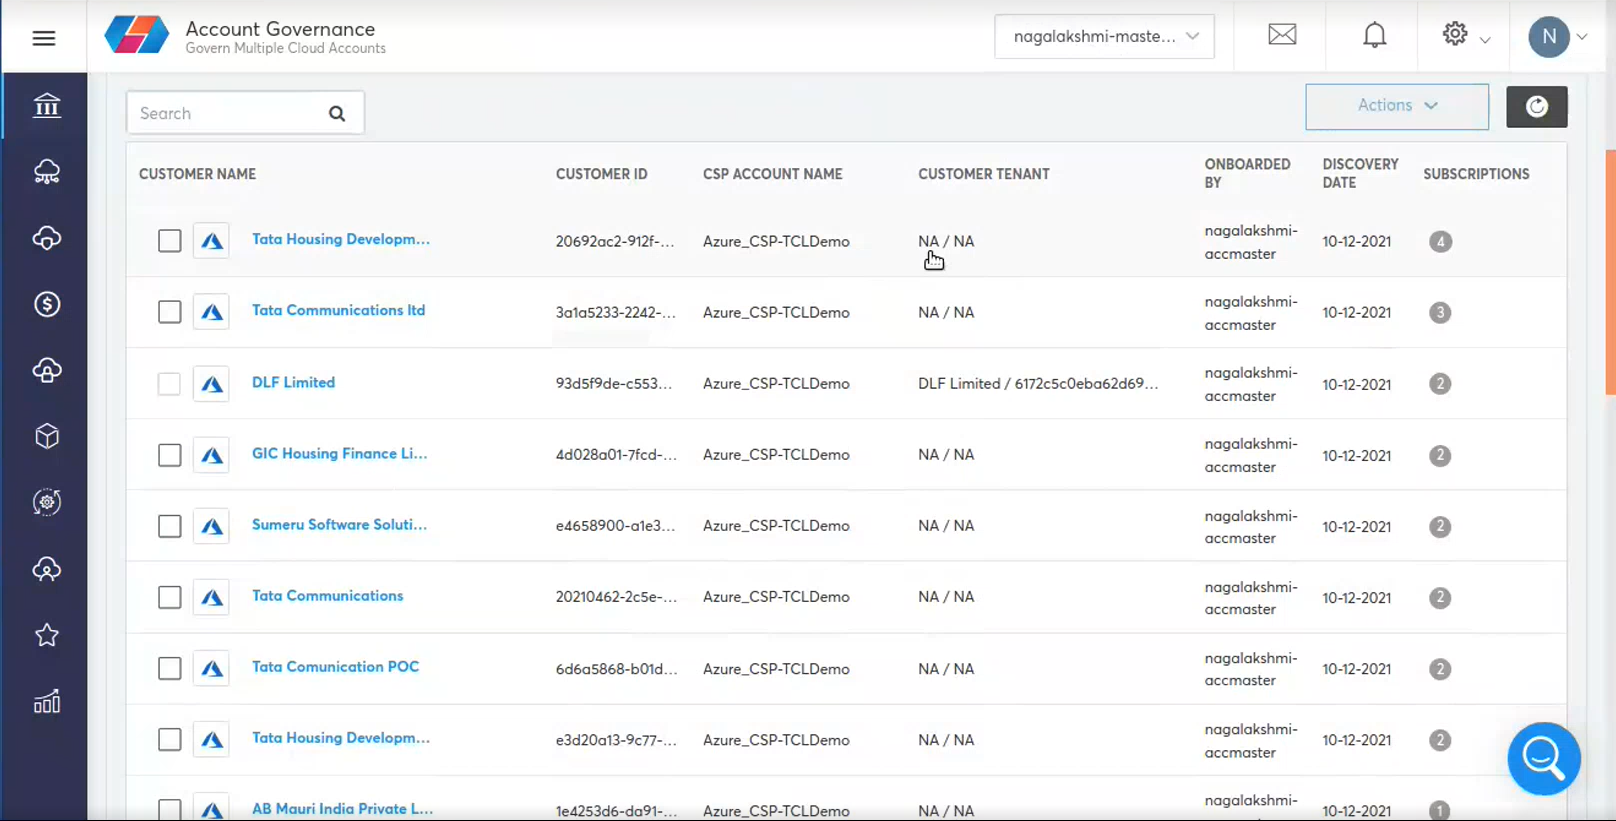
You can logout and login for the new customers as shown in drop-down below.
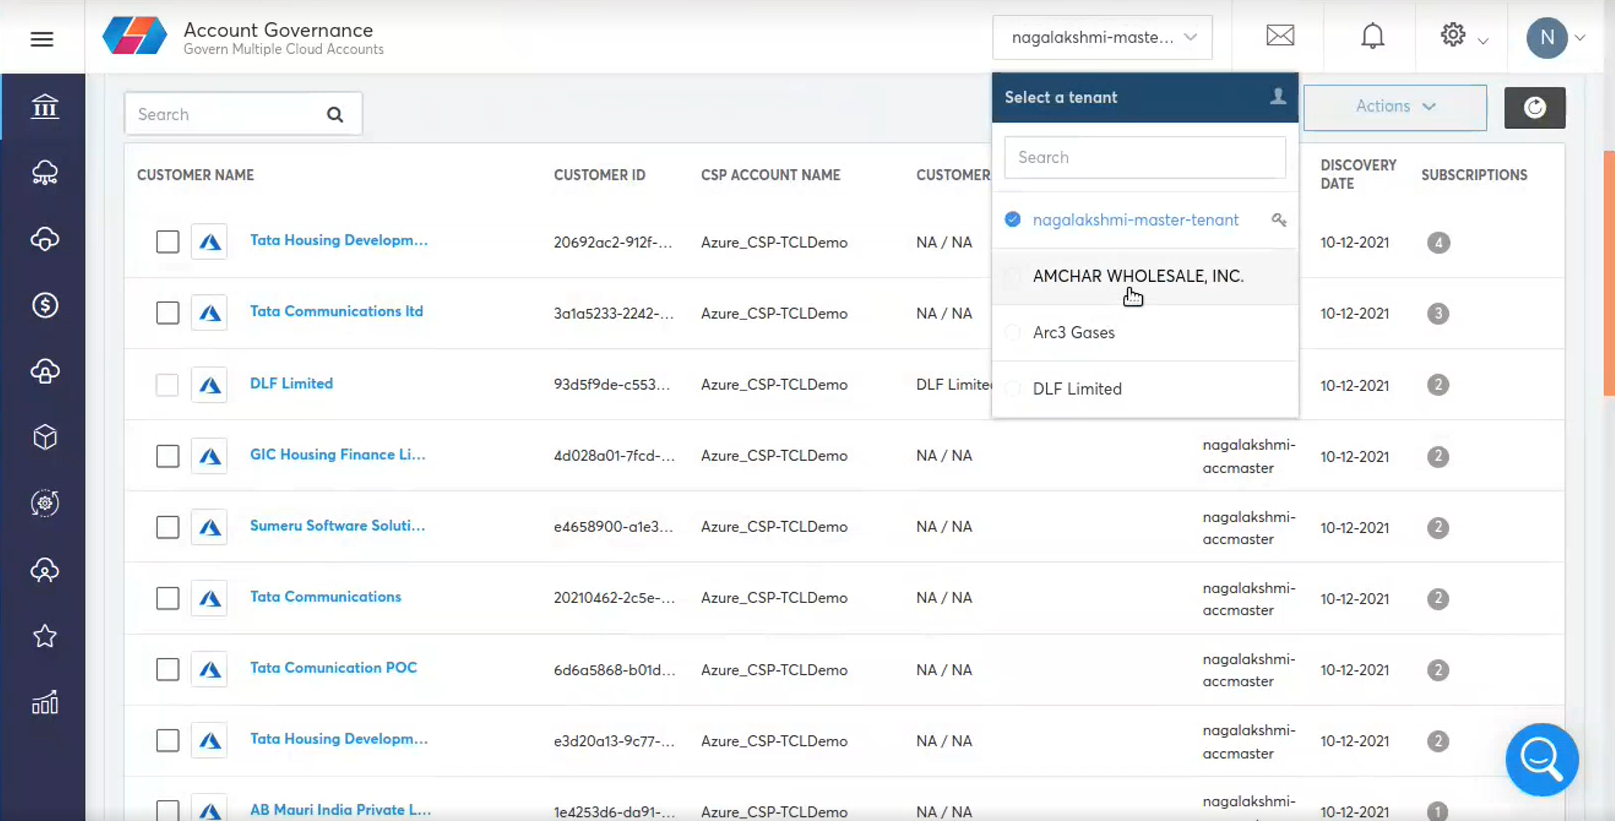
The customer tenant appears as shown below.
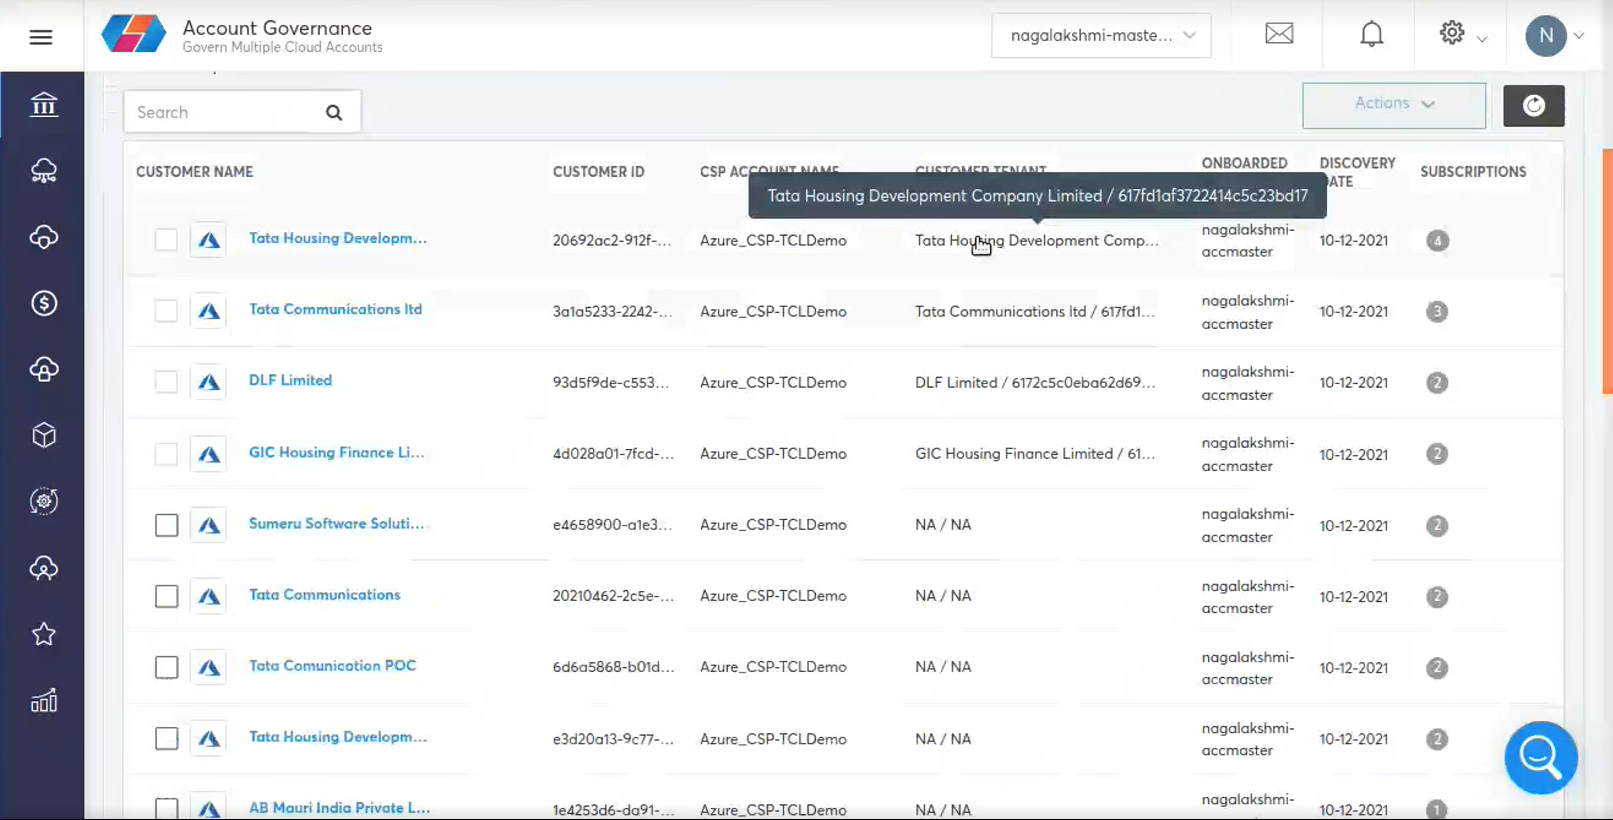
- Logout and login back to see changes to tenant additions. The additional tenant appears. You can navigate to the new tenant.
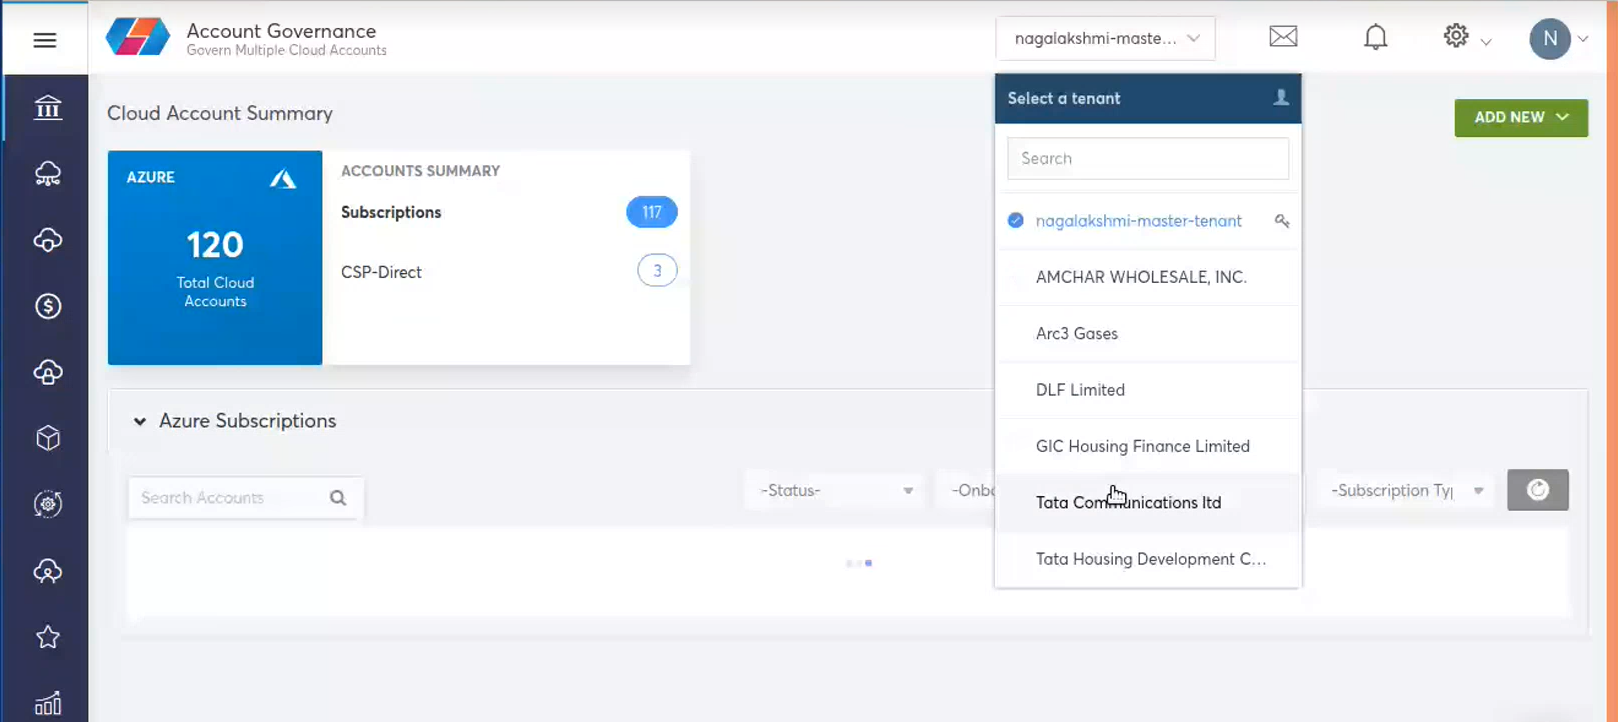
The subscription under that particular customer the all three subscription or made available in this tenant.
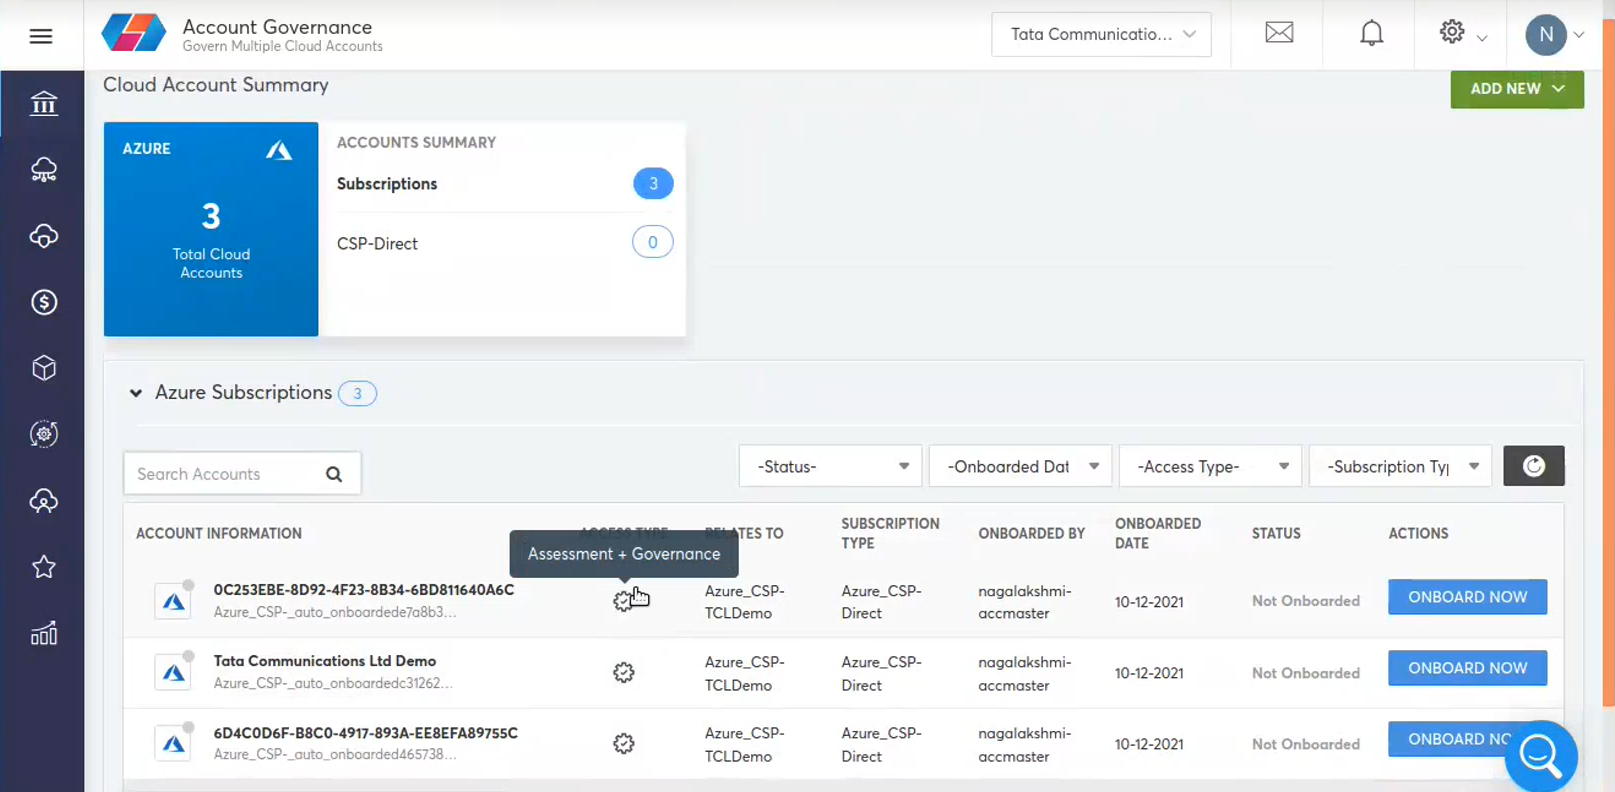
When the customer is created , we will give access to the tenant and they will be able to see it in the dashboard. It will not be on boarded state either the partner admin or customer.
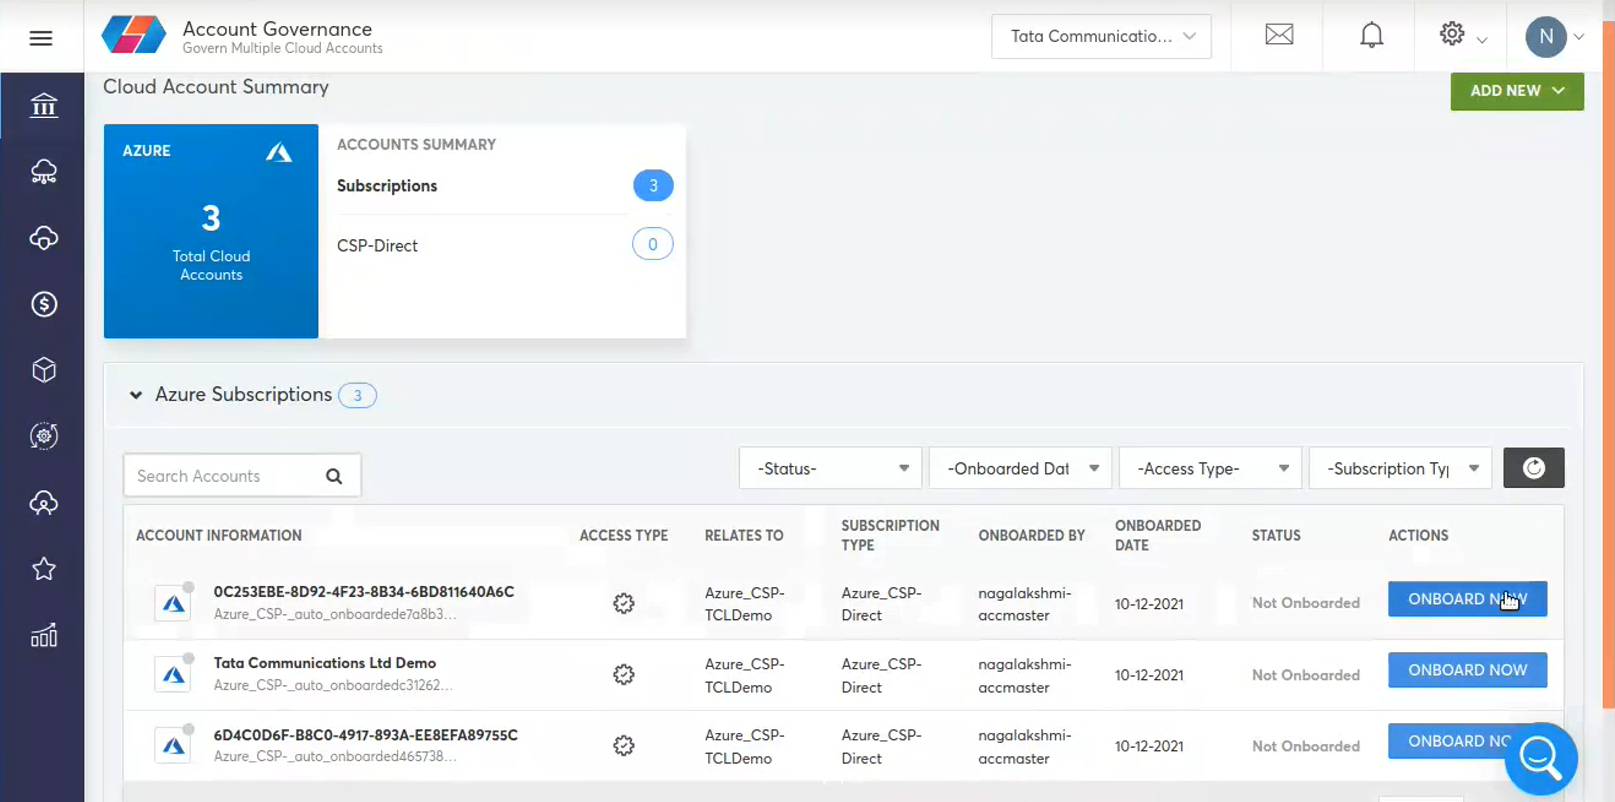
They will provide the Access key or Secret key applications details and will onboard.
This view by default will be available for the Account Master. If any other additional access is required, either the Account owner or the Partner Service Admin can provide.
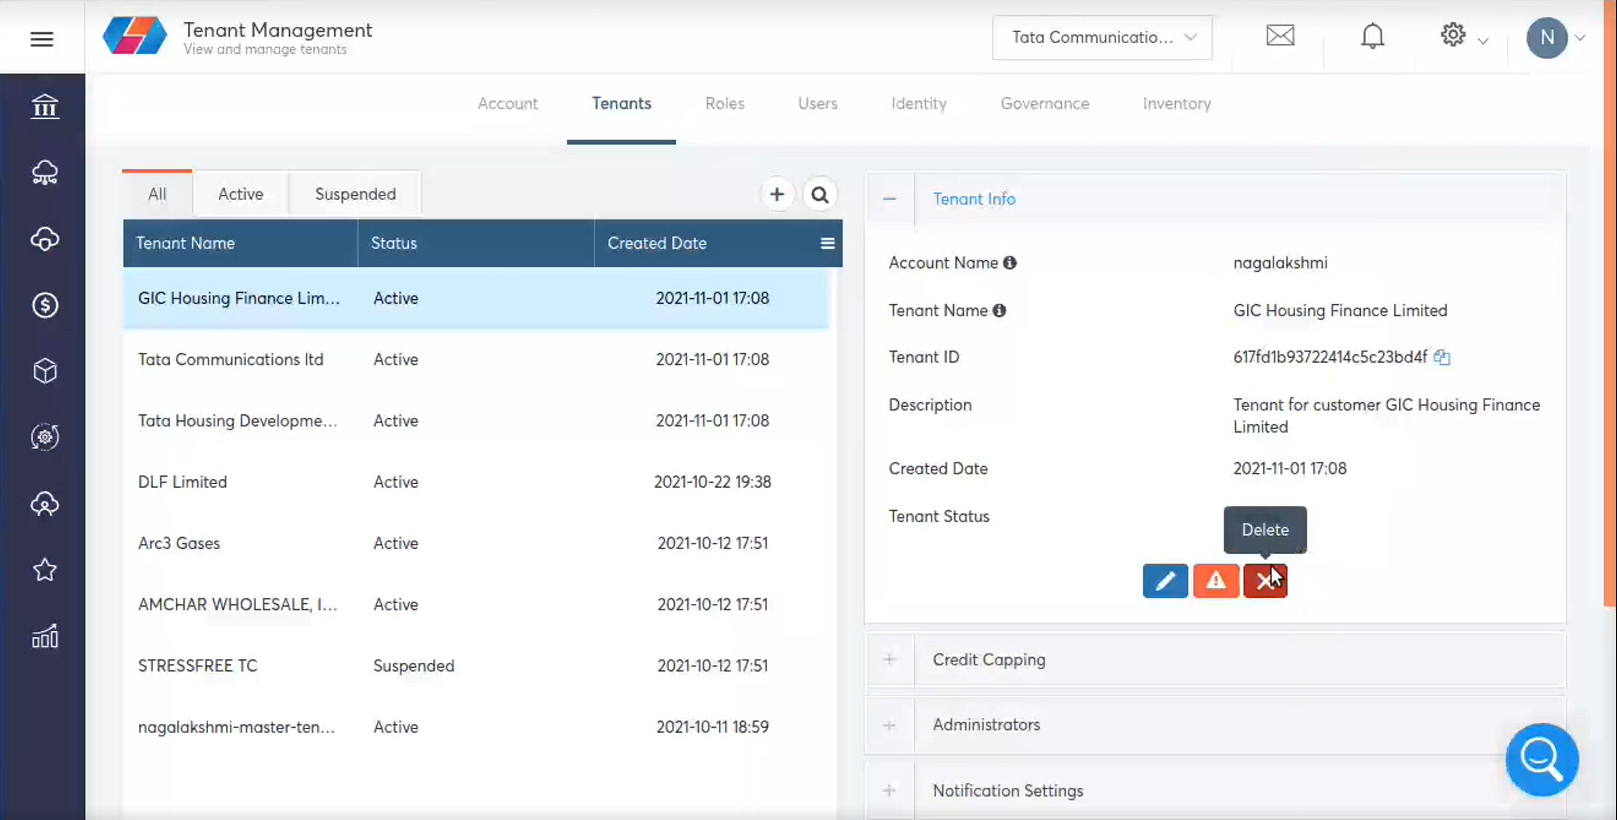
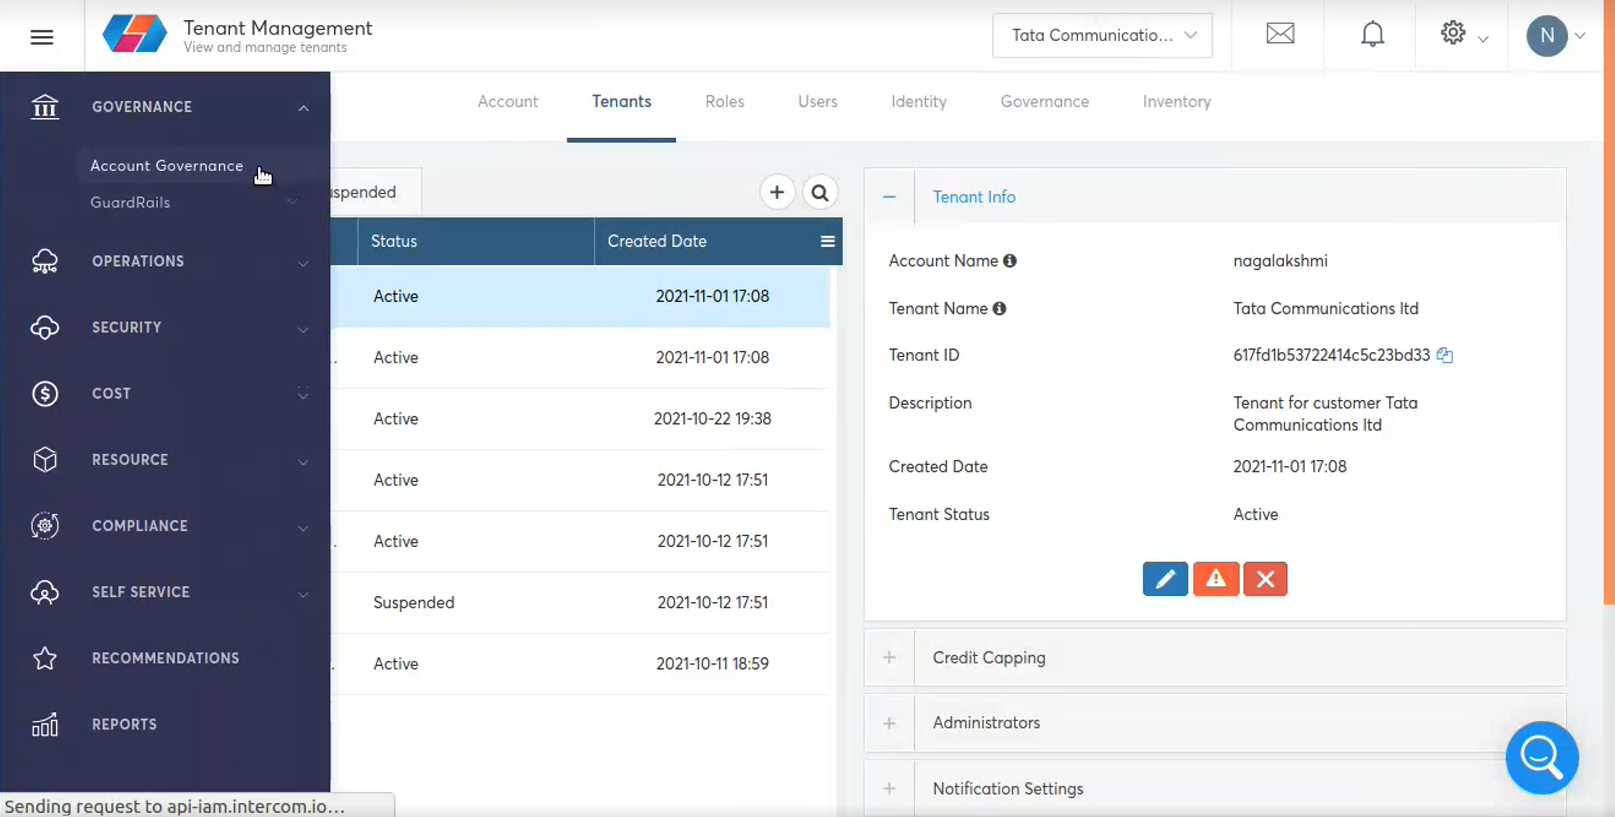
Within few minutes the tenant will reflect in the Account Governance dashboard .
Updated about 1 year ago